Border OptionsHugging border, circle, square, or rectangle — with a 3mm satin stitch.
Backing OptionsAvailable with iron-on, sew-on, or velcro backing.
Fast ShippingShipped quickly from the USA.
Free Online Tools
Powerful embroidery utilities that save time and prevent costly mistakes.
Stitch AssistantRECOMMENDED
Get the exact stabilizer, machine settings, needle, and thread color sequence for every embroidery design you purchase — based on that design's stitch density, dimensions, and color count.
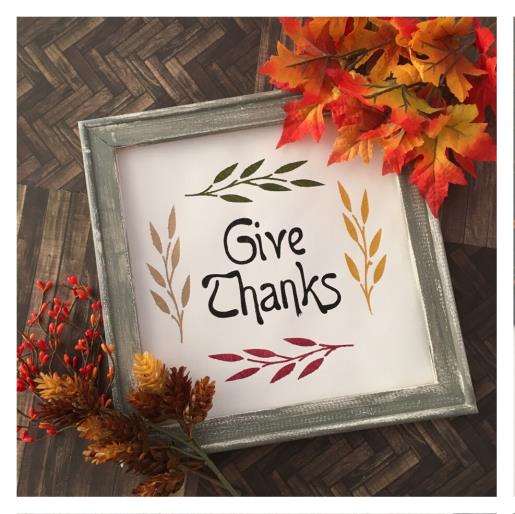
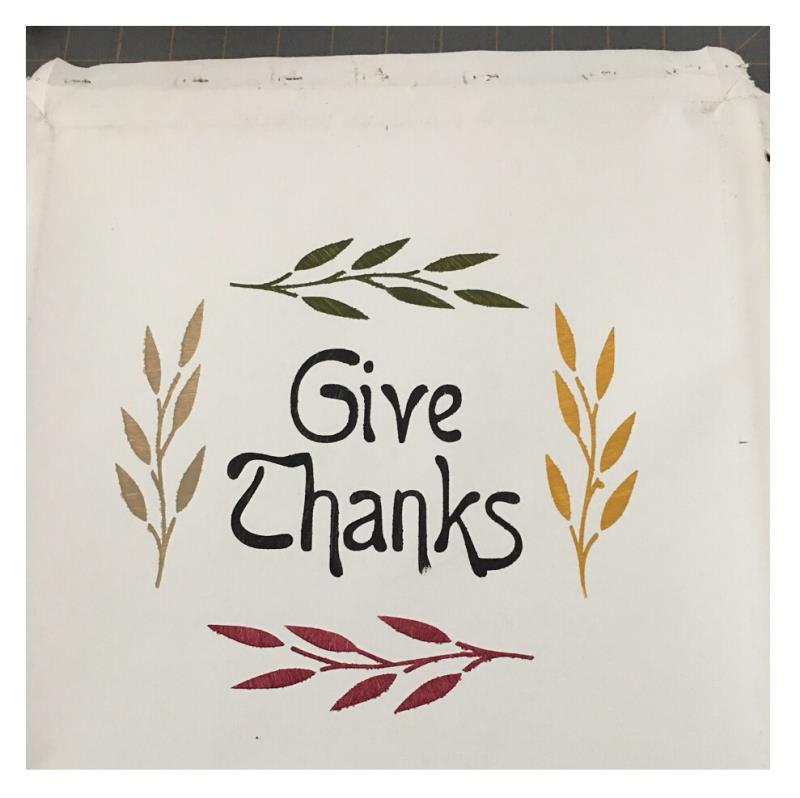
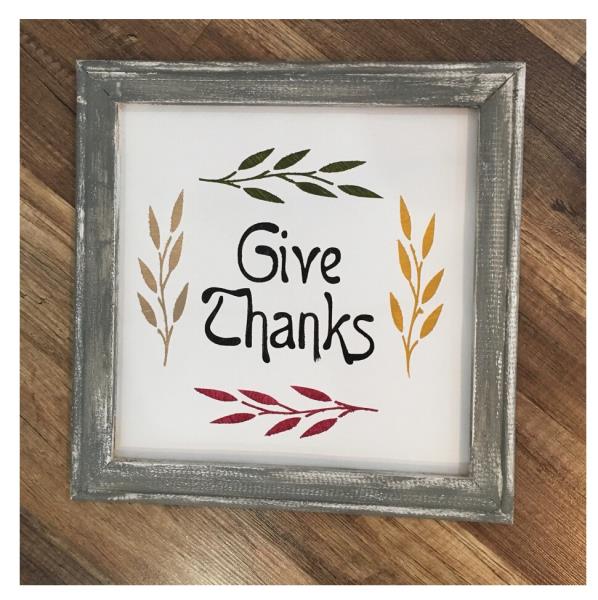
Enhance your autumn home décor with this 'Give Thanks' reverse canvas art. Perfect for adding a seasonal touch to any room, this piece features elegant foliage designs surrounding the text. Step-by-step instructions are included.
Step
of
Give Thanks Fall Reverse Canvas Art
By Linda Mills
Reverse canvas projects have become a fun and popular way to create framed art. This tutorial will take you step by step taking a store bought wooden framed painter’s canvas and “reversing” the canvas/frame and creating a stencil of the ”Give Thanks” SVG design to create a framed piece of art that will accent your Fall décor.
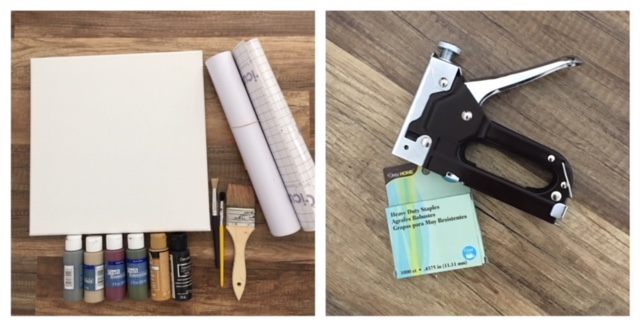
Step 1:
Gather all supplies and review instructions before beginning. Dry time is not included in time stated for completion of project.
*BASIC KNOWLEDGE OF A CUTTING MACHINE AND HOW TO PREPARE VINYL FOR
STENCIL IS REQUIRED.
(Click Image to Enlarge)
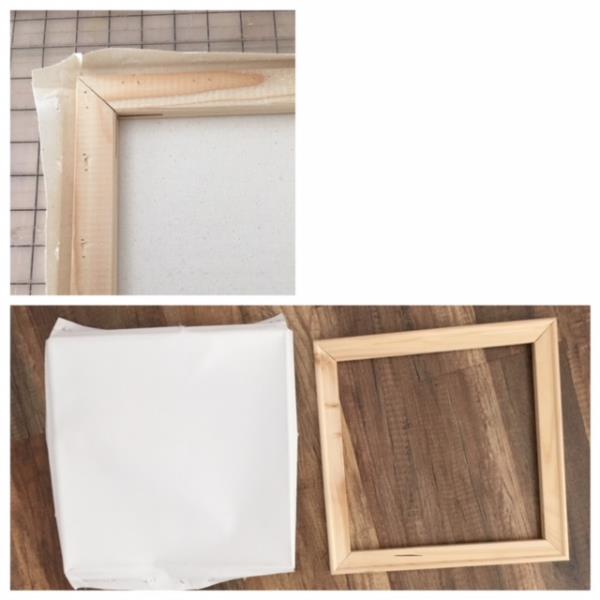
Step 2:
Removing Canvas From Frame Remove all staples from back of your canvas art frame. Put canvas aside.
(Click Image to Enlarge)
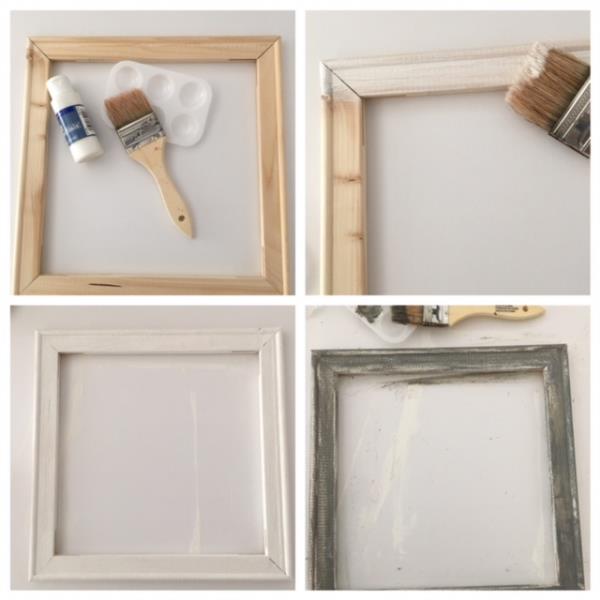
Step 3:
Paint your frame any color you’d like. I used a white acrylic paint first then added a gray color and wiped it down using a cloth to give the frame a distressed look. Set aside and allow paint to completely dry.
(Click Image to Enlarge)
Step 4:
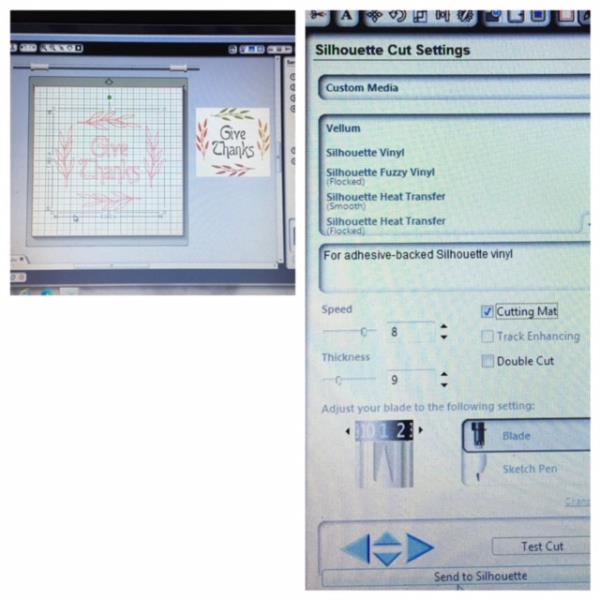
Bring the “Give Thanks SVG design into your cutting machine program. Cut. Resize design to approximately 9.5” x 8”. Prepare cutting machine to cut vinyl.
(Click Image to Enlarge)
Step 5:
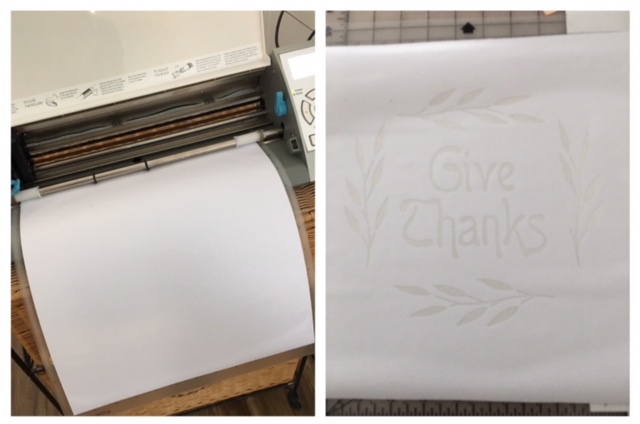
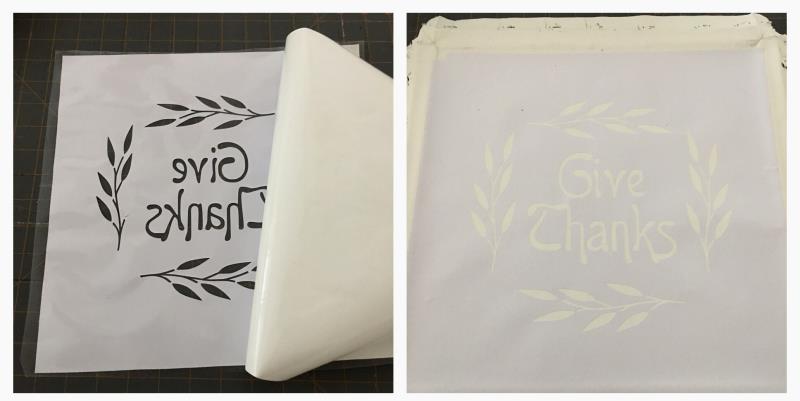
Prepare vinyl for cutting. Load into your cutting machine. Cut. Weed vinyl for stencil. (Please note: I used a white vinyl and didn’t realize it would be a bit hard to see the weeded cut design)
(Click Image to Enlarge)
Step 6:
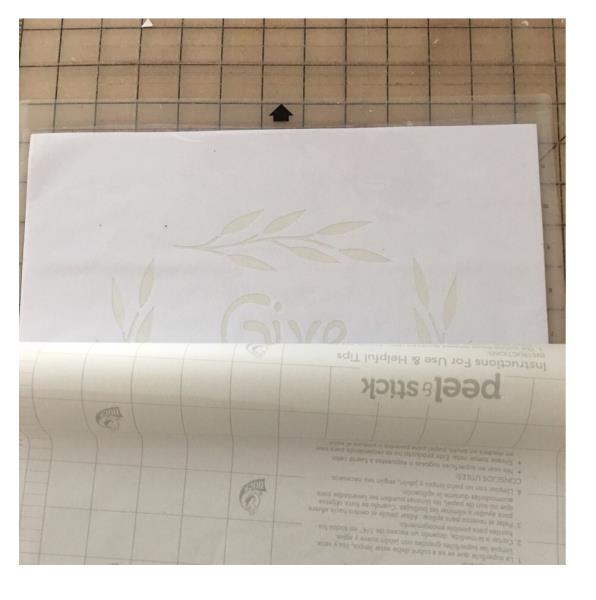
Apply transfer paper per manufacturer’s instructions atop your to your weeded design vinyl
(Click Image to Enlarge)
Step 7:
(Optional: find center of each side and mark axis points atop transfer paper and onto canvas to help with centering vinyl on to canvas. Mark axis points on canvas outside of creased canvas lines as this excess will be trimmed.)
(Click Image to Enlarge)
Step 8:
Remove adhesive back and center stencil atop canvas. Remove transfer tape. Firmly fingertip press edges of open (weeded) area to prevent paint seepage.
(Click Image to Enlarge)
Step 9:
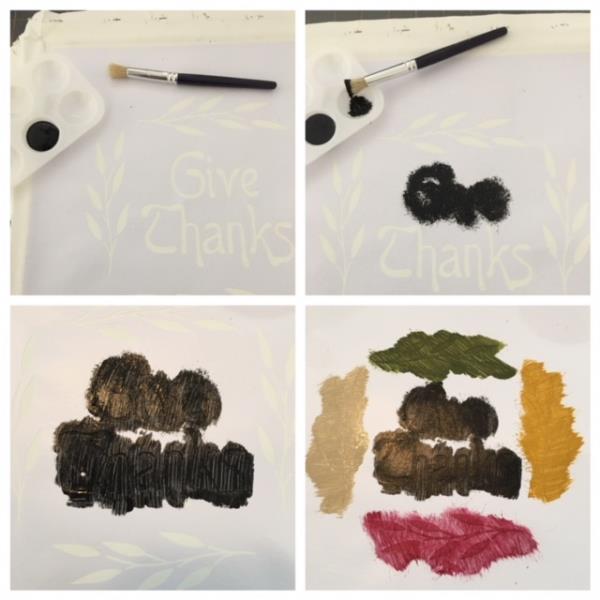
Let’s get ready to paint! Follow SVG design color chart. Paint all open areas. Allow paint to completely dry. ( If needed apply a 2nd coat )
(Click Image to Enlarge)
Step 10:
Carefully remove stencil from canvas.
(Click Image to Enlarge)
Step 11:
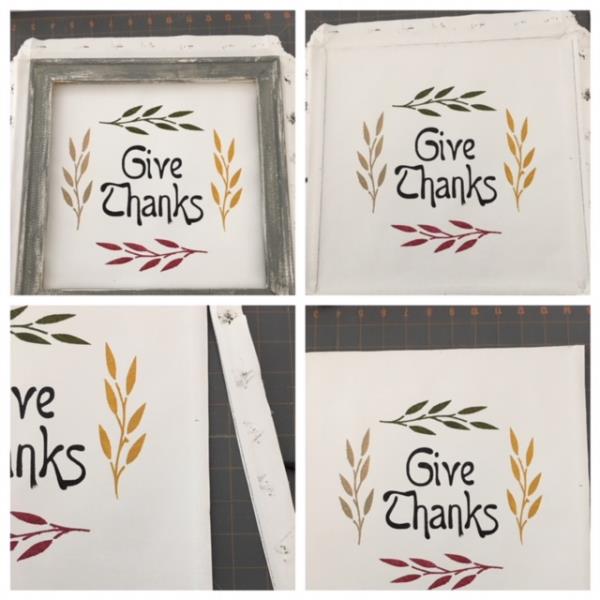
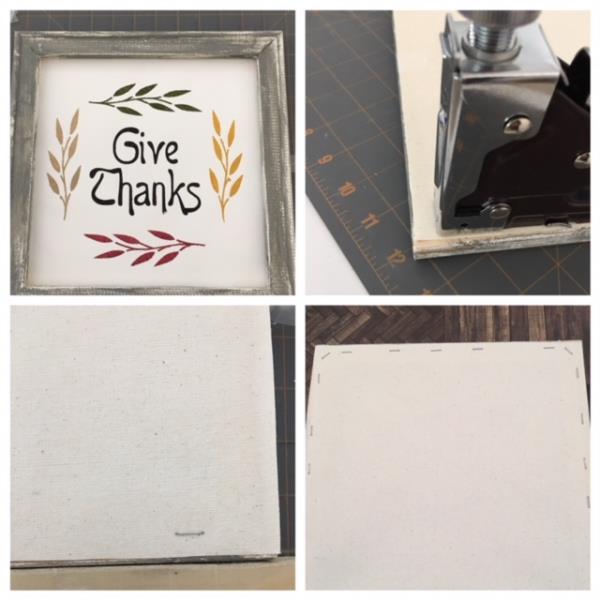
Place wooden frame atop painted canvas and center to your liking. Outline with a pencil all around outside of frame. Trim excess canvas 1/8”- ¼” inside pencil line.
(Click Image to Enlarge)
Step 12:
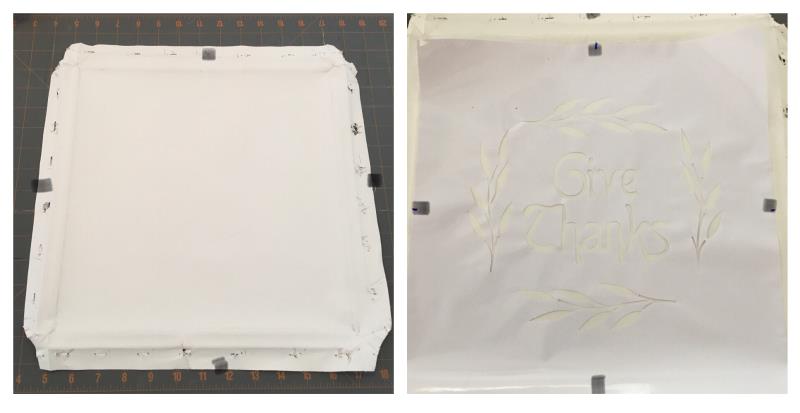
Reposition/center frame atop canvas. Use tape if needed to hold in place. Flip to backside and staple in place all sides and corner.
(Click Image to Enlarge)
Step 13:
Flip back over and…..Viola and you are done! Great job!