















































PROJECT INSTRUCTIONS


PROJECT INSTRUCTIONS
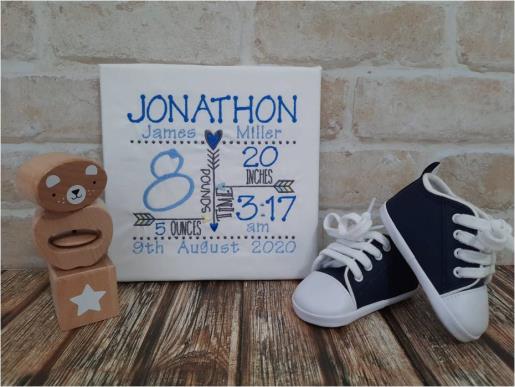
Baby Birth Details Wall Chart Embroidery Project
By
Kylie Burke
on
November 09, 2020
Description
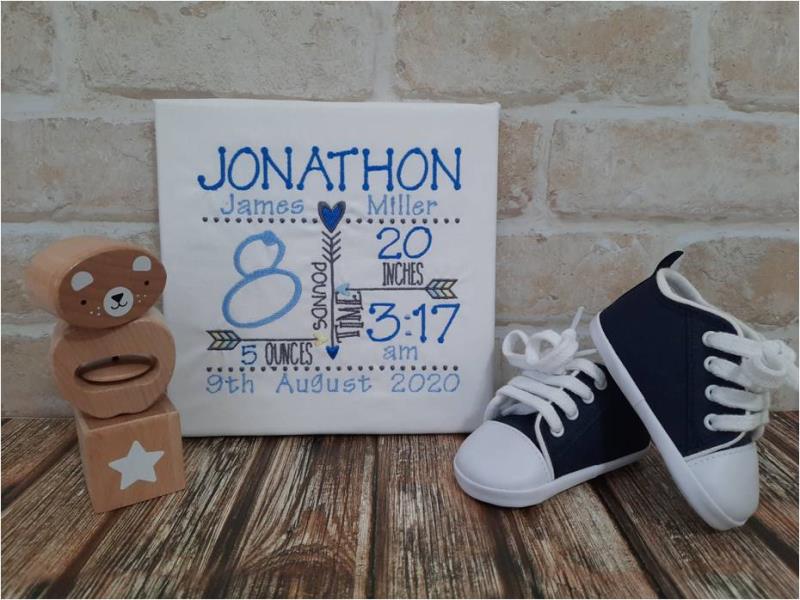
Celebrate the arrival of a new baby with this charming wall chart displaying birth details. Perfect for decorating the nursery and creating a lasting memory of this special occasion. Step-by-step instructions are included.
Step
of
Materials
Project Preview Video

QUICK VIEW
Tinker Toy
$9.95
Circle Price: $8.96

Newborn Chart
$3.89
Circle Price: $2.92

QUICK VIEW
Cut Away Stabilizer - 2.5 Oz wt.
$8.94
Circle Price: $8.05
{{ item.name }}
{{ item.listPriceDisplay }}{{ item.salePriceDisplay }}
Circle Price:
{{ item.clubPriceDisplay }}



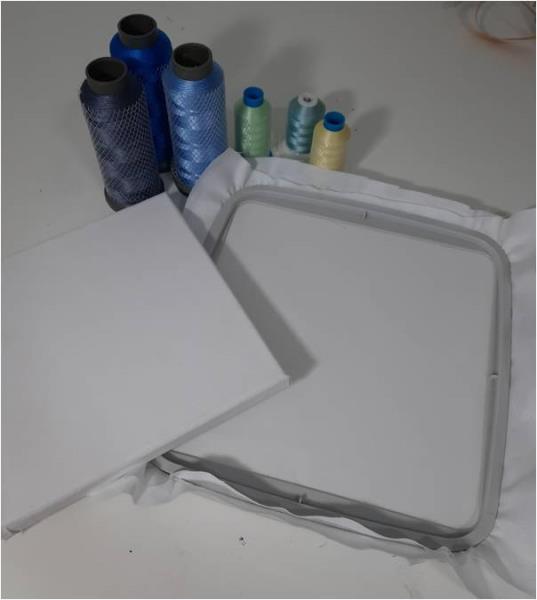
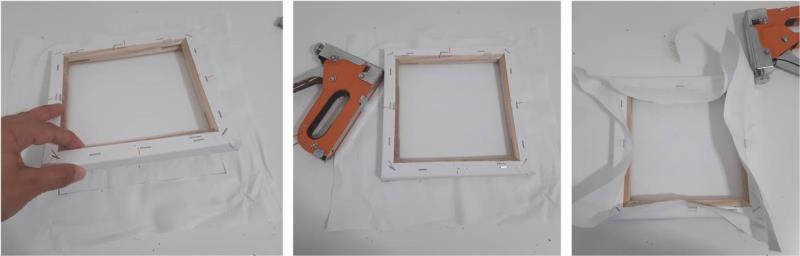
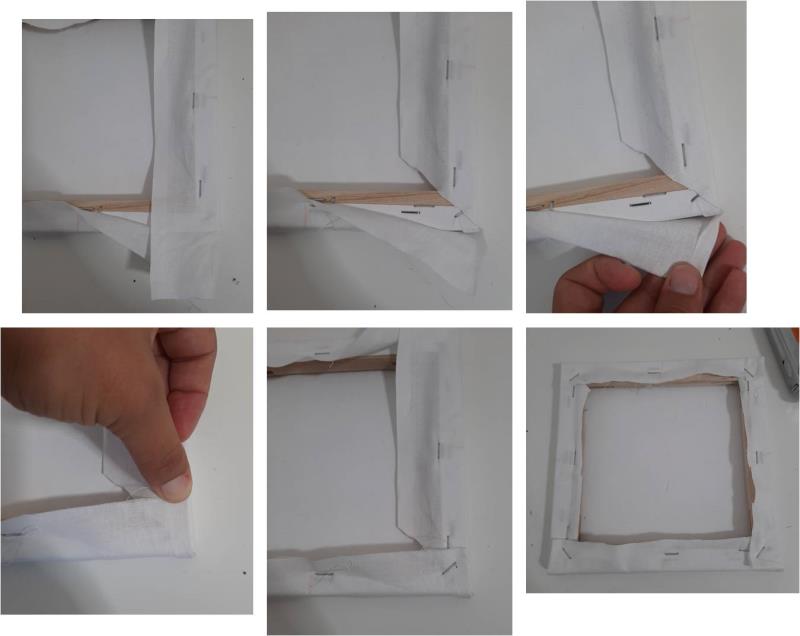
| Materials 12” square of white cotton fabric Cutaway stabilizer Chosen embroidery thread colors Embroidery software 8” square framed canvas Staple gun with staples |
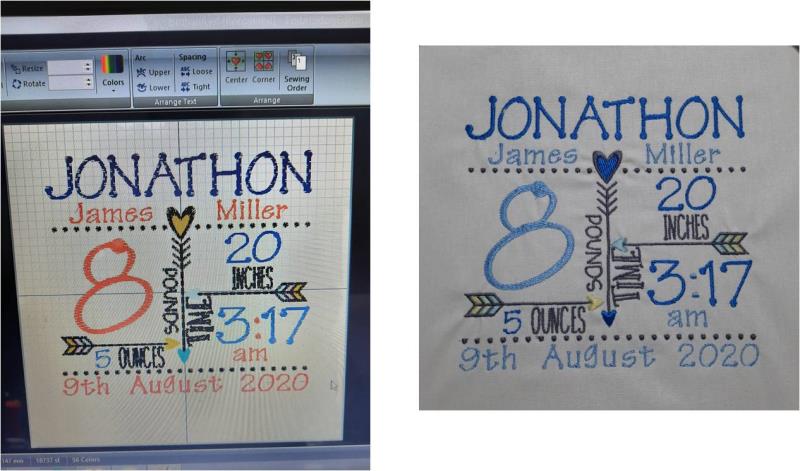
| Designs used in this project |
| Final Product: What You Will Create |
 |
|
Projects You May Like
Meet the Author:
Kylie Burke

Kylie is based in Australia and loves creating and sharing her unique pieces.
Feedback
Characters Remaining
Please Login to Submit a Feedback
Invalid Characters, Please enter a valid Comment
Please enter a valid Comment
Reviewed On
Link is Broken, Please check the URL