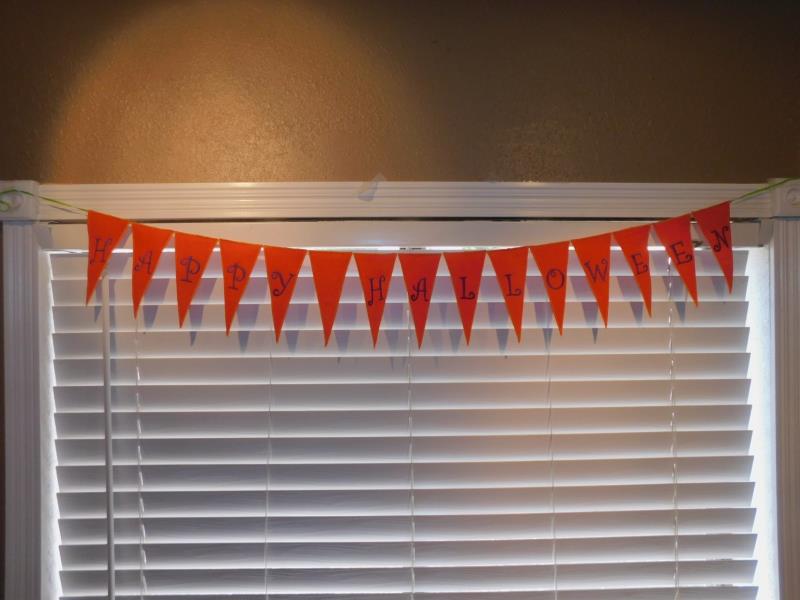
Applique Halloween Banner

Applique Halloween Banner Embroidery Project

By   Ramona Baird   on   October 22, 2020
  • SKILL LEVELBeginner
  • TIME REQUIRED04:50
Description

Create a festive Halloween banner using felt and applique techniques. This colorful banner is perfect for adding a spooky touch to your home decor. Step-by-step instructions are included.

Step of

Materials

Project Preview Video

Materials
  • 14- 6.5” x 3.5” pieces of quality orange felt
  • Fibrous water-soluble stabilizer
  • Orange and purple embroidery thread
  • Bowl of water with clean white cotton fabric or cosmetic sponge
  • 1/8" Decorative ribbon
  • Note: instead of purchasing all the banner pieces individually, there is a greatly discounted pack which includes all the pieces--purchase that instead.

  • Designs used in this project
  • https://www.embroiderydesigns.com/productdetails/ramona-baird/stockdesign/1/rb201010y
  • https://www.embroiderydesigns.com/productdetails/ramona-baird/stockdesign/1/rb201010n
  • https://www.embroiderydesigns.com/productdetails/ramona-baird/stockdesign/1/rb201010l
  • https://www.embroiderydesigns.com/productdetails/ramona-baird/stockdesign/1/rb201010p
  • https://www.embroiderydesigns.com/productdetails/ramona-baird/stockdesign/1/rb201010h
  • https://www.embroiderydesigns.com/productdetails/ramona-baird/stockdesign/1/rb201010e
  • https://www.embroiderydesigns.com/productdetails/ramona-baird/stockdesign/1/rb201010a
  • https://www.embroiderydesigns.com/productdetails/ramona-baird/stockdesign/1/rb201010w
  • https://www.embroiderydesigns.com/productdetails/ramona-baird/stockdesign/1/rb201010o
  • https://www.embroiderydesigns.com/productdetails/ramona-baird/stockdesign/1/rb201010bl


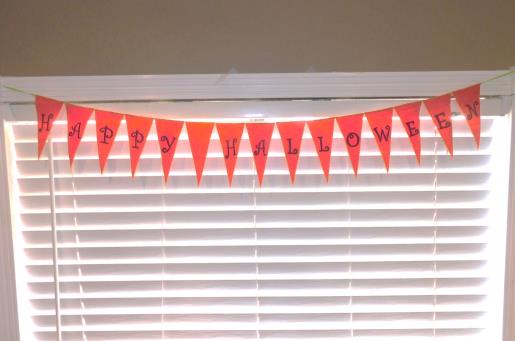
  • Final Product: What You Will Create

    Preface:
    These fast-to-stitch ITH applique banner pieces, aligned in order, make a welcoming banner for Halloween.


    Step 1:
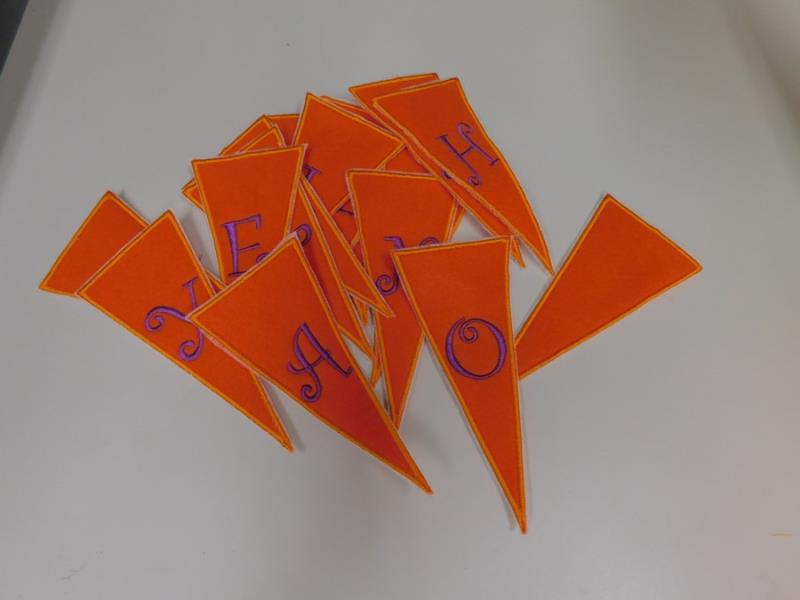
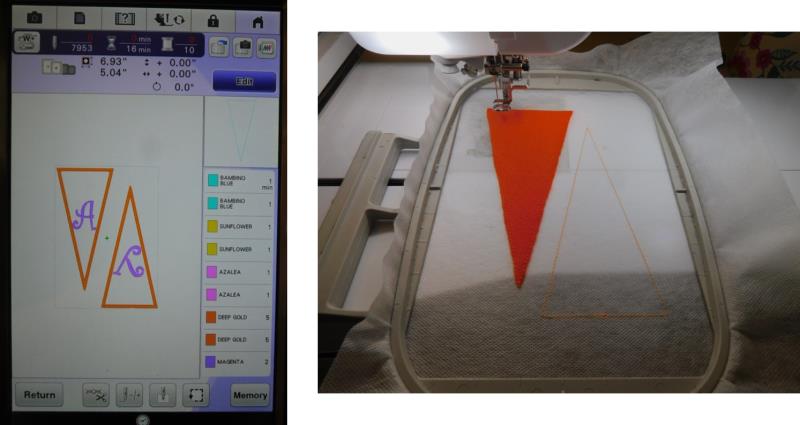
    Read through the instructions thoroughly before beginning and assemble all the materials needed to complete the project. You will need to stitch two each of A, E, H, L, and P. Stitch one each of N, O, W and Y. Depending on how you’d like to hang the banner, a blank banner piece should also be downloaded to stitch as many as desired.

    (Click Image to Enlarge)


    Step 2:
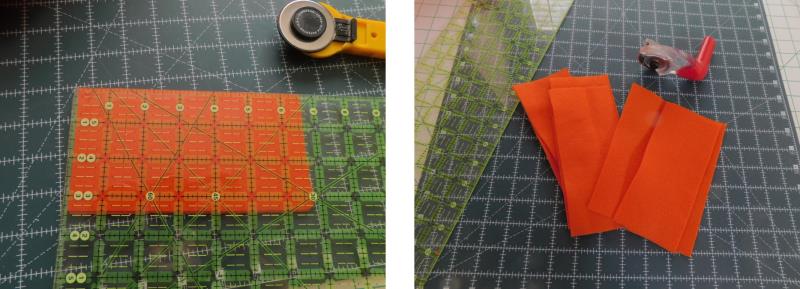
    Cut the felt pieces to size. Be sure to use a good quality felt. The banner pieces are single-sided.

    (Click Image to Enlarge)


    Step 3:
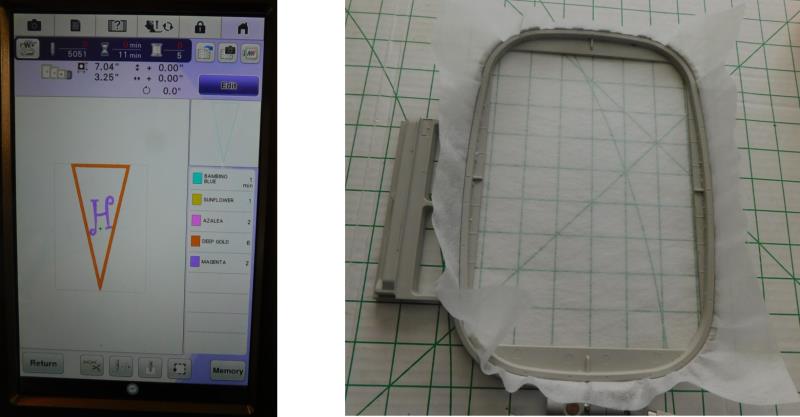
    Load the designs on the machine. Hoop one layer of fibrous water-soluble stabilizer.

    (Click Image to Enlarge)


    Step 4:
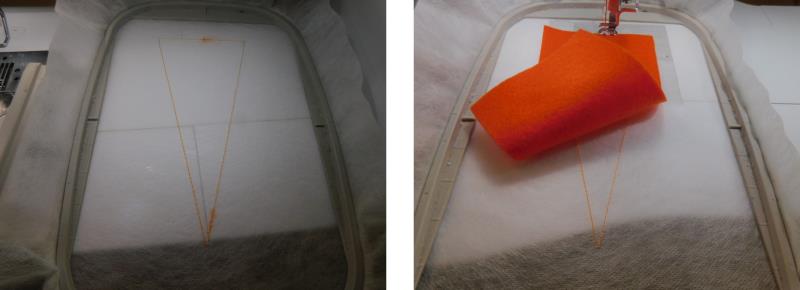
    Stitch color 1, the placement line. Place a piece of felt on top of the placement line.

    (Click Image to Enlarge)


    Step 5:
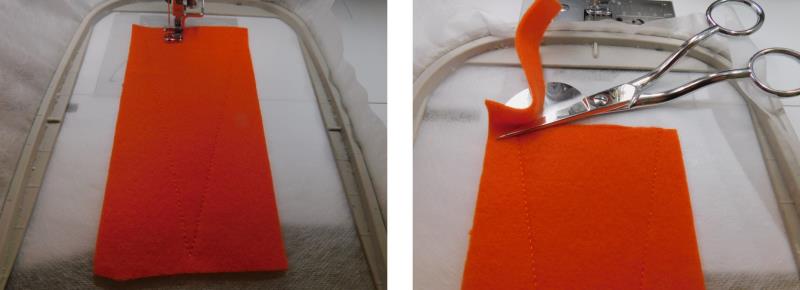
    Stitch color 2, the tackdown line. Remove the hoop from the machine and trim the excess felt outside of the stitching line.

    (Click Image to Enlarge)


    Step 6:
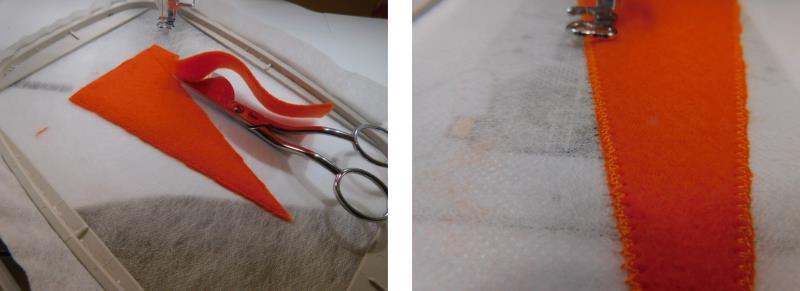
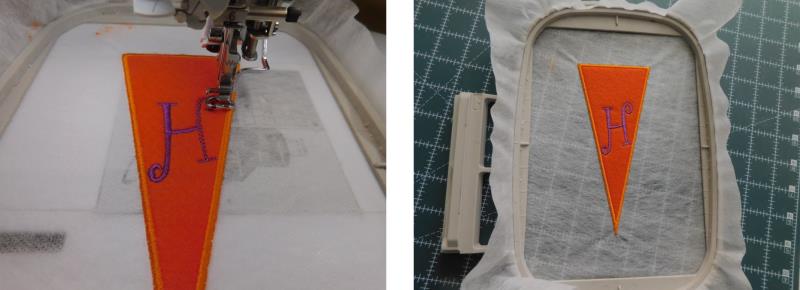
    Trim the felt closely. Return the hoop to the machine and stitch color 3, a zig-zag stitch.

    (Click Image to Enlarge)


    Step 7:
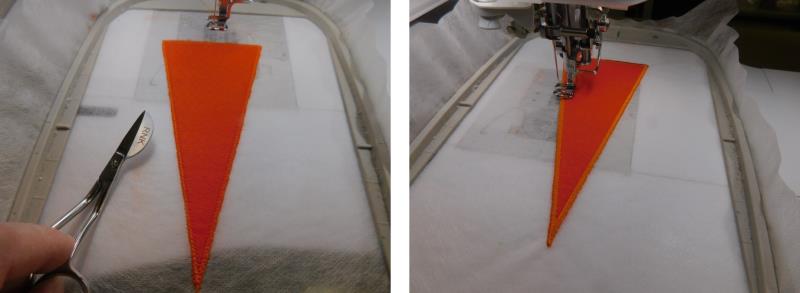
    If there is any felt outside of the zig-zag stitching, trim it away. Stitch color 4, the cover satin stitch.

    (Click Image to Enlarge)


    Step 8:
    Stitch color 5, the letter. 

    (Click Image to Enlarge)


    Step 9:
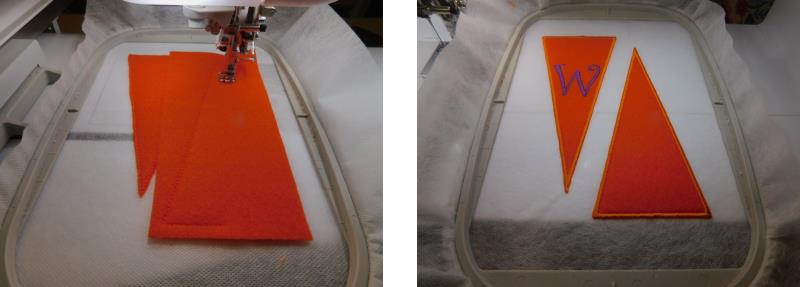
    If the hoop you have is large enough, you can gang up banner pieces in the hoop, moving the first, adding the second design, moving and flipping it; be sure there is space between the designs. Color sorting may also be done. Stitch the placement lines. Place the first piece of felt down and tack it in place, trimming after the tack down.

    (Click Image to Enlarge)


    Step 10:
    Place down the next piece of felt, tack it down and then trim it. Continue the stitching to complete the designs.

    (Click Image to Enlarge)


    Step 11:
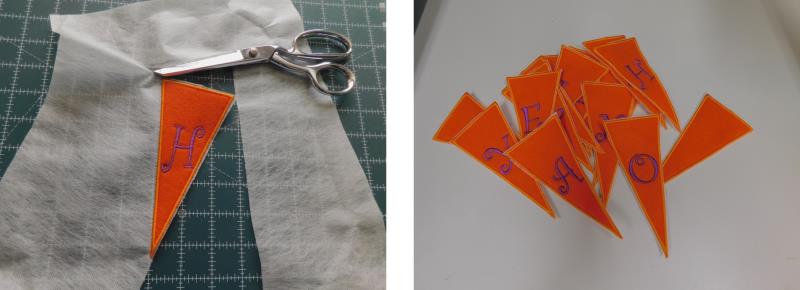
    Trim the excess stabilizer to within 1/8” of the satin stitching; do not trim any threads.

    (Click Image to Enlarge)


    Step 12:
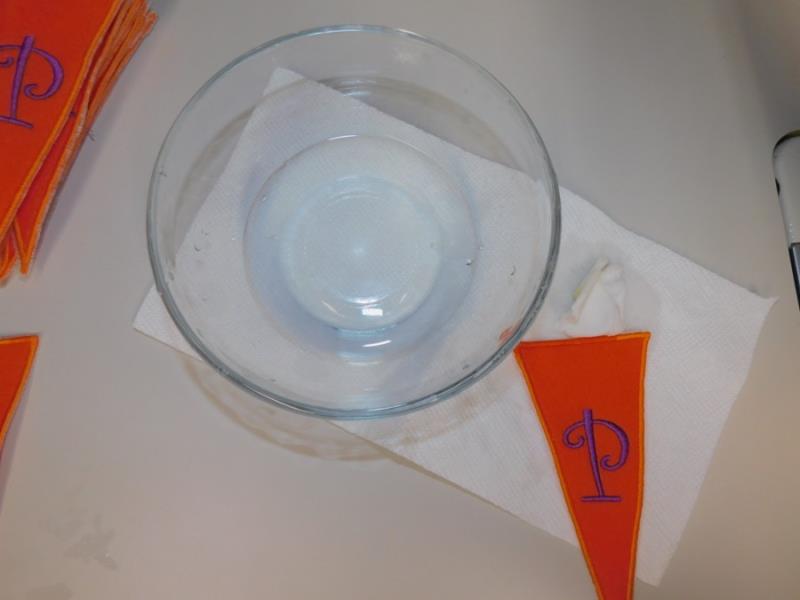
    Put a small amount of warm water in a bowl and use a clean white piece of cloth or clean cosmetic sponge, dipped in the water, to run around the edge of the satin stitch to dissolve the remaining stabilizer.

    (Click Image to Enlarge)


    Step 13:
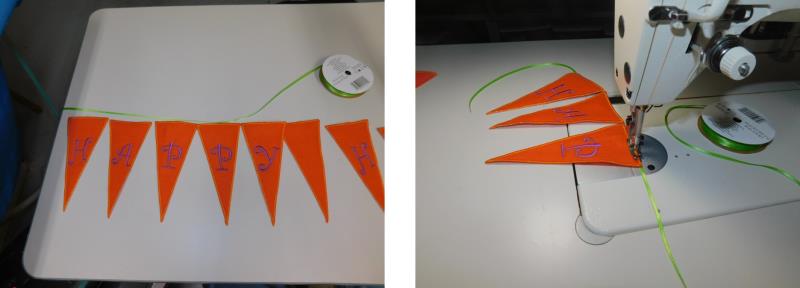
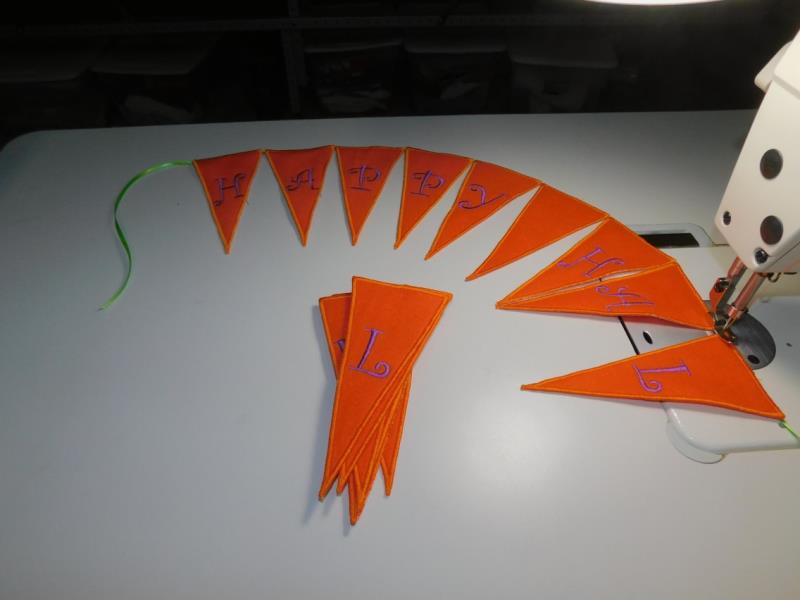
    Line up the banner pieces in order to spell Happy Halloween, with the blank banner in the middle of the two words. Leave about 10-12” of ribbon at the beginning and end of the banner string to affix to a nail (or Command strip) or however you choose to hang your banner. Use the same embroidery thread used for the satin border to align and stitch the top of the banner to the ribbon.

    (Click Image to Enlarge)


    Step 14:
    Continue adding all the banner pieces to the ribbon, double checking the spelling as you go.

    (Click Image to Enlarge)


    Step 15:
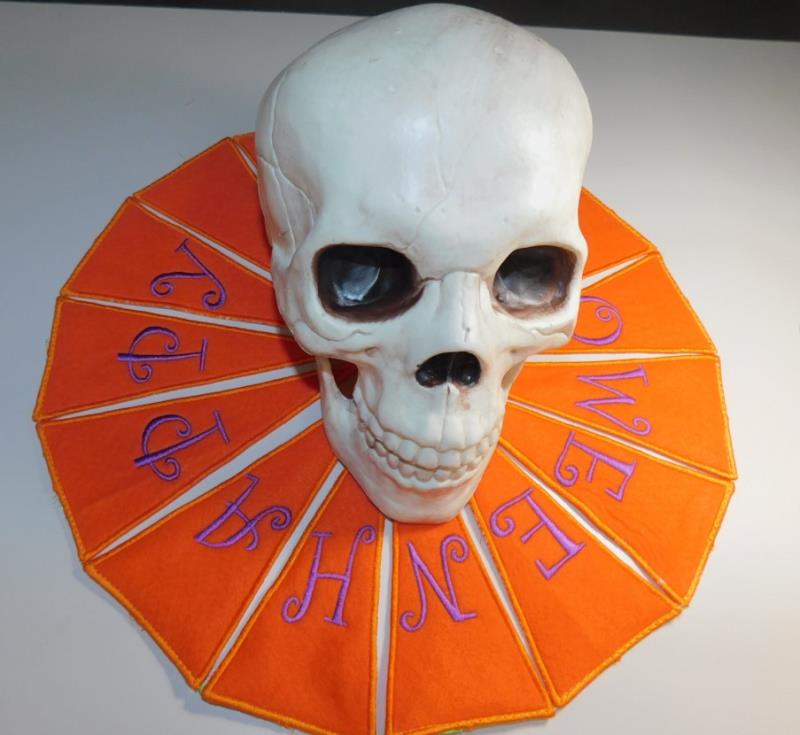
    There are many ways this banner may be used; such as, placing the banner in a circle for a table mat!

    (Click Image to Enlarge)


    Step 16:
    And of course, string up the banner over a window, on a wall, over a mantel, over a mirror—just about anywhere! Congratulations on completing a last-minute decoration for Halloween this year!

    (Click Image to Enlarge)

    Meet the Author: Ramona Baird
    Ramona Baird
    Ramona Baird has been in the embroidery industry for over 23 years. She and her husband owned a commercial and retail embroidery store in Arizona for many years. She is an experienced digitizer having been mentored by award-winners Pat Williams and Lindee Goodall. Ramona is a contributor to “Creative Machine Embroidery” magazine having 5 covers to her credit. Ramona has worked for Wilcom America and served many years as Education Director for the American Sewing Guild. With a degree in fashion design, she is able to design and execute patterns which Pat Williams says are “out of the box” in creativity and application. Ramona likes to challenge the boundaries of embroidery and bring new and exciting designs, ideas, and projects to EmbroideryDesigns.com. She wants embroiderers of all levels to increase their skills and enjoyment in using their embroidery machine for gift-making and personal pleasure.
    More From This Author
    Link is Broken, Please check the URL
    Exclusive Embroidery Offers!
    Copyright © {{ currentDate | date:'yyyy'}} - EmbroideryDesigns.com
    GET 50% OFF! ×