














































PROJECT INSTRUCTIONS


PROJECT INSTRUCTIONS
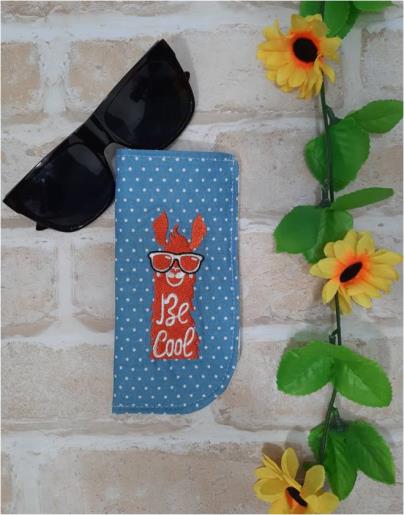
Padded Sunglasses Case with Fun Design Embroidery Project
By
Kylie Burke
on
October 10, 2020
Description
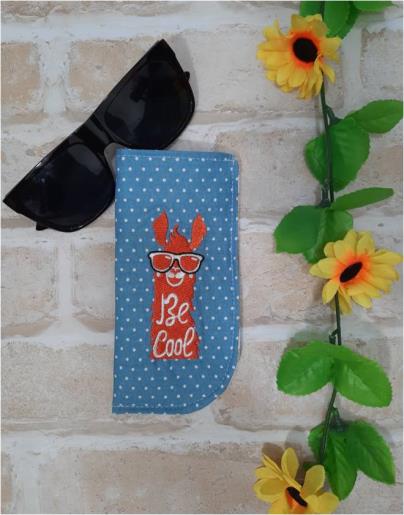
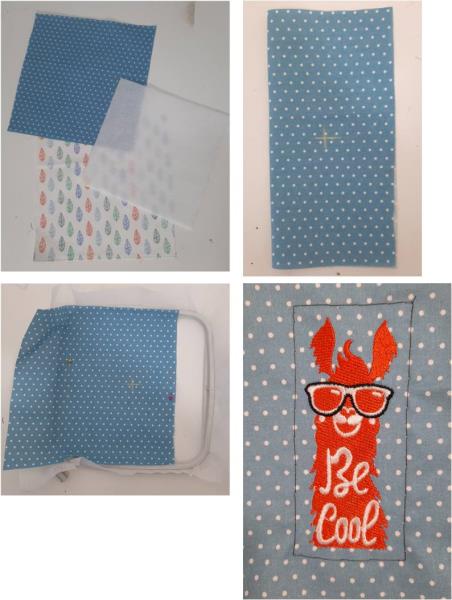
Keep your sunglasses protected with this quick-to-make padded case, featuring a fun design. Perfect for everyday use, it combines practicality with a touch of personality. Step-by-step instructions are included.
Step
of
Materials
Project Preview Video

Be Cool
$3.99
Circle Price: $2.34

QUICK VIEW
Tear Away Stabilizer
$7.98
Circle Price: $7.18
{{ item.name }}
{{ item.listPriceDisplay }}{{ item.salePriceDisplay }}
Circle Price:
{{ item.clubPriceDisplay }}


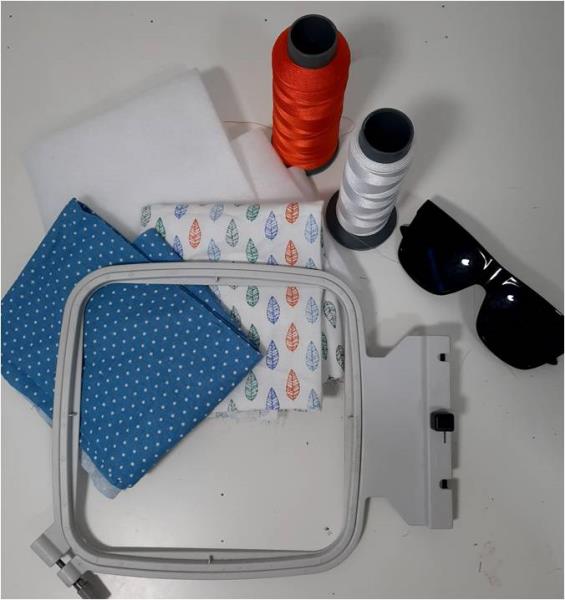
| Materials 4” hoop Tearaway stabilizer 2 different printed cotton fabrics Fusible fleece Embroidery threads Matching sewing thread iron |
| Designs used in this project |
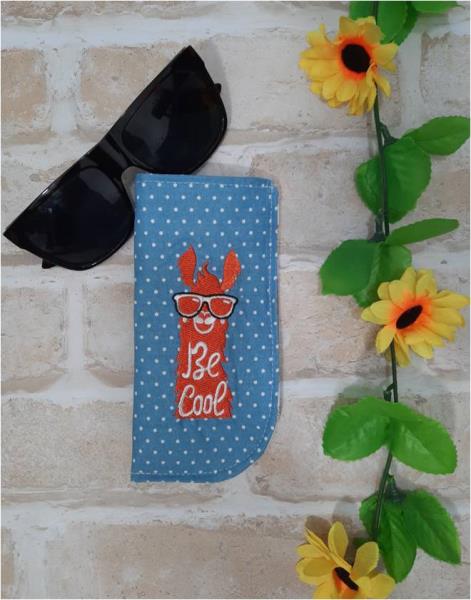
| Final Product: What You Will Create |
 |
|
Projects You May Like
Meet the Author:
Kylie Burke

Kylie is based in Australia and loves creating and sharing her unique pieces.
Feedback
Characters Remaining
Please Login to Submit a Feedback
Invalid Characters, Please enter a valid Comment
Please enter a valid Comment
Reviewed On
Link is Broken, Please check the URL