Border OptionsHugging border, circle, square, or rectangle — with a 3mm satin stitch.
Backing OptionsAvailable with iron-on, sew-on, or velcro backing.
Fast ShippingShipped quickly from the USA.
Free Online Tools
Powerful embroidery utilities that save time and prevent costly mistakes.
Stitch AssistantRECOMMENDED
Get the exact stabilizer, machine settings, needle, and thread color sequence for every embroidery design you purchase — based on that design's stitch density, dimensions, and color count.
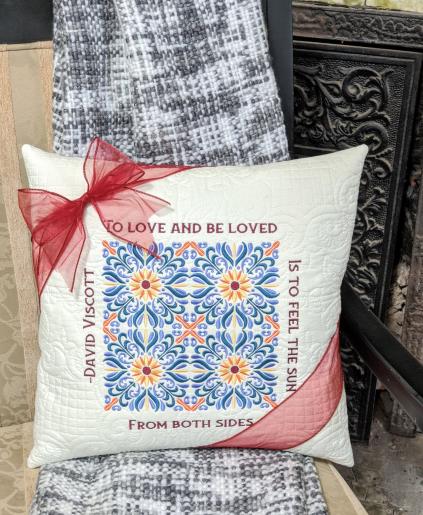
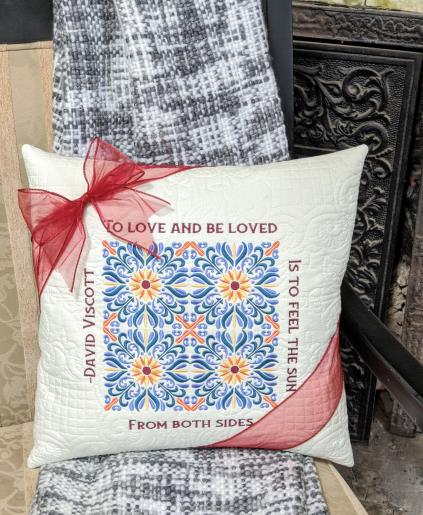
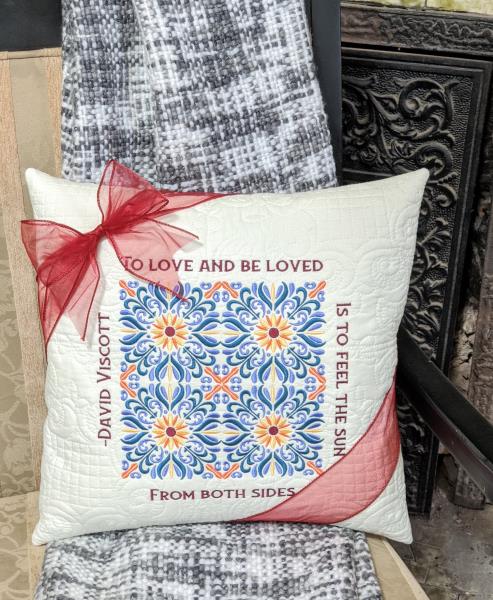
Enhance your living space with this quilted floral pillow cover, featuring a vibrant floral pattern. Perfect for adding a touch of elegance to any room. Step-by-step instructions are included.
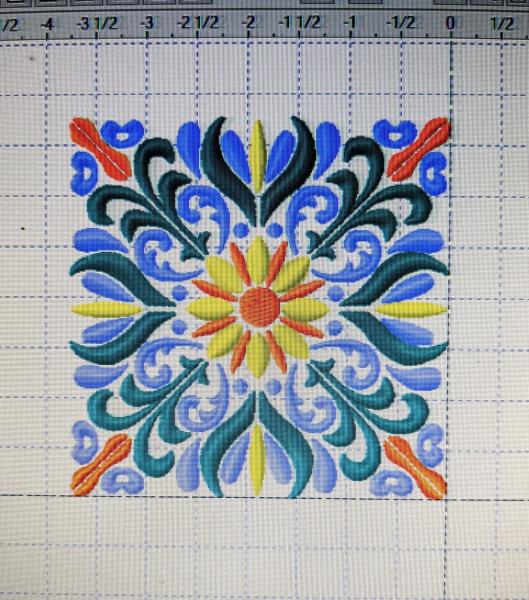
Select the floral quilt patter mentioned below and make the color selections for each of the portions.
(Click Image to Enlarge)
Step 2:
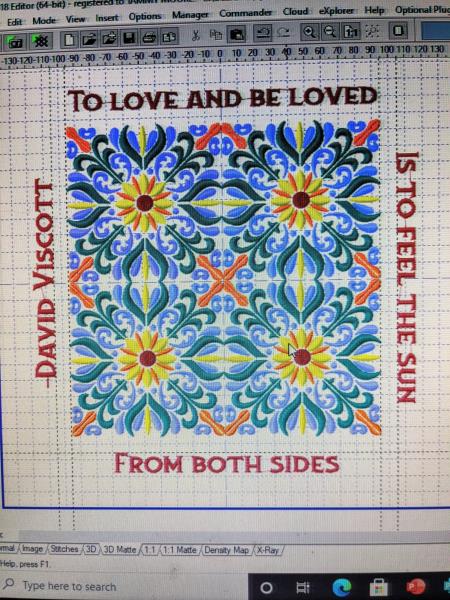
Duplicate
quilt pattern design three more times to cover the pillow area and the entire square will look like a new flower pattern. Then add favorite
quote along the sides of the design if you wish.
(Click Image to Enlarge)
Step 3:
Select
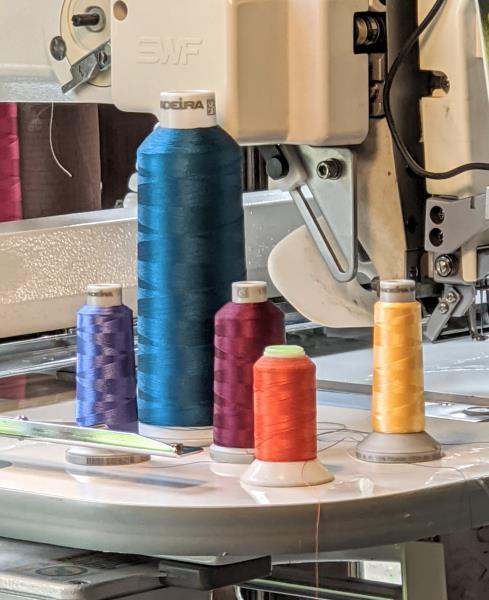
thread colors for the designs then thread the machine
(Click Image to Enlarge)
Step 4:
(Click Image to Enlarge)
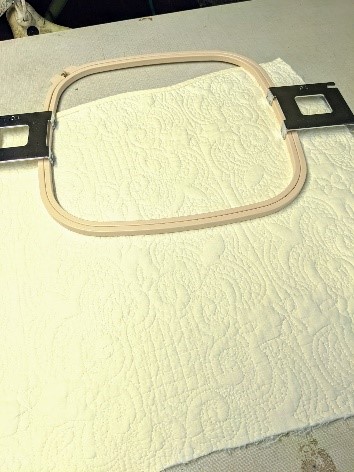
Choose fabric for stitching always selecting large than needed for finished project. Press and hoop. For cotton quilted fabrics, stabilizer is not necessary. All others require stabilizer.
Step 5:
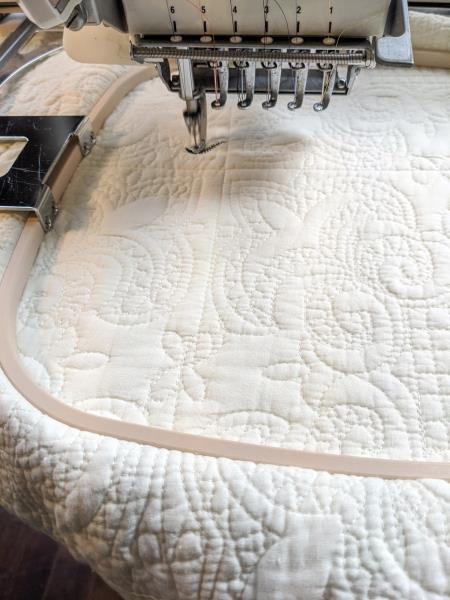
Begin stitching design.Since the design has multiple color stops be patient with the time consumned with embroidery.
(Click Image to Enlarge)
Step 6:
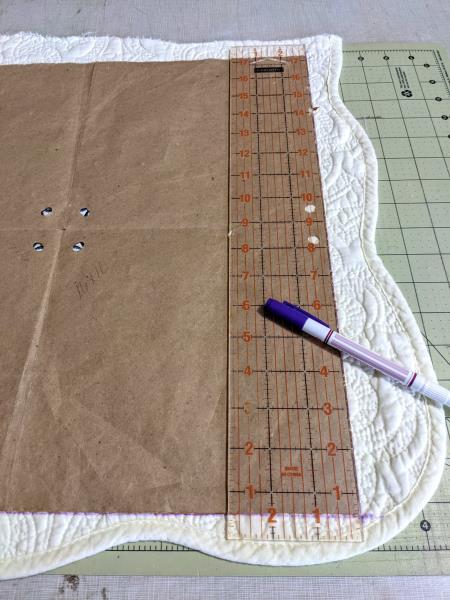
Once the design is stitched, place a 17” x 17” pattern centered over finished project, then mark with fabric pen. For a 16” x 16” pillow cut fabric 1” wider (17” x 17”).
(Click Image to Enlarge)
Step 7:
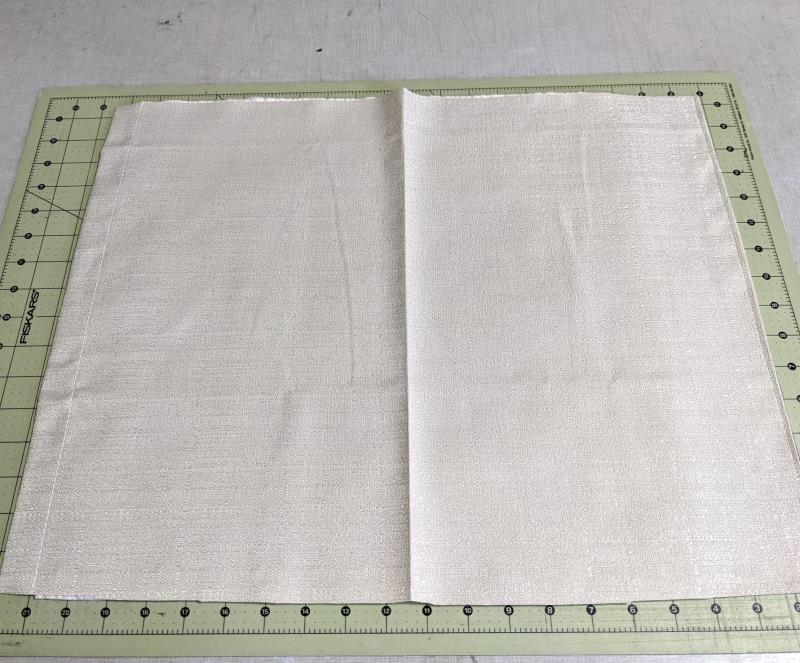
For backing,
select the fabric of choice.Size it 17”
x 24”. Press and turn over raw edge on 17” sides.Fold in half, press.
(Click Image to Enlarge)
Step 8:
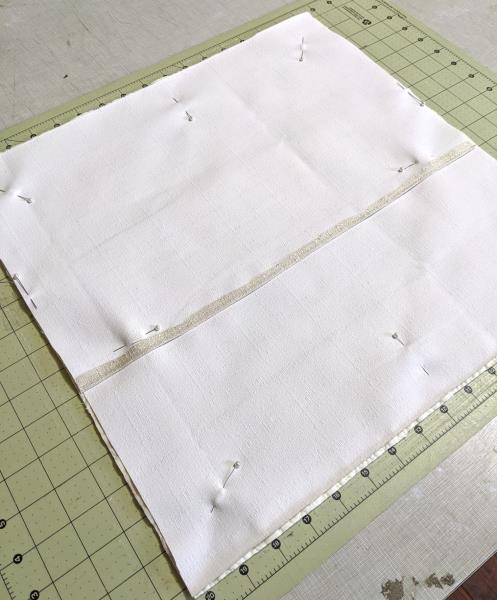
Then cut
along the folded edge of backing. Place right sides together and pin
(Click Image to Enlarge)
Step 9:
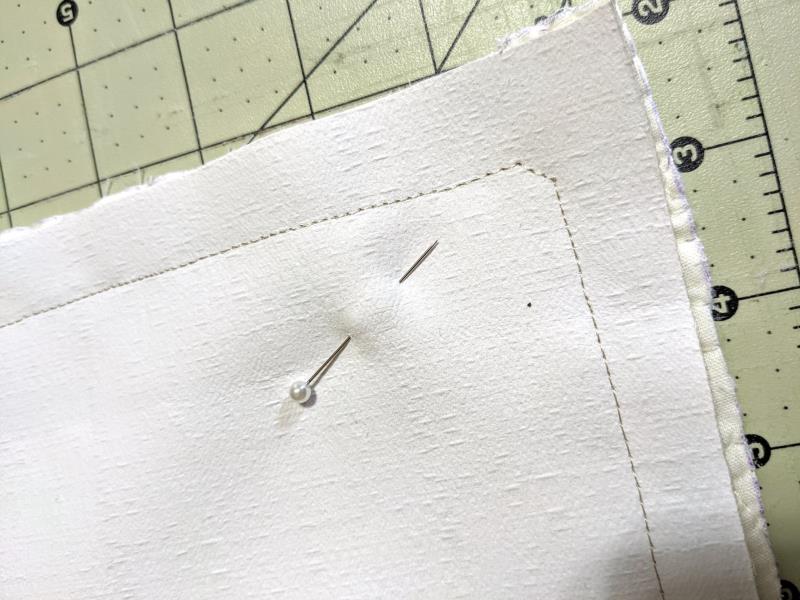
Stitch 5/8”
around the pillow.Where the backing
overlaps be sure to reinforce with stitching.On the corner, make 3 stitches diagonally for finished peaks.
(Click Image to Enlarge)
Step 10:
Trim corners
as shown, careful not to cut any of the stitches. Turn pillow
right size out, taking time to push fabric in corners to make peaks.Insert
pre-made pillow form to project.
(Click Image to Enlarge)
Step 11:
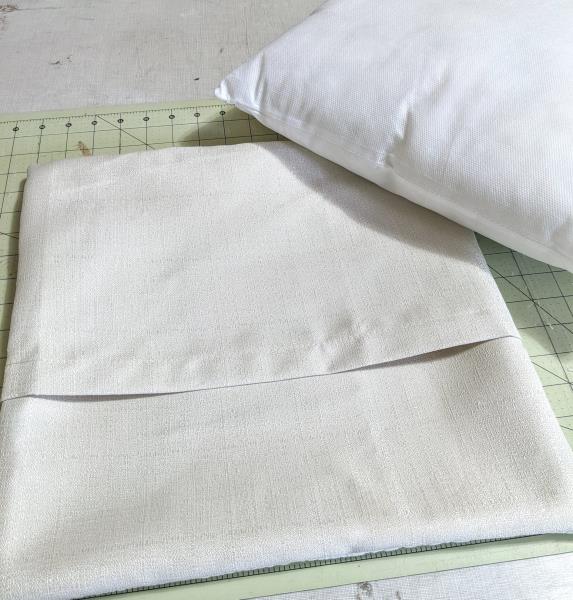
Insert the pillow into the Cover. Now you have a brand new Pillow Cover
Pointers: for a fuller pillow add poly fill to
the pillow form or begin your pattern ½” smaller (16.5” x 16.5”) in size