Applique Child's Sweater Mittens

Applique Child's Sweater Mittens Embroidery Project

By   Linda Mills   on   August 31, 2020
  • SKILL LEVELIntermediate
  • TIME REQUIRED00:45
Description

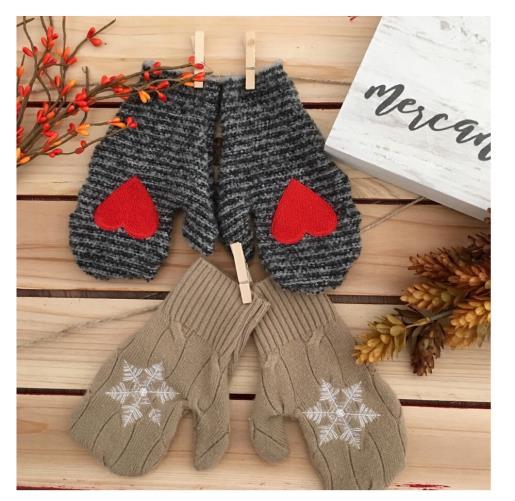
Create adorable mittens for children by transforming an old sweater with applique techniques. These mittens are embellished with charming designs, perfect for keeping little hands warm in style. Step-by-step instructions are included.

Step of

Materials

Project Preview Video

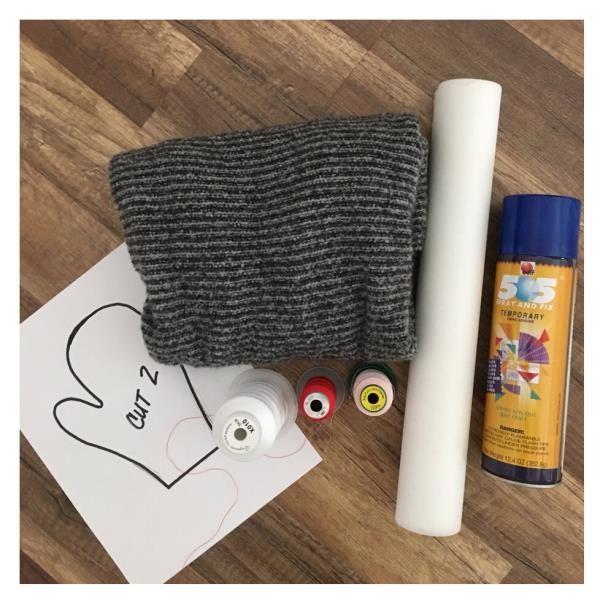
Materials
  • FAVORED SWEATER ( TIGHT KNIT)
  • EMBROIDERY THREADS
  • SEWING THREAD
  • TEAR AWAY STABILIZER
  • TEMPORARY ADHESIVE SPRAY
  • WATER SOLUBLE STABILIZER

  • Designs used in this project

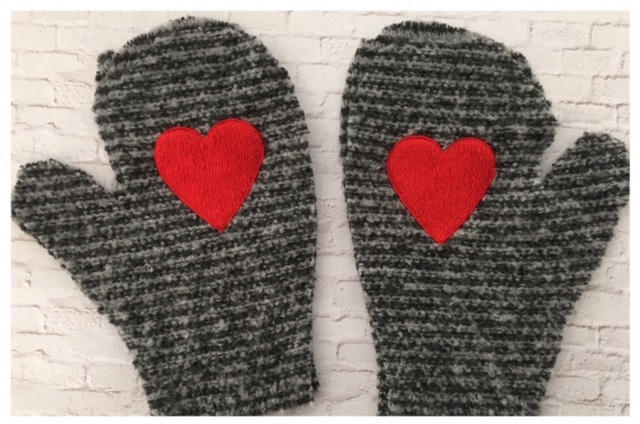
    Final Product: What You Will Create

    Preface:
    This tutorial takes you step by step in making a child’s mitten from an old/worn/well loved sweater. I’m sure you have a stash of old sweaters or a favored sweater just laying around that you or your child no longer wears. The pattern attached used in this tutorial fits a 6 year old. Adjust the pattern accordingly to size by scaling it up or down a bit with your printer/copier or compare to a mitten that fits your child. Embellish the mitten with one of the whimsical embroidery designs used in this tutorial or checkout the embroidery design website for others.
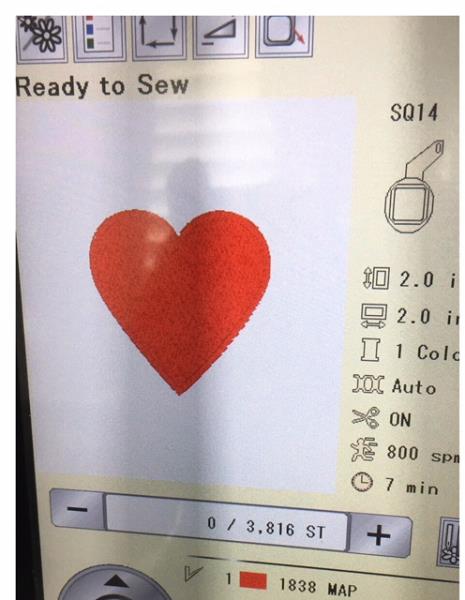
    Size of  Heart embroidery design used in this tutorial is 2.02" x 2.02"


    Step 1:
    Gather all supplies and review instructions before beginning.

    (Click Image to Enlarge)


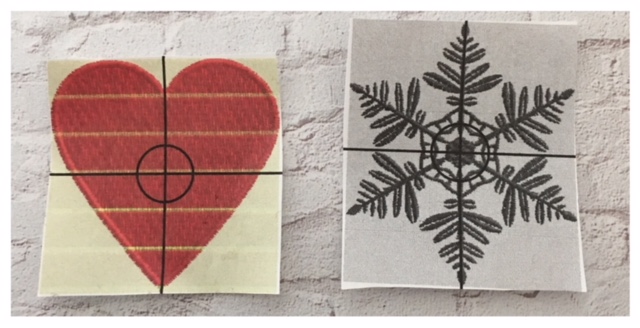
    Step 2:
     Print out design paper templates for review.  Resize Beautiful Snowflake to approx. 2" x 2"

    (Click Image to Enlarge)


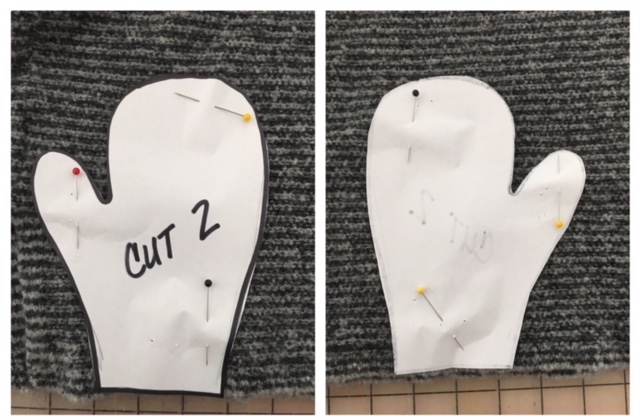
    Step 3:
    If you are using the attached mitten pattern. Print and cut out. Place pattern on sweater aligning the bottom of the cuff of the paper pattern to the bottom hem of the sweater. Pin pattern in place and cut ¼”outside pattern line. (this will allow for ¼” seam allowance ) cut through front and back at the same time. Flip pattern piece and cut another set. ( each set has a front and back)

    (Click Image to Enlarge)


    Step 4:
    Load heart design into your machine. 

    (Click Image to Enlarge)


    Step 5:
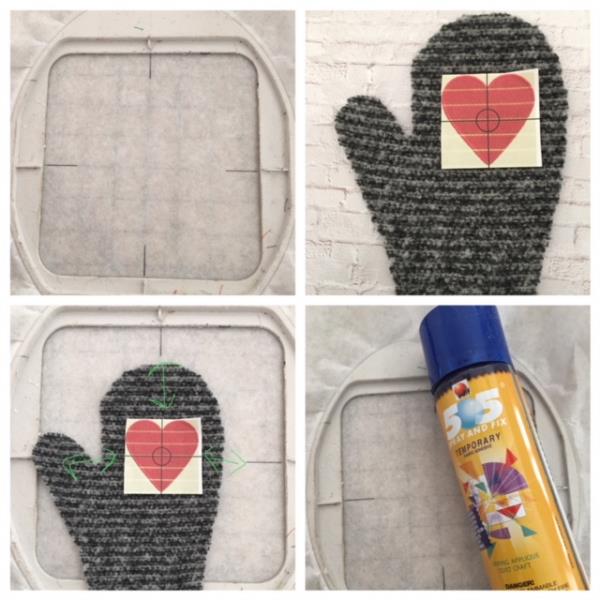
    Lightly spray temporary adhesive spray to back of heart design paper template. Lay/place paper template on to the right side of mitten from one set and center onto finger area of mitten. Finger tip press to hold in place. Cut and hoop a piece of stabilizer.mark axis points. Lightly spray temporary adhesive spray directly onto stabilizer. Center mitten piece atop stabilizer matching up axis points from your printed paper template to axis lines marked on stabilizer and/or hoop. Fingertip press to adhere. Remove paper template. 

    (Click Image to Enlarge)


    Step 6:
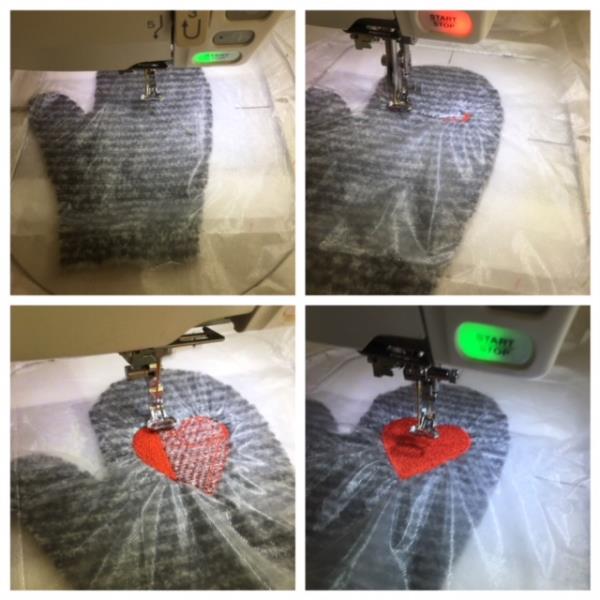
    Cut an over sized piece of water soluble stabilizer. Lay over top of centered mitten piece. Finger tip press water soluble stabilizer onto tear away stabilizer to adhere to the temporary adhesive spray. If needed lightly spray again temporary adhesive spray around the mitten piece onto stabilizer to adhere. Attach hoop to machine. Confirm/ trace embroidering area and confirm center needle placement per your machine’s instructions. Begin embroidering process.

    (Click Image to Enlarge)


    Step 7:
    Embroidering complete. Remove hoop. Cut and trim all jump stitches and loose thread ends. Remove water soluble stabilizer( WSS) and back stabilizer.  If there are small particles of WSS wet a q-tip and dab those areas to remove.  Set aside and repeat steps for other set of mitten pieces. You should now have a right and left side of heart embroidered mitten pieces.

    (Click Image to Enlarge)


    Step 8:
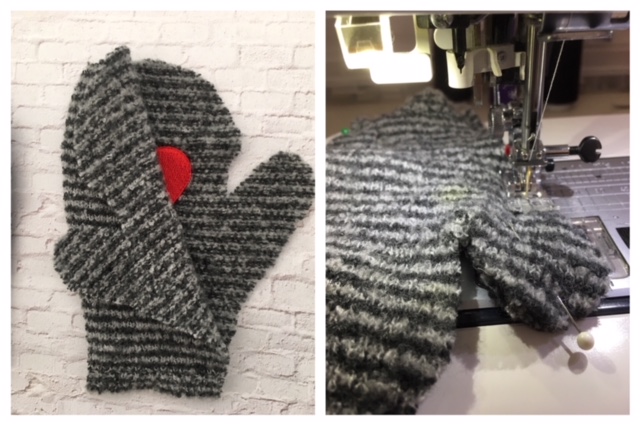
    Pair your mitten pieces into sets with right sides together. Pin in place. Using ¼”seam allowance. Sew all around pinned mitten edge starting at bottom edge of cuff and stitching all around to the other side. Optional: zig zag raw edges to prevent any fraying if needed.

    (Click Image to Enlarge)


    Step 9:
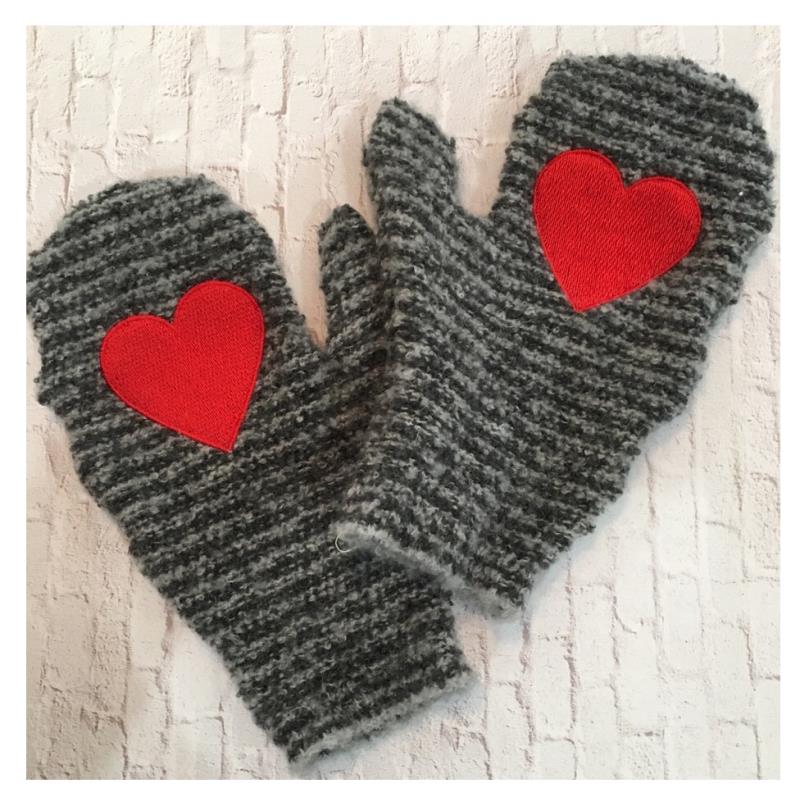
    Turn both sets right side out. And Viola you are done with your first pair of a child’s mittens. Congrats! These mittens will keep your "littles" hands warm during the Fall months! To make another pair using the Beautiful Snowflake design repeat steps #3 through #9

    (Click Image to Enlarge)

    Meet the Author: Linda Mills
    Linda Mills
    Linda loves to create by sharing her different sewing and machine embroidery techniques so others can utilize their machines to the fullest
    More From This Author
    Link is Broken, Please check the URL
    Exclusive Embroidery Offers!
    Copyright © {{ currentDate | date:'yyyy'}} - EmbroideryDesigns.com
    GET 50% OFF! ×