{{superHeaderAds.title}}
Live Chat
Embroidery Designs
Welcome, Embroiderer
Login
Autumn Tea Towels
{{mainImageAlt || (productInfo._source && productInfo._source.name) || ''}}

Autumn Tea Towels Embroidery Project

By   Linda Mills   on   August 31, 2020

PROJECT DETAILS

SKILL LEVEL
Beginner
TIME REQUIRED
01:00
Description

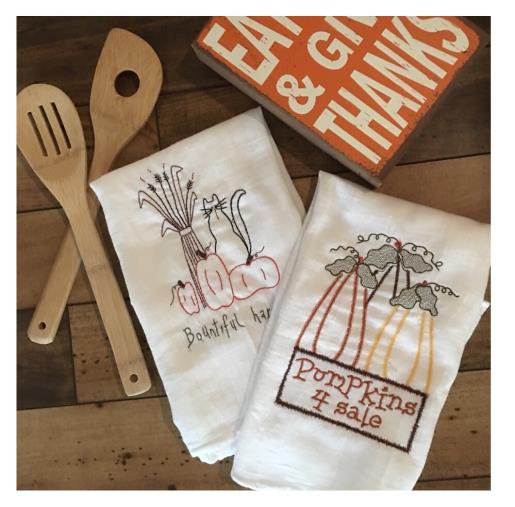
Stitch out these adorable embroidery designs onto tea towels to welcome Autumn into your kitchen décor.

Project Preview Video

Materials
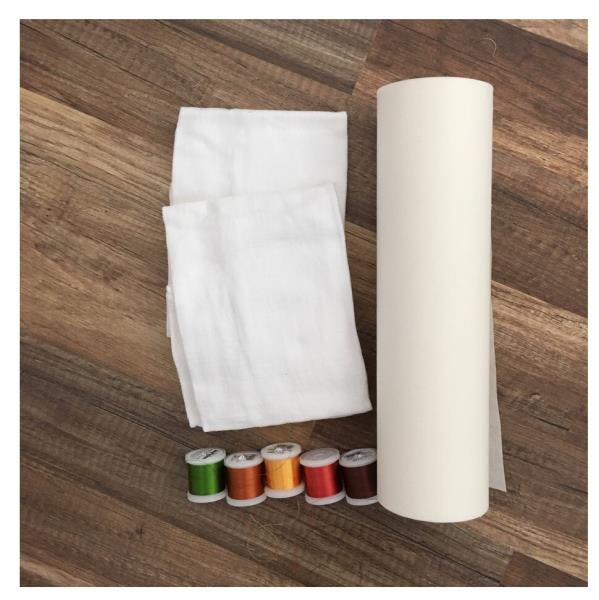
  • FLOUR SACK KITCHEN TEA TOWELS (2)
  • TEAR AWAY STABILIZER
  • EMBROIDERY THREADS

  • Designs used in this project

    Final Product: What You Will Create

    Preface:
    A great beginner tutorial to help strengthen ones embroidery skills when just learning the basic How To’s of machine embroidery. Simple project steps to follow to create an Autumn tea towel to add to your kitchen décor or give as a gift for which will showcase your embroidery talent.  Time stated of 1 hour are for both design stitch outs and will also be based on your beginner level experience. 


    Step 1:
    Gather all supplies and review instructions before beginning.

    (Click Image to Enlarge)


    Step 2:
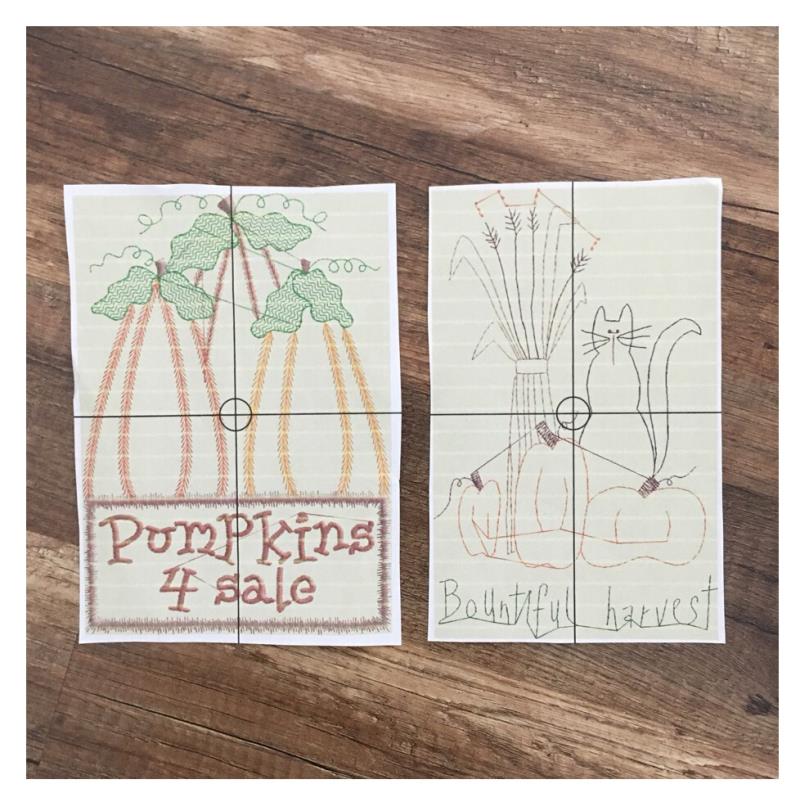
    Print out embroidery design templates for review. 

    (Click Image to Enlarge)


    Step 3:
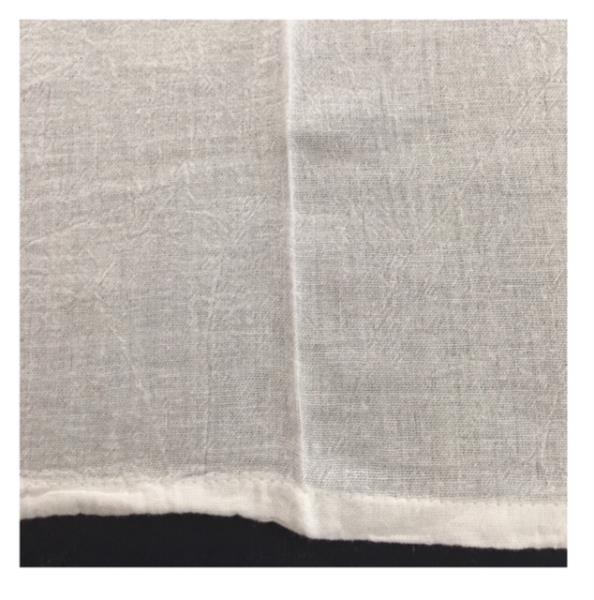
    If needed iron press tea towels. Fold towel in half. Iron press a horizontal line.
    This will be your center line. 

    (Click Image to Enlarge)


    Step 4:
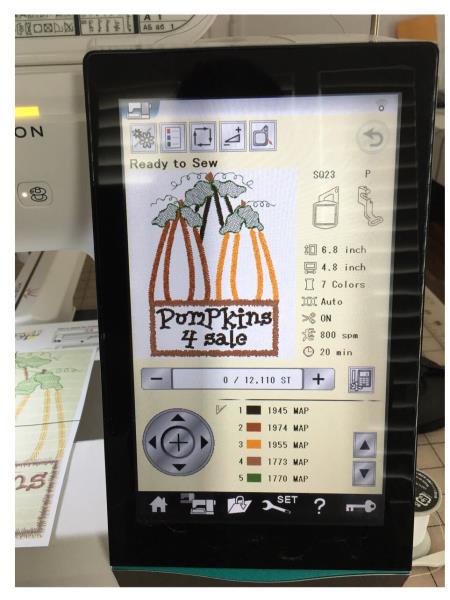
    Load "Pumpkins For Sale" embroidery design into your machine. Follow design thread chart or use your choice of Fall/Autumn color threads. 

    (Click Image to Enlarge)


    Step 5:
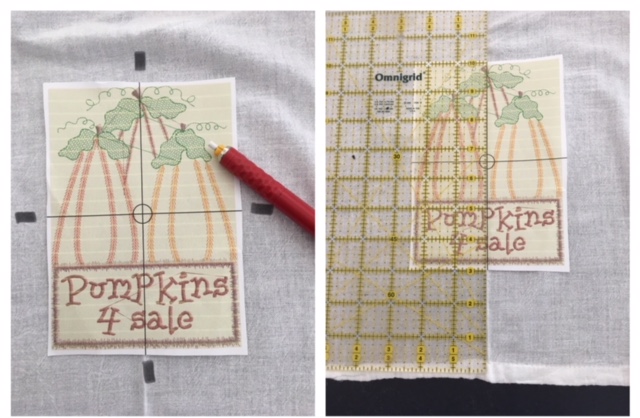
    Center place embroidery design template approximately 3” up from bottom of towel. Design center will be approx 6.5”up from bottom. Mark axis points. Top
    and sides. 

    (Click Image to Enlarge)


    Step 6:
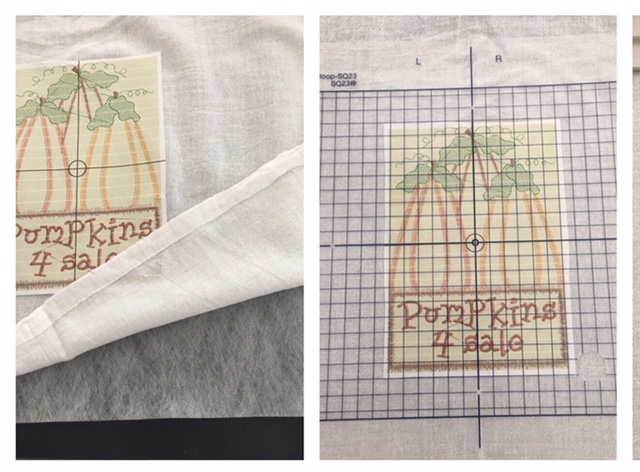
    Cut a piece of tear away stabilizer to fit your hoop. Place underneath bottom half of towel of where design is to be embroidered. Hoop both layers matching axis points on the tea towel to the axis points on your hoop. (opt. Use your hoop grid to help center if needed)

    (Click Image to Enlarge)


    Step 7:
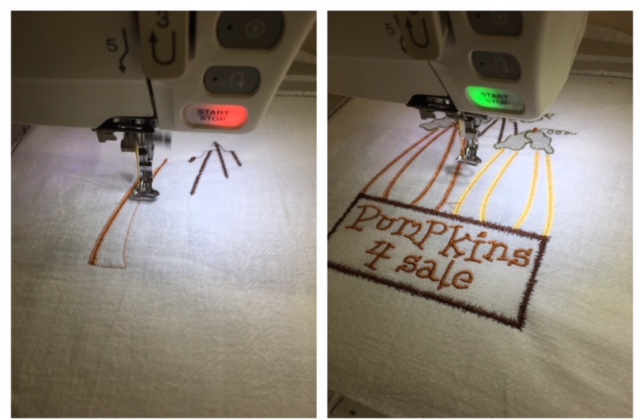
    Attach hoop to your machine. Confirm center needle placement. ( remove hoop grid if used.) Begin the embroidering process. 

    (Click Image to Enlarge)


    Step 8:
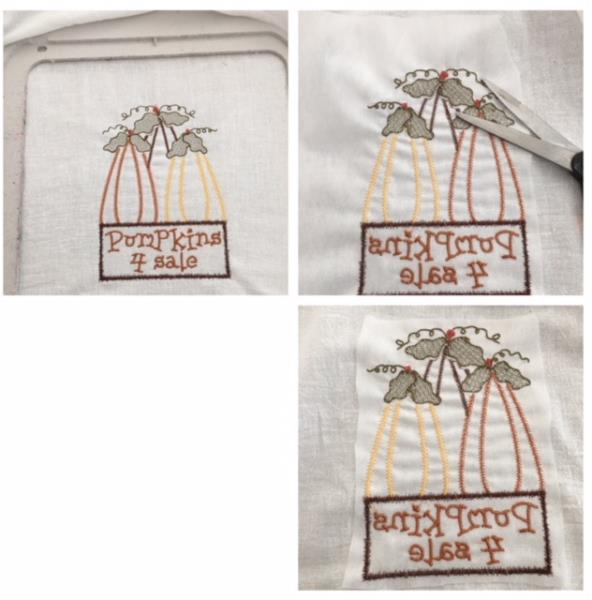
    Embroidering complete. Remove hoop cut and trim all jump stitches and loose thread ends.
    Trim stabilizer approximately ½” away from stitched design. Iron press. 

    (Click Image to Enlarge)


    Step 9:
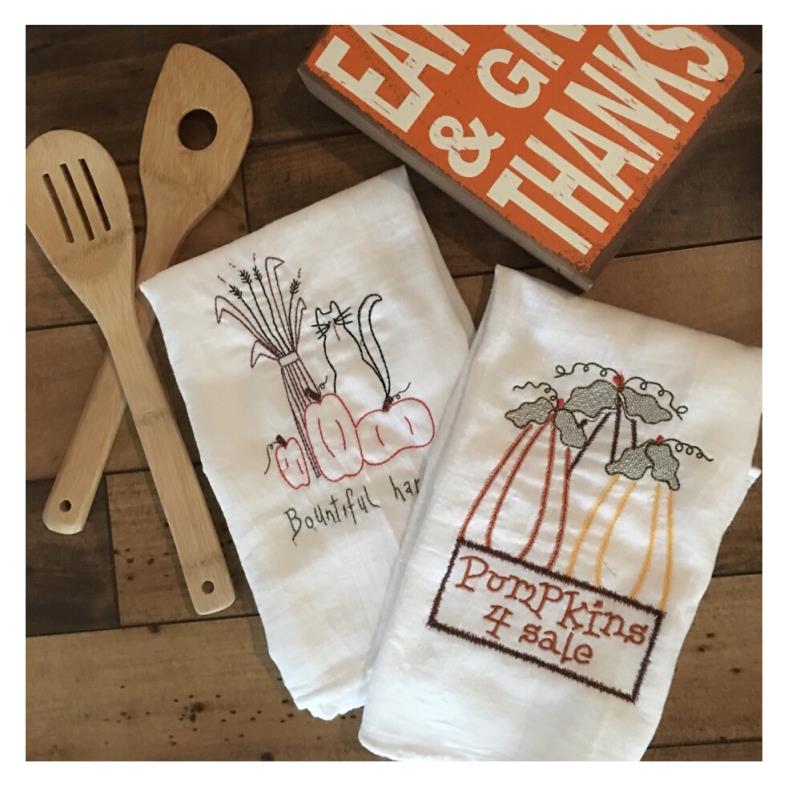
    And your “Pumpkins For Sale” design Tea Towel is complete. Complete steps #3 through #8 for
    the "Bountiful Harvest" design. 

    (Click Image to Enlarge)

    Meet the Author: Linda Mills
    Linda Mills
    Linda loves to create by sharing her different sewing and machine embroidery techniques so others can utilize their machines to the fullest
    More From This Author
    Link is Broken, Please check the URL
    Exclusive Embroidery Offers!
    Copyright © {{ currentDate | date:'yyyy'}} - EmbroideryDesigns.com
    GET 50% OFF! ×