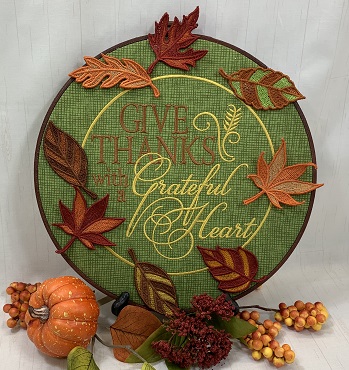
Grateful Heart Hoop Art

Grateful Heart Hoop Art Embroidery Project

By   Marisa Littleton   on   August 25, 2020
  • SKILL LEVELSome Experience
  • TIME REQUIRED02:00
Description

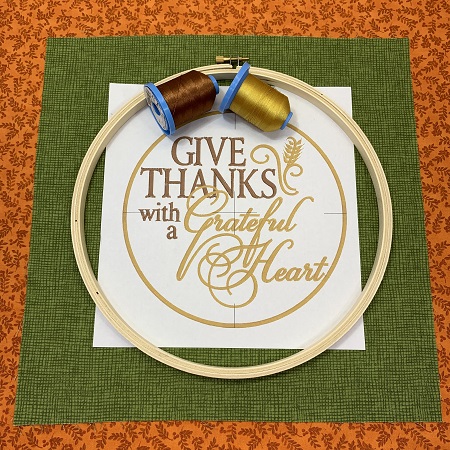
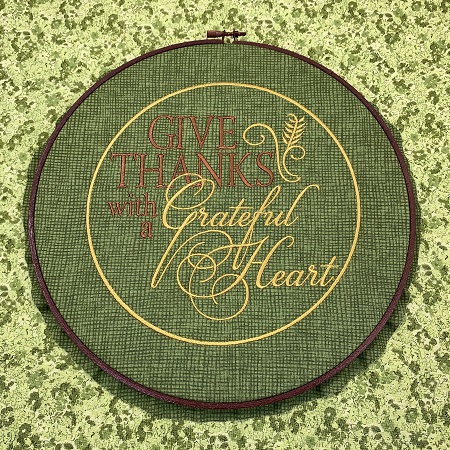
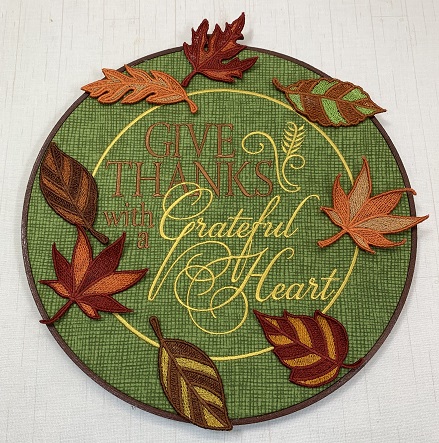
'Give Thanks with a Grateful Heart' Hoop Art. Dimension added to the design using FSL leaves. Display on an easel or wall hanging.

Step of

Materials

Project Preview Video

Materials
  • 4"x4" hoop or larger
  • No Show mesh stabilizer
  • Water Soluble stabilizer
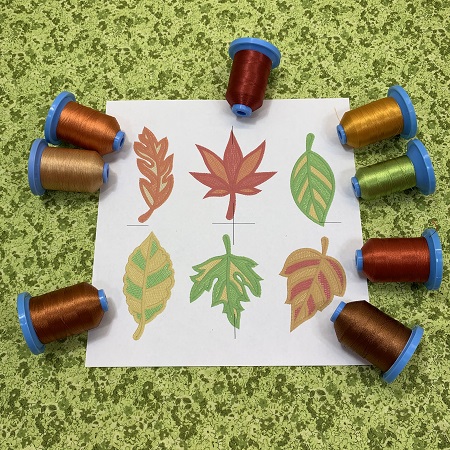
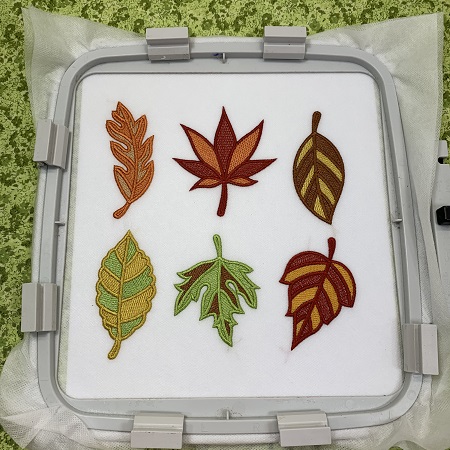
  • 40 wt. embroidery thread (Robison-Anton super brite poly)
  • Matching bobbins for FSL thread colors
  • 75/11 embroidery needle
  • 10" regular embroidery hoop
  • 12"x12" piece neutral 100% cotton fabric
  • 12"x12" piece SF101 Pellon super flex
  • glue gun & sticks
  • All Purpose spray paint
  • Temporary Adhesive Spray
  • Embroidery Software Program, optional

  • Designs used in this project

    Preface:
    'Give Thanks with a Grateful Heart' Hoop Art.  Dimension was added to the design using FSL leaves.  Project can be displayed on an easel or as a wall hanging.  A different embroidery design pack was used for each part of the hoop art.


    Step 1:
    Read the directions for each step before beginning the project.  Gather & prepare materials for the project.  Lightly starch and iron the fabric.  


    Step 2:
    Part 1:  The Grateful Heart embroidery design is available in three sizes.  The 6"x6" size was enlarged to 7.5"x7.5" using Embrilliance Essentials embroidery software program.  
     
    If you use a smaller Grateful Heart design, you will need to use a smaller size wood hoop.   

    (Click Image to Enlarge)


    Step 3:
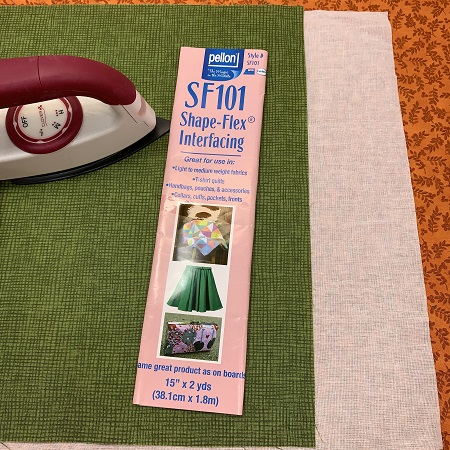
    Cut one 12"x12" piece of SF101 shape flex.  Follow the product directions to fuse the SF101 to the 12"x12" piece of neutral fabric.  The SF101 helps stabilize the fabric.


    Step 4:
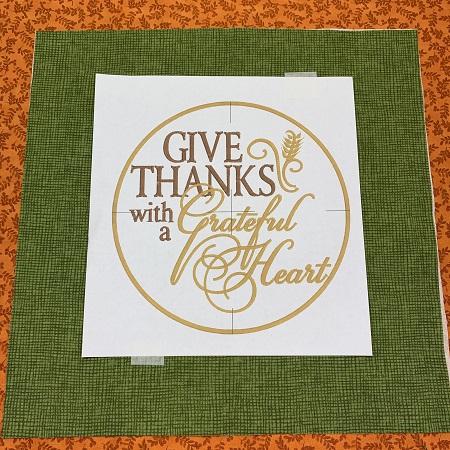
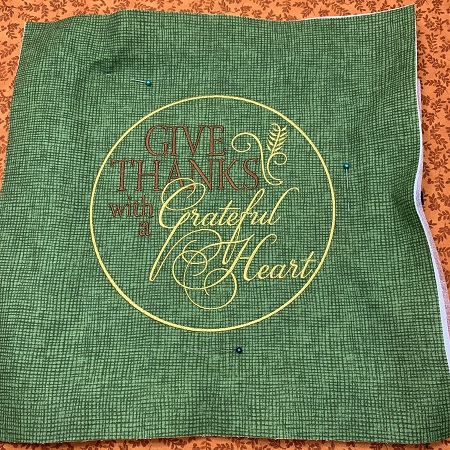
    Center the design template on the fabric.  The design template is the actual size of the design and a great placement tool.  


    Step 5:
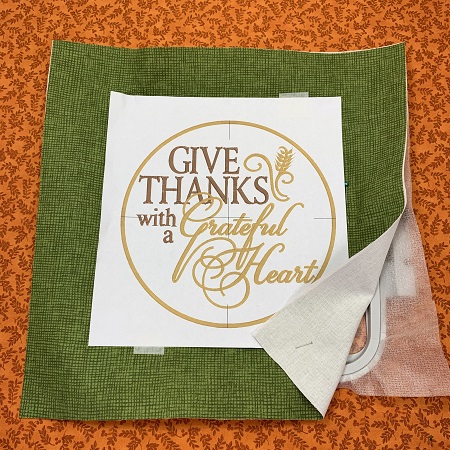
    Hoop one piece of No Show mesh stabilizer.  The fabric will float on top of the stabilizer.  Use the axis and center points to center the fabric on the stabilizer.  Lightly mist the stabilizer with temporary adhesive spray.  Gently press the fabric onto the stabilizer.  Fabric surface should be smooth and wrinkle free.


    Step 6:
    Load the 'Grateful Heart' embroidery design on your machine.  A 75/11 embroidery needle is suggested.  Stitch the 'Grateful Heart' design.  


    Step 7:
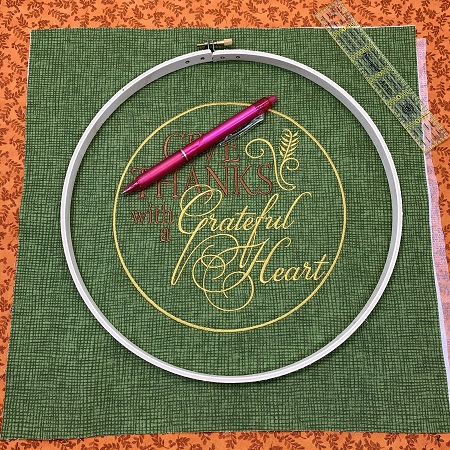
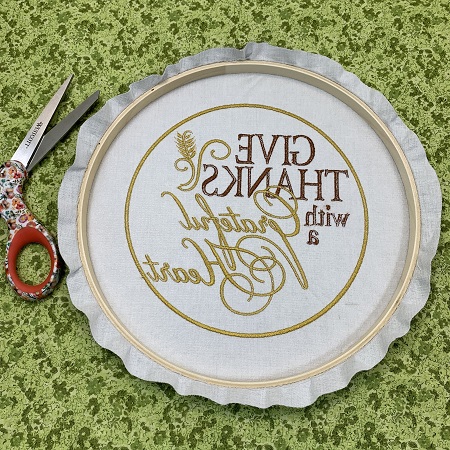
    Lay the fabric on a flat surface. Center the outer wood hoop around the design.  Mark placement lines around the edge of the hoop using a fabric pen.  


    Step 8:
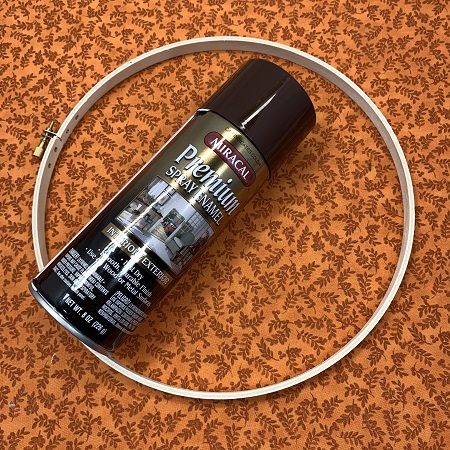
    A brown all purpose paint was sprayed on the outer wood hoop.  The inner hoop was not painted because it will be covered.  Allow the paint to dry completely.  


    Step 9:
    Use the placement marks as a guide to hoop the fabric.  


    Step 10:
    Trim excess fabric from around the edge of the hoop leaving about 1.5" margin.  


    Step 11:
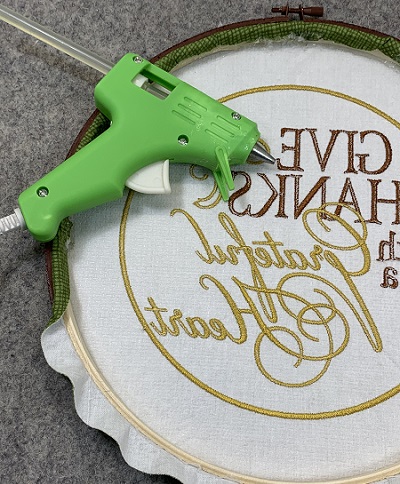
    Fold the raw fabric edge toward the back of the hoop.  Use hot glue to bond the fabric to the hoop.


    Step 12:
    Part 2:  Free Standing Lace (FSL) Leaves
    Free-standing lace embroidery designs are stitched on a fibrous water-soluble stabilizer with no fabric base.  A high stitch count holds the lace together.  The film plastic-like WSS works better as a topping for deep nap fabrics like towels and is NOT recommended for this project.  Drying time is not included in the project completion time.
     
    Materials needed are stabilizer and thread.  Matching bobbin colors are recommended for FSL.


    Step 13:
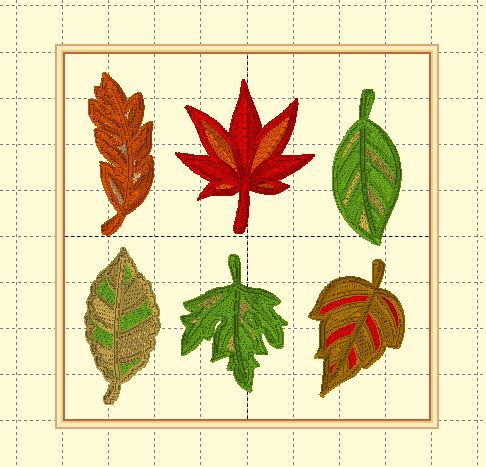
    Designs were grouped together using Embrilliance Essentials embroidery software program.  Grouping the designs saves time, reduces the number of hoop changes and stabilizer waste.  


    Step 14:
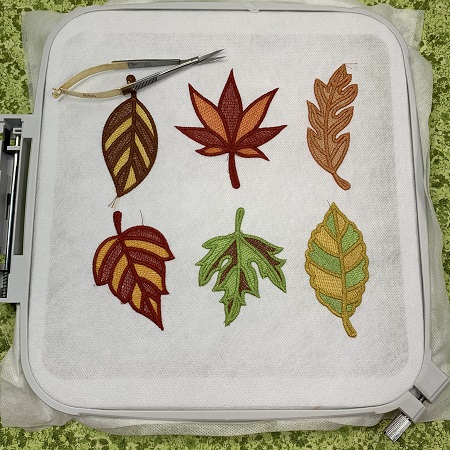
    Load the designs on the embroidery machine.  Use a 75/11 embroidery needle.  Matching bobbin thread is suggested for FSL.  Stitch the designs.


    Step 15:
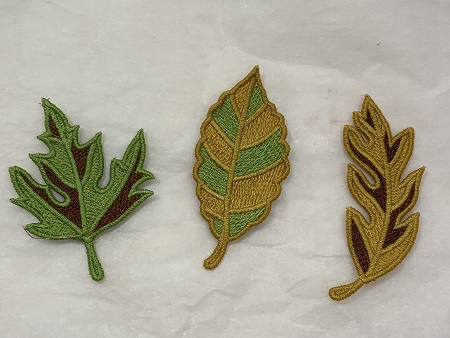
    Remove the designs from the hoop.  Clip long threads from the back of the leaves.  Trim excess stabilizer from around the leaves.


    Step 16:
    Remove the water-soluble stabilizer by following the directions on the package. WSS is usually removed by running hot water on the design. Hold the FSL leaves under the running water just until the WSS is no longer visible around the edges or in holes in the design. Leaving some of the WSS will make the leaves stiff and hold their shape better.
     
    Lay the leaves on a piece of parchment paper to dry overnight.


    Step 17:
    Randomly place the FSL leaves on the hooped fabric.  Bond each leaf onto the hooped fabric.  Bond with hot glue or fabric glue.  


    Step 18:
    (Click Image to Enlarge)
    Congrats!  You have made a hoop art project!

    Beautiful things are made, one stitch at a time...
     
    Marisa Littleton 
    Meet the Author: Marisa Littleton
    Marisa Littleton
    Marisa Littleton is a retired educator with a love for teaching and learning. Interests include machine embroidery, hand embroidery, quilting, cooking, and antiques.
    More From This Author
    Link is Broken, Please check the URL
    Exclusive Embroidery Offers!
    Copyright © {{ currentDate | date:'yyyy'}} - EmbroideryDesigns.com
    GET 50% OFF! ×