














































PROJECT INSTRUCTIONS


PROJECT INSTRUCTIONS
Applique Farm Fresh Eggs Grocery Tote Embroidery Project
By
Marisa Littleton
on
July 12, 2020
Description
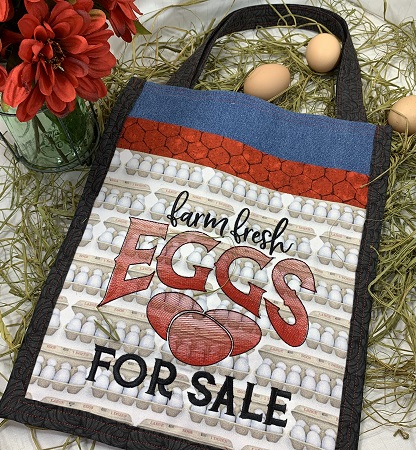
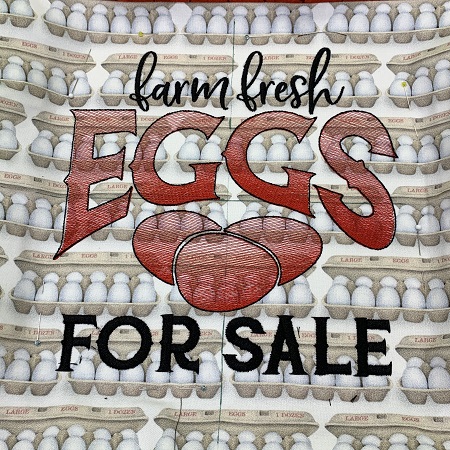
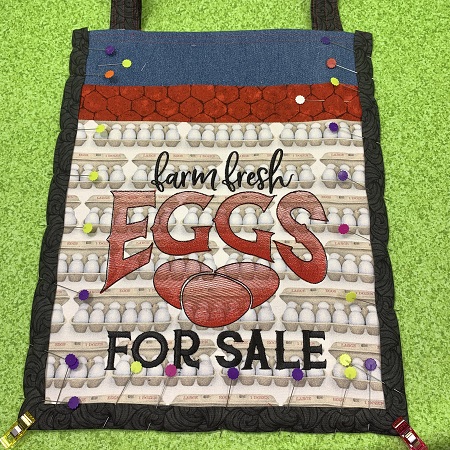
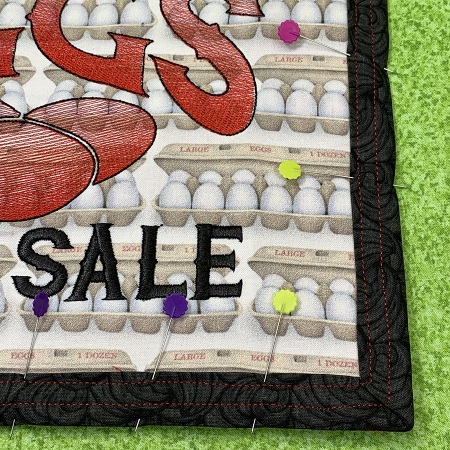
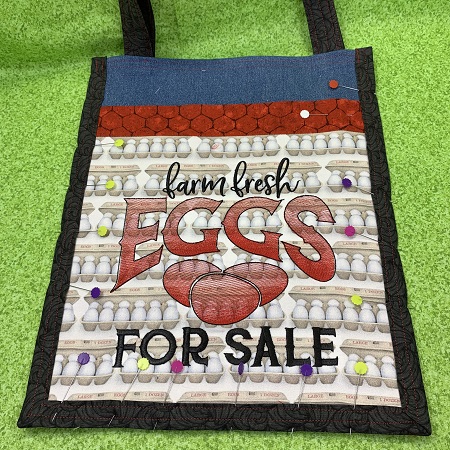
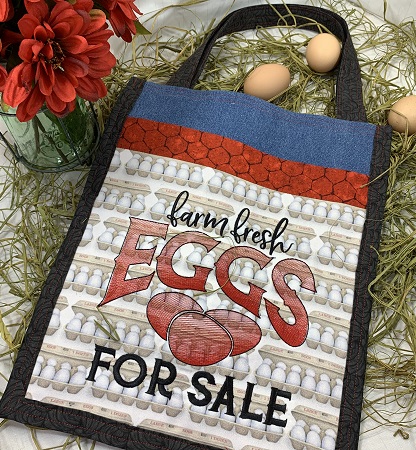
This denim grocery tote features an applique design with a 'Farm Fresh Eggs for Sale' theme. It's lightweight, durable, and washable, making it perfect for quick grocery trips or visits to the farmer's market. Step-by-step instructions are included.
Step
of
Materials
Project Preview Video

QUICK VIEW
Farm Fresh Eggs
$4.00
Circle Price: $3.60
Embrilliance Essentials - Software Download
$139.00
Circle Price: $125.10

QUICK VIEW
Cut Away Stabilizer - 2.5 Oz wt.
$8.94
Circle Price: $8.05
{{ item.name }}
{{ item.listPriceDisplay }}{{ item.salePriceDisplay }}
Circle Price:
{{ item.clubPriceDisplay }}



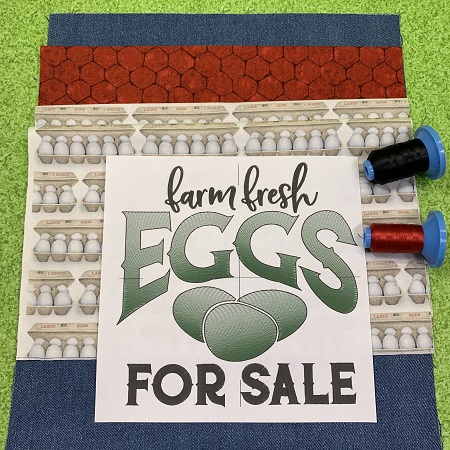
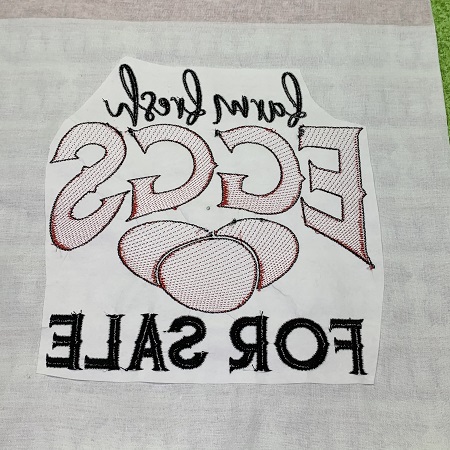
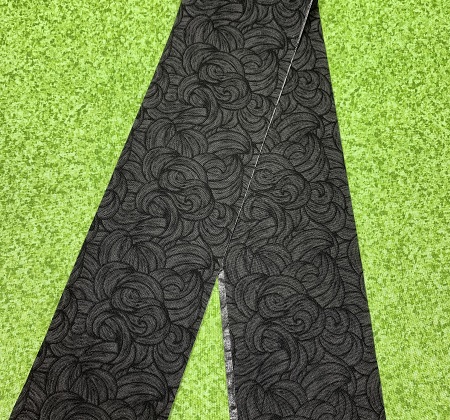
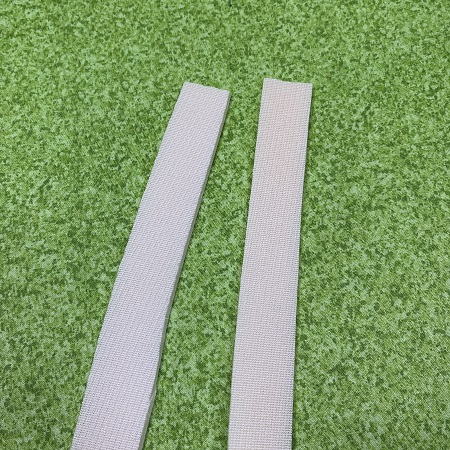
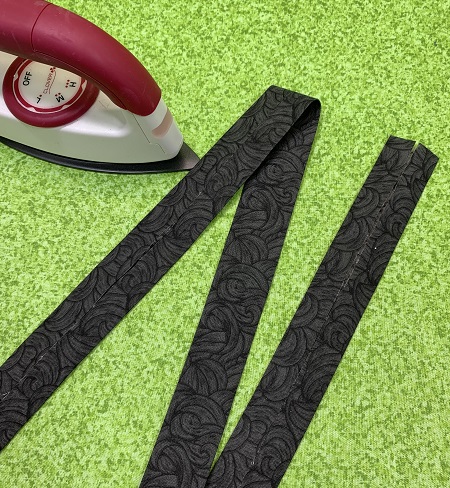
| Materials Design Template 8”x8” hoop Embroidery Needle 80/12 Cutaway Stabilizer (2.5 oz.) 505 Temporary Adhesive Spray Pellon SF 101 shape-flex fusible interfacing (12”x14”) Two 12”x15” denim fabric (Fabric A) Two 12”x15” coordinating 100% cotton fabric lining (Fabric B) One 12”x11” neutral pocket front (Fabric C) One 12”x14” pocket trim & pocket lining (Fabric D) One 3”x45” cotton strips for binding (Fabric E) Two 4”x24” cotton strips for handles (Fabric E) Two 1.5” x 24 strips of double-sided fusible foam Embroidery thread 40 wt. (Robison-Anton Super Brite poly) Sewing machine, thread & matching bobbin |
| Designs used in this project |
| Final Product: What You Will Create |
 |
|
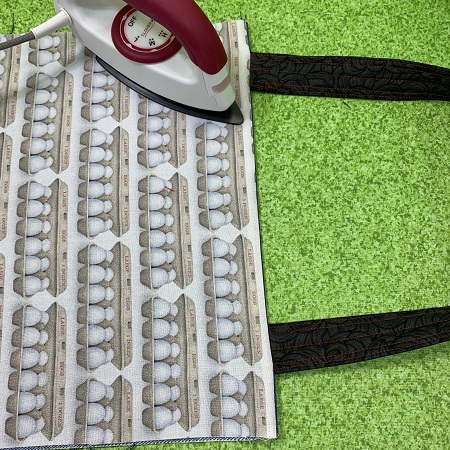
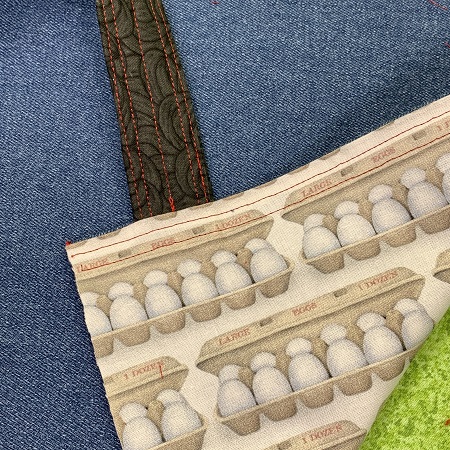
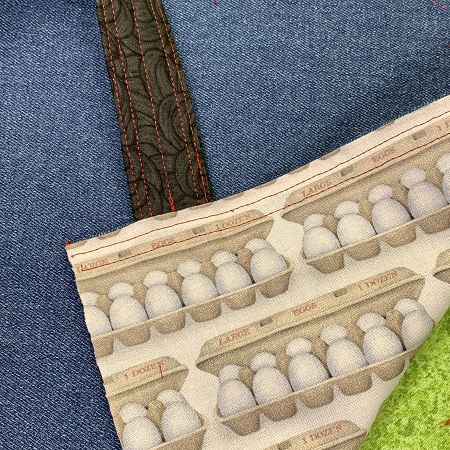
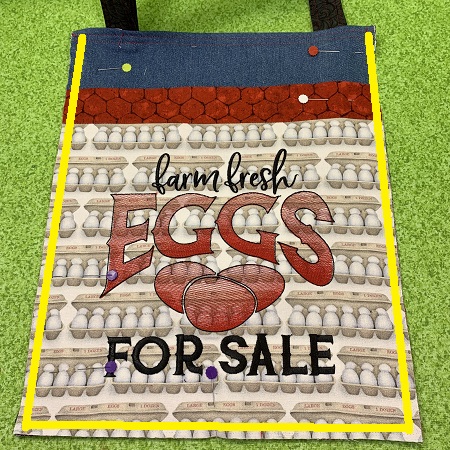
Sew many possibilities...Sew much fun! Marisa Littleton |
Projects You May Like
Meet the Author:
Marisa Littleton

Marisa Littleton is a retired educator with a love for teaching and learning. Interests include machine embroidery, hand embroidery, quilting, cooking, and antiques.
Feedback
Characters Remaining
Please Login to Submit a Feedback
Invalid Characters, Please enter a valid Comment
Please enter a valid Comment
Reviewed On
Link is Broken, Please check the URL