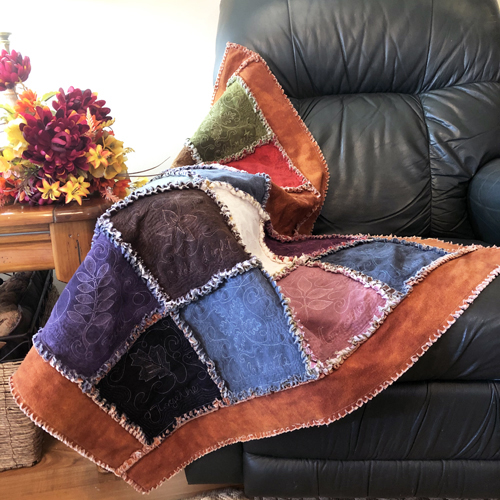
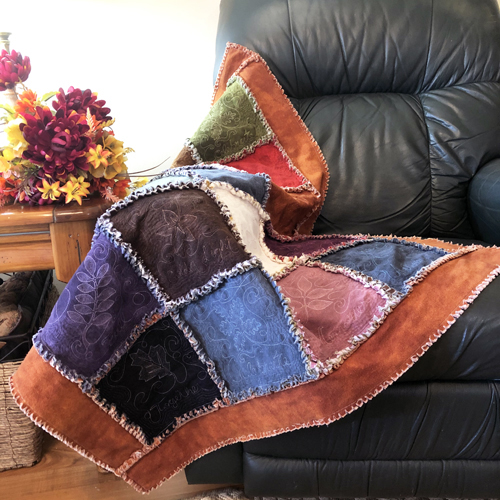
The most beautiful colors of fall make a luxurious throw with tone on tone embroidery ITH blocks. This is for those that like to engage in a project that takes some time and has beautiful results.
There are 12 embroidery designs in the set created for this throw, but you will need to repeat 8 of them as it takes 20 blocks to make up this throw. The colors of the flannel squares are extraordinarily rich. All color stops in each block can be stitched in the same color. Chose a color for each block that is a tint lighter or shade darker than the color for the tone on tone embroidery to be effective.
Step 1:
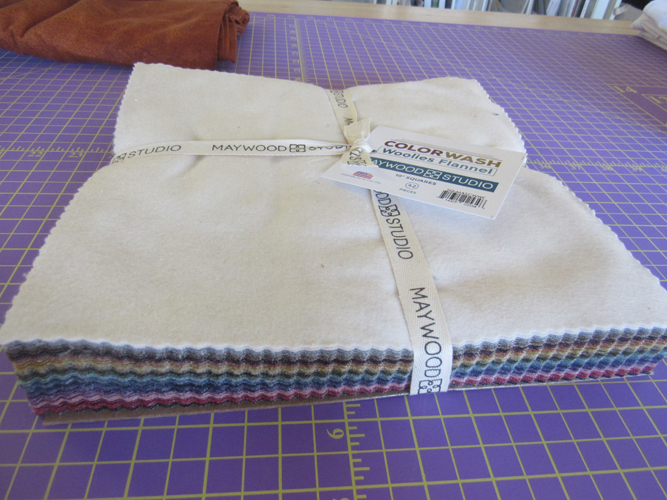
This is the layer cake used in this project. It is absolutely the nicest flannel I have ever seen. The weight of the fabric is superior to the quality of flannel found in the big box stores. I imagine there are other quality flannels available, but highly recommend this Woolies Flannel for this project.
(Click Image to Enlarge)
Step 2:
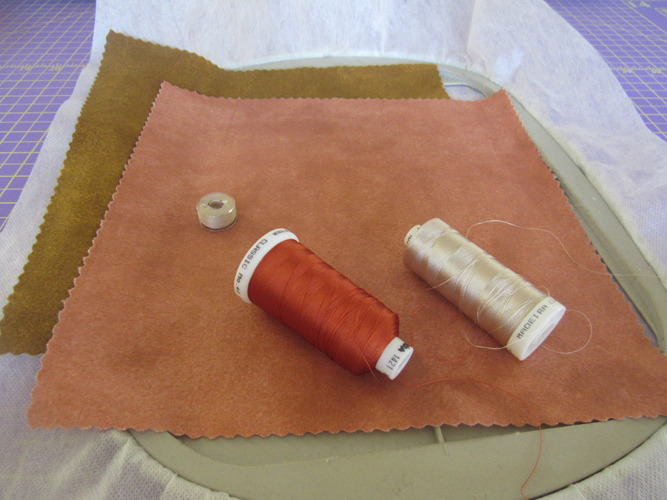
Tautly hoop one layer of fibrous water-soluble stabilizer. Choose two of the 10” squares of flannel for your block. Choose a lighter or darker color for the top of machine. Use a neutral color such as a tan for the bobbin used on all the blocks.
(Click Image to Enlarge)
Step 3:
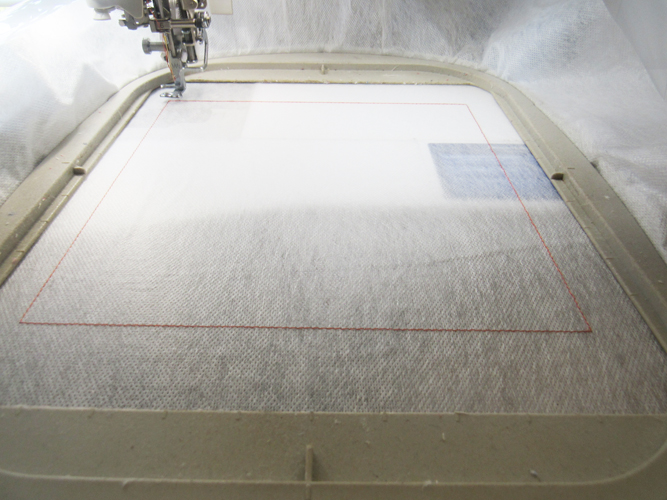
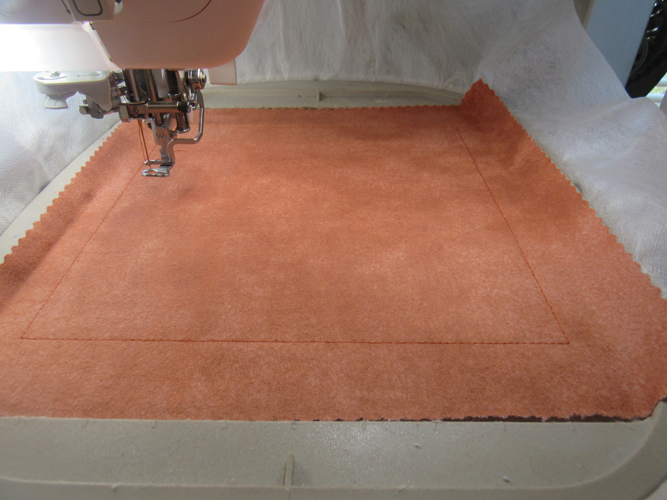
Run the 1st color stop (CS) as a placement line for the fabric.
(Click Image to Enlarge)
Step 4:
Spray adhesive on the back of the top flannel square and position over the placement line so that the fabric exceeds the placement line by ½” on all sides. Run CS 2 to tack the fabric down.
(Click Image to Enlarge)
Step 5:
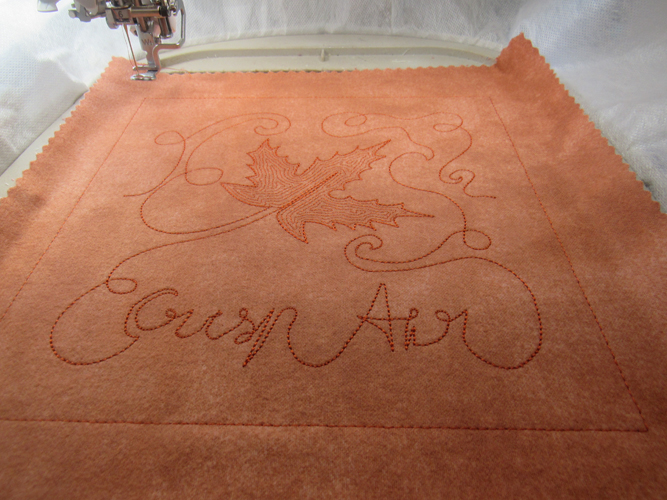
Run CS 3 to embroidery the center of the block.
(Click Image to Enlarge)
Step 6:
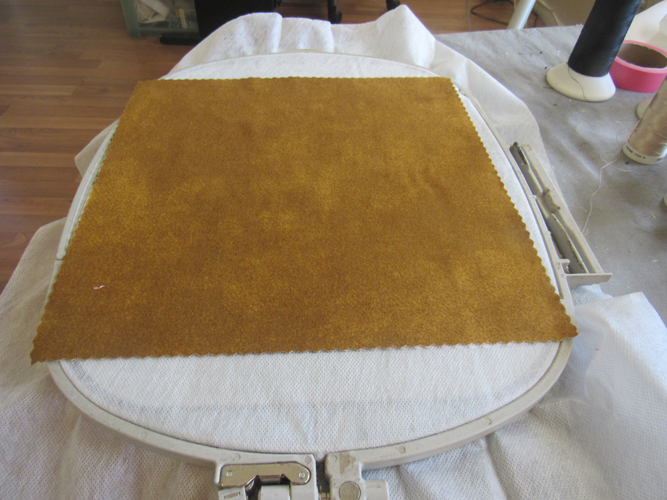
Remove the hoop from the machine, do not unhoop. Place the hoop face down on a flat surface. Spray the back flannel square with adhesive and place over the back the hoop aligning it with the flannel that is on the front of the hoop.
(Click Image to Enlarge)
Step 7:
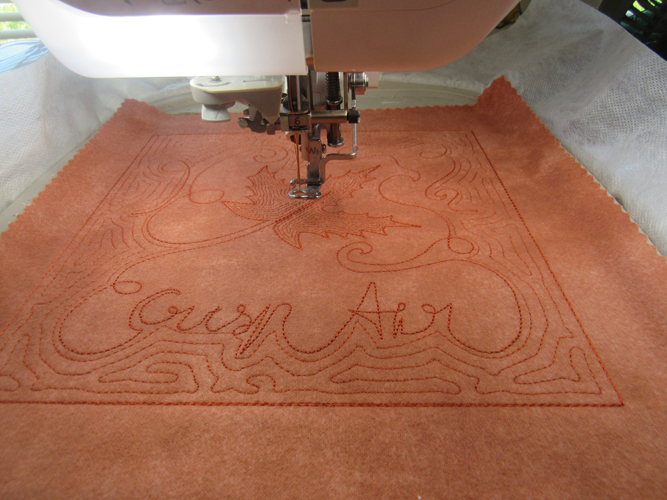
Run CS 4 to tack down the back fabric and then CS 5 to stitch the quilting stitches around the center motif.
(Click Image to Enlarge)
Step 8:
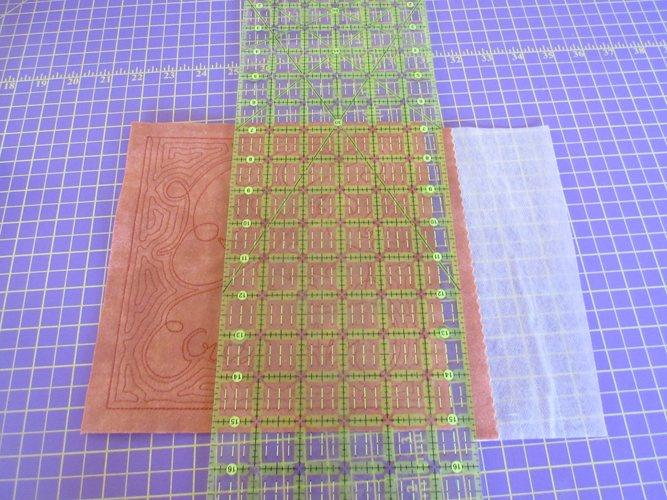
Remove the block from the hoop. Lay the ½” mark of a see-through ruler on the tack down lines and trim all sides of the block to a 1/2” seam allowance.
(Click Image to Enlarge)
Step 9:
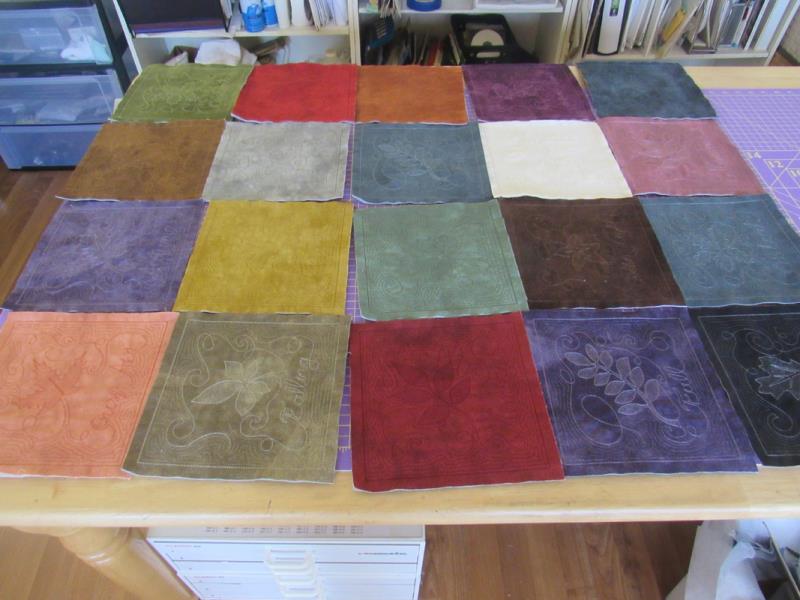
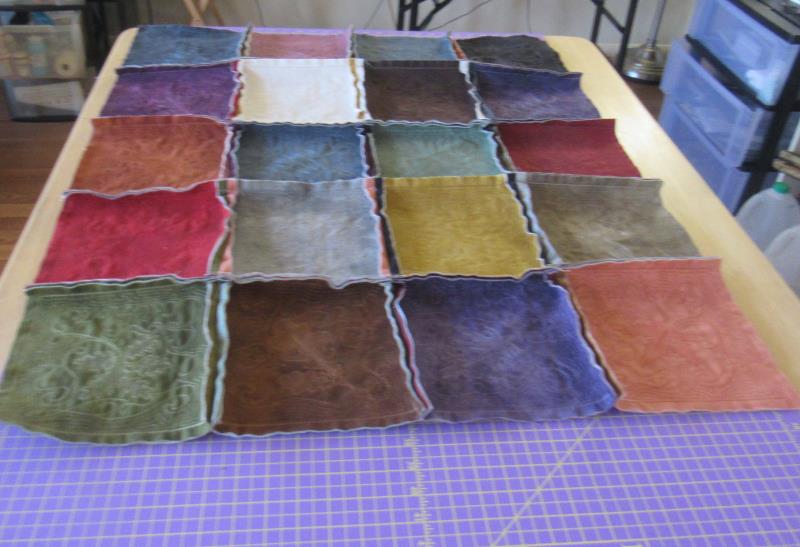
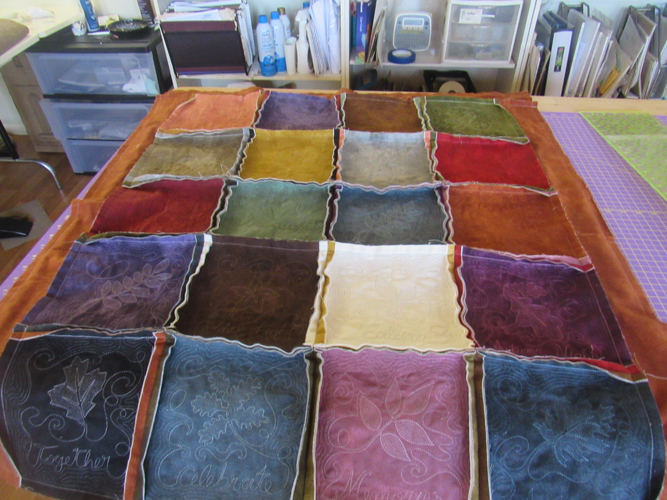
Repeat the above 8 steps until you have 20 completed squares. Lay them out in the order in which you would like to join them together.
(Click Image to Enlarge)
Step 10:
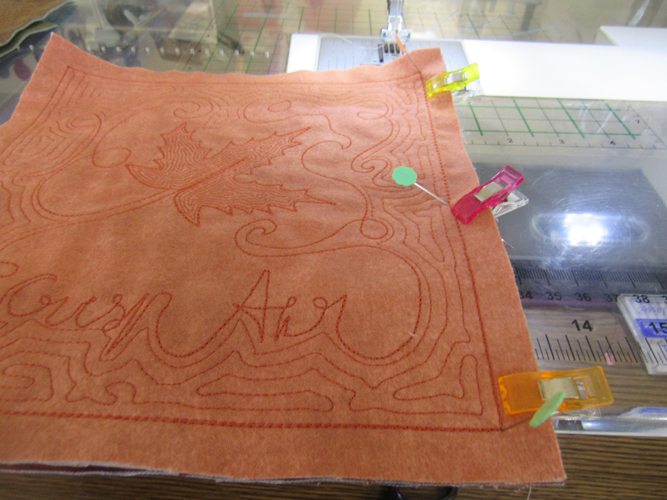
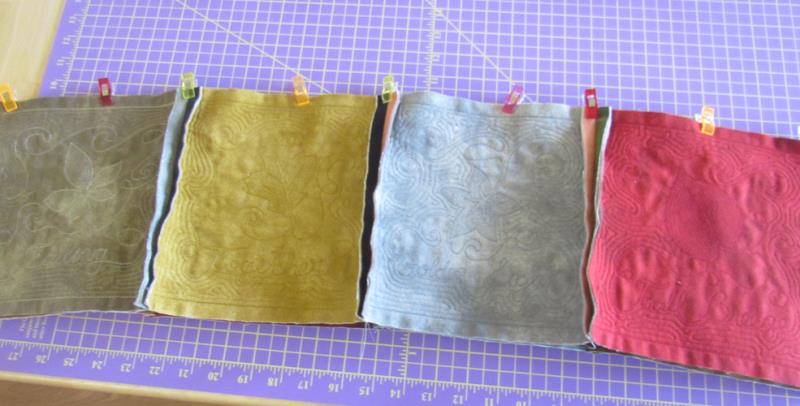
Place your 1st two blocks wrong sides together. Align the top and bottom corners using the double pin method. Stitch together with a straight stitch right along the original tack down lines. Do stitch from the top to the bottom of the squares. Use any neutral color thread in the top and bottom of the sewing machine. These seams will not be seen once the project is washed.
(Click Image to Enlarge)
Step 11:
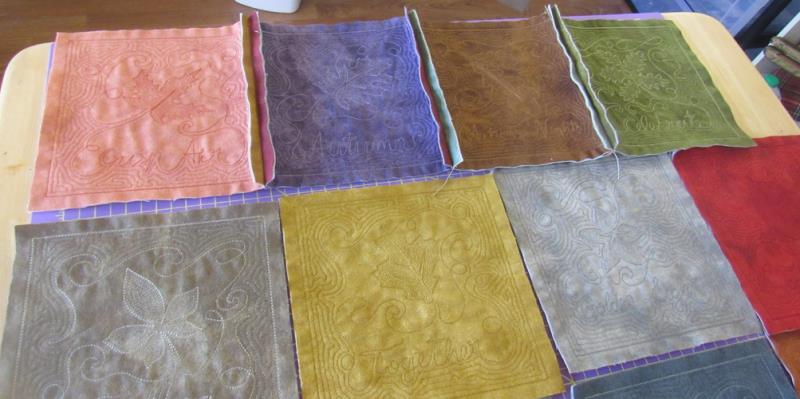
Add two more blocks this row in the same manner. Continue stitching together 4 blocks to make 5 rows of blocks. Finger press the seams between the blocks open.
(Click Image to Enlarge)
Step 12:
Align two rows of the blocks wrong sides together aligning the seams and stitch across the row through the original placement lines.
(Click Image to Enlarge)
Step 13:
Join all 5 rows together as in Step 12.
(Click Image to Enlarge)
Step 14:
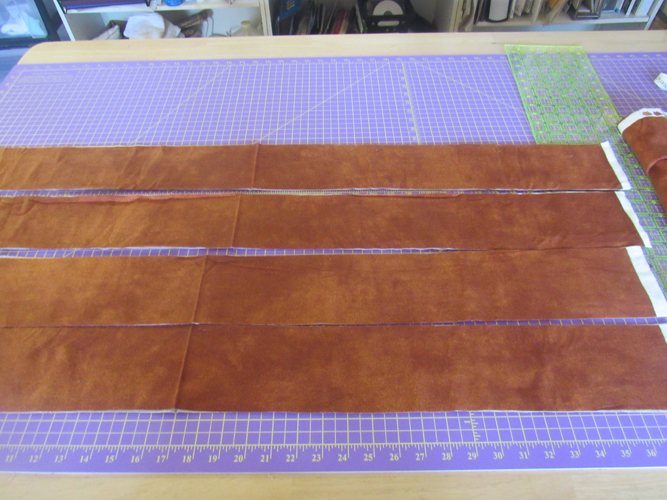
Cut 8 strips of the Cedarwood flannel 4” and across the width of the fabric. Layer two of the strips wrong sides together 4 times to make 4 border strips. I did not use any spray adhesive on these as the flannel strips will stick together themselves.
(Click Image to Enlarge)
Step 15:
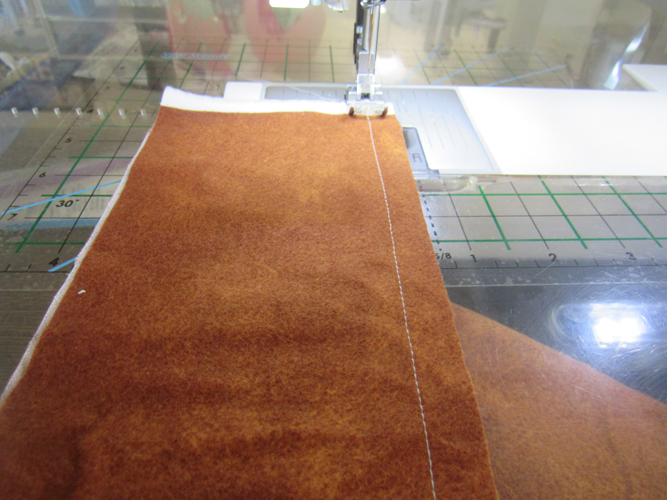
Stitch a ½” seam allowance down the outside edge of each of the 4 border strips. These will be the outside edges of the borders.
(Click Image to Enlarge)
Step 16:
(Click Image to Enlarge)
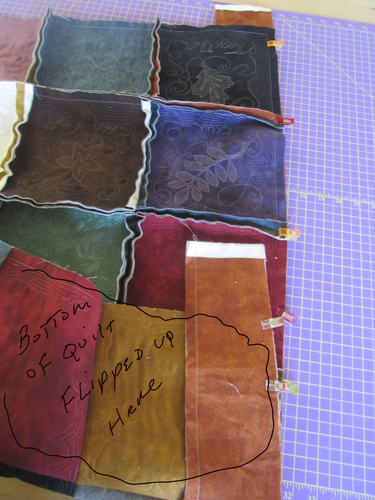
Starting in the center of the quilt and working out in both directions, clip the unstitched edge of a border strip to the back of each side of the quilt blocks clipping the seam allowances open. Let the excess strip length exceed the length of the quilt block on both ends. Stitch the borders to the quilt sides from the top of the blocks so that you can ensure the seam allowances stay open.
Step 17:
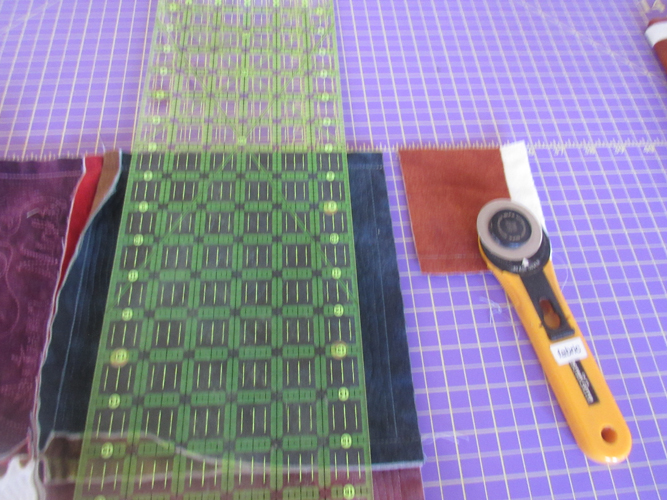
Trim the excess border strips from the top and bottom of the quilt on both sides.
(Click Image to Enlarge)
Step 18:
Add the top and bottom border strips in the same way. Trim the excess top and bottom strips too.
(Click Image to Enlarge)
Step 19:
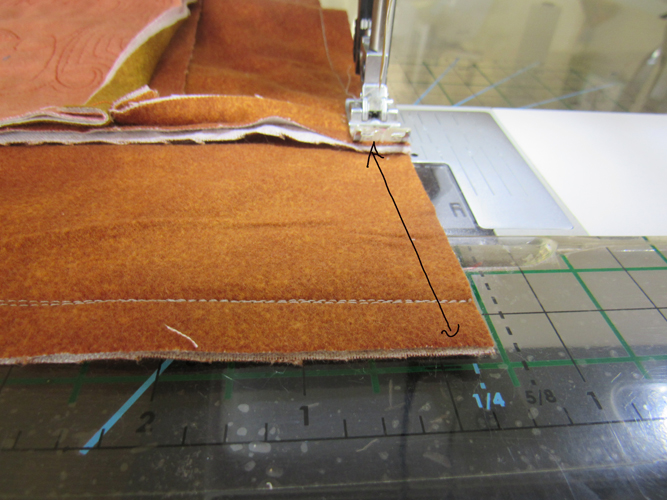
Stitch a line of straight stitches on the 4 ends of the top and bottom border strips ½” from the outside edge. This is to give you a clipping guide and to prevent the borders from eventually unraveling too far.
(Click Image to Enlarge)
Step 20:
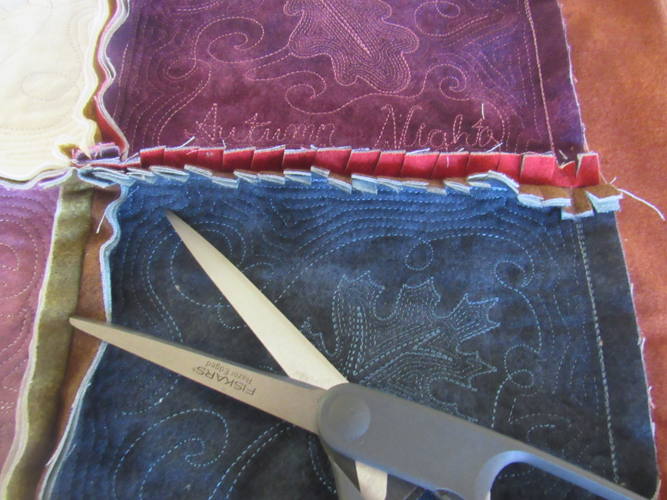
Clip all seam allowances down to about 1/8” from the seam lines with clips about ¼” to ½” apart. Mine seemed to be about 3/8” apart. Fiskar® Razor Sharp Rag Quilt clippers made this task easier, but it can be done with any scissors. Clip around the outside perimeter of the quilt too.
(Click Image to Enlarge)
Step 21:
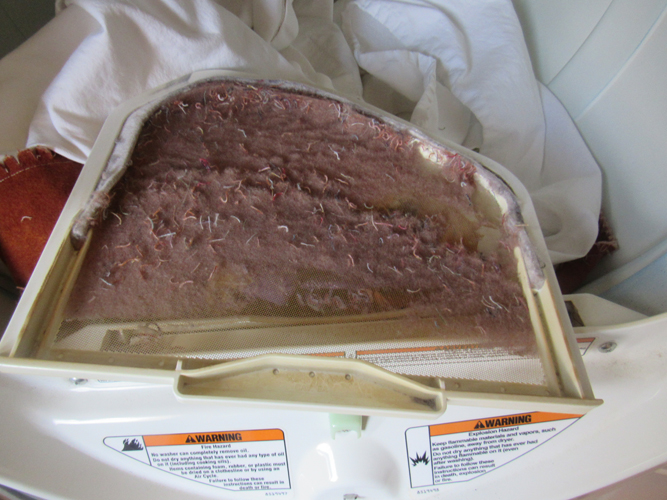
Throw the clipped quilt into the washer with an old sheet or something for it to tumble with and wash on regular settings. Throw in the dryer. Be sure to clean your dryer lint screen every 10 to 15 minutes as the build up will be unbelievable. Repeat the washing and drying cycles for extra ragging of the top.
(Click Image to Enlarge)
Step 22:
Congratulations your Elegant Flannel Rag Quilt Throw is complete!
Award winning Digitizer, Embroidery Educator, Author and a Consultant to the Industry, Pat Williams has 30 years of experience in the embroidery industry. Pat has won multiple awards for her digitizing expertise including the 2007 Impressions Awards Grand Championship, Best of Show as well as the 1st and 2nd Place Awards. Pat’s love of digitizing has afforded her the opportunity to write numerous articles for Impressions magazine in the United States and Images Magazine in Europe. In 2001 Pat was named “Embroidery Educator of the Year.” For many years Pat taught digitizing seminars at the ISS Shows in Long Beach, CA and for Compucon software. She now resides in Tucson, AZ.