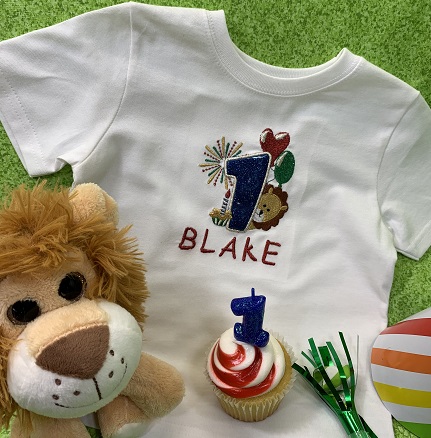
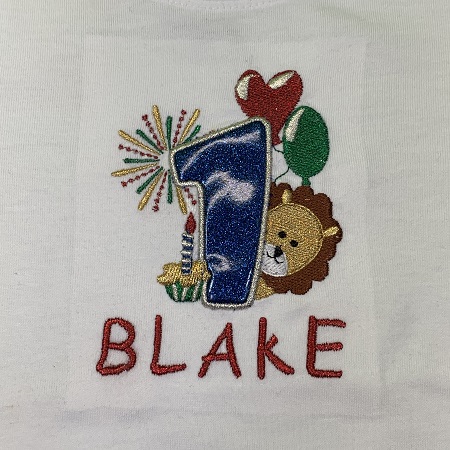
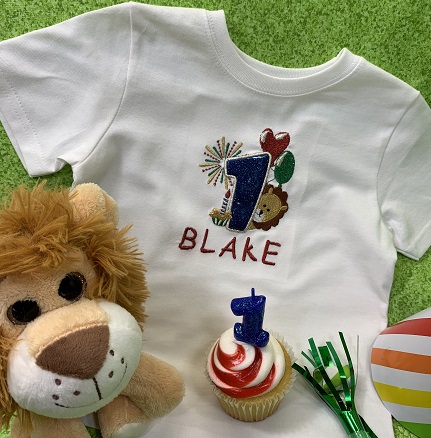
Happy Happy Birthday to You! The Happy Birthday Lion design would work great for party themes like 'Having a Roaring Good Time' or 'Jungle Friends'. Add a name to personalize the shirt to celebrate that first birthday.
Happy Happy Birthday to You! The Happy Birthday Lion design would work great for party themes like 'Having a Roaring Good Time' or 'Jungle Friends'. Add a name to personalize the shirt to celebrate that first birthday. Vinyl and metallic thread add sparkle and shine to the design.
Step 1:
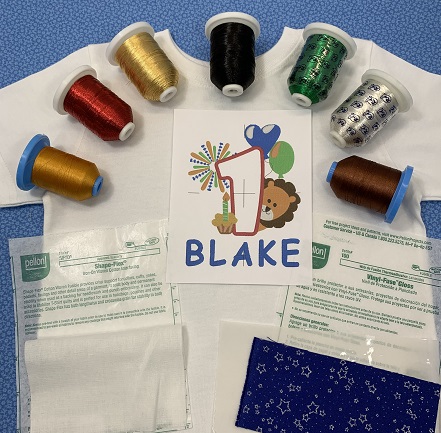
Read the directions before beginning. Gather the materials needed for the project.
Step 2:
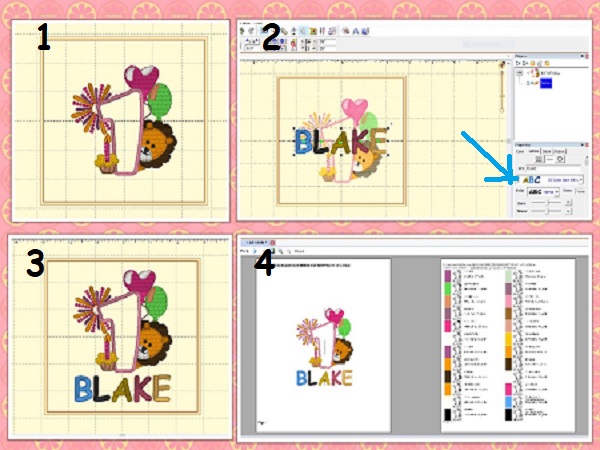
Embrilliance Essentialsembroidery software program was used to personalize the shirt. A trial version of the program is available. Another way to personalize objects is built-in font programs found on most embroidery machines. Print a copy of the design template.
Picture 1 shows the original design. Picture 2 shows selecting the font for the design. Picture 3 shows the design with the name. Picture 4 shows the print out of the design template and color chart.
(Click Image to Enlarge)
Step 3:
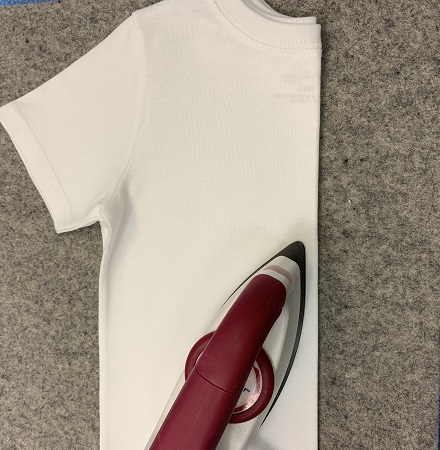
Placement: Fold the shirt in half. Match the seams at the sides and shoulders together. Press a crease on the fold line with an iron.
Step 4:
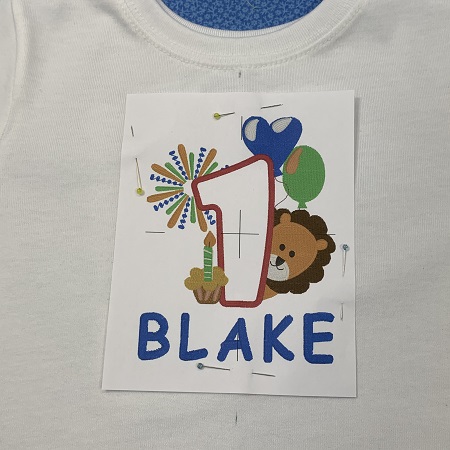
Trim the design template to about 4.5”x5.5” leaving about a 1” margin.
Place the shirt on a flat surface. Use the design template as a placement guide. Match the vertical line on the design template with the crease line on the shirt.
Place the design template about 1.5-3” down from the neckline. Pin the design template onto the shirt.
Step 5:
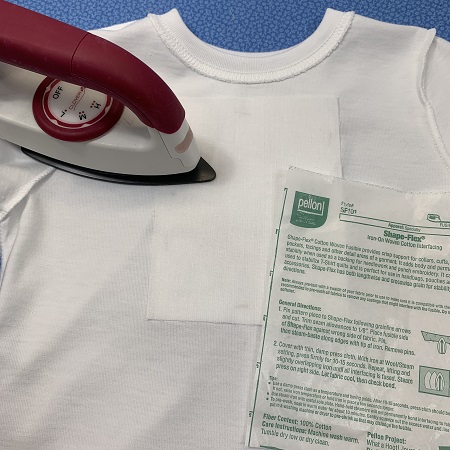
Stabilizing: Cut one piece of the Pellon SF101 Shape Flex interfacing 4.5"x5.5". Turn the shirt wrong side out. Place the Pellon SF101 over the over the outline of the design template. Follow the SF101 shape flex directions to fuse the interfacing to the t-shirt.
Step 6:
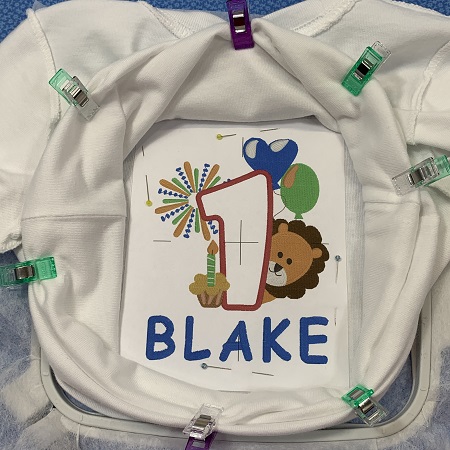
Hooping: Hoop one piece of medium wt. tear away stabilizer. Mark the center point on the stabilizer. Match the center points on stabilizer and design template. Float the t-shirt on top of the stabilizer. Use a light mist
of 404 Repositionable spray onto the stabilizer. Gently press the t-shirt onto the stabilizer. Surface should be smooth and wrinkle free.
Place one piece of Water Soluble topping over the stitching field. Use wonder clips or pins on the sides of the t-shirt to hold the fabric out of the stitching field.
Step 7:
(Click Image to Enlarge)
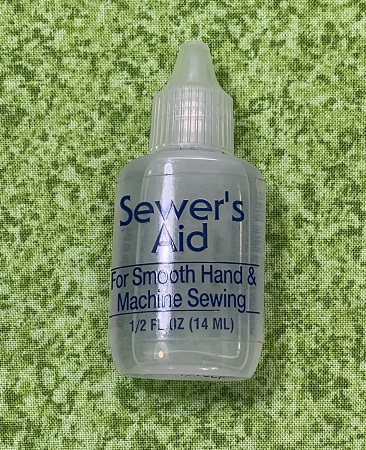
Sewer's Aid is a clear non-staining lubricant that is applied to the eye of your needle. It makes a tremendous difference with metallic thread shredding, breakage, and skipped stitches. A spool stand and reduced speed are also helpful when using metallic thread.
Step 8:
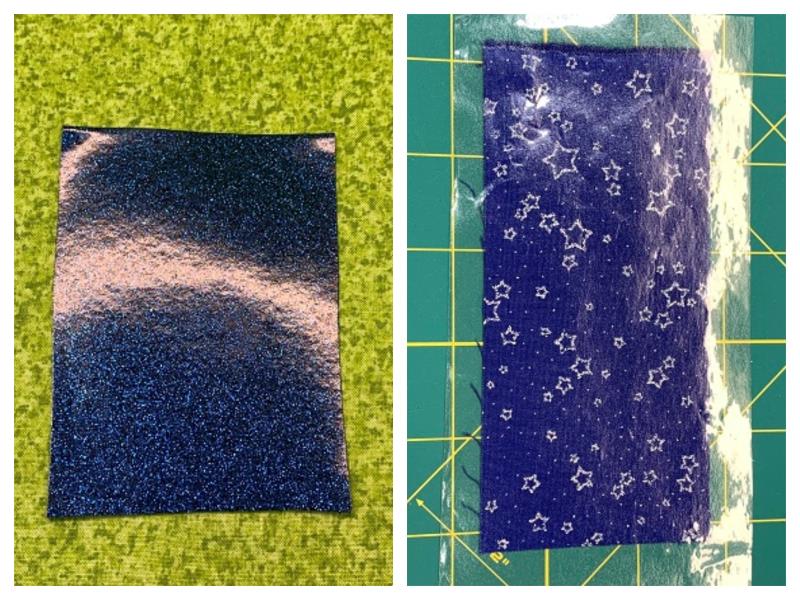
The number 1 is appliqued in the design. A glitter vinyl was used for the number 1. If you do not have glitter vinyl, you can Pellon 100 Vinyl-Fuse Gloss for the same effect. If using the Pellon 100, follow package directions to apply the vinyl-fuse to a 3"x4" piece cotton fabric. A pressing mat is recommended.
(Click Image to Enlarge)
Step 9:
Load the design. Attach the hoop. Check the needle. Needle size is important when using metallic thread. The larger needle eye helps reduce thread friction when sewing. Stitch the design.
Step 10:
Remove the shirt from the hoop. Gently tear-away the water-soluble topping from the front of the shirt. Gently tear-away the stabilizer from the back of the design. Trim long threads on the back if needed.
Step 11:
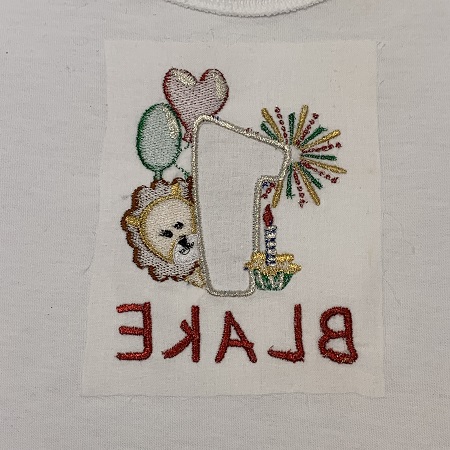
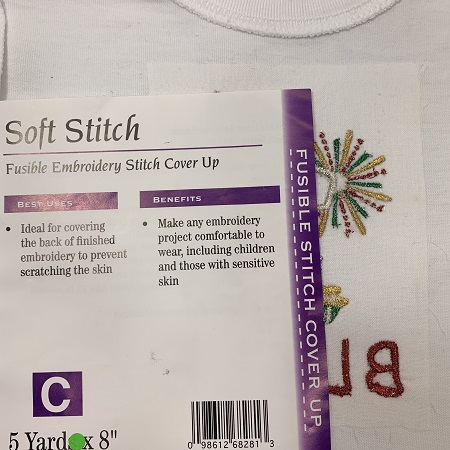
Soft Stitch is a fusible stitch cover up that is ideal for covering the back of finished embroidery to prevent scratching the skin. Follow package directions to fuse the 4.5"x5.5" piece of Soft Stitch over the embroidered area.
Step 12:
Congrats! You have made a Happy Birthday Lion shirt. Great job!
Marisa Littleton is a retired educator with a love for teaching and learning. Interests include machine embroidery, hand embroidery, quilting, cooking, and antiques.