Border OptionsHugging border, circle, square, or rectangle — with a 3mm satin stitch.
Backing OptionsAvailable with iron-on, sew-on, or velcro backing.
Fast ShippingShipped quickly from the USA.
Free Online Tools
Powerful embroidery utilities that save time and prevent costly mistakes.
Stitch AssistantRECOMMENDED
Get the exact stabilizer, machine settings, needle, and thread color sequence for every embroidery design you purchase — based on that design's stitch density, dimensions, and color count.
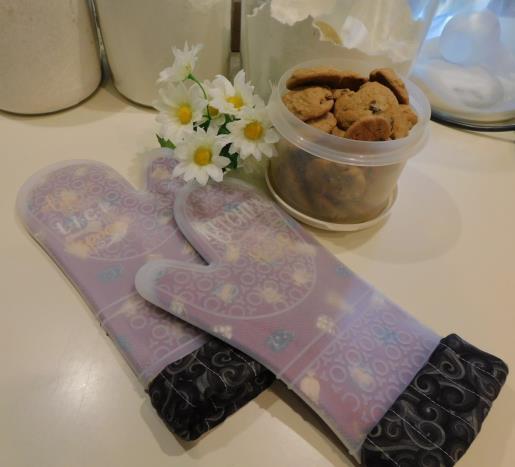
Craft a pair of oven mitts designed to fit into protective silicone sleeves. These mitts feature fabric covers that add a touch of style to your kitchen while ensuring safe handling of hot items. Perfect for both everyday cooking and special occasions. Step-by-step instructions are included.
Step
of
Silicone Oven Mitts with Fabric Covers
By Ramona Baird
These oven mitts are so easy to do and would make a great house warming gift!
The basic instructions are followed from the kit with a couple of exceptions I decided to make in cutting the fabric for the mitt front and the cutting and construction of the cuff. I decided to make the mitts and use them as decorations in the kitchen, and then when I needed to use them, just slip the silicone mitts over them.
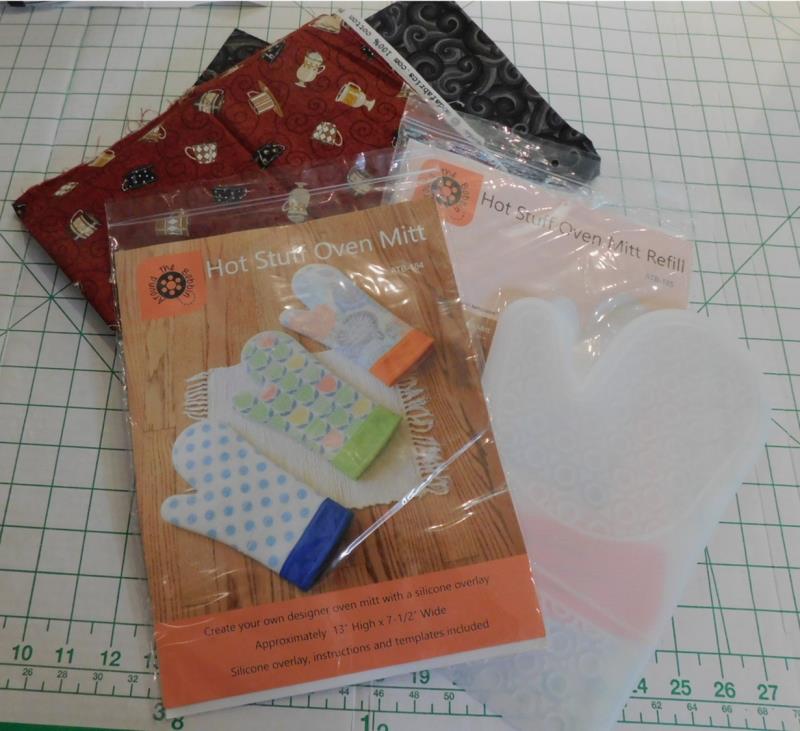
The kit with instructions includes just one silicone mitt. If you’d like to do two mitts, then get the refill kit which will contain one more mitt. The kits are available online or at a local quilt shop.
The pattern fits the mitt well and I used a coffee print fabric for the outer part of the mitt and a coordinating dark gray print for the lining and cuff.
By doing this project the way I did it, I can create several different mitts using the pattern and then need only one set of silicone mitts.
Step 1:
Read through these instructions and the kit instructions thoroughly before beginning and assemble all the materials needed to complete the project.
(Click Image to Enlarge)
Step 2:
The pattern pieces are included and when cut and stitched accurately, the mitts fit inside the silicone mitt well. The instructions are clear and there are also YouTube videos folks have done if you’d like further instructions. Use coordinating fabrics for the outer mitt and lining.
(Click Image to Enlarge)
Step 3:
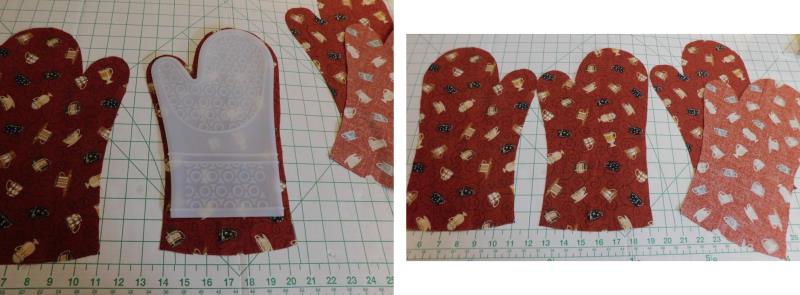
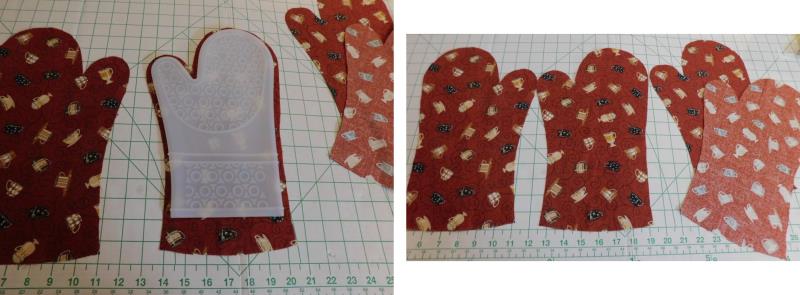
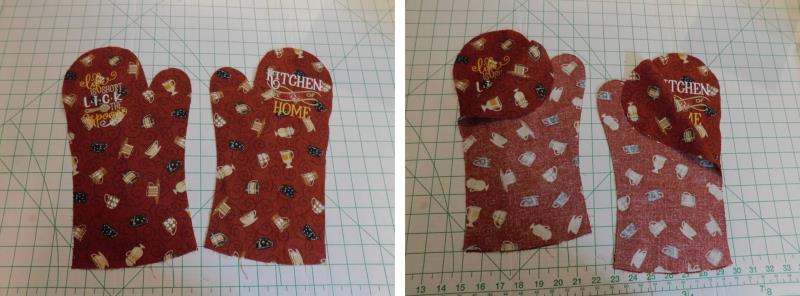
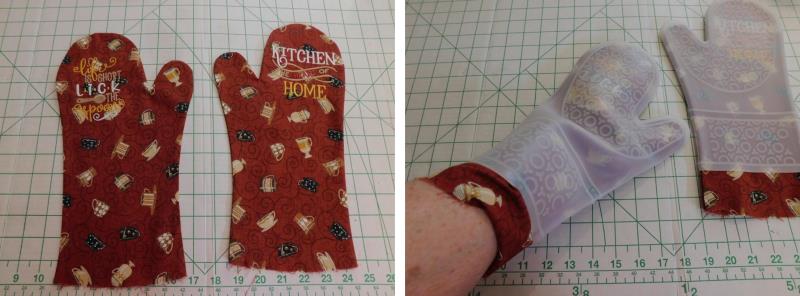
The front and inside mitt pieces are not the same size to allow for the cotton batting quilted to the lining piece. Here is the first variation of the pattern I did: I used the mitt front pattern piece sized as it was, but I extended the length to match the lining piece. It will be longer than the silicone mitt. For each mitt you will need to cut a front and back, so since I did two mitts, I needed two fronts and two backs.
(Click Image to Enlarge)
Step 4:
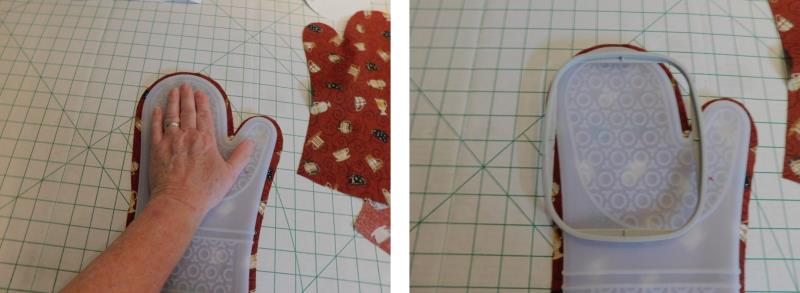
Determine approximately where the embroidery should be. I just placed my hand on the mitt. The center ended up being about in line with the V where the thumb and the hand part of the mitt intersect. The picture on the right shows the horizontal center of the hoop will be in line with the V point of the mitt.
(Click Image to Enlarge)
Step 5:
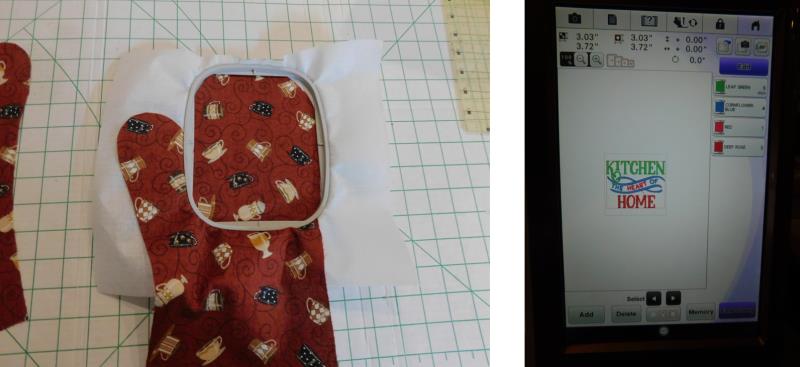
Hoop the fabric with stabilizer. Load the first design on the machine.
(Click Image to Enlarge)
Step 6:
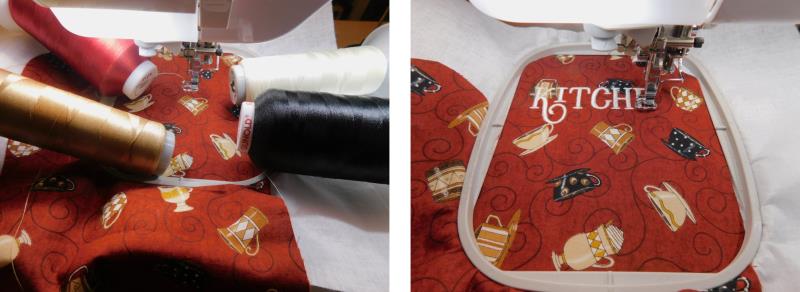
Choose embroidery thread colors that will show up on the print and coordinate with the fabric colors. Stitch the design following the color sequence with the chosen colors.
(Click Image to Enlarge)
Step 7:
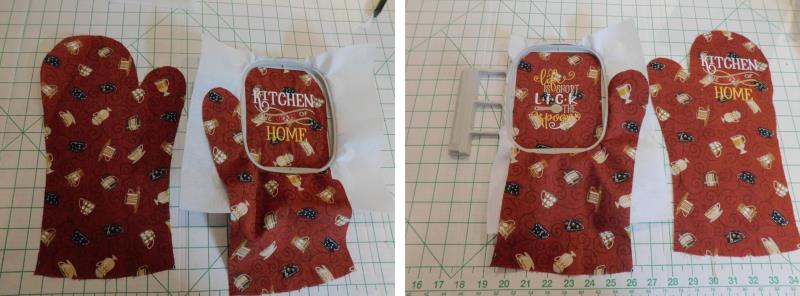
Remove the fabric from the hoop and trim the excess stabilizer. Repeat for the other mitt front (be sure they are mirrored!)
(Click Image to Enlarge)
Step 8:
Press the mitt front well and then place the mitt back, right side down, over the embroidered mitt fronts; pin.
(Click Image to Enlarge)
Step 9:
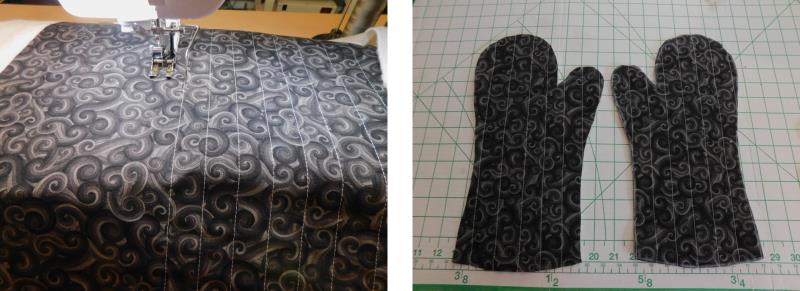
Following the kit instructions cut and quilt the lining fabric. Use the pattern to cut out a lining front and a lining back (two sets if making two mitts).
(Click Image to Enlarge)
Step 10:
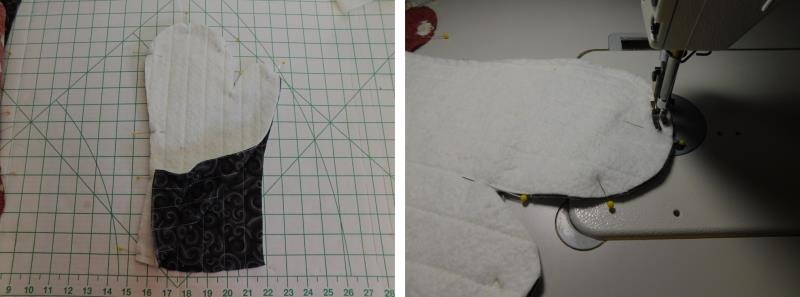
Place the lining fronts and backs, right sides together and sew per kit instructions.
(Click Image to Enlarge)
Step 11:
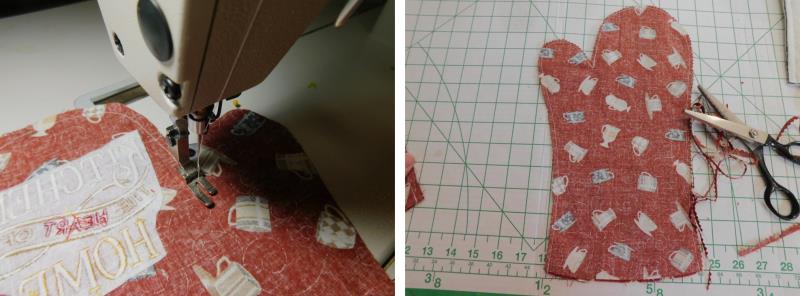
Sew the mitt fronts and backs together. To help with turning, pink the edges of the mitts and clip into the corner at the thumb.
(Click Image to Enlarge)
Step 12:
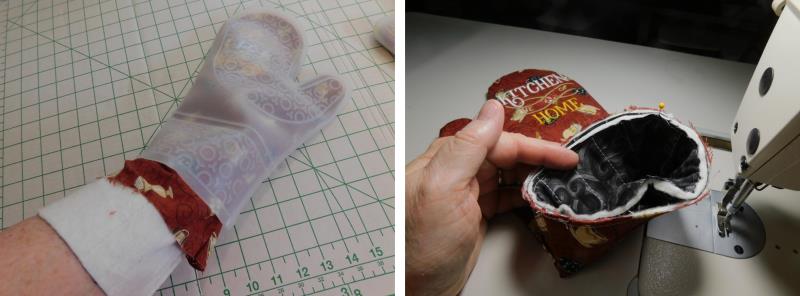
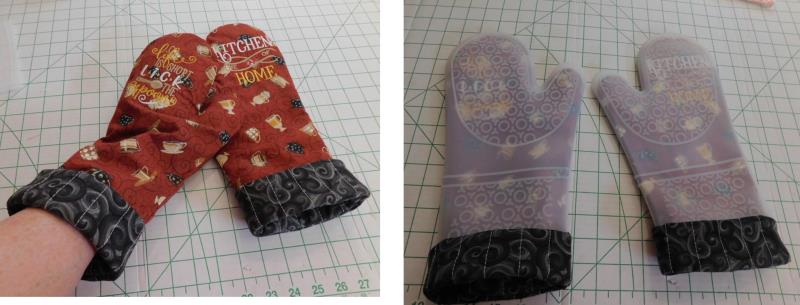
Turn the mitts right side out and insert them into the silicone mitts.
(Click Image to Enlarge)
Step 13:
Now put the lining sections on your hands and insert them into the mitt front. From here, follow the instructions that are contained within the kit.
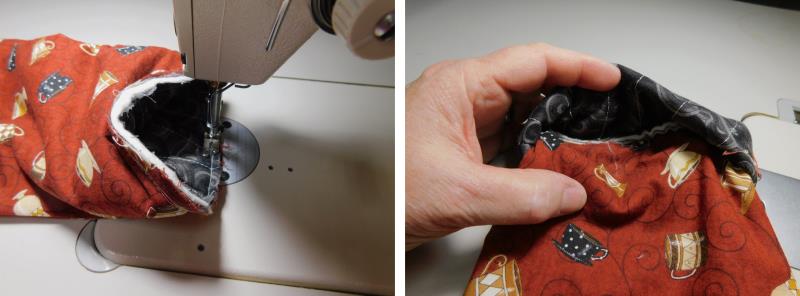
Now here is where I varied the pattern. I basted the top of the mitt and lining together. Then I used the remaining quilted lining to cut a cuff from the pattern piece, and sew the seam. I then inserted the cuff inside the lining, matching cut edges and pinned.
(Click Image to Enlarge)
Step 14:
Sew around the top of the cuff and finish the raw edge. Flip the cuff to the right side, covering the seam just sewn.
(Click Image to Enlarge)
Step 15:
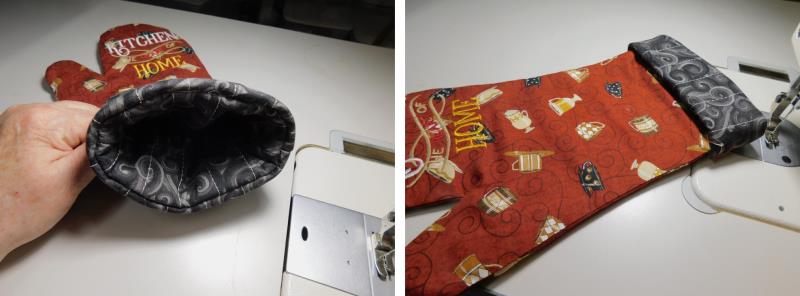
This finishes off the inside top of the mitt and a cuff is created.
(Click Image to Enlarge)
Step 16:
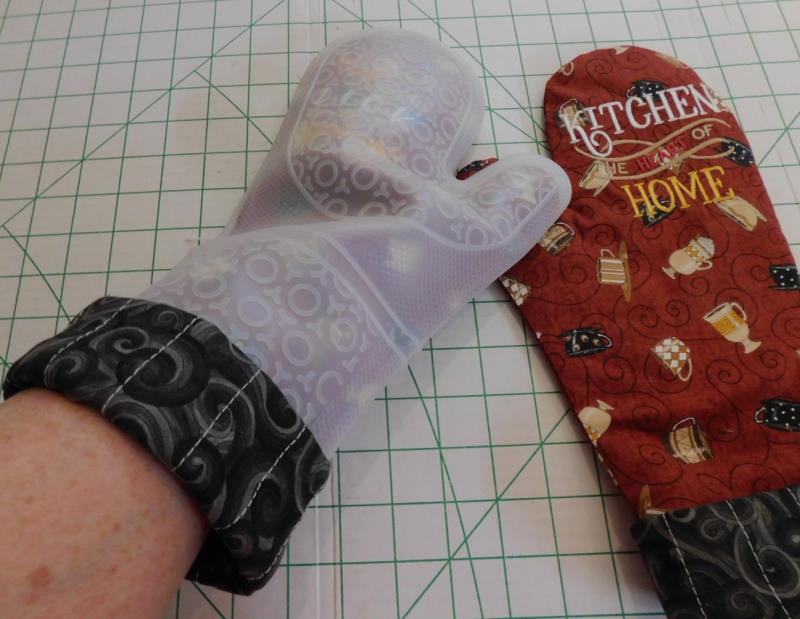
Now when the mitt is inserted into the silicone mitt, the cuff just covers the top edge of the silicone mitt, allowing re-use for other mitts you could create.
(Click Image to Enlarge)
Step 17:
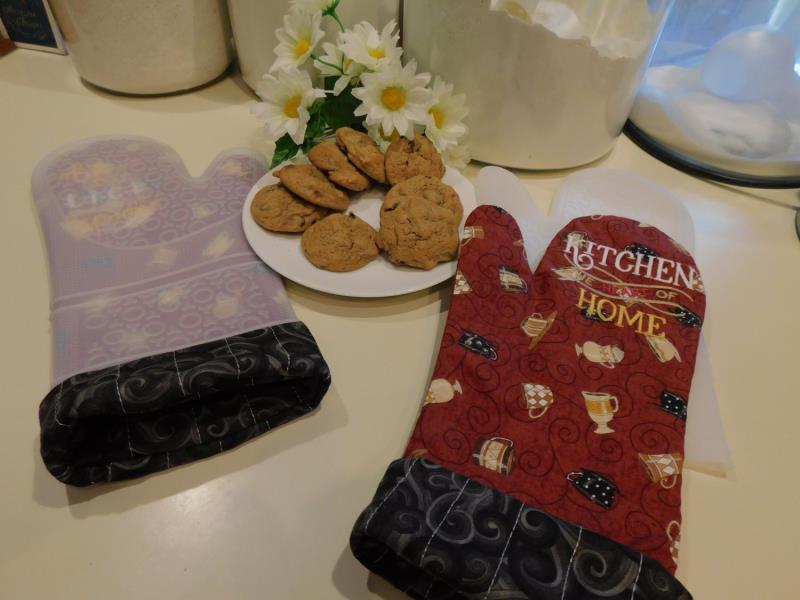
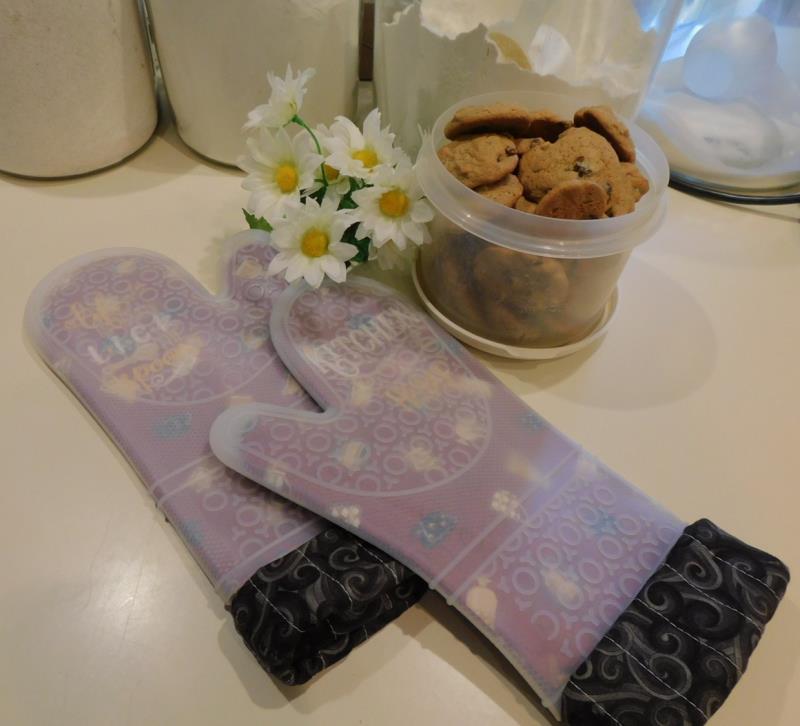
Here are the mitts that will decorate the kitchen, and here they are inserted into the silicone mitts when they need to be used. Notice that the silicone does dull the colors, but the embroidery is still visible. I do like that the mitts can be re-used for different mitts I create when using the variation to the pattern that I did.
(Click Image to Enlarge)
Step 18:
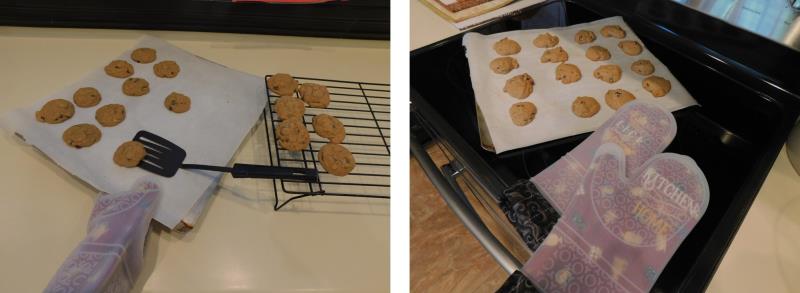
The silicone mitts work very well to deter heat from hot baking pans!
(Click Image to Enlarge)
Step 19:
Use the cloth mitts for decorations in the kitchen, and then when they need to be used, just slip them into the silicone mitts.
(Click Image to Enlarge)
Step 20:
Congratulations on creating a decorative and useful pair of hot mitts for baking and cooking!
Ramona Baird has been in the embroidery industry for over 23 years. She and her husband owned a commercial and retail embroidery store in Arizona for many years. She is an experienced digitizer having been mentored by award-winners Pat Williams and Lindee Goodall. Ramona is a contributor to “Creative Machine Embroidery” magazine having 5 covers to her credit. Ramona has worked for Wilcom America and served many years as Education Director for the American Sewing Guild. With a degree in fashion design, she is able to design and execute patterns which Pat Williams says are “out of the box” in creativity and application. Ramona likes to challenge the boundaries of embroidery and bring new and exciting designs, ideas, and projects to EmbroideryDesigns.com. She wants embroiderers of all levels to increase their skills and enjoyment in using their embroidery machine for gift-making and personal pleasure.