Border OptionsHugging border, circle, square, or rectangle — with a 3mm satin stitch.
Backing OptionsAvailable with iron-on, sew-on, or velcro backing.
Fast ShippingShipped quickly from the USA.
Free Online Tools
Powerful embroidery utilities that save time and prevent costly mistakes.
Stitch AssistantRECOMMENDED
Get the exact stabilizer, machine settings, needle, and thread color sequence for every embroidery design you purchase — based on that design's stitch density, dimensions, and color count.
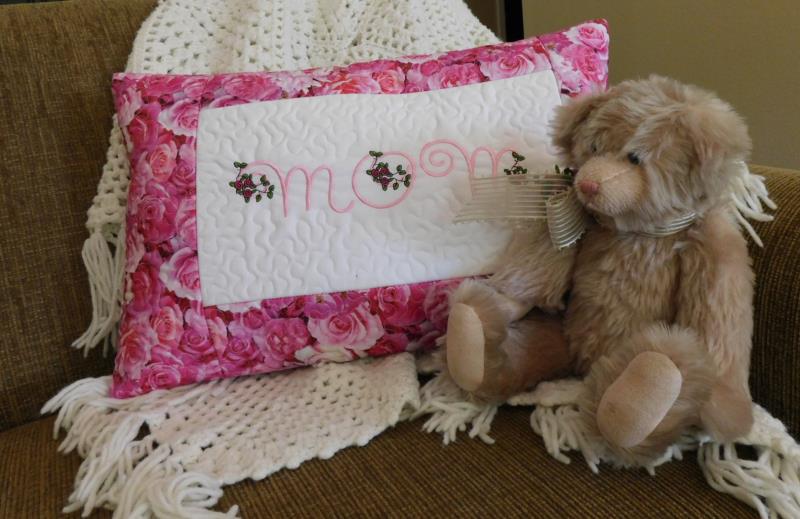
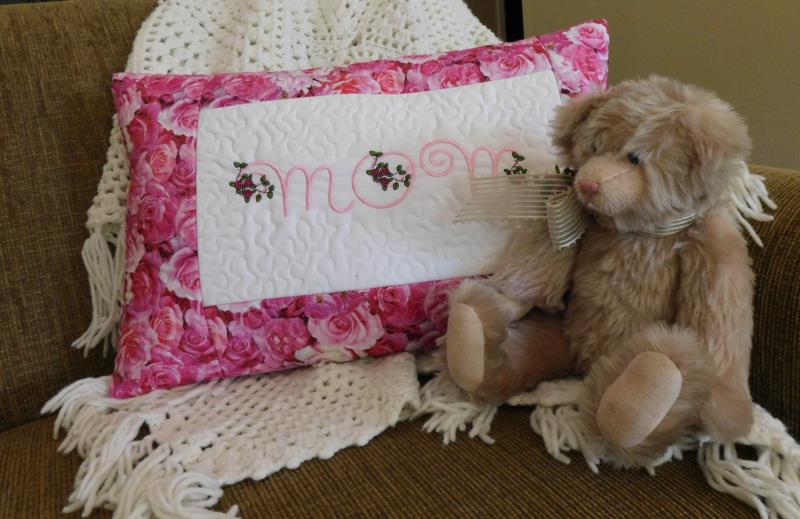
Create a personalized quilted pillow featuring a beautiful monogram, perfect for celebrating Mom's birthday. This thoughtful gift combines elegance and functionality with the quilting function of your embroidery machine. Step-by-step instructions are included.
Step
of
Quilt Quilted Monogram Pillow for Mom
By Ramona Baird
The Pink Rose Monogram font comes in four sizes; the largest was used for this project. Because the sizes of the font vary, general directions will be given for creating the project. Just follow the instructions, do a general layout, stitch, and measure to cut the other fabrics.
This project also used a very large machine hoop. Not all machines have this hoop so adjust the instructions to fit the machine and hoop you have.
Step 1:
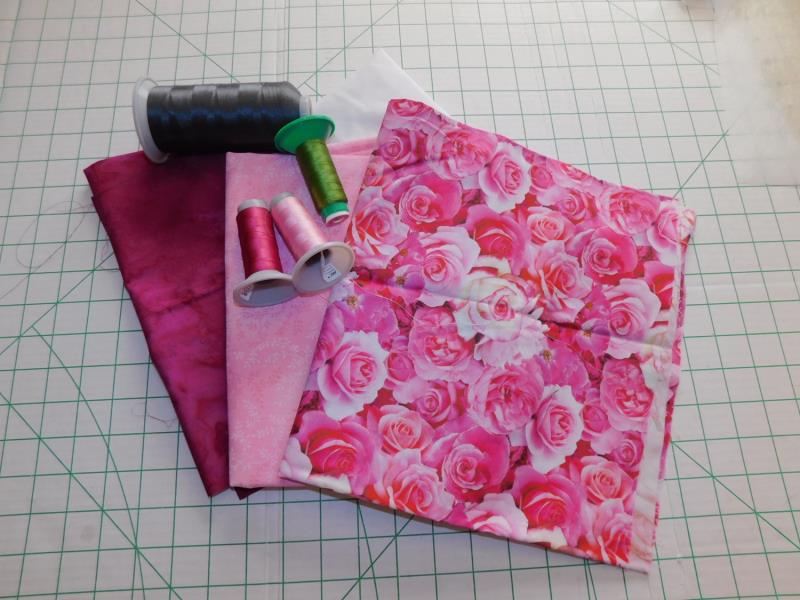
Read through the instructions thoroughly before beginning and assemble all the materials needed to complete the project. For this project, a half yard of rose fabric was used for the front borders and back. Other options would be to use batik or plain fabrics to coordinate with the rose print fabric. Also, use embroidery thread colors that will coordinate with the rose fabric.
(Click Image to Enlarge)
Step 2:
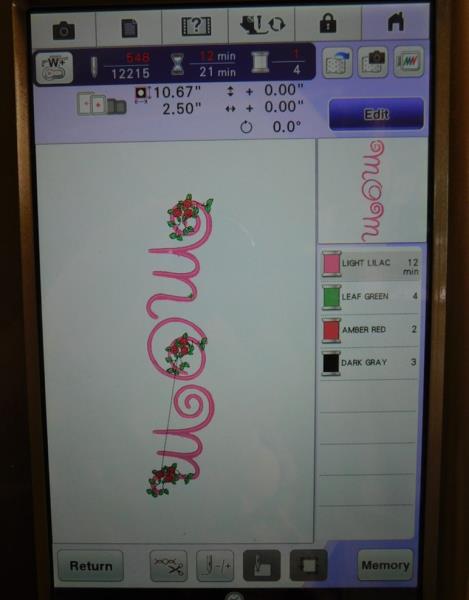
In embroidery software, or at the machine, load the font in the letters needed. Do an actual name or do a word—your choice. Note: for this project, the last M floral section was moved to the end in embroidery software. This required reshaping the beginning of the M to fill in the blank area left from moving the floral arrangement.
(Click Image to Enlarge)
Step 3:
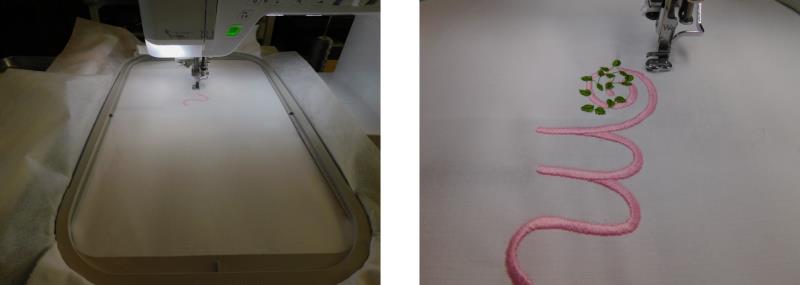
Hoop the white fabric with a layer of poly mesh stabilizer. Stitch the name following the color sequence with the chosen threads.
(Click Image to Enlarge)
Step 4:
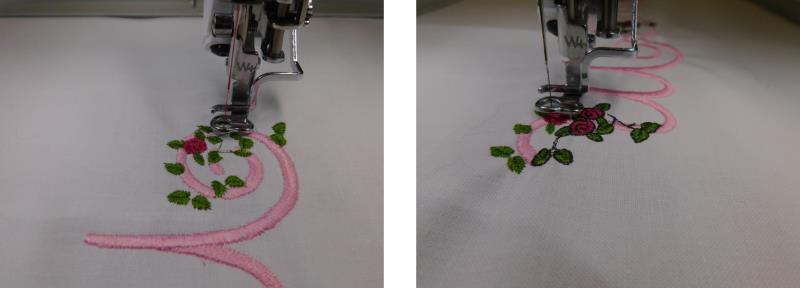
This design stitches very nice and is fun to watch.
(Click Image to Enlarge)
Step 5:
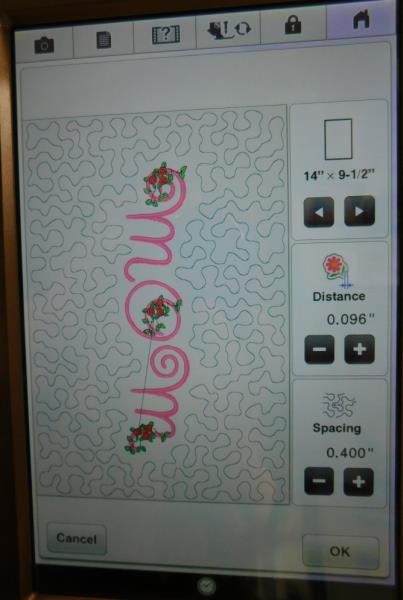
Now in the machine, add a meandering quilting design, adjusting the distance and spacing until you are happy with it. Each machine is going to work differently, so follow the instruction in the machine manual. If your machine does not have this function, then quilt as desired in the next step.
(Click Image to Enlarge)
Step 6:
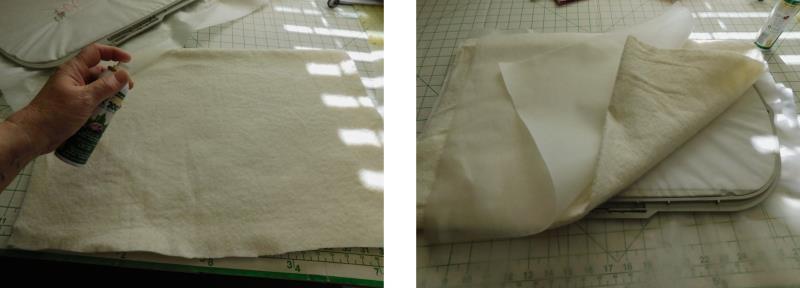
Keeping the fabric in the hoop, layer a piece of batting behind the hoop and then another piece of poly mesh so the batting won’t get caught in the feed dog area of the machine. Use temporary spray adhesive to hold the layers together.
(Click Image to Enlarge)
Step 7:
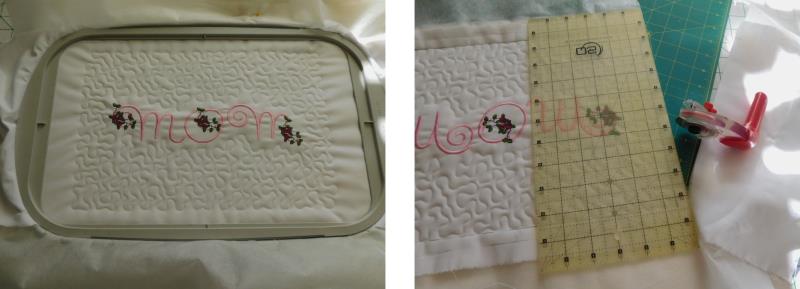
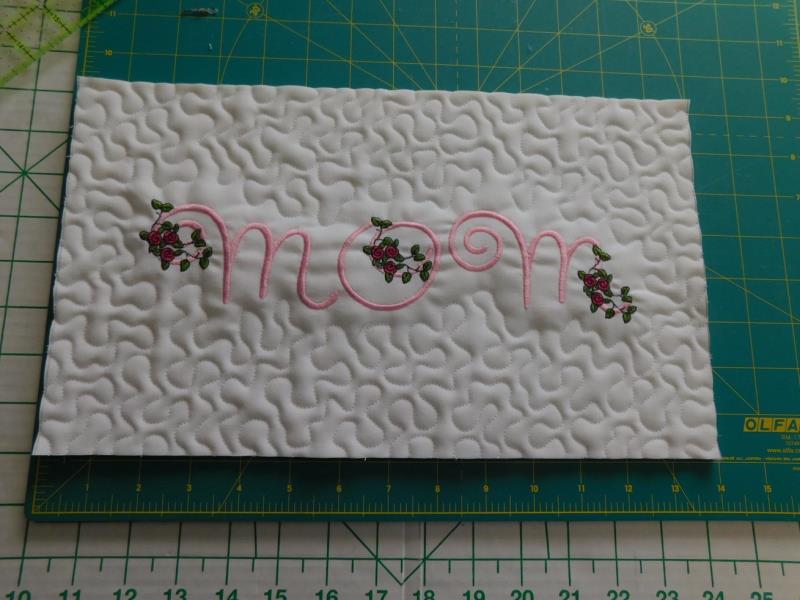
Very carefully place the hoop with the layers back on the machine. Be sure the back layers are laying flat. Stitch the quilting design. Decide how to trim this section. For the project, ½” seam allowance was left beyond the outer edges of the quilting, and trimmed.
(Click Image to Enlarge)
Step 8:
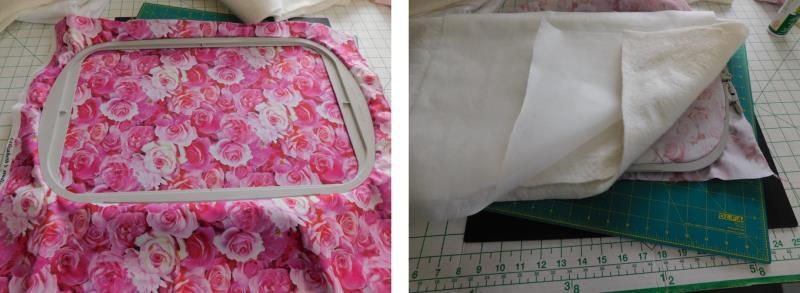
Now hoop the sashing fabric, for the project the rose fabric was also used. Layer batting and a layer of poly mesh over the back of the hoop.
(Click Image to Enlarge)
Step 9:
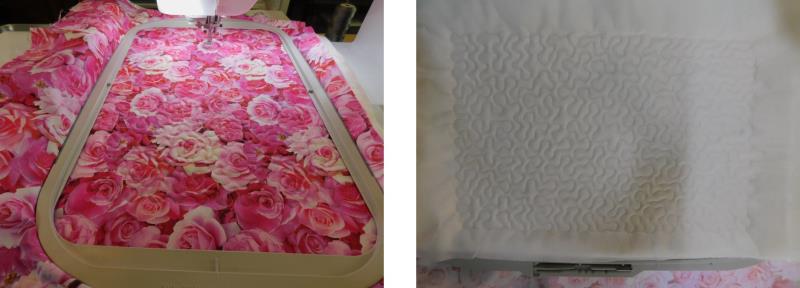
At the machine, fill the hoop with just the meandering quilting design and stitch.
(Click Image to Enlarge)
Step 10:
Trim this with ½” seam allowances all around, outside the quilting.
(Click Image to Enlarge)
Step 11:
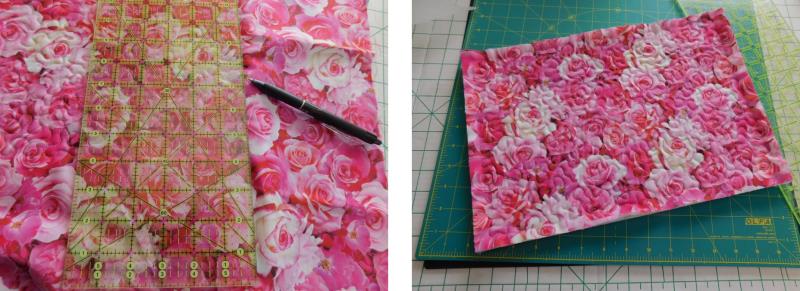
At this point, determine how big you want the pillow and trim. For this project, an additional 1” was trimmed,
(Click Image to Enlarge)
Step 12:
leaving the embroidered pillow front 14” W x 8.5” H. Again, adjust these measurements for the size of the font used, and the size of the pillow you are doing.
(Click Image to Enlarge)
Step 13:
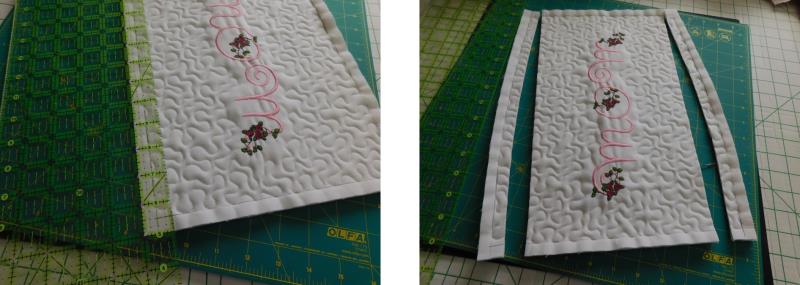
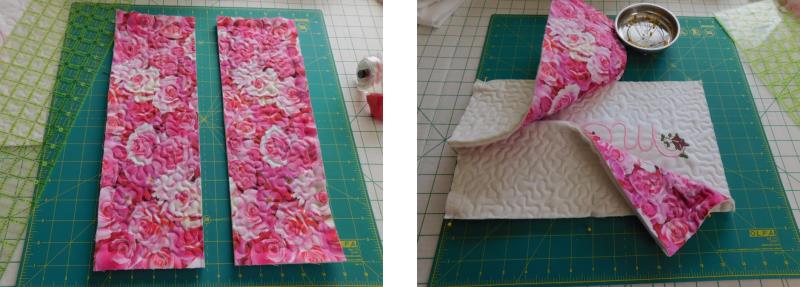
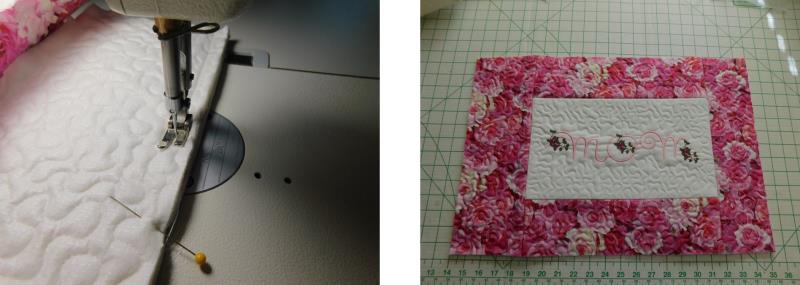
From the quilted rose fabric, 4” borders were cut to fit around the pillow. Cut the fabric, pin on the top and bottom borders.
(Click Image to Enlarge)
Step 14:
Sew on the top and bottom borders using a ½” seam allowance. Repeat for the side borders.
(Click Image to Enlarge)
Step 15:
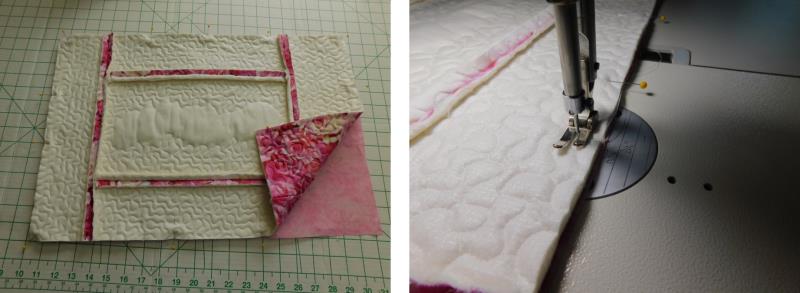
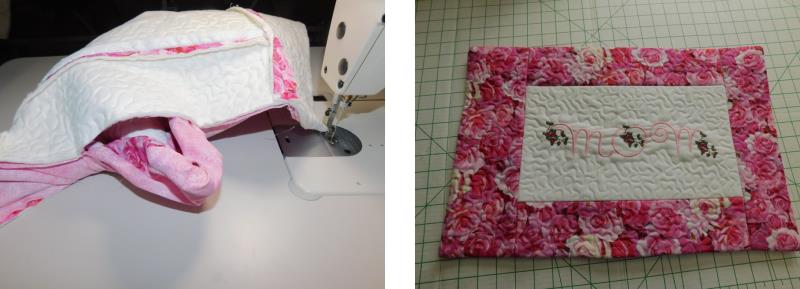
Finger press the seams open. Cut a piece of backing fabric the size of the pillow top. With right sides together, pin the top to the back and sew all around the pillow with a ½” seam allowance, leaving an opening at the bottom for stuffing.
(Click Image to Enlarge)
Step 16:
Pull the pillow right side out through the opening, form the corners well, and press the outer edges of the seam.
(Click Image to Enlarge)
Step 17:
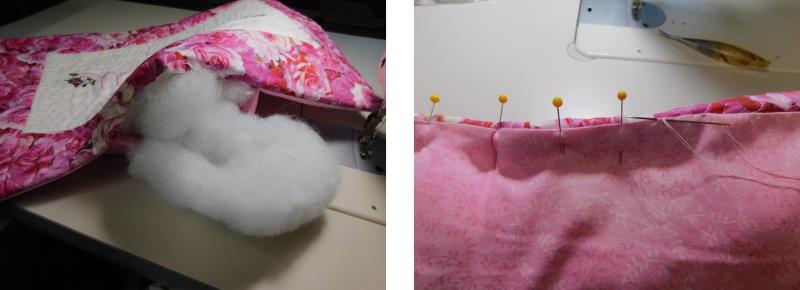
Stuff the pillow with fiber-fil. Fill out the corners first, then the outer edges, and then the center. Turn back the seam of the opening and pin. Hand stitch the opening closed.
(Click Image to Enlarge)
Step 18:
There are many fonts available on EmbroideryDesigns.com. Chose a font appropriate for the person receiving the pillow and use complimentary fabric and threads. This is such a thoughtful birthday gift for Mom! Or, it would make a great gift for any other holiday, too!
Ramona Baird has been in the embroidery industry for over 23 years. She and her husband owned a commercial and retail embroidery store in Arizona for many years. She is an experienced digitizer having been mentored by award-winners Pat Williams and Lindee Goodall. Ramona is a contributor to “Creative Machine Embroidery” magazine having 5 covers to her credit. Ramona has worked for Wilcom America and served many years as Education Director for the American Sewing Guild. With a degree in fashion design, she is able to design and execute patterns which Pat Williams says are “out of the box” in creativity and application. Ramona likes to challenge the boundaries of embroidery and bring new and exciting designs, ideas, and projects to EmbroideryDesigns.com. She wants embroiderers of all levels to increase their skills and enjoyment in using their embroidery machine for gift-making and personal pleasure.