Custom Picture Frame Mats

Custom Picture Frame Mats Embroidery Project

By   Kay Brooks   on   July 11, 2005
  • SKILL LEVELBeginner
  • TIME REQUIRED01:00
Description

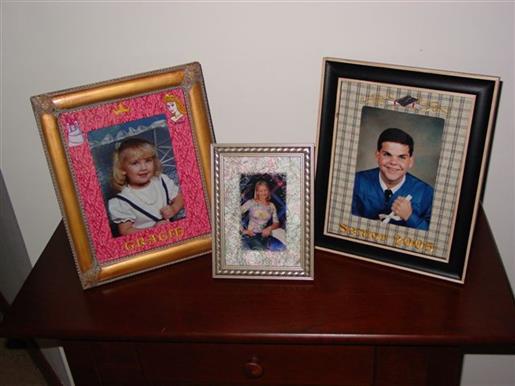
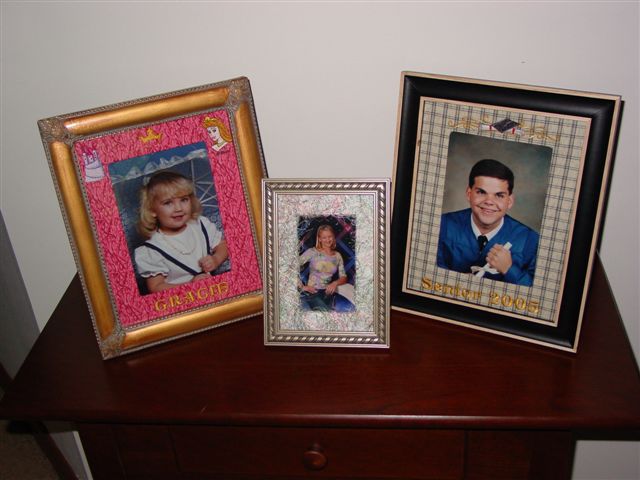
Enhance your cherished memories with personalized picture frame mats. These custom mats add a unique touch to your favorite photographs, making them ideal for home decor or gifts. Step-by-step instructions are included.

Step of

Materials

Project Preview Video

Materials
  • Floriani Stitch N Shape - Use the Double Side Fusible version for fabric or thread covered mats and use the regular, non-fusible for stenciling or decorative machine stitching versions.
  • Floriani Wet N Stick – Use this product in the hoop to hold the picture frame in place while you are embroidering it.
  • Teflon Press Sheet or Parchment Paper
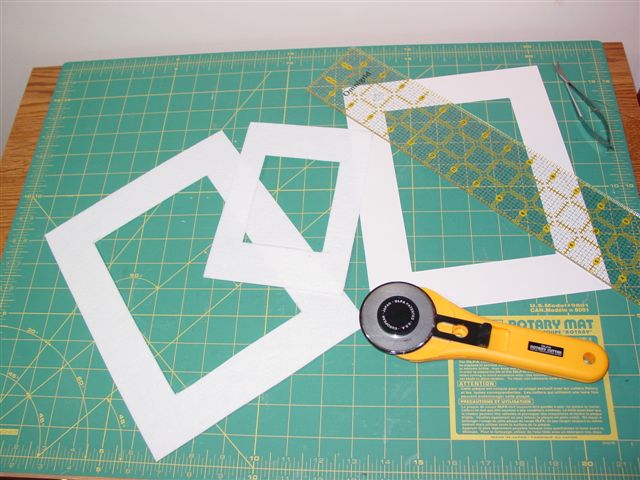
  • Rotary Cutter, Mat, Ruler
  • A variety of sizes of picture frame mats for templates for cutting.
  • Decorative Threads, Embroidery Designs, Snips, etc


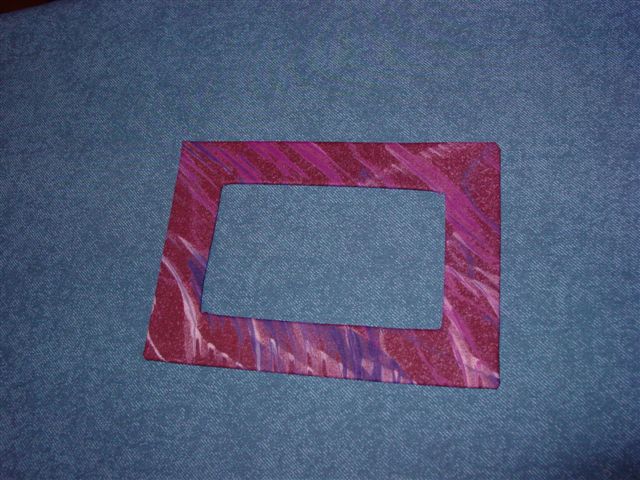
  • Final Product: What You Will Create

    Preface:
    This is a great weekend project with the children or grandchildren and makes a wonderful gift for special occasions such as graduation, baby showers, wedding or first Christmas! Stitch N Shape Fusible can be covered with fabric, loose threads or just about anything that can be fused! The regular non-fusible version is the perfect foundation for painting, stenciling, glitter, and/or decorative machine stitching.


    Step 1:

    Let's get started!

    Cut out the desired size mat from the Floriani Stitch N Shape using a regular mat as your template.

    (Click Image to Enlarge)


    Step 2:
    Cut a fabric square one inch larger than the mat size.

    (Click Image to Enlarge)


    Step 3:
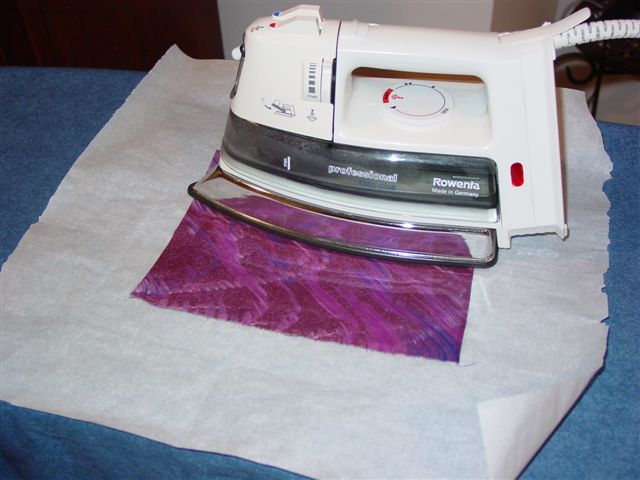
    Line your ironing board with a piece of parchment paper larger than the Floriani Stitch N Shape or use a Teflon pressing sheet.


    Step 4:
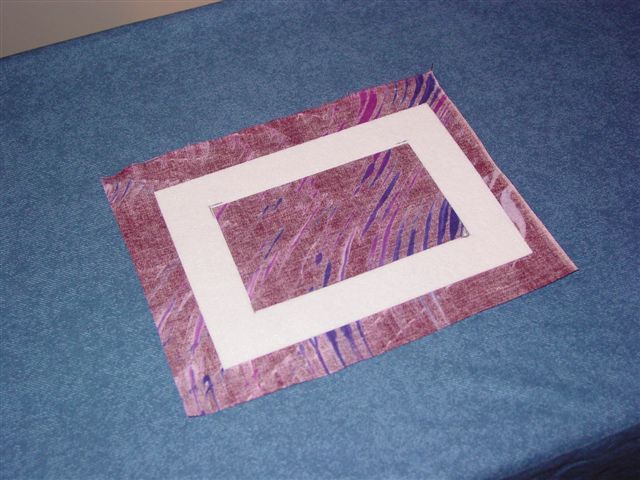
    Lay the mat cut from the Stitch N Shape on the parchment paper and center the fabric over the top.


    Step 5:
    Press the fabric to the Stitch N Shape using a medium/high setting and a very small amount of steam.

    (Click Image to Enlarge)


    Step 6:
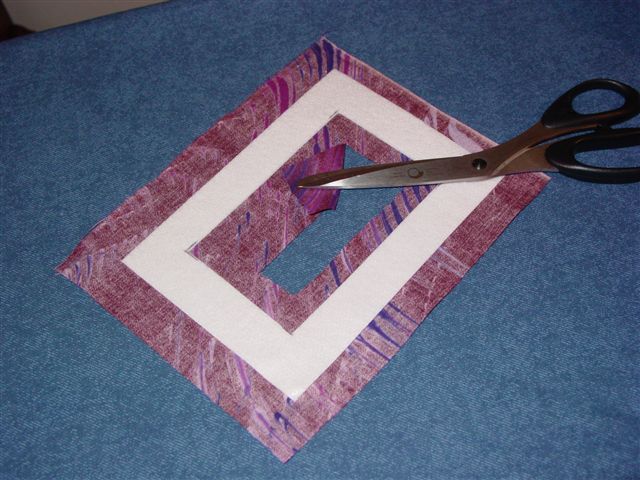
    Flip the fused piece of fabric/Stitch N Shape over exposing the Stitch N Shape mat. Cut a square from the center of the fabric leaving ¾ inch to fold back.

    (Click Image to Enlarge)


    Step 7:
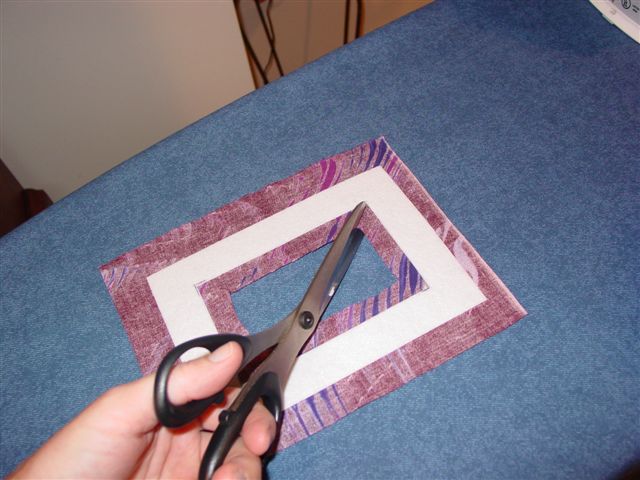
    Cut all the way to each inside corner

    (Click Image to Enlarge)


    Step 8:
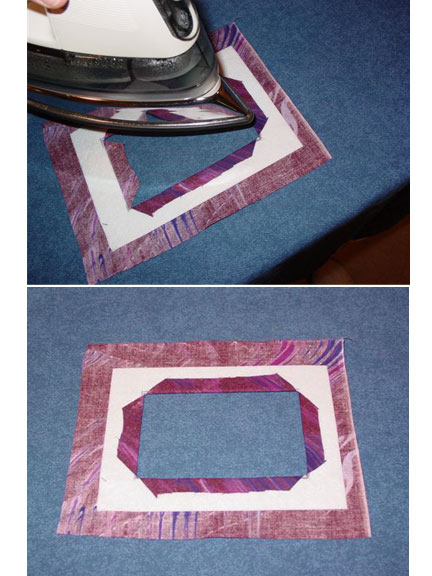
    Fold the inside edges toward the Stitch N Shape and press. Take care to not touch the surface of your iron to the Stitch N Shape. You may need to use your pressing sheet or parchment paper.

    (Click Image to Enlarge)


    Step 9:
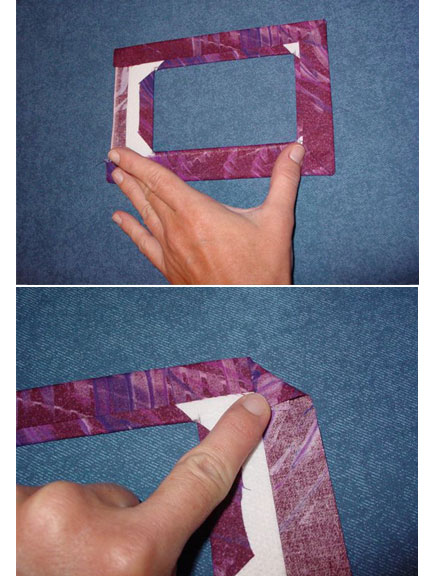
    Fold the outside edges in and press in to place, miter corners.

    (Click Image to Enlarge)


    Step 10:
    Once the back is pressed in to place, turn the mat over and press again.

    (Click Image to Enlarge)


    Step 11:
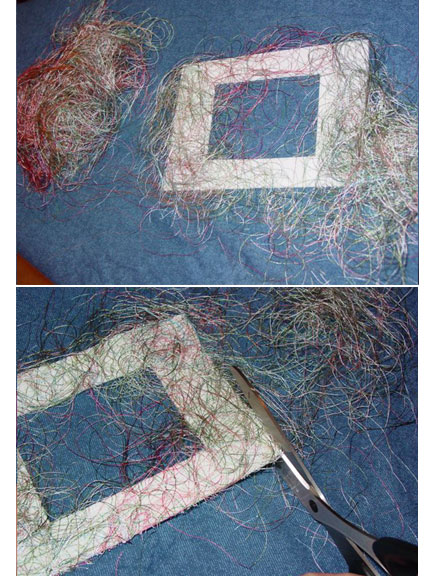
    *Note! If covering the mat in thread scraps, use the directions above. The only difference being, you will be using the thread as though it were fabric!

    (Click Image to Enlarge)


    Step 12:

    Embroidering the Fabric Covered Mat

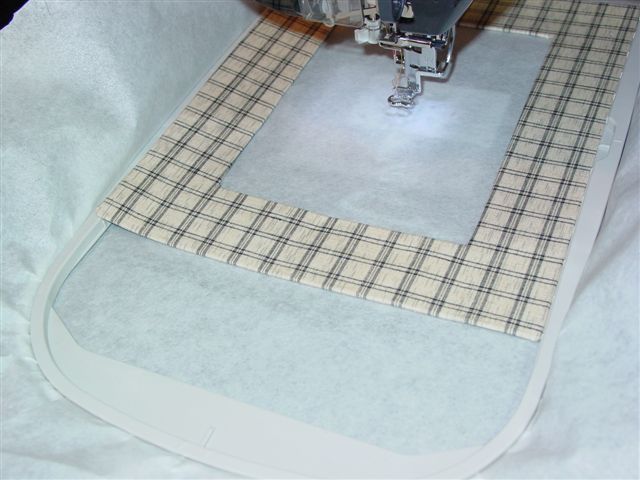
    Hoop one layer of Floriani Wet n Stick with the adhesive side up. Apply a small amount of water using a sponge or envelope sealer to the area where the mat will be stuck down. The water will activate the adhesive immediately.


    Step 13:
    Stick the fabric covered mat down to the Wet N Stick and smooth in to place.

    (Click Image to Enlarge)


    Step 14:
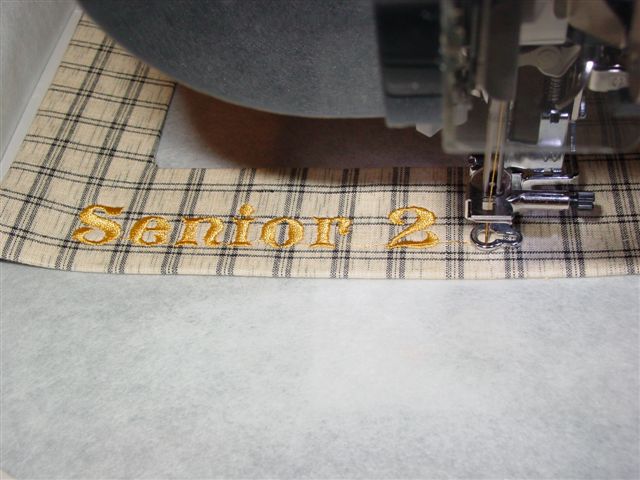
    Embroider the desired design or lettering, using a slow machine speed to obtain the best embroidery results.

    (Click Image to Enlarge)


    Step 15:
    Gently tear the stabilizer away from the embroidery.


    Step 16:
    The mat is ready to be placed into the picture frame!

    (Click Image to Enlarge)

    Meet the Author: Kay Brooks
    Kay Brooks
    Kay Brooks is co-owner of RNK Distributing, a distributor of Floriani products. Kay has been teaching sewing, quilting and embroidery for over 15 years and has a vast knowledge of various types of sewing/embroidery machines and techniques. Having owned her own Sewing Business that employed as many as 12 full time teachers, she has had the opportunity to glean her knowledge from some of the best! Kay’s new joint venture with Walter Floriani and Fred Lebow has lead to the creation of many new and unique stabilizers as well as other embroidery products for the sewing, quilting and embroidery industry.
    More From This Author
    Link is Broken, Please check the URL
    Exclusive Embroidery Offers!
    Copyright © {{ currentDate | date:'yyyy'}} - EmbroideryDesigns.com
    GET 50% OFF! ×