Border OptionsHugging border, circle, square, or rectangle — with a 3mm satin stitch.
Backing OptionsAvailable with iron-on, sew-on, or velcro backing.
Fast ShippingShipped quickly from the USA.
Free Online Tools
Powerful embroidery utilities that save time and prevent costly mistakes.
Stitch AssistantRECOMMENDED
Get the exact stabilizer, machine settings, needle, and thread color sequence for every embroidery design you purchase — based on that design's stitch density, dimensions, and color count.
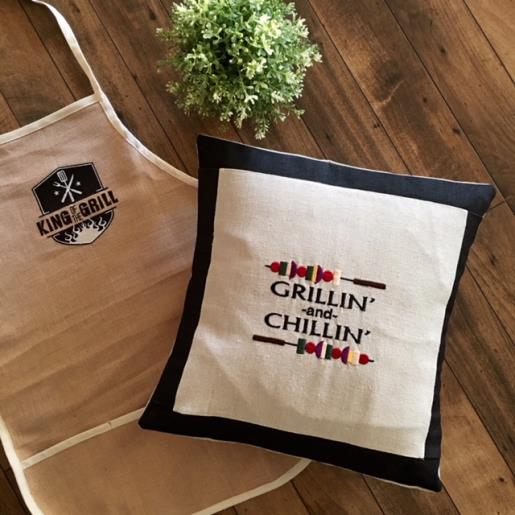
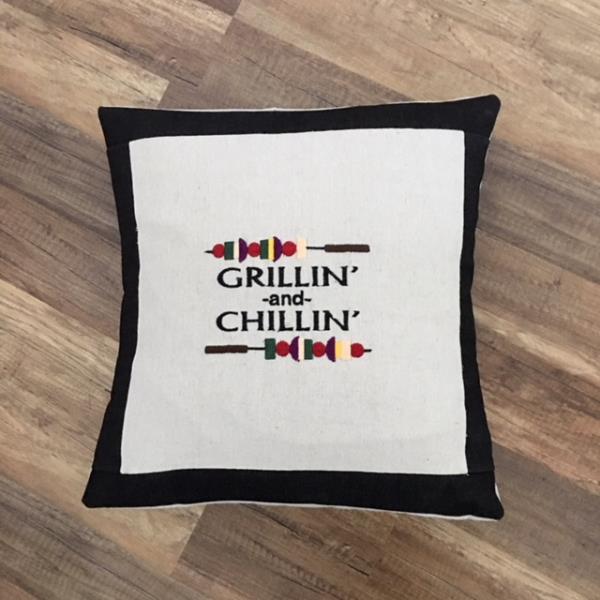
Enhance your backyard decor with this Applique Grillin' and Chillin' Pillow, perfect for barbecue season. Featuring a charming BBQ theme, it adds a cozy touch to outdoor gatherings. Step-by-step instructions are included.
Step
of
Applique Grillin' and Chillin' Pillow
By Linda Mills
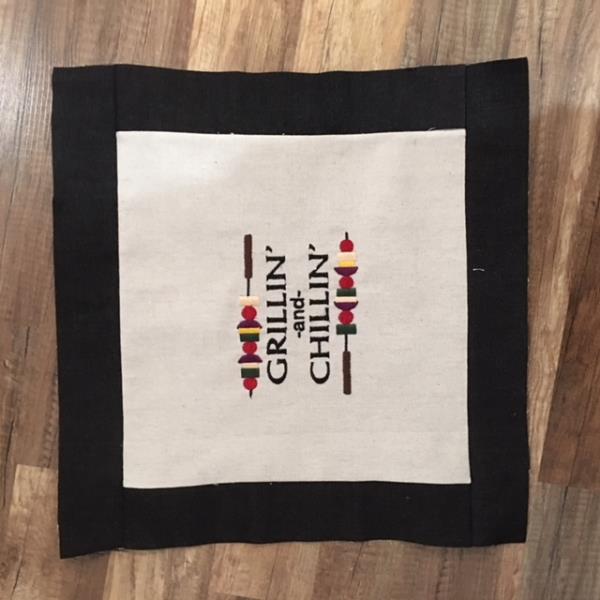
Pillow cover to fit a 16” x 16” pillow form and constructed to fit a bit snug for a loftier look. Embroider the design then add 2” sash to all four sides to create a frame. This pillow cover has an envelope backing.
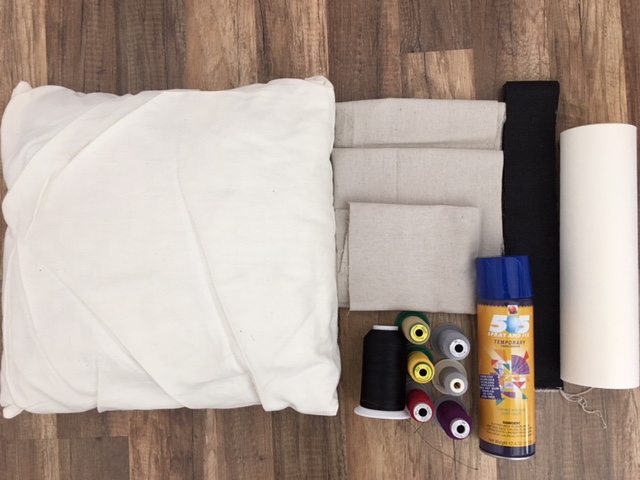
Step 1:
Gather all supplies and review instructions before beginning.
(Click Image to Enlarge)
Step 2:
Cut your fabric as follows:
Fabric for embroidered design ( main fabric) 13.5” x 13.5”
Envelope back cut pieces (1) 11” x 17”, (1) 13” x 17”
Strips (2) 2.5” x 13.5” (2) 2.5” x 17”
Step 3:
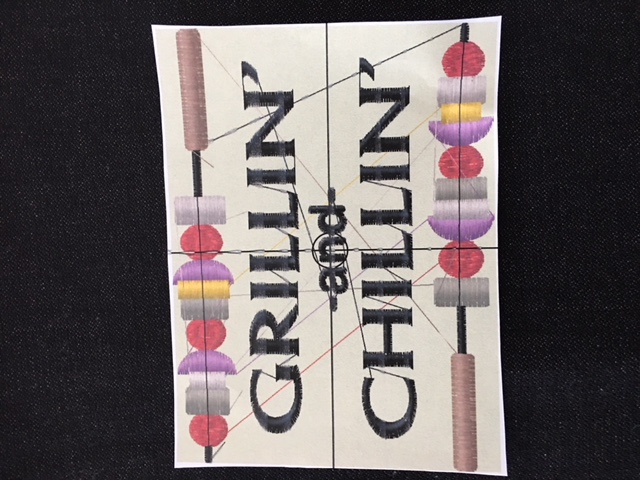
Print out a design template for review
(Click Image to Enlarge)
Step 4:
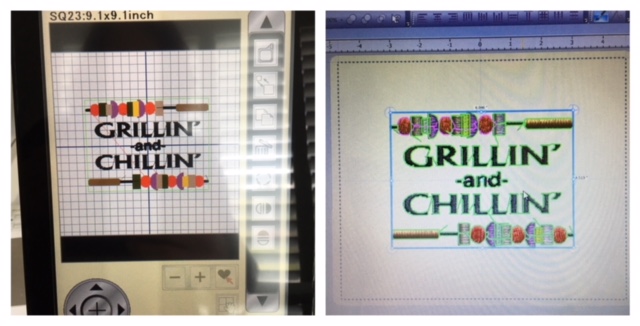
Load embroidery design into your machine and edit to increase size design size approx 6” x 4.5” per your machine's instructions .
* Optional: With embroidery software program bring embroidery design into your program and resize to 6” x 4.5”.
(Click Image to Enlarge)
Step 5:
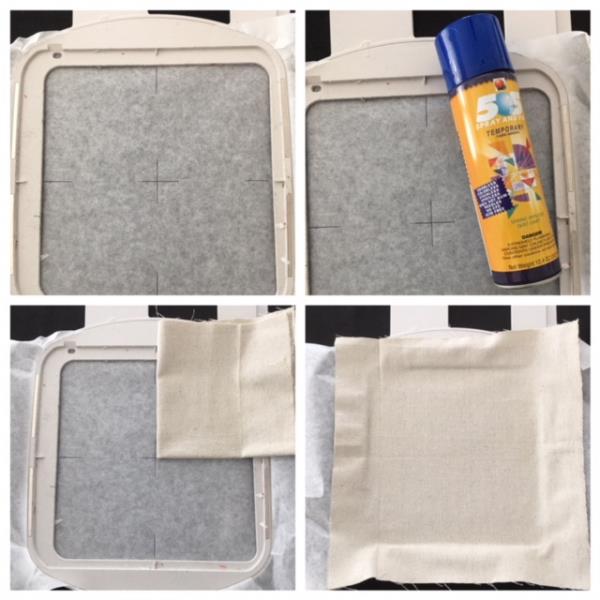
Cut and hoop a piece of stabilizer. Center mark cross hair and mark side and top axis points. Spray temporary adhesive spray. Quarter fold cut main fabric . Center place corner to top right of cross hair. Unfold and fingertip press to secure.
(Click Image to Enlarge)
Step 6:
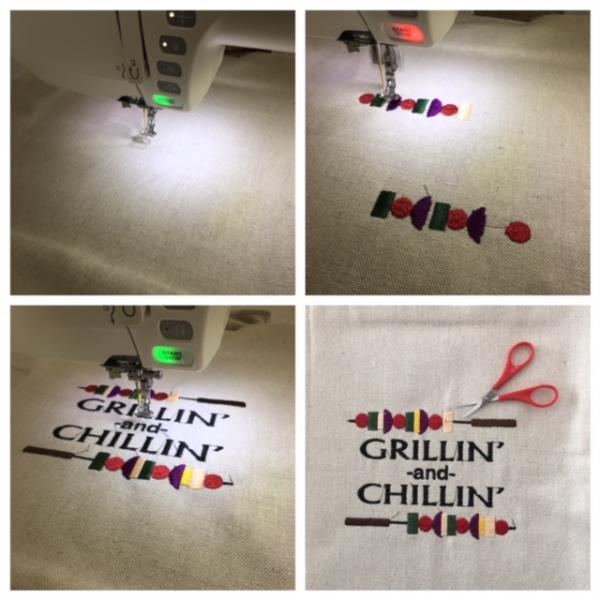
Attach hoop to machine. Confirm center needle placement per your machine’s instructions. Begin the embroidering process. Follow thread color chart or use your choice of thread colors. Upon completion of embroidering remove hoop. Cut all jump stitches and loose thread ends. Remove stabilizer. Iron press to set stitches.
(Click Image to Enlarge)
Step 7:
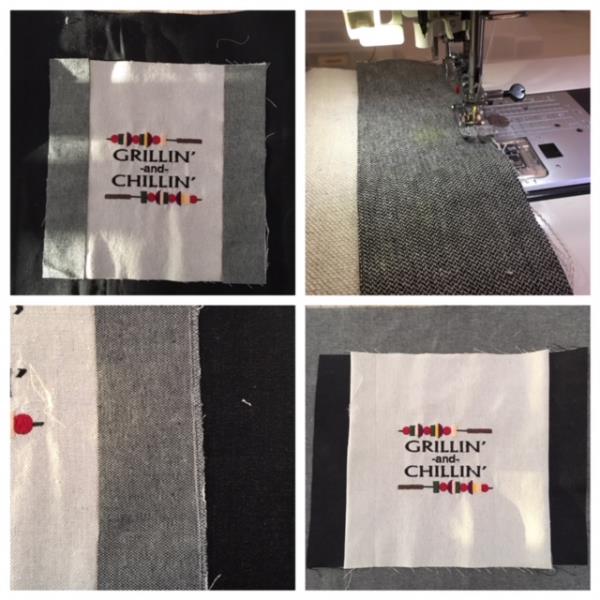
ATTACHING STRIPS Using cut strips 2.5” x 13.5” attach to each side, right sides together, using ¼” seam allowance. Serge or zig zag edges to prevent fraying. Iron press.
(Click Image to Enlarge)
Step 8:
With your two remaining strips 2.5” x 17.5” attach to top and bottom. Repeat step.
(Click Image to Enlarge)
Step 9:
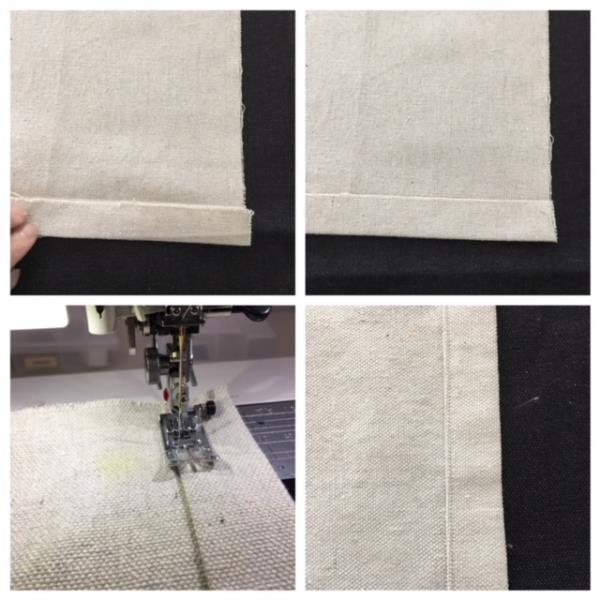
Envelope Back With you’re your two cut pieces 11” x 17” and 13” x 17”. Fold down 1” of the 17” side. Press and fold down again. Repeat for the 2nd cut piece. Top stitch from folded edge using 1/8” seam allowance.
(Click Image to Enlarge)
Step 10:
Construction of Pillow Cover
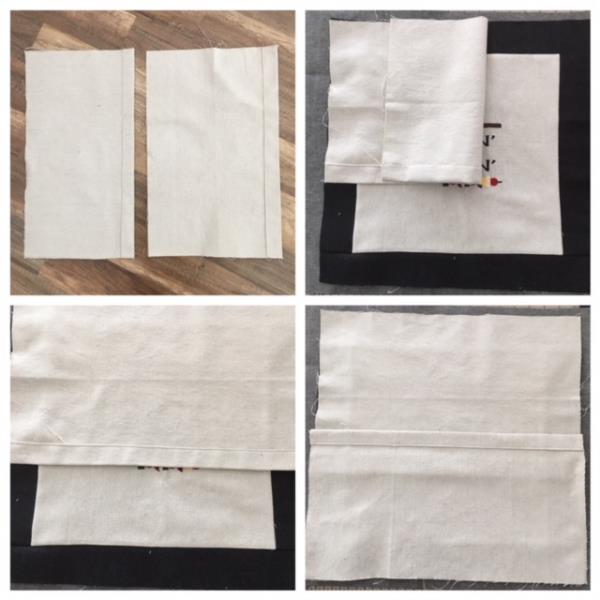
You should now have 3 pieces to assemble your pillow cover. Place right sides together. Lay your framed embroidered piece right side up. Lay the 13” x 17” piece down first. Then lay the 11” x 17” piece next. Overlapping the two back pieces to form a flap for easy insertion of the pillow form.
(Click Image to Enlarge)
Step 11:
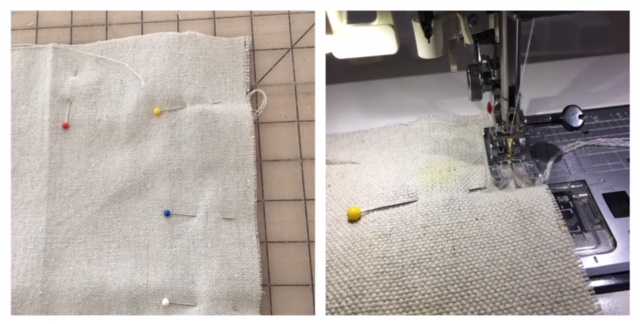
Pin in place and sew all sides using ¼” seam allowance. Serge or zig zag all sides. Clip corners. Turn right side out. Iron press .
(Click Image to Enlarge)
Step 12:
Insert pillow form and you are done! Congrats your Grillin' and Chillin' Pillow Cover is complete!