Border OptionsHugging border, circle, square, or rectangle — with a 3mm satin stitch.
Backing OptionsAvailable with iron-on, sew-on, or velcro backing.
Fast ShippingShipped quickly from the USA.
Free Online Tools
Powerful embroidery utilities that save time and prevent costly mistakes.
Stitch AssistantRECOMMENDED
Get the exact stabilizer, machine settings, needle, and thread color sequence for every embroidery design you purchase — based on that design's stitch density, dimensions, and color count.
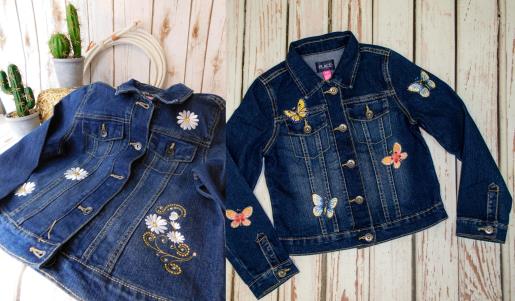
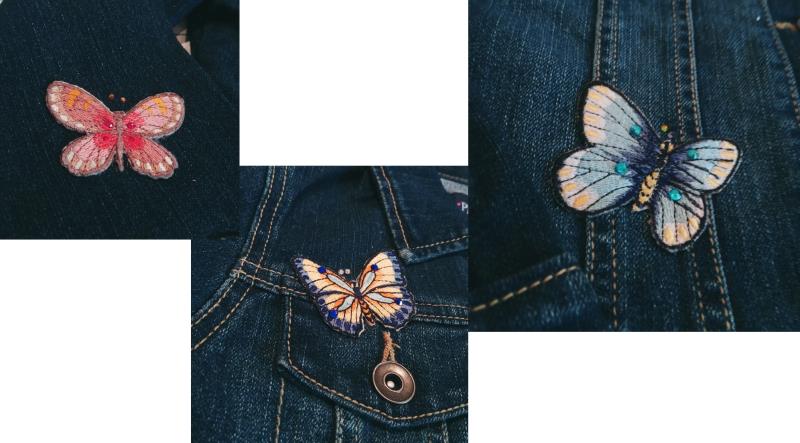
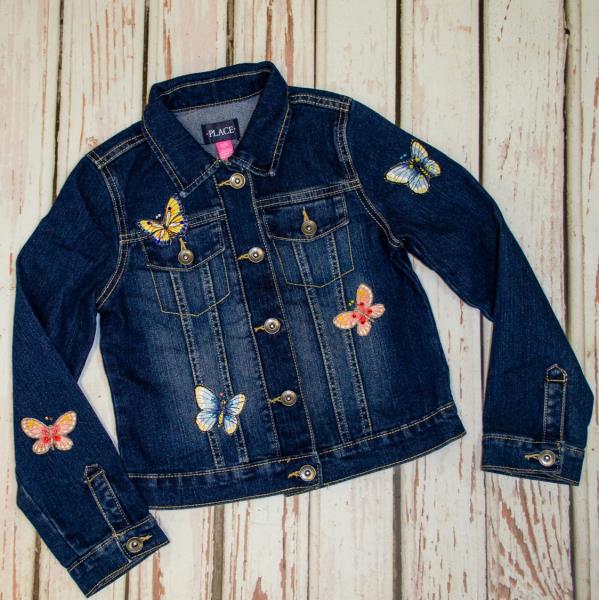
There are two different styles of jackets in this project. One has butterflies that are stitched on stabilizer, the stabilizer melted away to the edges of the butterflies, and then applied like patches. The other jacket has daisies that are direct embroidery. Both are bedazzled with crystals—for little girls who love sparkles!
Step 1:
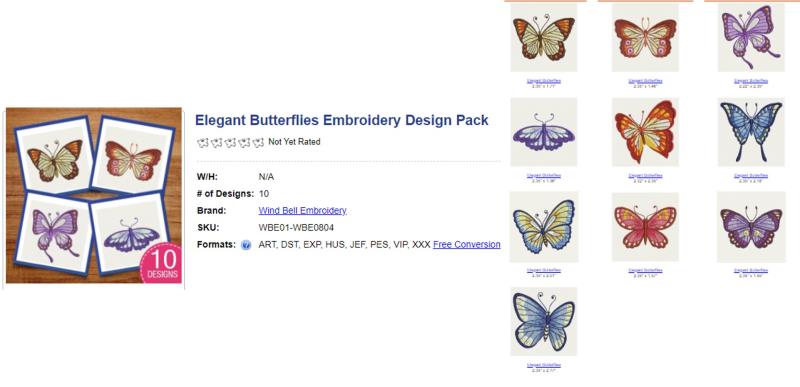
Read through the instructions thoroughly before beginning and assemble all the materials needed to complete the projects. The polymesh stabilizer is used for the butterfly jacket. The butterflies on the jacket are stitched on the stabilizer only, then the excess stabilizer burned away. The tearaway for the daisy jacket, which has direct embroidery. There are several choices of butterflies in the pack, so choose the ones you’d like to use.
(Click Image to Enlarge)
Step 2:
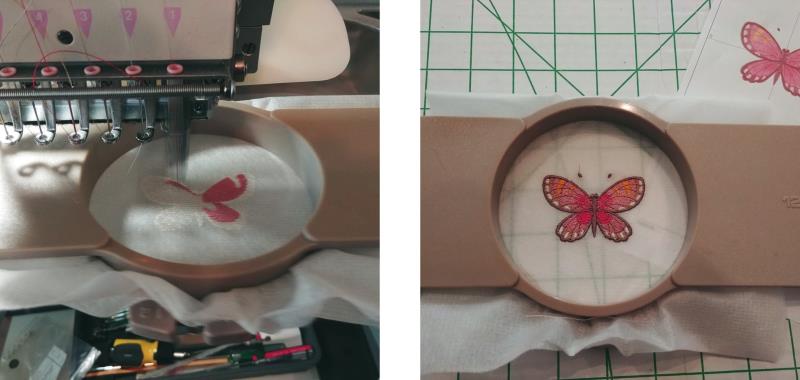
For each butterfly to be stitched, hoop two layers of poly mesh stabilizer and stitch the butterfly according to the color sequence.
(Click Image to Enlarge)
Step 3:
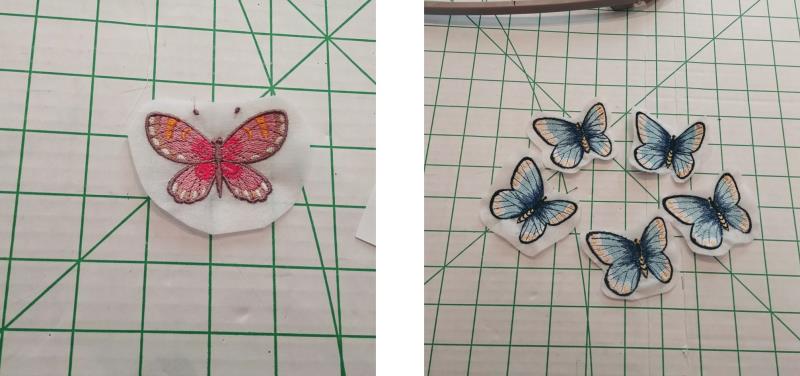
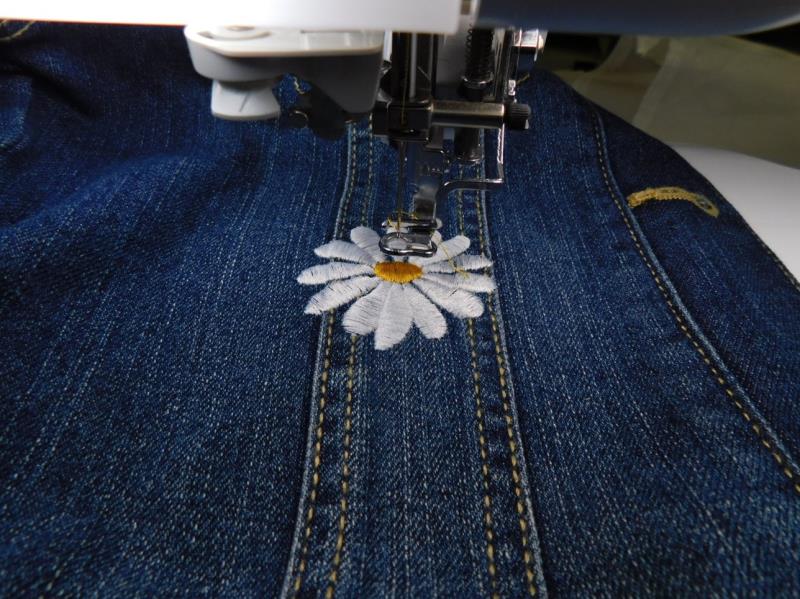
Trim away most of the excess stabilizer. Stitch as many butterflies as you’d like.
(Click Image to Enlarge)
Step 4:
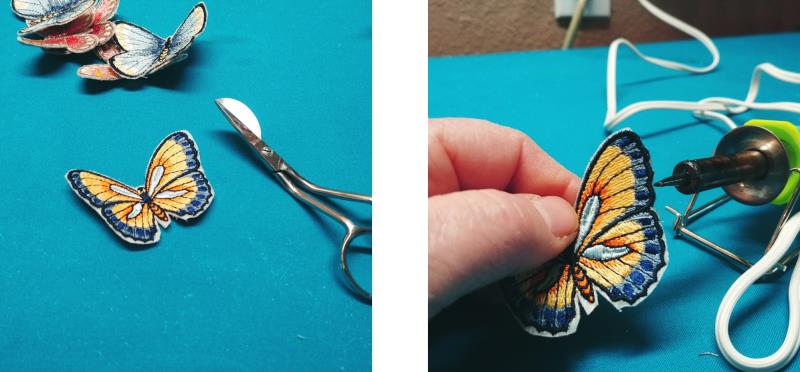
Using sharp scissors, trim away more stabilizer, leaving about 1/8”. Heat up the wood burning tool with the pointed tip. Very carefully, hold the edge of the butterfly close to the tip to melt the stabilizer back to the thread. Do not touch the thread as the tool is hot and will melt the thread.
(Click Image to Enlarge)
Step 5:
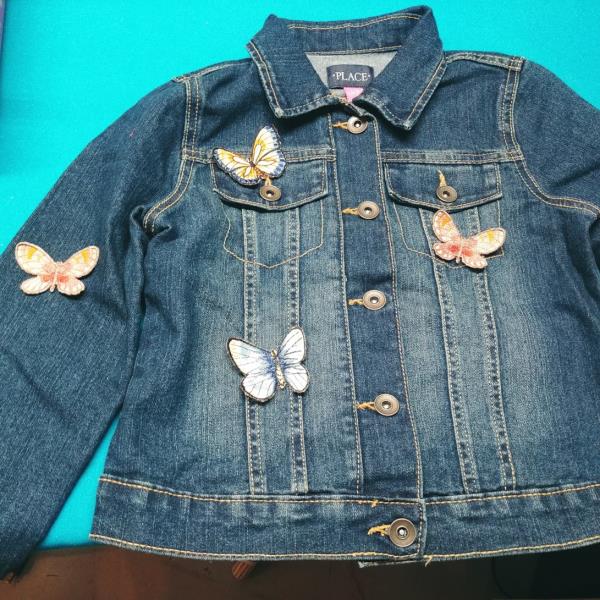
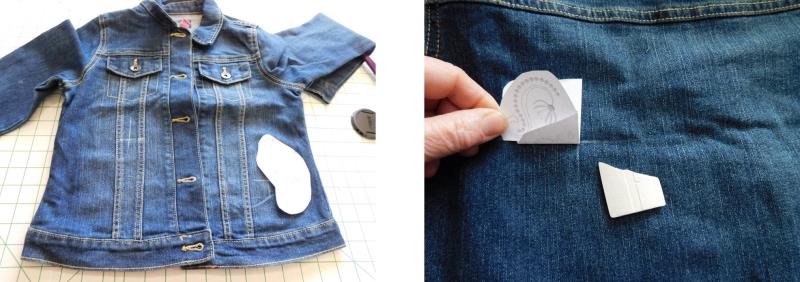
Determine where you’d like the butterflies placed around the jacket.
(Click Image to Enlarge)
Step 6:
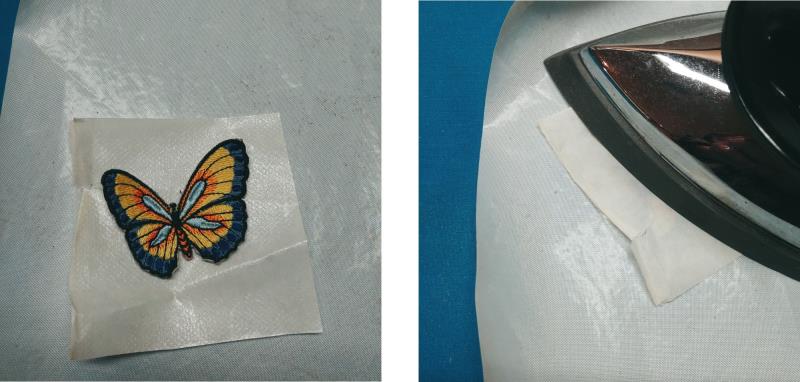
Cut a piece of Heat ‘n Bond, place the adhesive side against the back of the butterfly. Lay the silicone pressing sheet on the ironing board and then lay the butterfly face down on the pressing sheet. Use the iron to apply the adhesive to the back of the butterfly according to the manufacturers’ directions. Let the butterfly cool, peel off the paper and trim away the excess adhesive.
(Click Image to Enlarge)
Step 7:
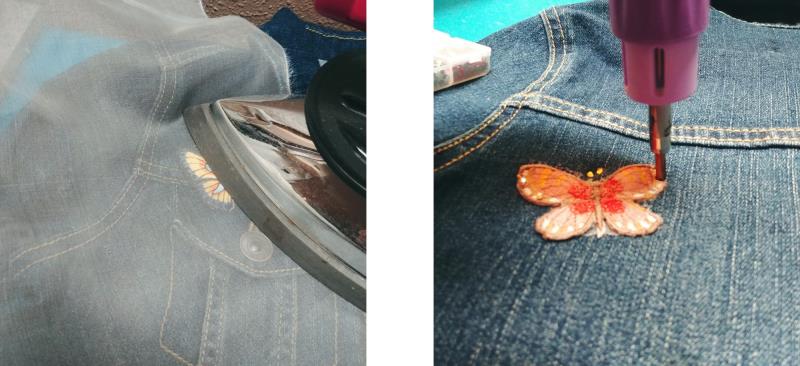
Place the butterfly into the pre-determined position on the jacket. Place the silk pressing cloth over the butterfly and press the butterfly into position. Repeat the steps of stitching the butterfly, burning the stabilizer, applying the adhesive, and pressing onto the jacket. Let the butterflies cool and then heat up the hot fix tool and apply the crystals as desired.
(Click Image to Enlarge)
Step 8:
The crystals add a nice bit of sparkle to the butterflies.
(Click Image to Enlarge)
Step 9:
Add the butterflies where you’d like including the jacket sleeves and back.
(Click Image to Enlarge)
Step 10:
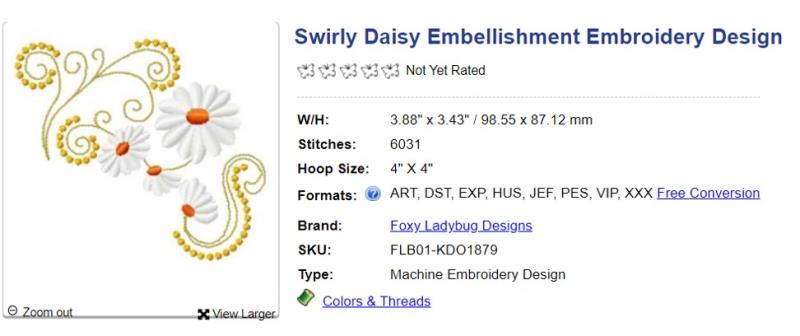
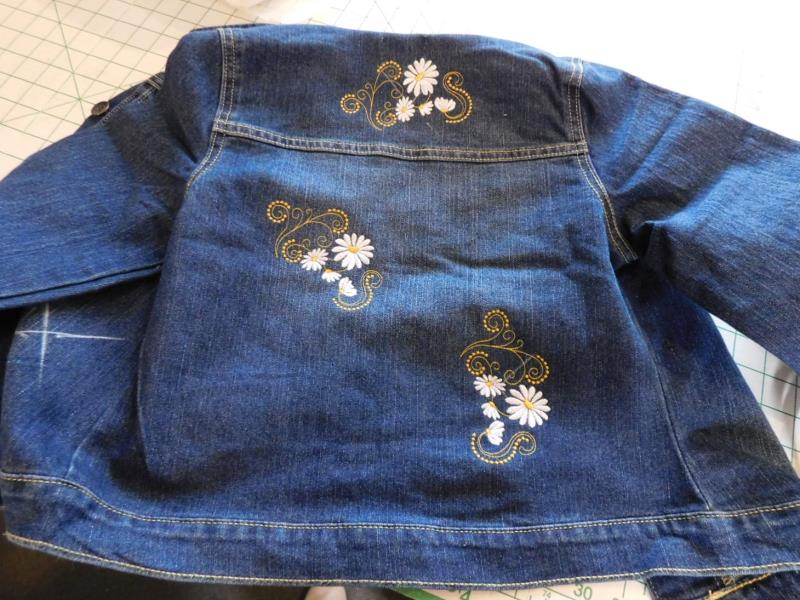
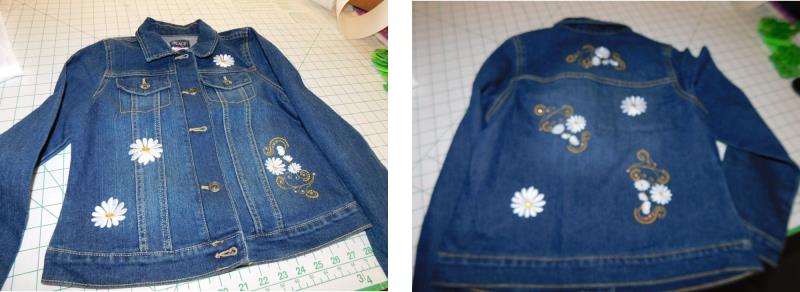
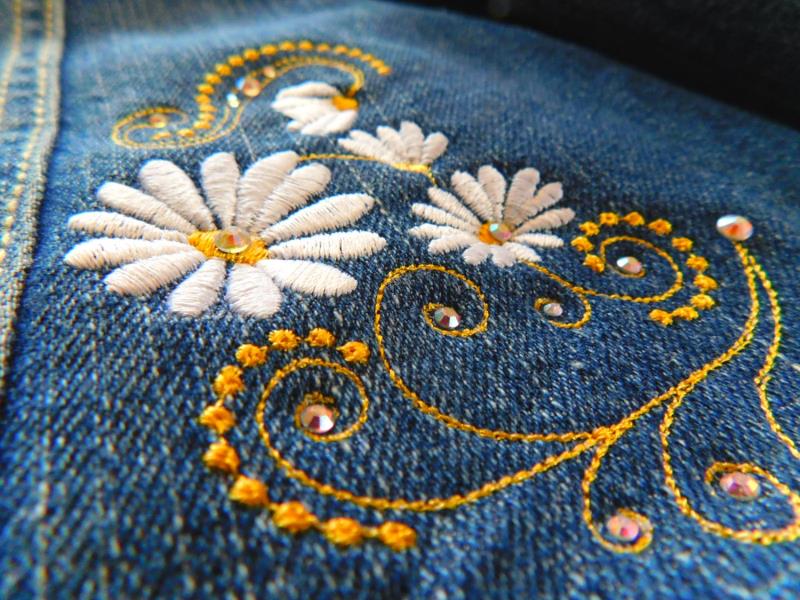
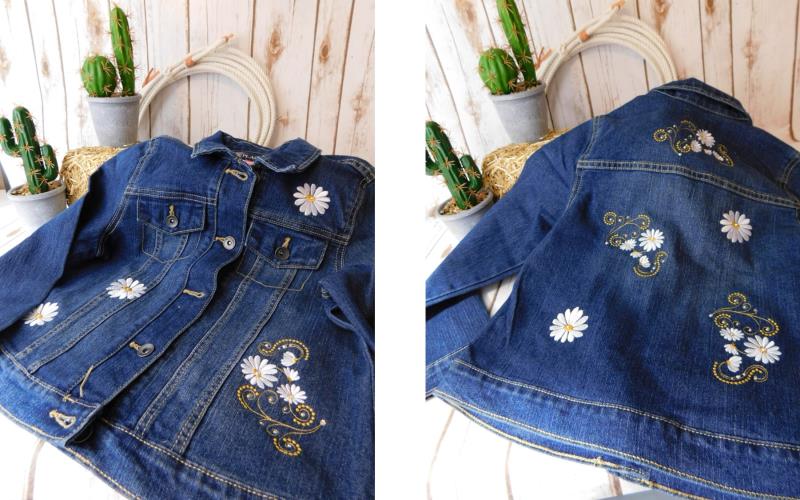
For the second jacket, this Swirly Daisy design was used. Each time it was stitched, it was rotated. The large daisy was also pulled from the design and applied as single daisies, too.
(Click Image to Enlarge)
Step 11:
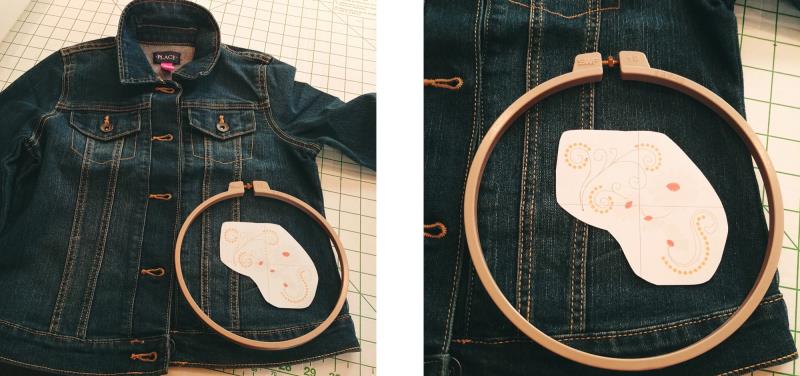
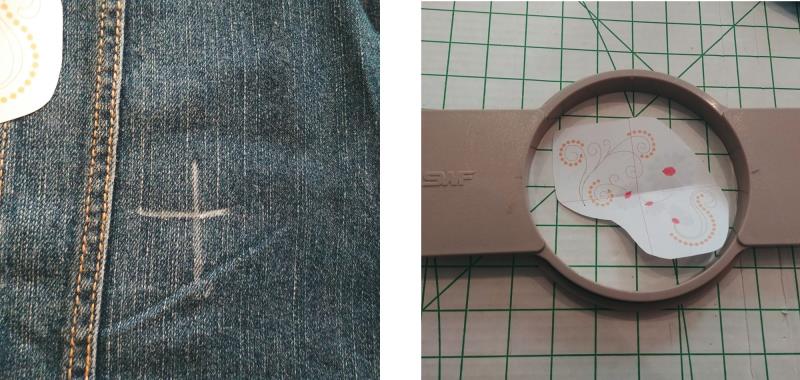
Print out the template of the design to aid in placement. Determine the placements for the design and select a hoop large enough for stitching.
(Click Image to Enlarge)
Step 12:
Use tailor’s chalk to mark the center alignment position on the jacket.
(Click Image to Enlarge)
Step 13:
Choose positions on the back of the jacket for stitching, too.
(Click Image to Enlarge)
Step 14:
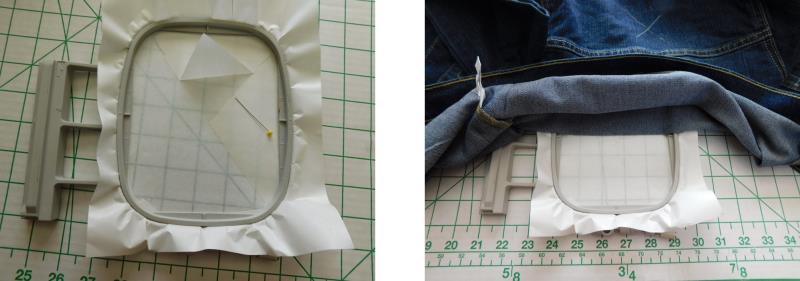
Hoop a layer of adhesive tearaway and remove the protective paper. Place the jacket on the stabilizer, centering the chalk mark in the center of the hoop.
(Click Image to Enlarge)
Step 15:
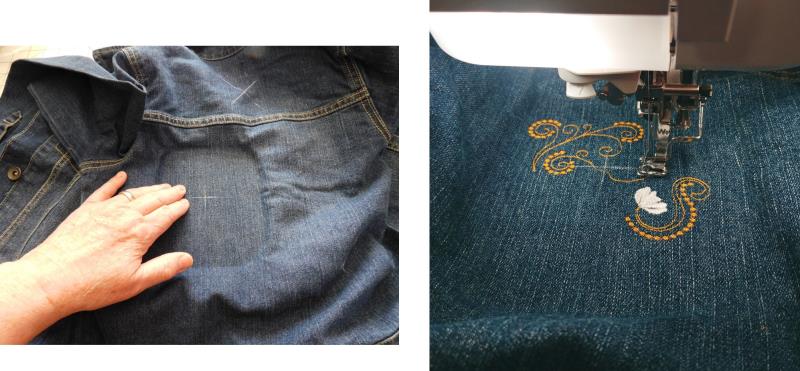
Press the fabric to the stabilizer. Carefully place the hoop on the machine, align the needle to the center chalk mark, and stitch the design following the color sequence.
(Click Image to Enlarge)
Step 16:
Repeat for all determined positions on the jacket. Those these designs were very pretty on the jacket, it needed more. So using the editing software, the large flower was pulled out of the design and stitched onto the jacket front and back.
(Click Image to Enlarge)
Step 17:
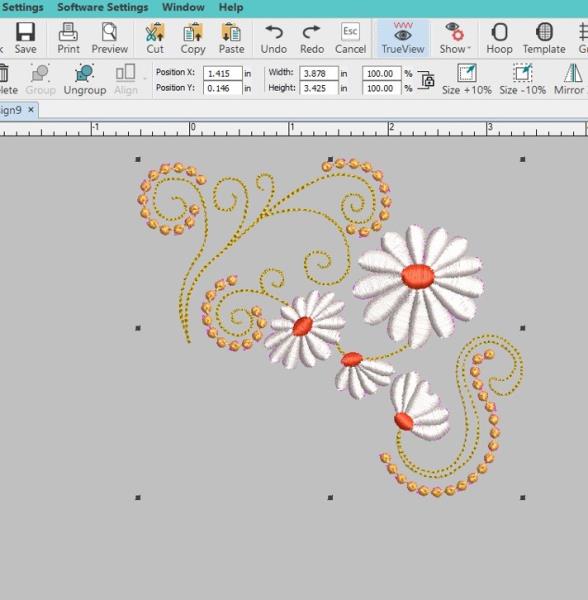
Open the design in the software; for the project Hatch (www.hatchbeginners.com) software was used. Save it as a new file so the original file is preserved.
(Click Image to Enlarge)
Step 18:
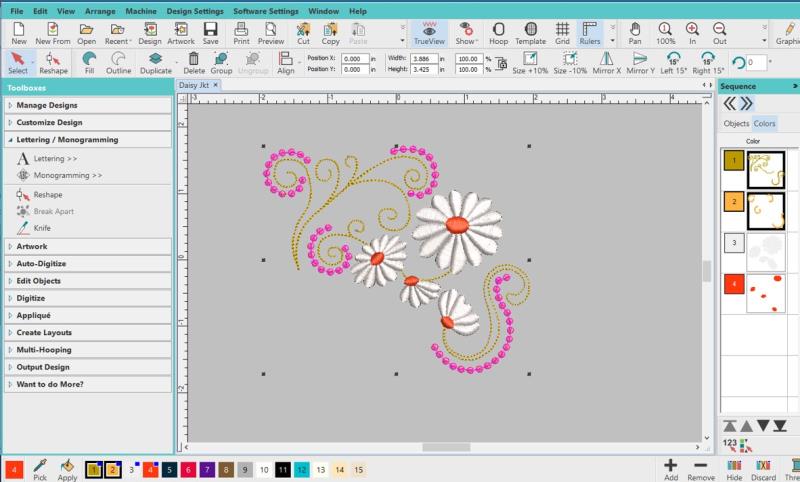
Select all the portions not needed. This can be done through the sequence docker, colors tab. Just click to choose the colors
(Click Image to Enlarge)
Step 19:
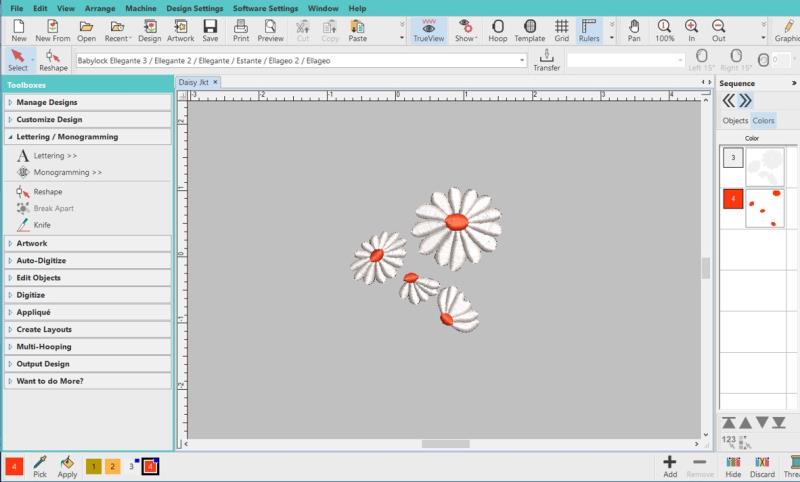
and delete. This leaves the flowers.
(Click Image to Enlarge)
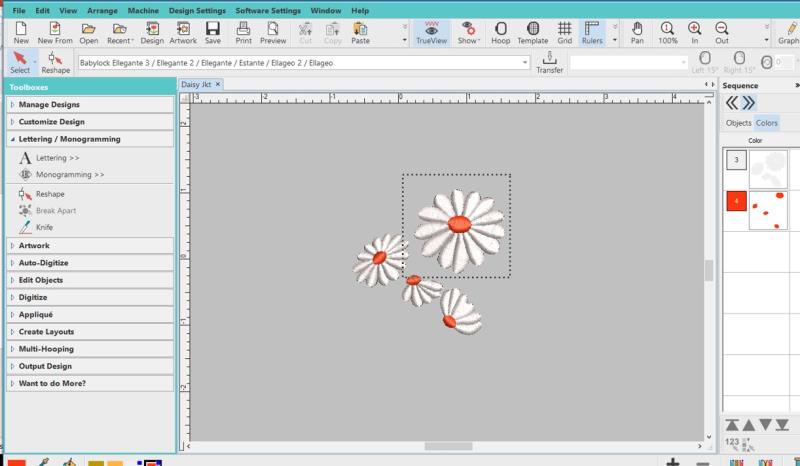
Step 20:
Now place a bounding box around the large flower
(Click Image to Enlarge)
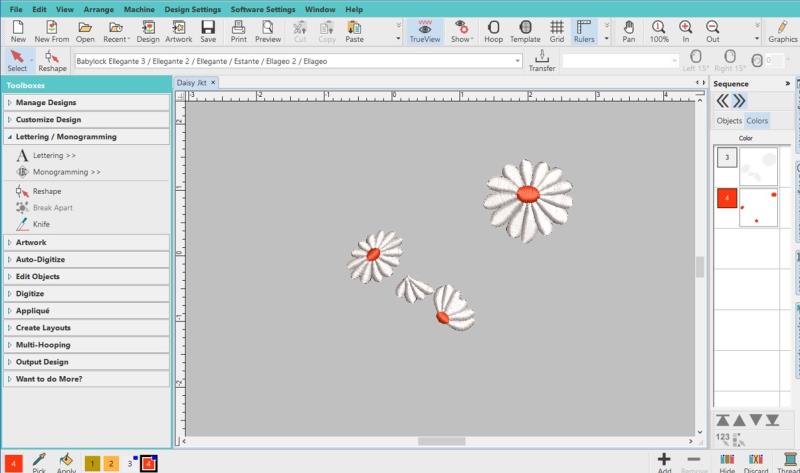
Step 21:
and move it out of the way.
(Click Image to Enlarge)
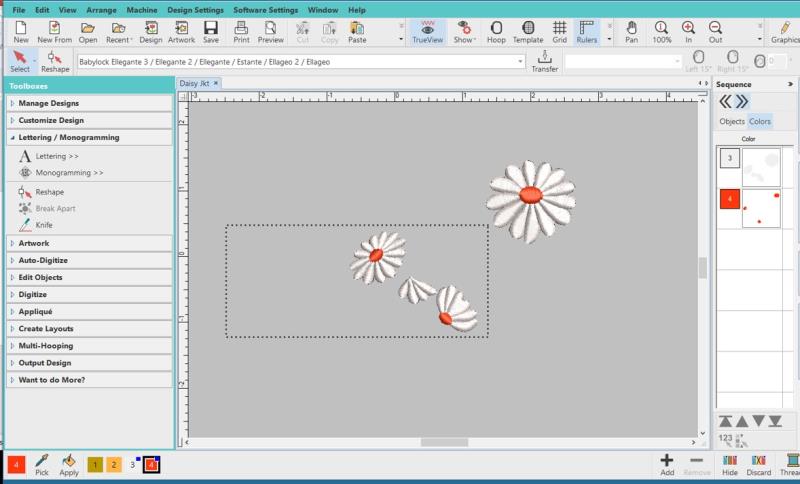
Step 22:
Select the three remaining flowers and delete them
(Click Image to Enlarge)
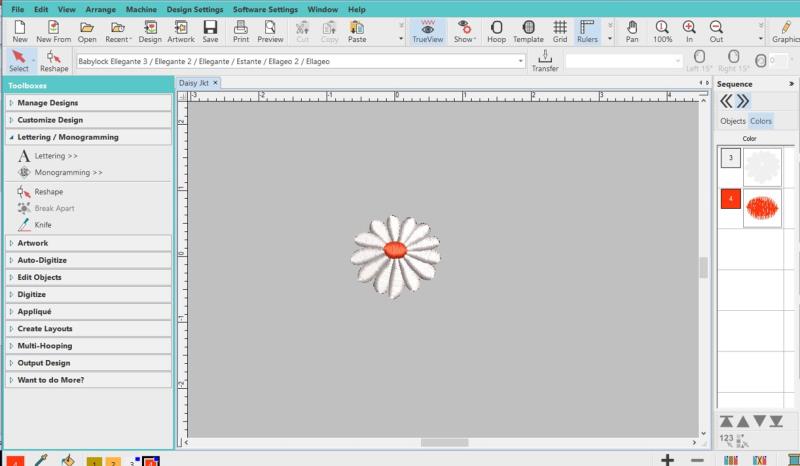
Step 23:
leaving the single large flower. Save the file and then save it in the format needed for the machine.
(Click Image to Enlarge)
Step 24:
Hoop the adhesive stabilizer, and stitch the flowers
(Click Image to Enlarge)
Step 25:
in the pre-determined positions on the jacket front and back.
(Click Image to Enlarge)
Step 26:
Heat up the hot fix tool and apply crystals as desired within the designs.
(Click Image to Enlarge)
Step 27:
Congratulations on completing and adorable jacket. This little girl’s jacket is so cute, I think this big girl needs one, too!
Ramona Baird has been in the embroidery industry for over 23 years. She and her husband owned a commercial and retail embroidery store in Arizona for many years. She is an experienced digitizer having been mentored by award-winners Pat Williams and Lindee Goodall. Ramona is a contributor to “Creative Machine Embroidery” magazine having 5 covers to her credit. Ramona has worked for Wilcom America and served many years as Education Director for the American Sewing Guild. With a degree in fashion design, she is able to design and execute patterns which Pat Williams says are “out of the box” in creativity and application. Ramona likes to challenge the boundaries of embroidery and bring new and exciting designs, ideas, and projects to EmbroideryDesigns.com. She wants embroiderers of all levels to increase their skills and enjoyment in using their embroidery machine for gift-making and personal pleasure.