{{superHeaderAds.title}}
Live Chat
Embroidery Designs
Welcome, Embroiderer
Login
Reusable Coffee Sleeve
{{mainImageAlt || (productInfo._source && productInfo._source.name) || ''}}

Reusable Coffee Sleeve Embroidery Project

By   Linda Mills   on   February 03, 2020

PROJECT DETAILS

SKILL LEVEL
Some Experience
TIME REQUIRED
01:00
Description

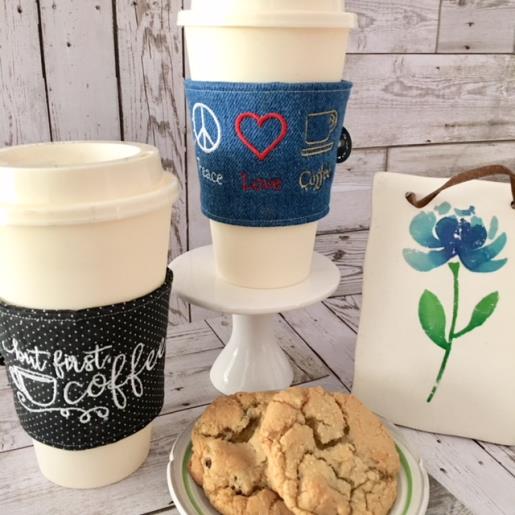
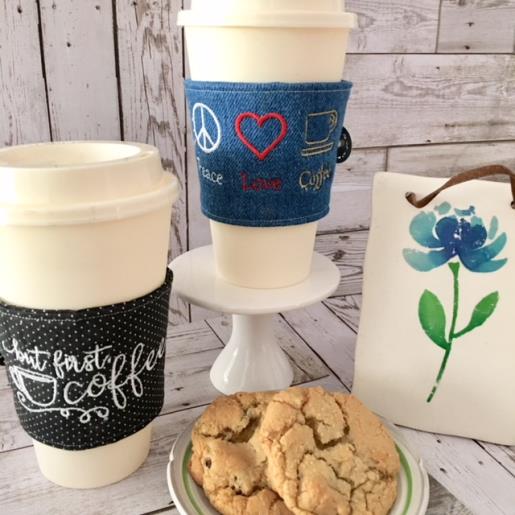
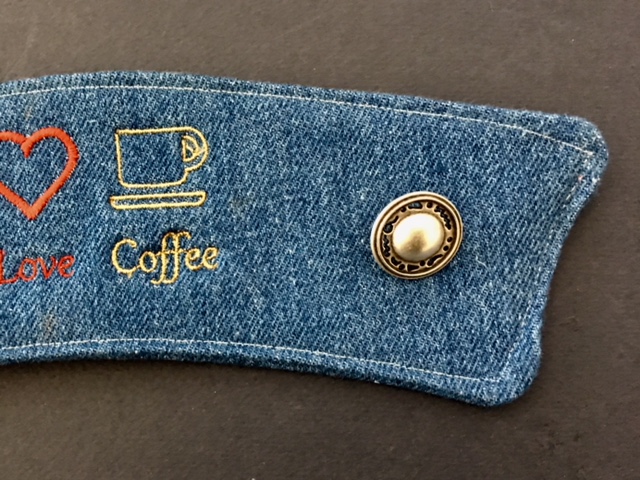
A design embroidered coffee sleeve is a must when you’re on the go to add a bit of whimsy and color to that humdrum looking To Go Cup.

Project Preview Video

Materials
  • (1) To Go Cup ( Cup used in this tutorial was purchased at $tree)
  • Heavy weight cotton Fabric remnants (i.e denim, drop cloth,)
  • Cut away stabilizer
  • Sewing thread
  • Embroidery thread ( your choice of colors or follow design thread chart)
  • Temporary adhesive spray
  • Button(s)
  • ¼” wide elastic

  • Designs used in this project

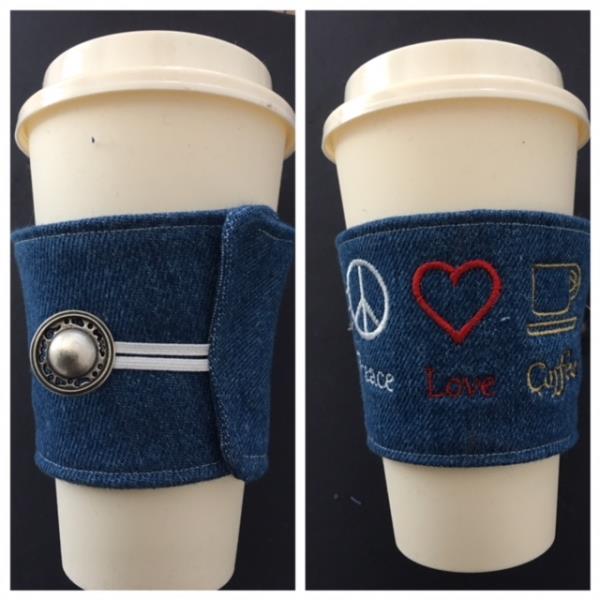
    Final Product: What You Will Create

    Preface:
    A straightforward tutorial for those with some sewing and embroidering experience. Two fabric pieces, a charming embroidery designs and an elastic fastener with button brings this To Go Cup sleeve all together. Sleeve pattern is included as attachment in this tutorial.


    Step 1:
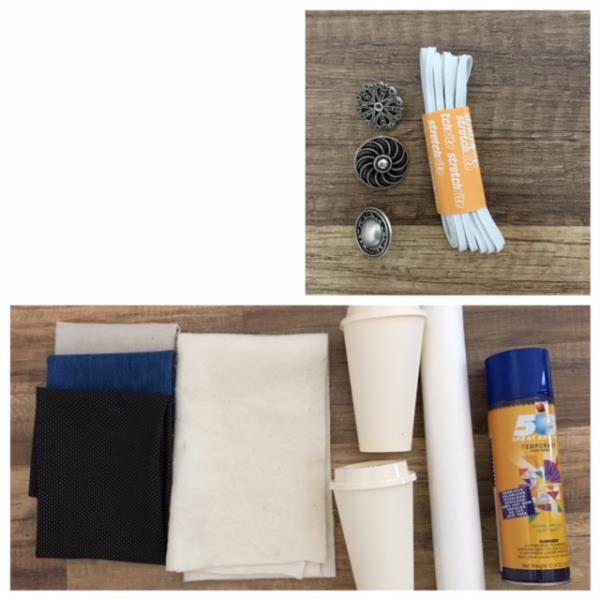
    Gather all supplies and review instructions before beginning.
    (Picture shown shows additional supplies for a set of cup sleeves) .

    (Click Image to Enlarge)


    Step 2:
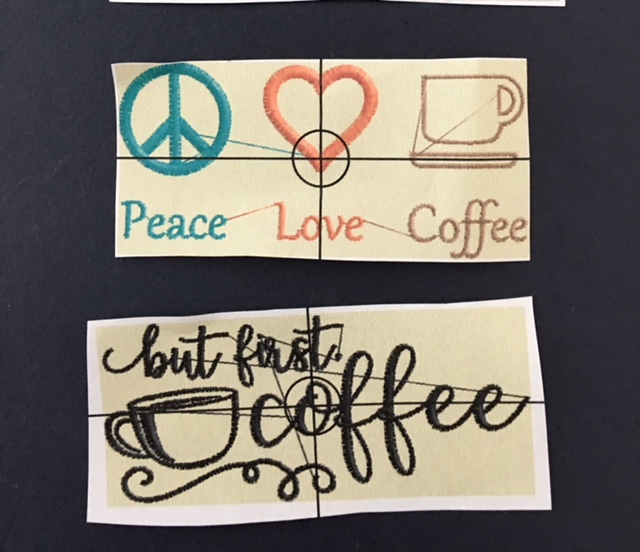
    Print out template(s) of design(S) for thread color review and centering. Print out cup sleeve pattern.

    (Click Image to Enlarge)


    Step 3:
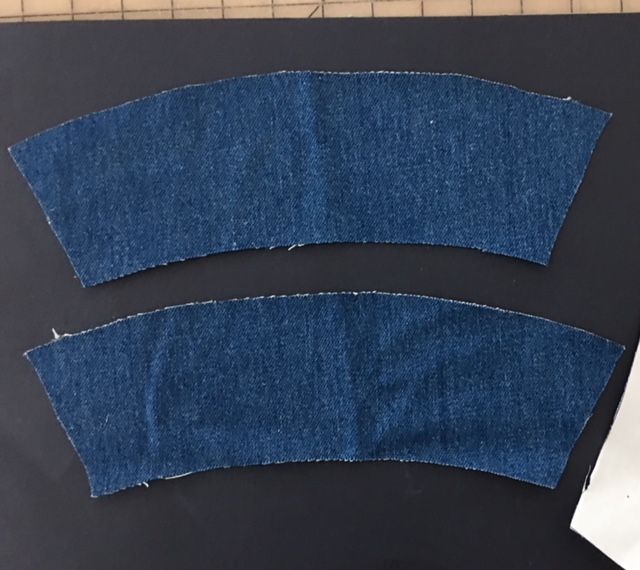
    Cut two fabric pieces for each sleeve using attached pattern print out.

    (Click Image to Enlarge)


    Step 4:
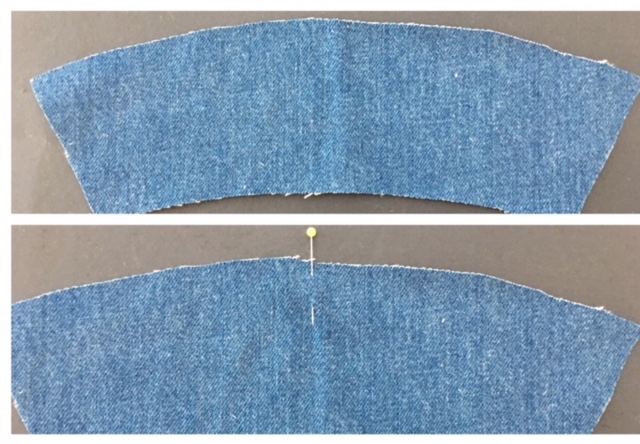
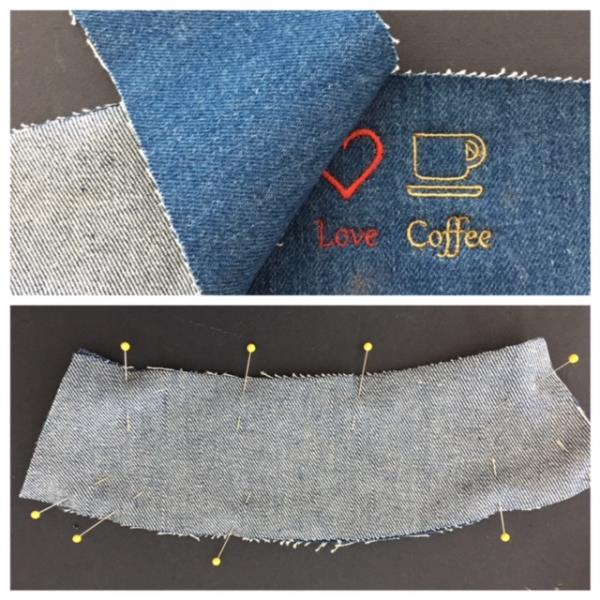
    Fold one of the sleeve pieces in half (matching up short sides) and mark center using straight pin.

    (Click Image to Enlarge)


    Step 5:
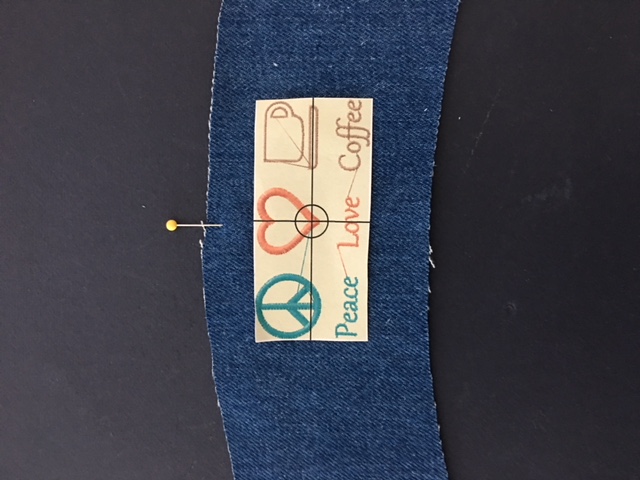
    Center place your design template “ Peace Love Coffee”.  

    (Click Image to Enlarge)


    Step 6:
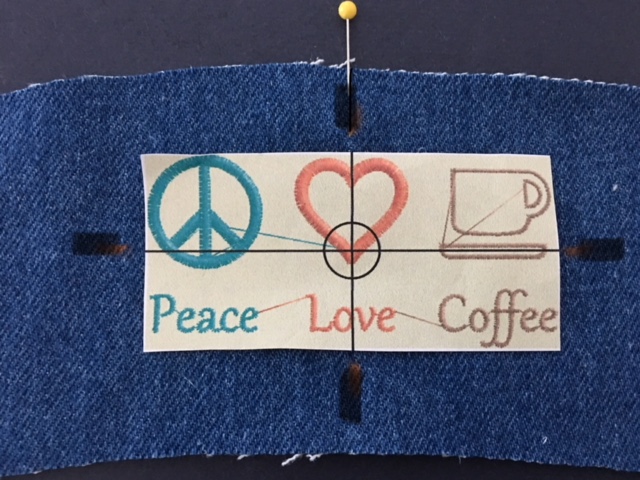
    Mark axis points using air erase fabric pen or chalk pen.

    (Click Image to Enlarge)


    Step 7:
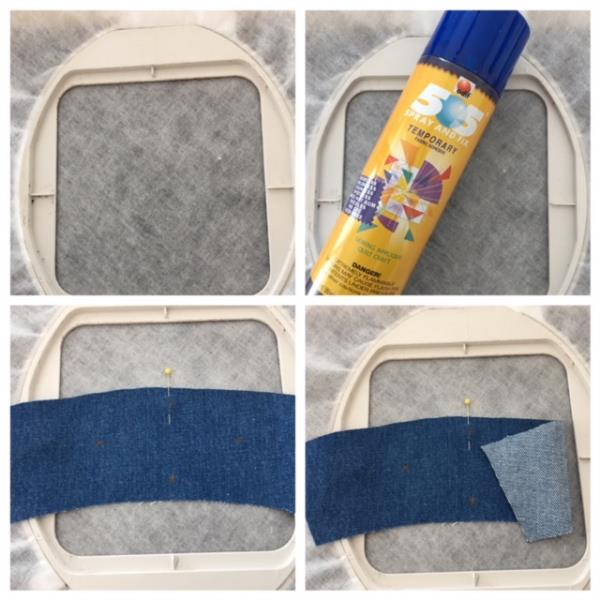
    Cut a piece of stabilizer and hoop. Spray temporary adhesive spray.  Match up axis points to axis point markings on your hoop.

    (Click Image to Enlarge)


    Step 8:
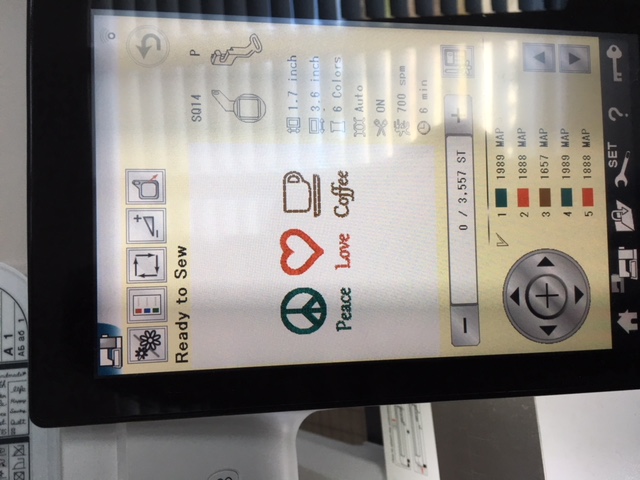
    Load design into your machine per your machine’s instructions. You will be using three thread colors. Follow design thread chart or choose your own colors. 

    (Click Image to Enlarge)


    Step 9:
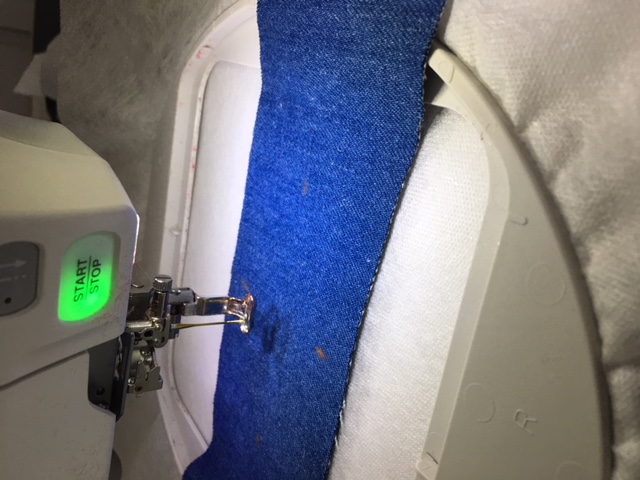
    Attach hoop and confirm center needle placement per your machine’s instructions. Begin the embroidering process.

    (Click Image to Enlarge)


    Step 10:
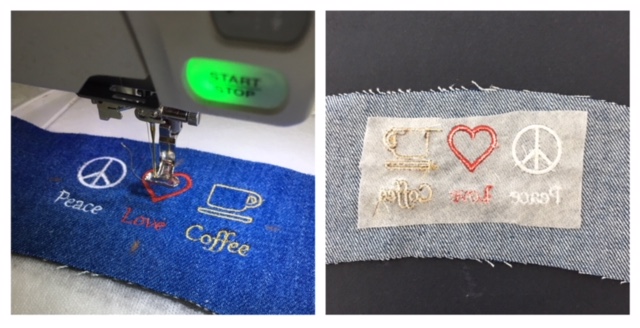
    Embroidering process complete. Remove hoop from machine.  Cut and trim all jump stitches and loose thread ends. Cut away stabilizer approximately 1” from design.

    (Click Image to Enlarge)


    Step 11:
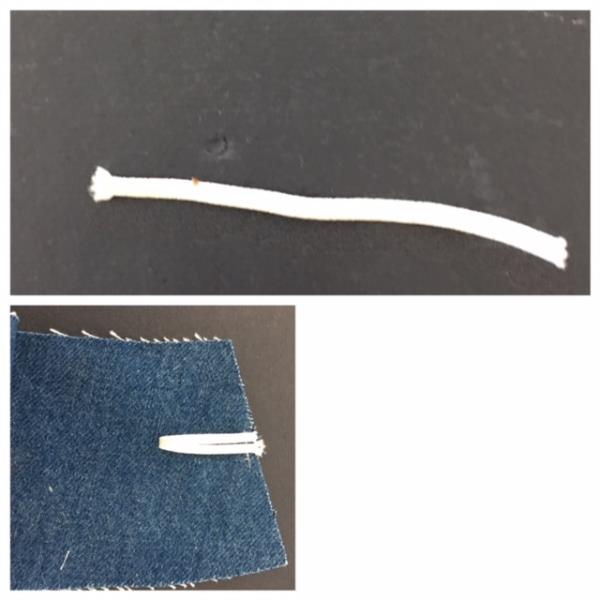
    Cut a 2 ½” strip of elastic and attach by sewing to one short end of sleeve.  

    (Click Image to Enlarge)


    Step 12:
     With both sleeve pieces.....Right sides together. Match top/bottom and side edges. Pin in place. 

    (Click Image to Enlarge)


    Step 13:
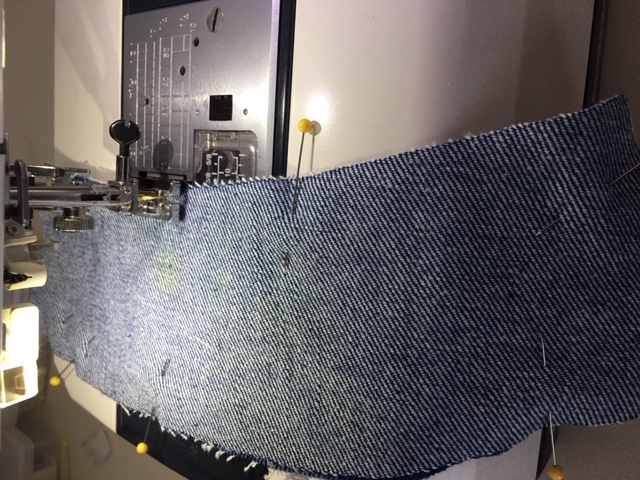
    Using ¼’” seam allowance... stitch sides top and bottom.  Leave an opening for turning on the side opposite of the elastic. Trim corners.

    (Click Image to Enlarge)


    Step 14:
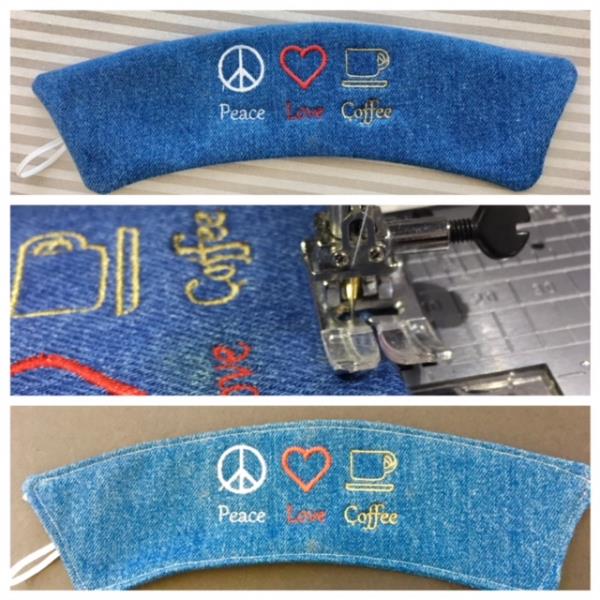
    Turn right side out through opening. . Push out corners. Fold in seam allowance at opening. Iron press. Topstitch all around edges. This will also stitch close the opening. 

    (Click Image to Enlarge)


    Step 15:
     Attaching Button
    Hand stitch button 2 ½” - 3” in from side opposite of elastic.

    (Click Image to Enlarge)


    Step 16:
    Wrap sleeve around your To Go Cup. . Fasten with elastic over the button.  WOOHOO! You have finished your reusable coffee sleeve. Check out other designs on the ED site and make additional sleeves for all your coffee lovers!  Most importantly be creative and have fun!

    (Click Image to Enlarge)

    Meet the Author: Linda Mills
    Linda Mills
    Linda loves to create by sharing her different sewing and machine embroidery techniques so others can utilize their machines to the fullest
    More From This Author
    Link is Broken, Please check the URL
    Exclusive Embroidery Offers!
    Copyright © {{ currentDate | date:'yyyy'}} - EmbroideryDesigns.com
    GET 50% OFF! ×