














































PROJECT INSTRUCTIONS


PROJECT INSTRUCTIONS
Quilt Valentine Gnome Mug Rugs Embroidery Project
By
Pat Williams
on
January 18, 2024
Description
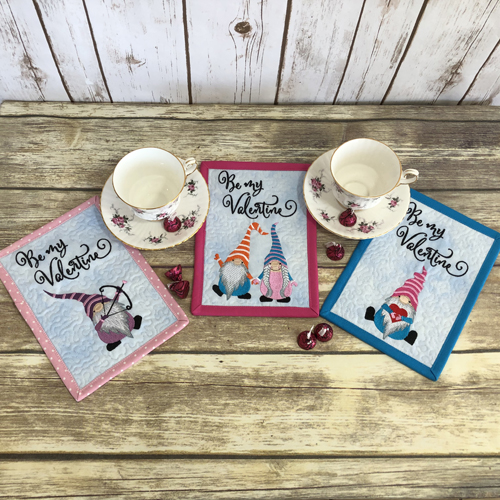
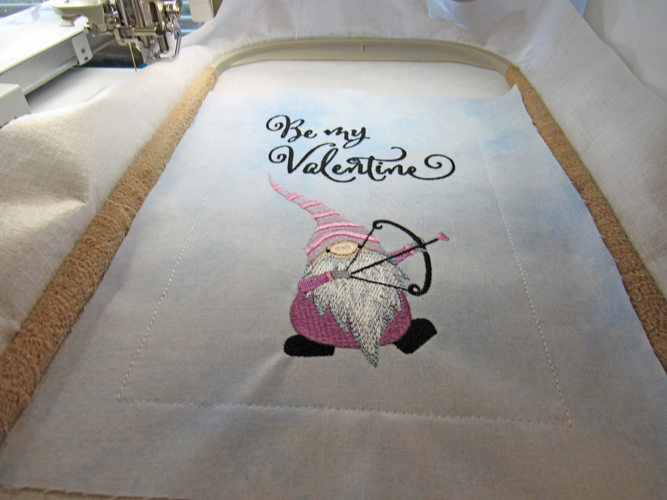
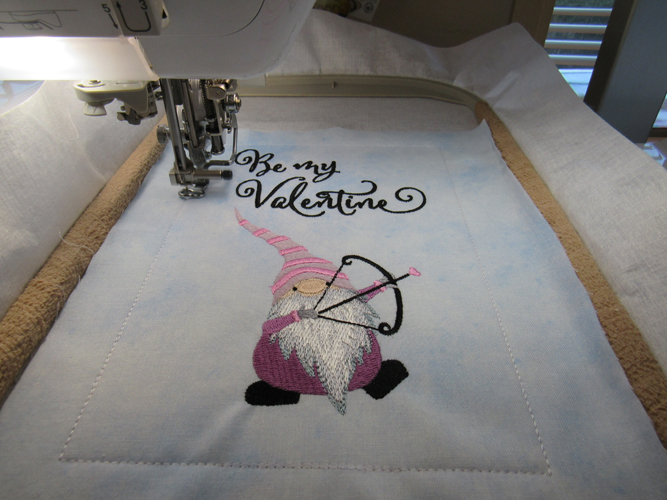
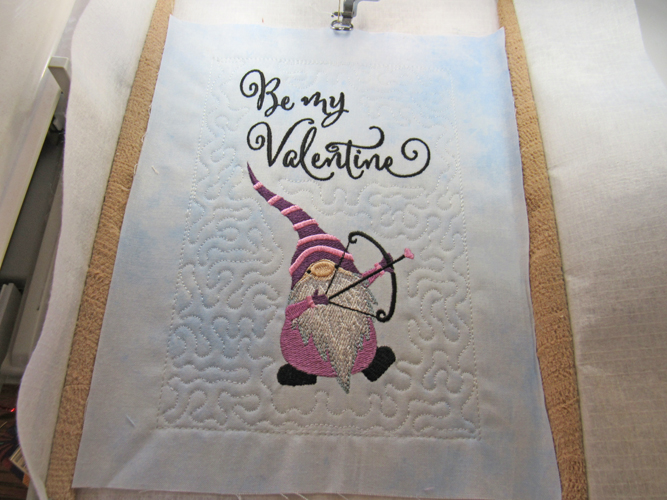
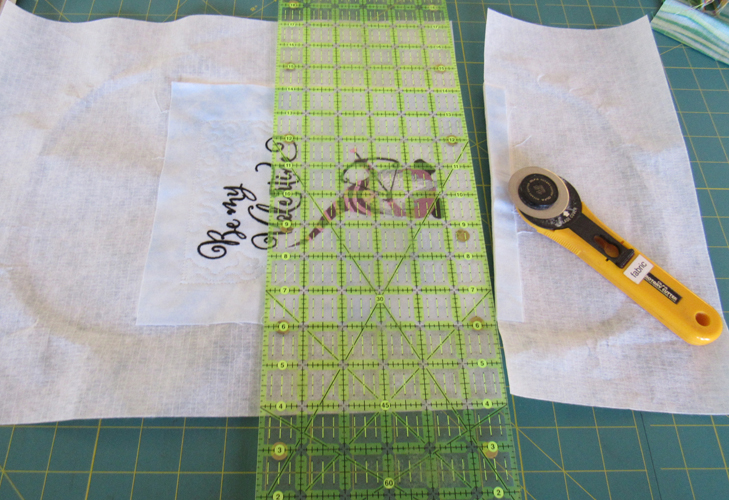
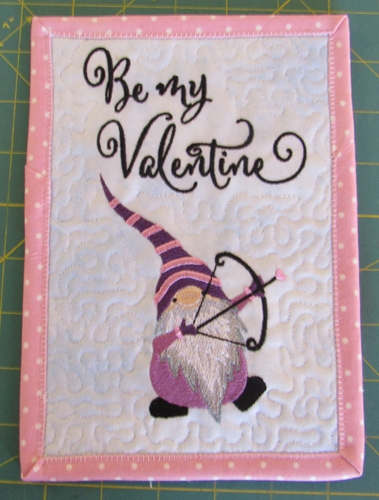
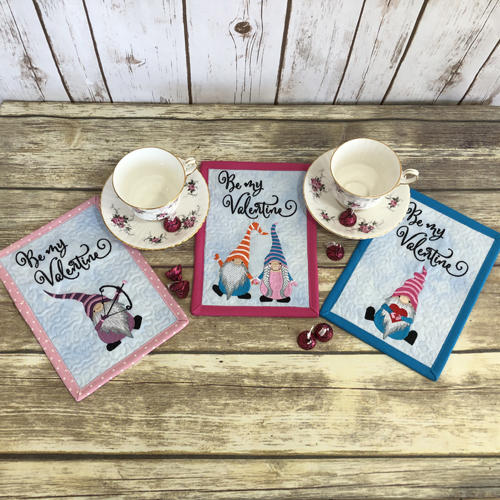
Create charming Valentine Mug Rugs featuring playful gnomes, perfect for adding a festive touch to your coffee table. These mug rugs are quilted in the hoop, with the final binding completed on your sewing machine. Step-by-step instructions are included.
Step
of
Materials
Project Preview Video

QUICK VIEW
ITH Gnome Valentine Mug Rug 1
$12.00
$6.00
Circle Price: $5.85

QUICK VIEW
ITH Gnome Valentine Mug Rug 2
$12.00
$6.00
Circle Price: $5.85

QUICK VIEW
ITH Gnome Valentines Mug Rug 3
$12.00
$6.00
Circle Price: $5.85

Cut Away Stabilizer - 2.5 Oz wt.
$8.94
$7.15
Circle Price: $7.15
{{ item.name }}
{{ item.listPriceDisplay }}{{ item.salePriceDisplay }}
Circle Price:
{{ item.clubPriceDisplay }}


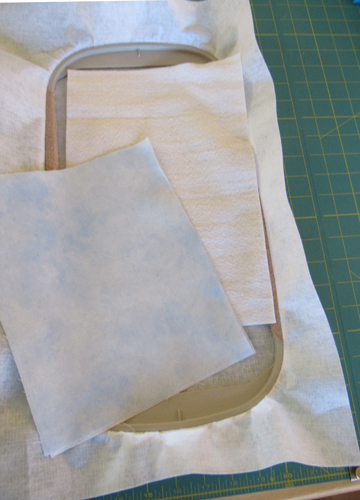
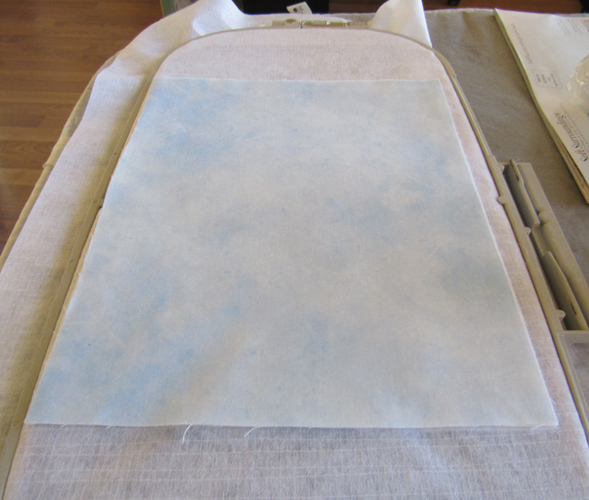
| Materials 6” x 10” or larger embroidery hoop For each mug rug: 2 10” x 8” of Mottled Light Blue quilting cotton 1 10” x 8” rectangle of Battilizer® or low loft batting 1 42” x 2 ¼” strip of quilting cotton for binding 2.5-ounce stable cut away stabilizer to fir your hoop Water Soluble Thread Spray adhesive |
| Designs used in this project |
| Final Product: What You Will Create |
 |
|
| For the love of embroidery… Pat Williams |
Projects You May Like
Meet the Author:
Pat Williams

Award winning Digitizer, Embroidery Educator, Author and a Consultant to the Industry, Pat Williams has 30 years of experience in the embroidery industry. Pat has won multiple awards for her digitizing expertise including the 2007 Impressions Awards Grand Championship, Best of Show as well as the 1st and 2nd Place Awards. Pat’s love of digitizing has afforded her the opportunity to write numerous articles for Impressions magazine in the United States and Images Magazine in Europe. In 2001 Pat was named “Embroidery Educator of the Year.” For many years Pat taught digitizing seminars at the ISS Shows in Long Beach, CA and for Compucon software. She now resides in Tucson, AZ.
Feedback
Characters Remaining
Please Login to Submit a Feedback
Invalid Characters, Please enter a valid Comment
Please enter a valid Comment
Reviewed On
Link is Broken, Please check the URL