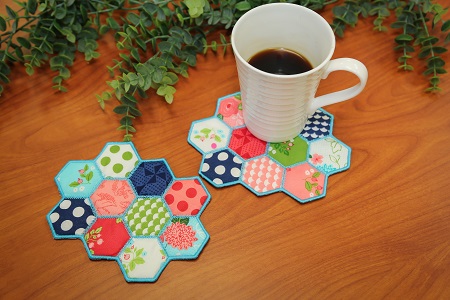
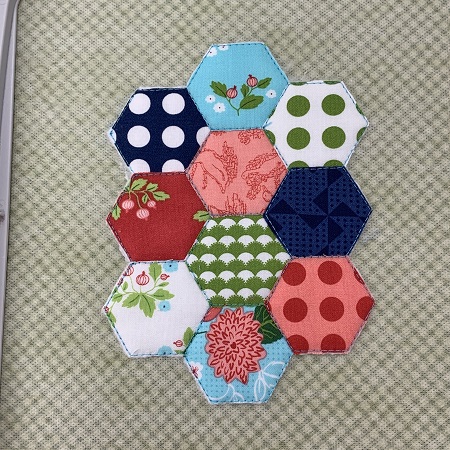
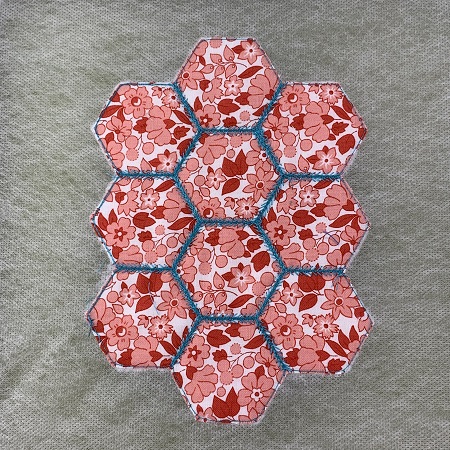
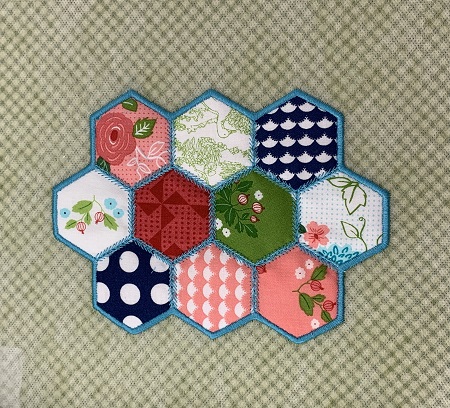
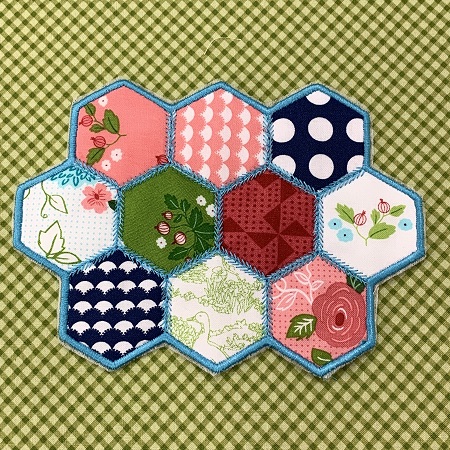
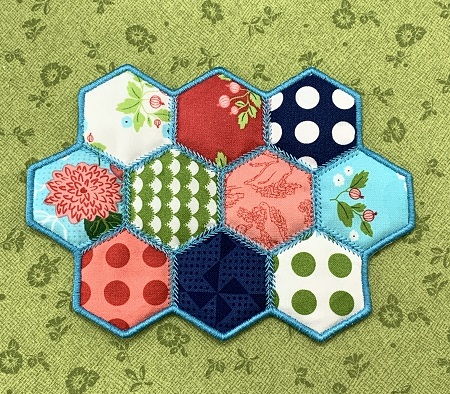
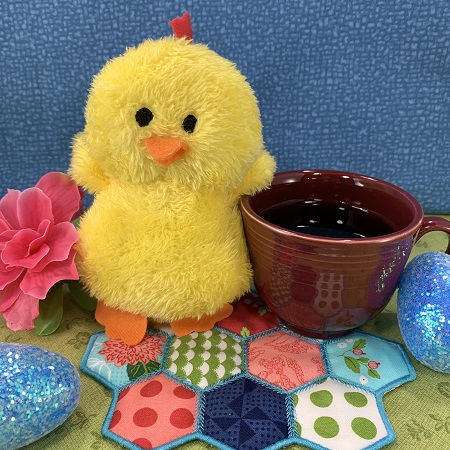
ITH Mug Rug...The hexagon shapes used in this design reminds me on bee hives and chicken wire. Lots of possibilities as color combinations and themes for the pattern. I'm thinking Spring flowers, Easter, baby chicks, and CHICKEN WIRE!
ITH Hexagon Mug Rug...The hexagon shapes used in this design reminds me on bee hives and chicken wire. Lots of possibilities as color combinations and themes for the pattern. I'm thinking Spring flowers, Easter, baby chicks, bee hives, and CHICKEN WIRE! Cute! Cute! Cute! Well designed...easy to make...really good size mug rug! A charm pack is an ideal choice for the Hexagon Mug Rug. The squares in the charm pack measures 2.5"x2.5" which is slightly larger than the hexagons in the mug rug.
Step 1:
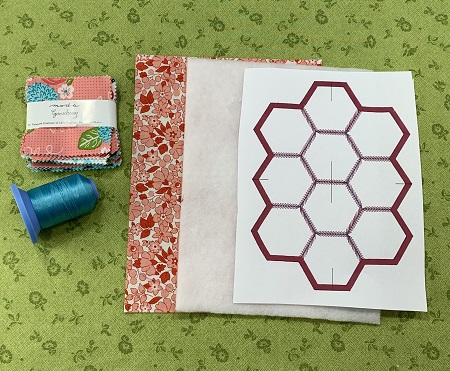
Read the directions before beginning the project. Gather and prepare the materials needed for the project. Iron and lightly starch the fabric squares. 10 squares are needed for each rug mug. One charm pack will make four mug rugs. Select sets of 10 fabric squares for each mug rug.
Step 2:
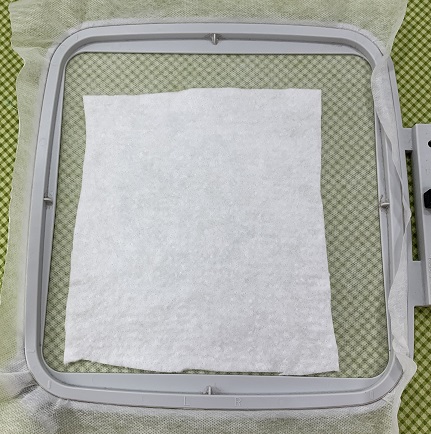
Hoop one piece of Water Soluble stabilizer. Lightly mist the stabilizer with temporary adhesive spray. Gently press the low nap batting onto the stabilizer. Surface should be smooth and wrinkle free.
Step 3:
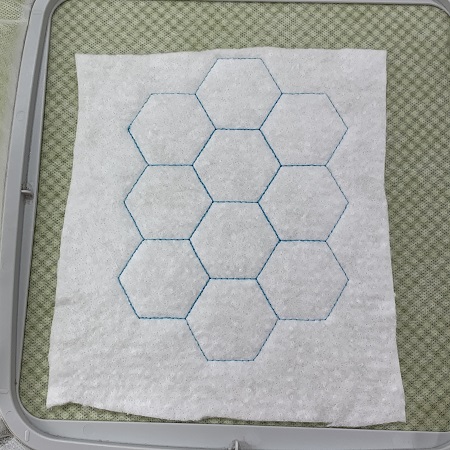
Load the embroidery design onto the machine. Check the needle, bobbin, and thread. Attach the hoop to the machine. Stitch Color 1. Color 1 is the placement stitch for the hexagons.
Step 4:
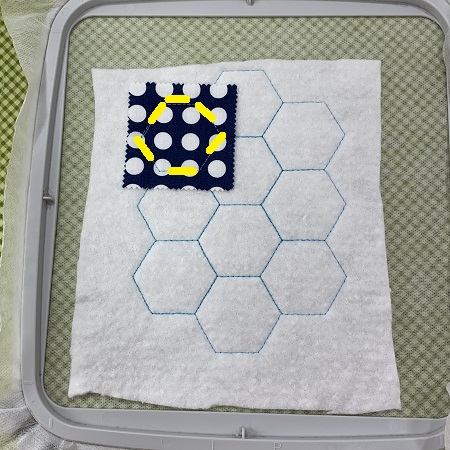
Place one square of fabric over the block to be stitched. Use a stitch guide on your machine or a print out from an embroidery software program to help with block placement.
Stitch Color 2. Carefully remove the hoop from the machine. DO NOT remove the project from the hoop.
Step 5:
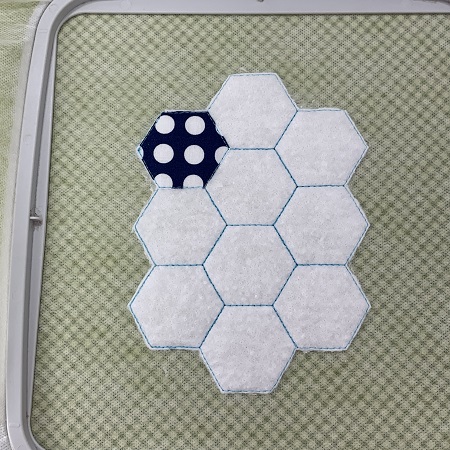
Trim excess fabric from around the block.
Step 6:
Continue appliqueing blocks for color changes 3 through 11. Trim excess fabric from each block before stitching the next color.
Step 7:
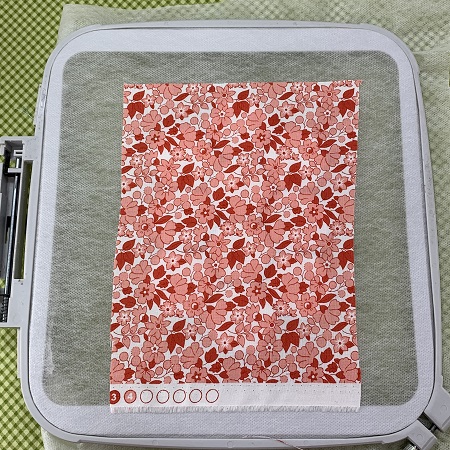
After you finish with color 11, turn the hoop over so that the back of the hoop is facing you. Lightly mist the surface with a temporary adhesive spray. Gently place the 6"x8" piece of fabric with the right side up over the back of the mug rug. You may use masking tape to secure fabric edges if needed.
Step 8:
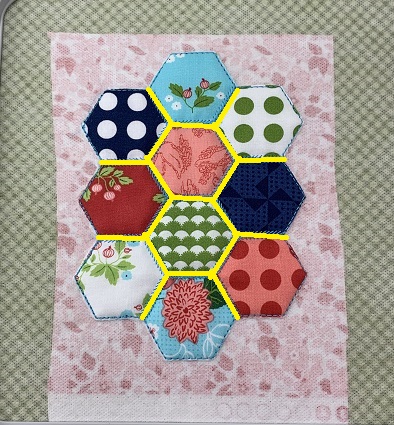
(Click Image to Enlarge)
Stitch color 12. Color 12 will add decorative stitches to the inside block edges of the mug rug.
Step 9:
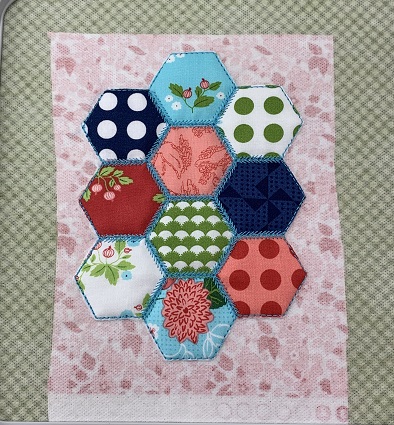
(Click Image to Enlarge)
Stitch color 13. Color 13 will stitch around the blocks of the mug rug.
Step 10:
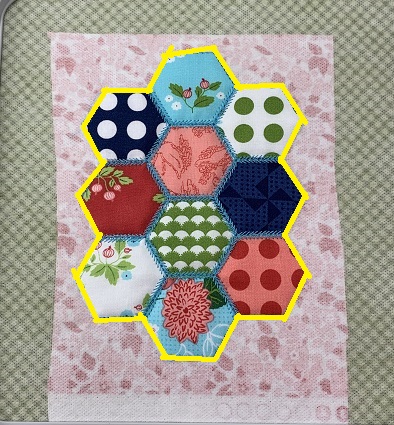
(Click Image to Enlarge)
Stitch color 14. Color 14 will stitch around the outside edges of the rug mug.
Step 11:
Remove the hoop from the machine, but do not remove the project from the hoop. Carefully trim the excess fabric from the back of the mug rug.
Step 12:
Attach the hoop. Stitch color 15. Color 15 is the satin stitch around the edges of the mug rug.
Step 13:
Remove the hoop from the machine. Remove the rug mug from the hoop. Trim excess stabilizer from around the mug rug leaving about 1/4" margin.
Step 14:
Using very hot water, wet your finger tip and moisten the remaining stabilizer from around the mug rug. It only takes a very slight bit of water to dissolve the water soluble stabilizer. Place the mug rug on a paper towel or piece of wax paper to dry.
You have completed a Hexagon Mug Rug...
Step 15:
Congrats!! Great job!
Beautiful things are made, one stitch at a time...
Marisa Littleton is a retired educator with a love for teaching and learning. Interests include machine embroidery, hand embroidery, quilting, cooking, and antiques.