{{superHeaderAds.title}}
Live Chat
Embroidery Designs
Welcome, Embroiderer
Login
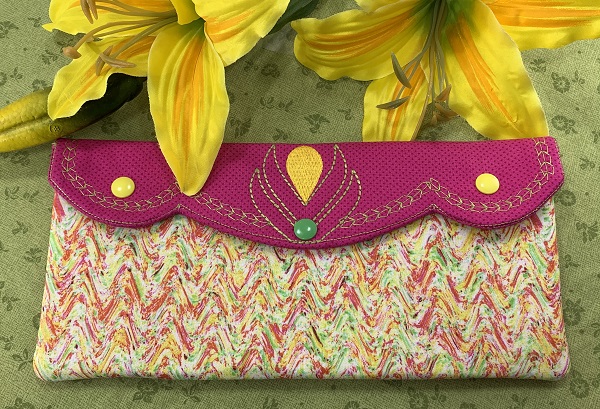
ITH Wonder Pouch
{{mainImageAlt || (productInfo._source && productInfo._source.name) || ''}}

ITH Wonder Pouch Embroidery Project

By   Marisa Littleton   on   January 07, 2020

PROJECT DETAILS

SKILL LEVEL
Some Experience
TIME REQUIRED
01:00
FINISHED SIZE
5 x 10.5 inches
Description

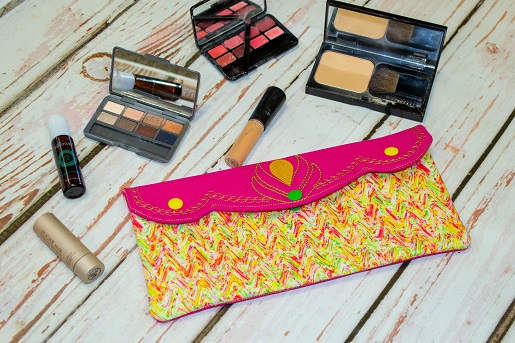
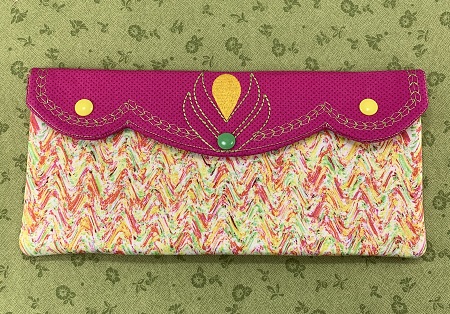
ITH Wonder Pouch...large enough to use by itself yet small enough to put in your purse. Versatile style...go fancy with shiny, shimmering fabric...add a simple strap for people on the go...

Project Preview Video

Materials
  • Design Template
  • 8"x11" hoop
  • 90/14 Embroidery Machine needles
  • 40 wt. Embroidery thread (Robison-Anton poly)
  • One 12"x12" piece Bosal In-R-Form Double Sided Fusible Foam Stabilizer
  • One 6"x12" piece Bosal In-R-Form Double Sided Fusible Foam Stabilizer
  • One piece No Show Mesh to fit hoop
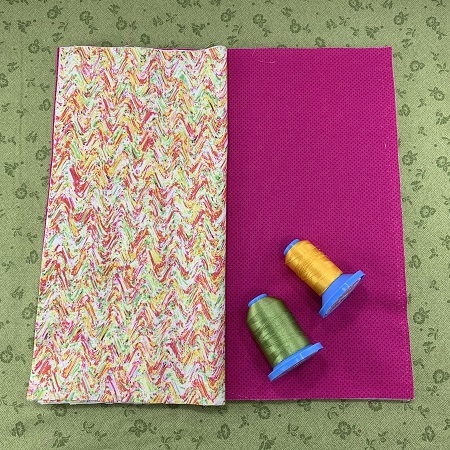
  • Two 9"x12" pieces 100% quilter's cotton (Fabric A)
  • One piece 12"x12" 100% quilter's cotton (Fabric B)
  • Hand needle & thread
  • Kam snaps & tools
  • 505 Temporary Adhesive Spray

  • Designs used in this project

    Final Product: What You Will Create

    Preface:
    ITH Wonder Pouch...large enough to use by itself yet small enough to put in your purse.  Versatile style...go fancy with shiny, shimmering fabric...add a simple strap to jazz it up.  Although there are 7 color changes in this design, I only used 2 colors.  I saved time because I didn't need to change the colors.


    Step 1:
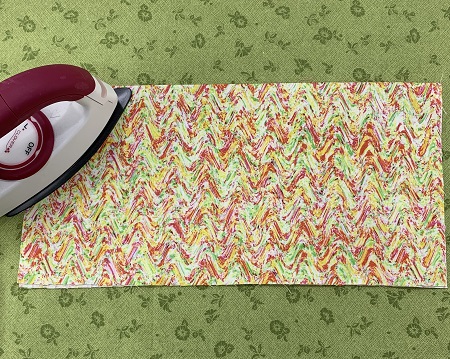
    Read the directions before beginning the project.  Gather and prepare the materials needed to make the project.  Iron and lightly starch the fabric before cutting it into pieces.  


    Step 2:
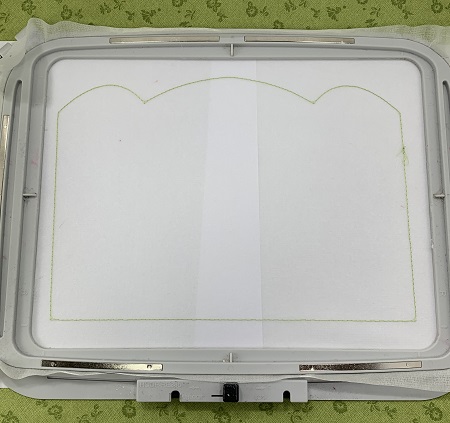
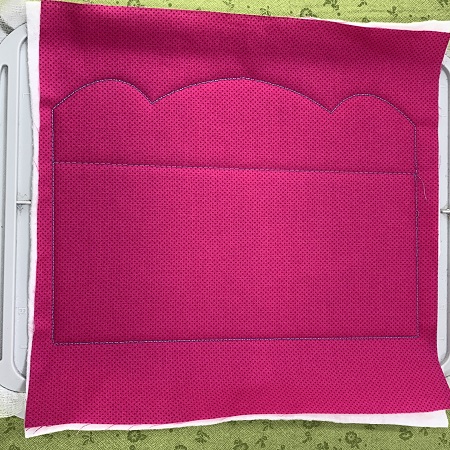
    Hoop one piece of No Show Mesh stabilizer.  Load the embroidery design onto the machine.  Check the needle size, bobbin, and thread before stitching.  Attach the embroidery hoop to the machine.  Stitch Color 1.


    Step 3:
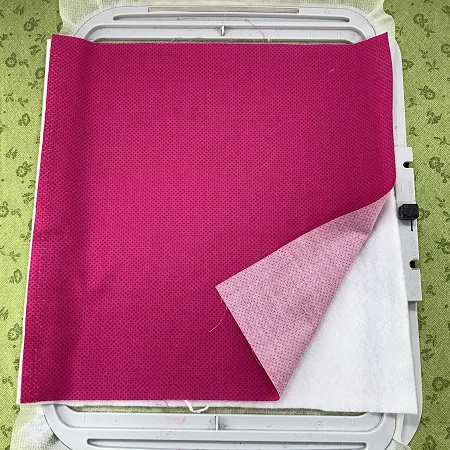
    Lightly mist the stabilizer with the temporary adhesive spray.  Gently press the Bosal In-R-Form Double Sided Fusible Stabilizer onto the No Show Mesh stabilizer.  
     
    Place one piece of Fabric A (9"x12"0 onto the Bosal Stabilizer.  Surface should be smooth and wrinkle free. 


    Step 4:
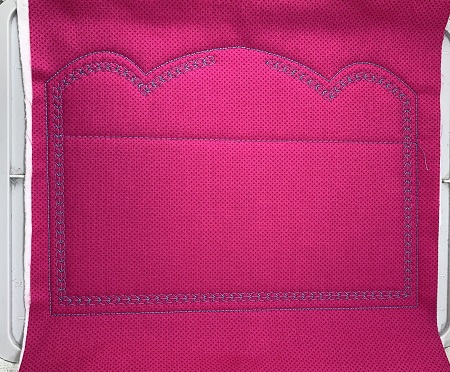
    Stitch Color 2.


    Step 5:
    Stitch Color 3.


    Step 6:
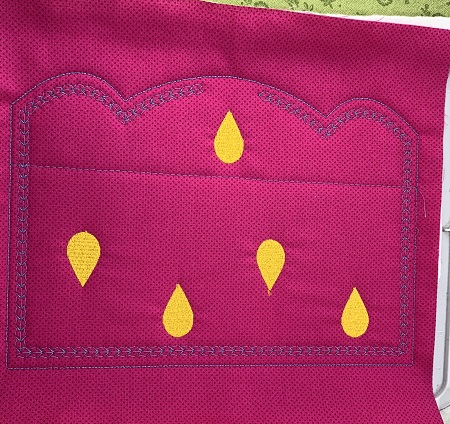
    Stitch Color 4.


    Step 7:
    Stitch Color 5.


    Step 8:
    Fold Fabric B in half.  Press along the fold line.


    Step 9:
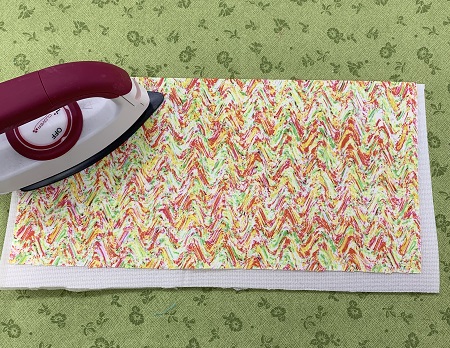
    Insert the 6"x12" piece of Bosal Stabilizer in the fold of Fabric B.  Fuse the fabric to the Bosal stabilizer following package instructions.


    Step 10:
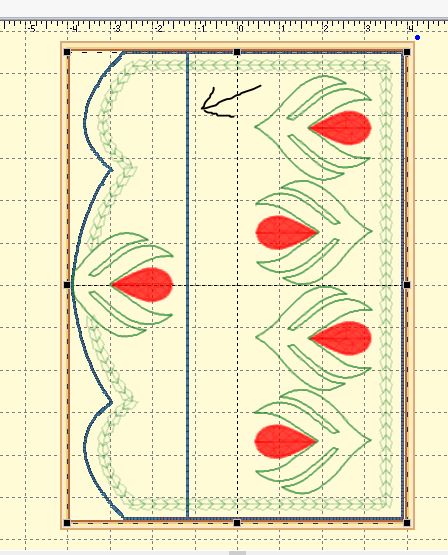
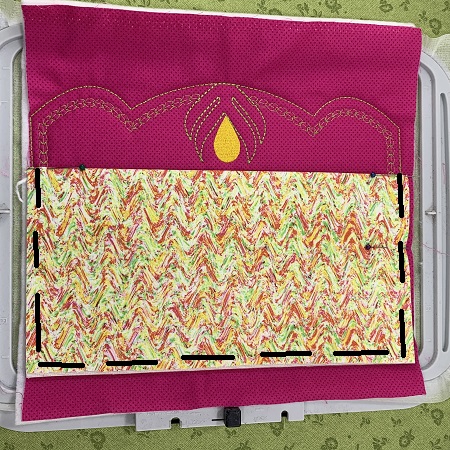
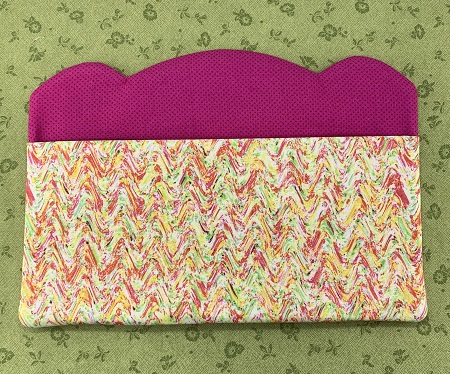
    Fabric B will be placed on the front of the embroidery hoop slightly below the line that divides the pouch into 2 parts.

    (Click Image to Enlarge)


    Step 11:
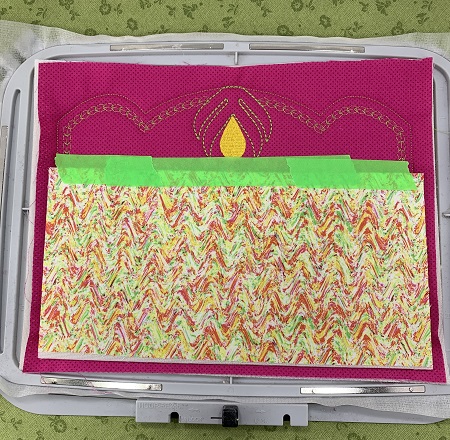
    Place Fabric B onto the hoop.  Use masking tape across the opening to hold it in place.  Make sure to line up the edges on both sides of Fabric B.  


    Step 12:
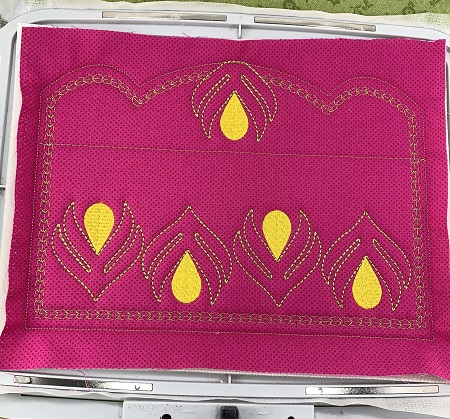
    Stitch Color 6.


    Step 13:
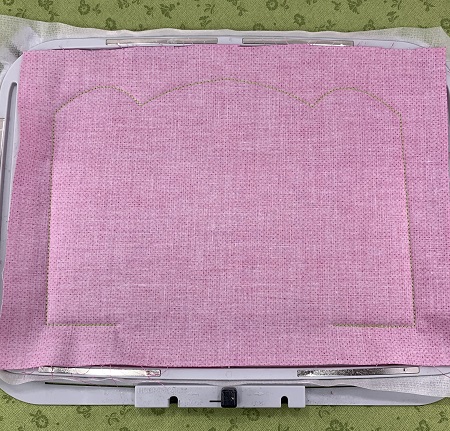
    Place one 9"x12" piece of Fabric A on top of the embroidery hoop.  The right side of fabric should be down.  
     
    Stitch Color 7.  An opening has been left so that the pouch can be turned.


    Step 14:
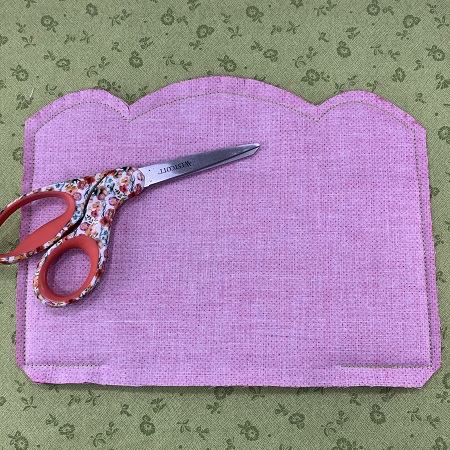
    Remove the hoop from the machine.  Remove the project from the hoop.  Trim excess fabric and stabilizer leaving about 1/2" margin around the pouch.  Leave about a 1" margin where you will turn the pouch.   Clip the corners at an angle.


    Step 15:
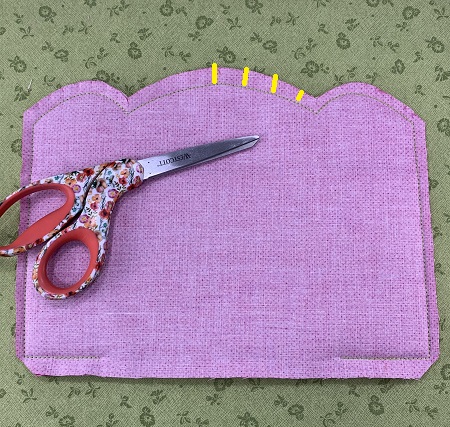
    Clip around the edges of the pouch so that the curves and corners will be smooth.  Be careful not to cut the stitches.   Do not clip around the opening that needs to be hand sewn.


    Step 16:
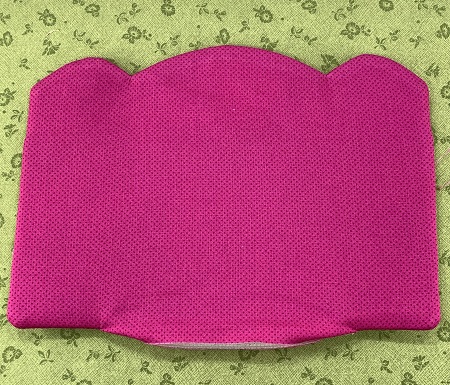
    Turn the pouch through the opening left when stitching Color 7.  Smooth out the corners and edges.  Press when finished.


    Step 17:
    Fold the opening where you turned the pouch inward.  Stitch the opening closed using a needle and thread.


    Step 18:
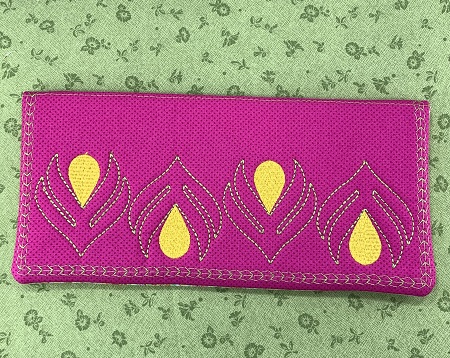
    Flip the pocket of that the decorative stitching is showing on the flap and back of the pouch.


    Step 19:
    Kam snaps were used on the pouch.  Follow package directions to attach the snaps to the pouch.


    Step 20:
    Congrats!  GREAT JOB!

    (Click Image to Enlarge)


    Beautiful things are made, one stitch at a time....
     
    Marisa Littleton 
    Meet the Author: Marisa Littleton
    Marisa Littleton
    Marisa Littleton is a retired educator with a love for teaching and learning. Interests include machine embroidery, hand embroidery, quilting, cooking, and antiques.
    More From This Author
    Link is Broken, Please check the URL
    Exclusive Embroidery Offers!
    Copyright © {{ currentDate | date:'yyyy'}} - EmbroideryDesigns.com
    GET 50% OFF! ×