Border OptionsHugging border, circle, square, or rectangle — with a 3mm satin stitch.
Backing OptionsAvailable with iron-on, sew-on, or velcro backing.
Fast ShippingShipped quickly from the USA.
Free Online Tools
Powerful embroidery utilities that save time and prevent costly mistakes.
Stitch AssistantRECOMMENDED
Get the exact stabilizer, machine settings, needle, and thread color sequence for every embroidery design you purchase — based on that design's stitch density, dimensions, and color count.
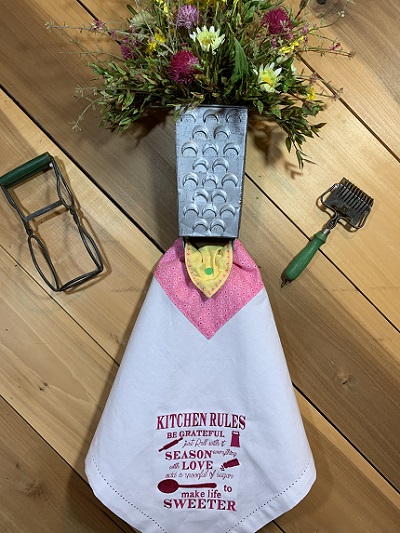
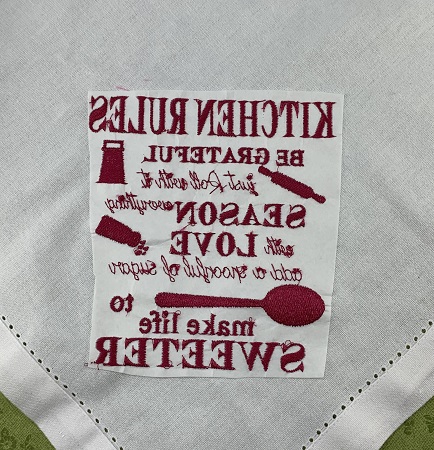
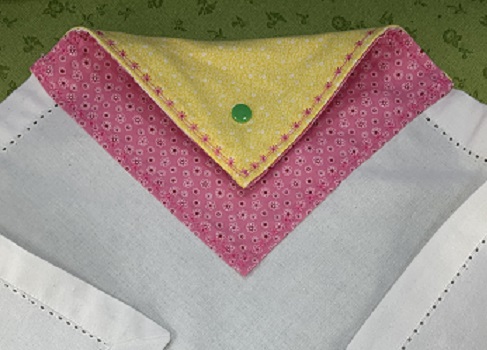
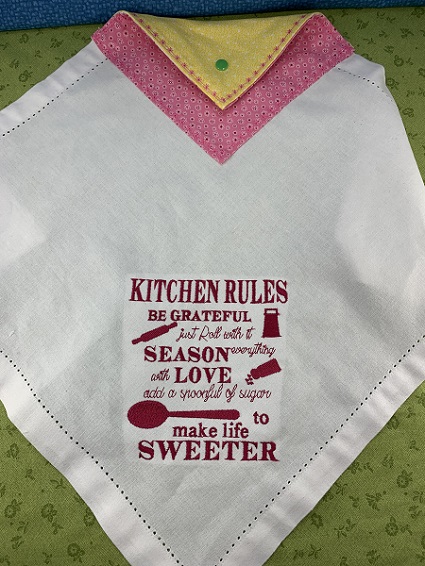
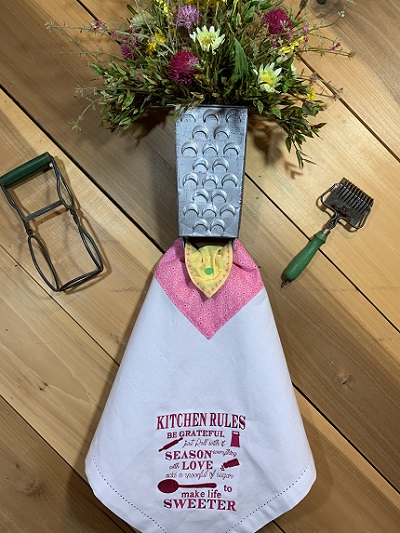
KITCHEN RULES towel...SEASON everything with LOVE...BE GRATEFUL...Flip top with a snap allows you to hang it on a ring, stove handle, or even a vintage grater.
KITCHEN RULES towel...SEASON everything with LOVE...BE GRATEFUL...Flip top with a snap allows you to hang it on a towel ring, stove handle, or even a vintage grater. The flip top kitchen towel pattern would work with other kitchen towel fabrics such as terry and cotton. The linen used for this project would be more decorative as compared to using a terry cloth kitchen towel.
Step 1:
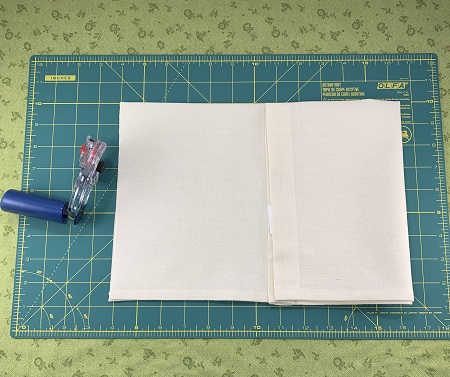
Read the directions before beginning the project. Gather and prepare the materials. Iron and lightly starch the fabric before cutting into 9" blocks. Print a Design Template using an embroidery software program, if available.
Step 2:
NOTE: SKIP Step 2, Step 3, and Step 4 if you are using a square linen napkin (18"x18").
If you are using a tea towel, begin by squaring up the towel. Measure the width and length of the towel. Add 1" to the width of the towel. Cut the length of the towel to this measurement. The towel in the picture measures 18x28". Cut the length of the towel 19".
Step 3:
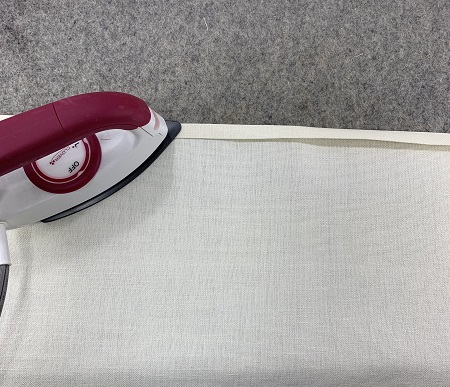
Fold the raw edge down 1/2". Fold over again and press. Pin in place. Topstitch the hem using a sewing machine.
Step 4:
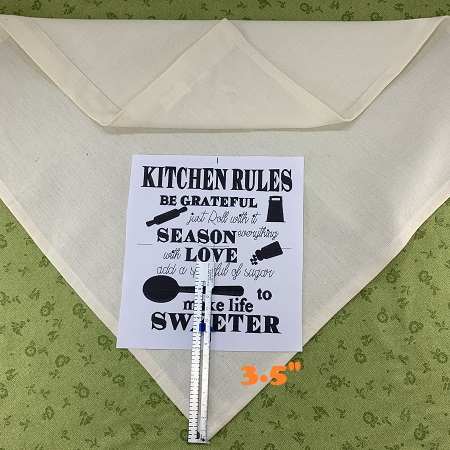
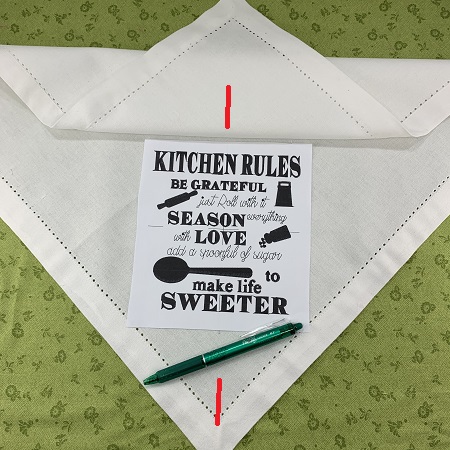
The next step is the placement of the design. If using a tea towel, measure 3.5" from the tip to place the design. Use the design template to help with placement.
Step 5:
If using an 18"x18" linen napkin, measure 5" from the tip for placement.
Step 6:
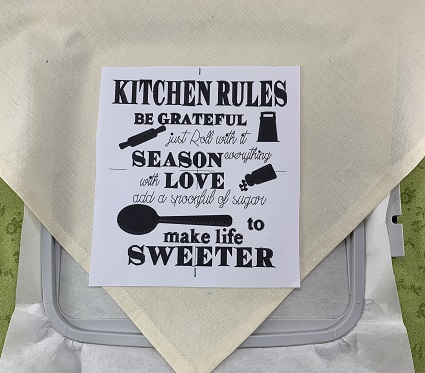
Hoop one piece of medium weight (2.5 oz.) cut away stabilizer. Center the towel on the stabilizer. Float the tea towel/napkin on the stabilizer. Lightly mist the stabilizer with a temporary adhesive spray. Towel surface should be smooth and wrinkle free.
Step 7:
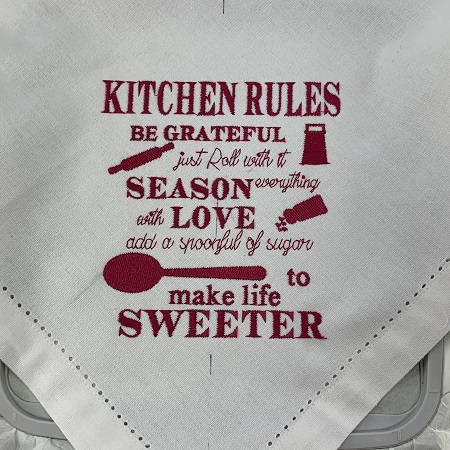
Load the design onto the embroidery machine. Add the hoop. Check the needle size, bobbin, and thread. Embroider the design.
Step 8:
Remove the hoop from the embroidery machine. Trim excess stabilizer from the back leaving about 1/4" margin around the design. Trim long threads if needed.
Step 9:
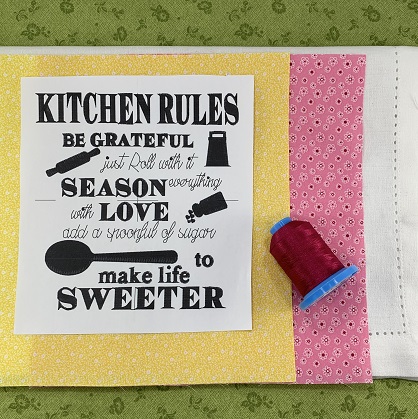
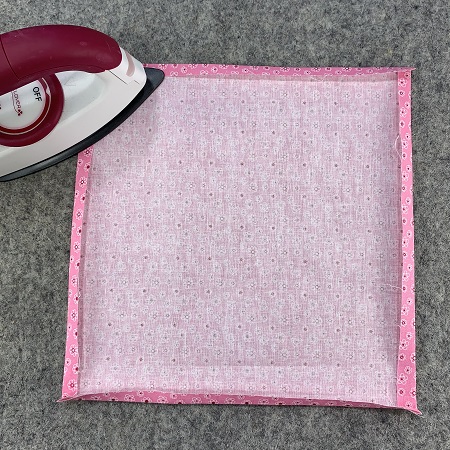
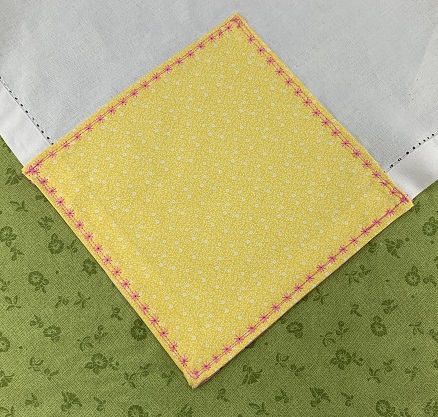
Prepare Fabric A & Fabric B for the top of the towel. Place Fabric A wrong side up. Fold the raw edges on opposite sides of Fabric A down 1/4" and press. Fold the remaining sides down 1/4" and press.
Fold the edges over 1/4" again covering the raw edges and making a double fold around the edges of the fabric. Press.
Repeat this step for Fabric B.
Step 10:
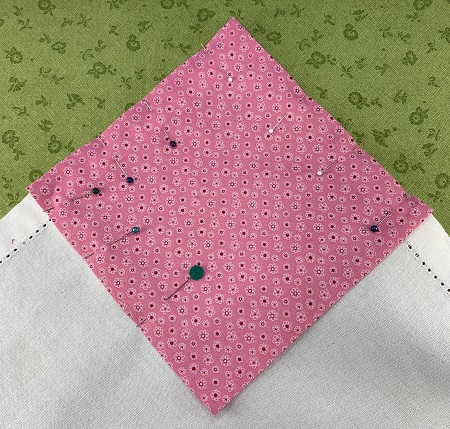
Lay the towel on a flat surface so that it forms a diamond shape in front of you. Place Fabric A with the right side up in the top corner.
NOTE: Fabric A (pink) was placed right side up on the front of the towel.
Step 11:
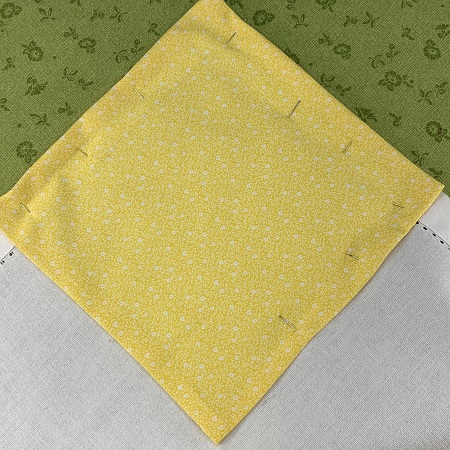
Put the Fabric B block on the back side of the towel with the right side of the fabric out. Pin in place.
NOTE: Fabric B (yellow) was placed on the back of the towel with the right side up. When the top of the towel is flipped over, some of the yellow will show on the front of the towel.
Step 12:
Stitch around the edges of the fabric squares. A decorative stitch was used on Fabric B (yellow) because it will show when it flips over to the front.
Step 13:
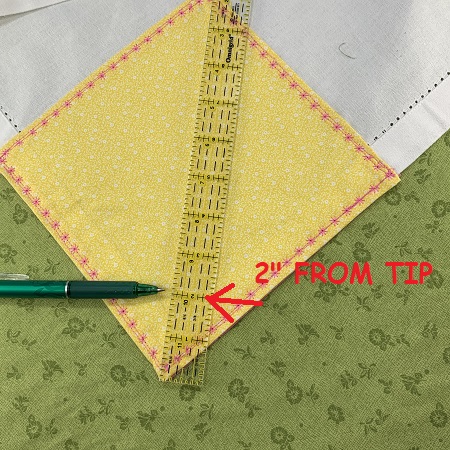
The last step is adding a snap to the towel top. Measure 2" from the tip on Fabric B (yellow)..the fabric on the back of the towel.
Make a small dot with a fabric marker for the placement of the snap.
Step 14:
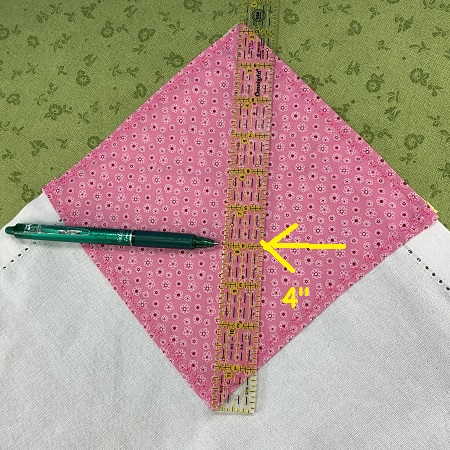
Measure 4" from the tip for Fabric A block. Use a fabric marker and make a small dot for the placement of the snap.
Step 15:
Attach a snap set to the top of the towel. Follow package directions to attach the snap. A Kam snap was used on the towel.
Step 16:
You have completed a 'KITCHEN RULES' towel...WTG!
(Click Image to Enlarge)
Step 17:
Rules to live by….
(Click Image to Enlarge)
Beautiful things come together one stitch at a time....
Marisa Littleton is a retired educator with a love for teaching and learning. Interests include machine embroidery, hand embroidery, quilting, cooking, and antiques.