Border OptionsHugging border, circle, square, or rectangle — with a 3mm satin stitch.
Backing OptionsAvailable with iron-on, sew-on, or velcro backing.
Fast ShippingShipped quickly from the USA.
Free Online Tools
Powerful embroidery utilities that save time and prevent costly mistakes.
Stitch AssistantRECOMMENDED
Get the exact stabilizer, machine settings, needle, and thread color sequence for every embroidery design you purchase — based on that design's stitch density, dimensions, and color count.
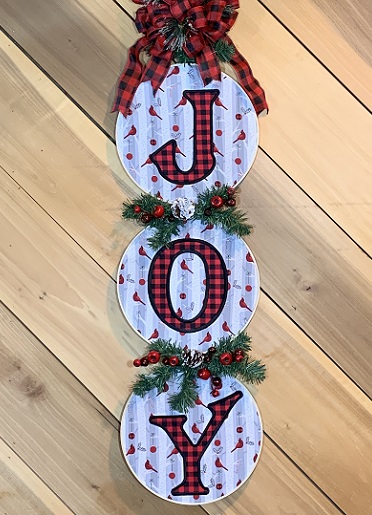
Bring some JOY to your home with a country Christmas theme! Jumbo appliqued letters in embroidery hoops make this wall hanging joyful!
Step 1:
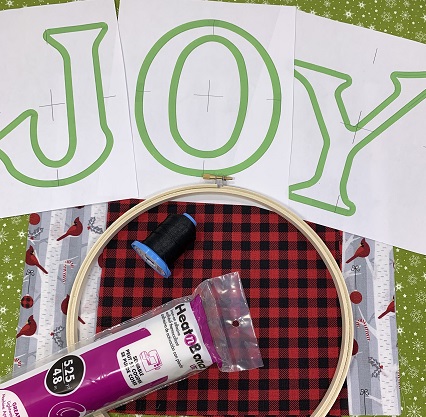
Read the directions before beginning the project. Gather and prepare the materials needed for the project.
Print a design template to assist in placement.
Step 2:
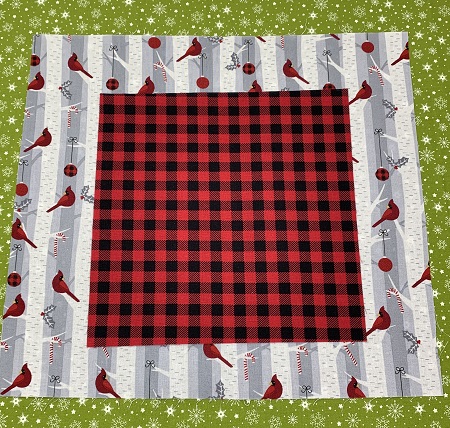
Cut three 13"x13" squares of fabric. Cut three 9"x6" pieces of fabric. Lightly starch and iron the fabric pieces.
Step 3:
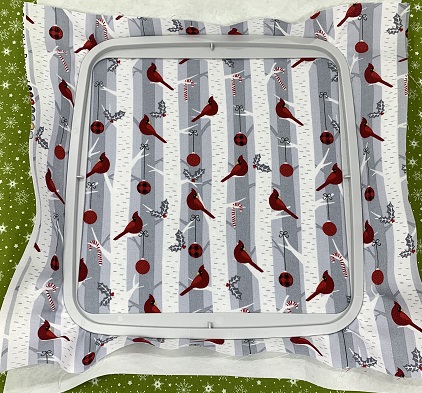
Hoop one piece of the 13"x13" piece of fabric and one piece of cutaway stabilizer.
NOTE: Watch how you place the fabric if it is directional.
Step 4:
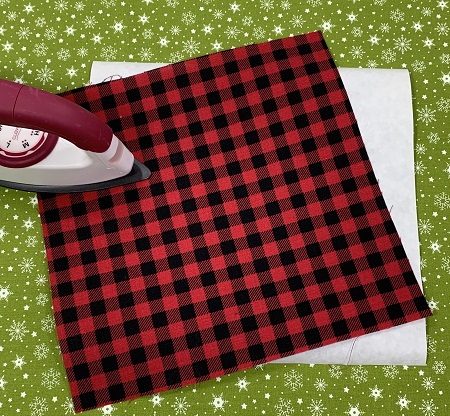
Follow package instructions to adhere the Heat n Bond to the 9"x6" pieces of fabric.
Step 5:
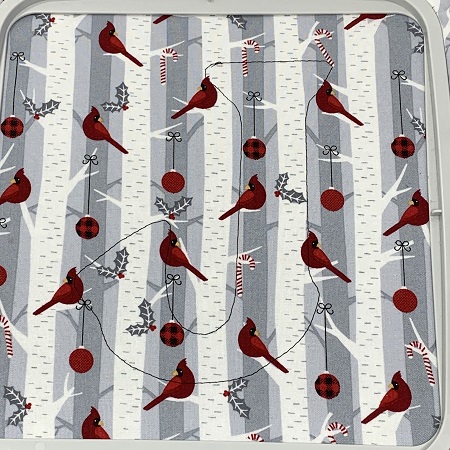
Load the letter 'J'. Check the needle and bobbin. Attach the embroidery hoop. Stitch the placement stitch.
Step 6:
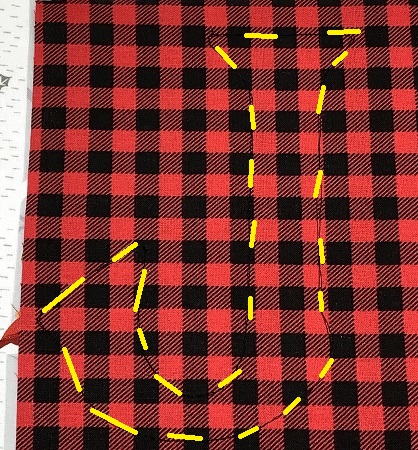
Place one piece of Fabric B over the placement stitches. Stitch the tack down stitches.
Step 7:
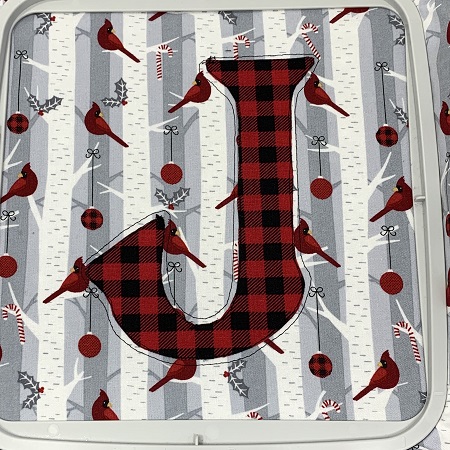
Remove the hoop from the machine, but do not remove the project from the hoop. Carefully trim excess fabric from the letter 'J'. Attach the hoop.
Step 8:
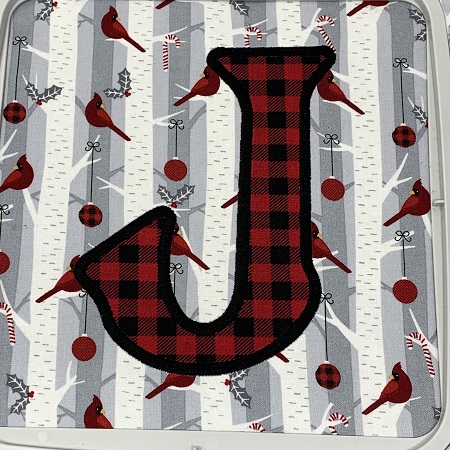
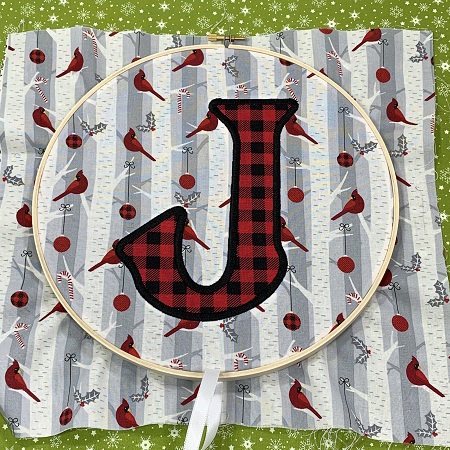
Stitch the finishing stitch for the letter 'J'. Once completed stitching, remove the hoop from the machine. Remove the project from the hoop. Trim excess stabilizer from the back of the project. Be very careful not to cut the fabric.
Step 9:
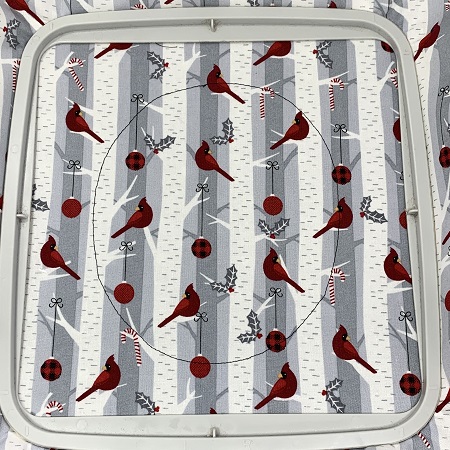
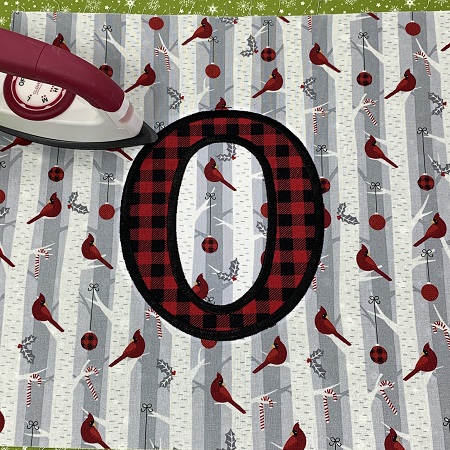
Load letter 'O'. Hoop the stabilizer and fabric. Attach the hoop. Stitch the placement stitch for the letter 'O'.
NOTE: Notice in the picture that the placement stitch for the letter 'O' only stitches the outside of the letter.
Step 10:
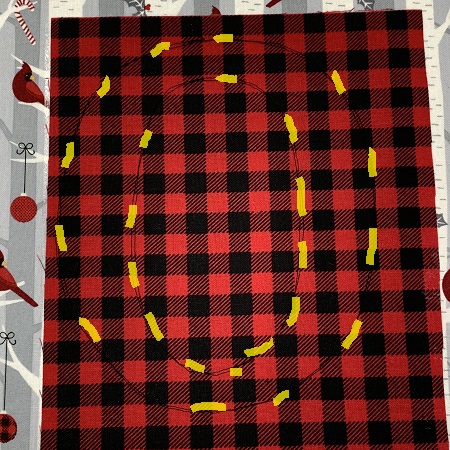
Place one piece of Fabric B over the placement stitches. Stitch the tack down stitches.
Step 11:
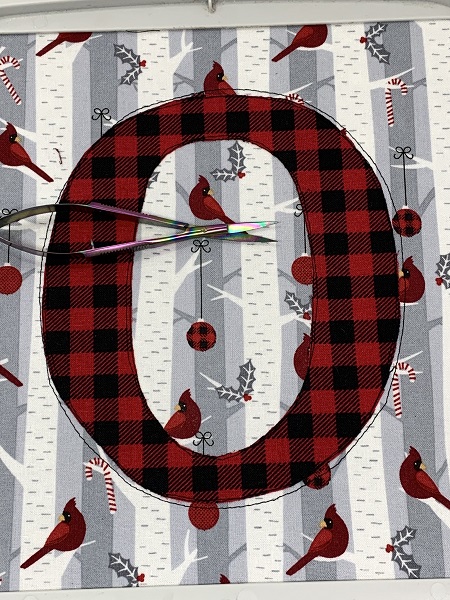
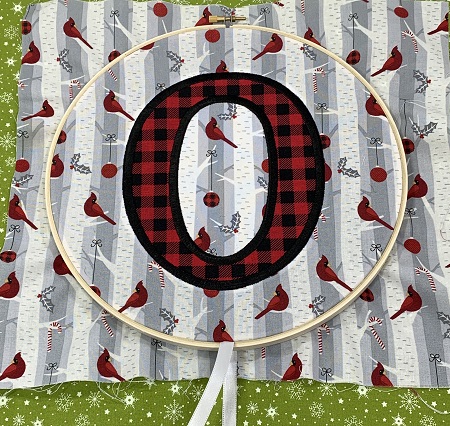
Remove the hoop from the machine, but do not remove the project from the hoop. Carefully trim excess fabric from the letter 'O'. Use very small scissors to trim the appliqued fabric from the inside of the letter 'O'. You do not want to cut the bottom fabric. Attach the hoop.
(Click Image to Enlarge)
Step 12:
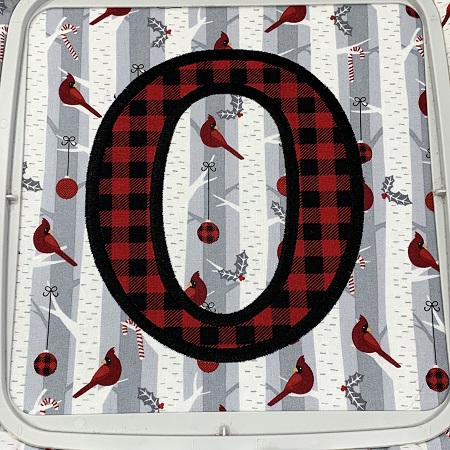
Stitch the finishing stitch for the letter 'O'. Once completed stitching, remove the hoop from the machine. Remove the project from the hoop. Trim excess stabilizer from the back of the project. Be very careful not to cut the fabric.
Step 13:
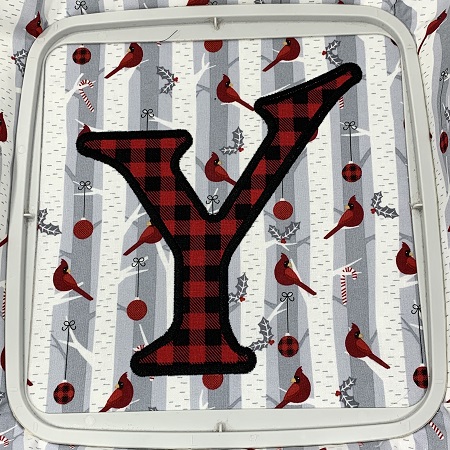
Load the letter 'Y'. Hoop Fabric A and one piece of stabilizer. Attach the hoop. Stitch the placement stitch. Place Fabric B over the placement stitches. Stitch the tack down stitches. Remove the hoop from the machine and trim excess Fabric B. Attach the hoop. Stitch the finishing stitches for the letter 'Y'.
Remove the hoop from the machine. Remove the project from the hoop. Trim excess stabilizer from the back of the project. Be very careful not to cut the fabric.
Step 14:
Follow package directions to adhere the Heat n Bond lite on the letters J, O, & Y onto Fabric A.
Step 15:
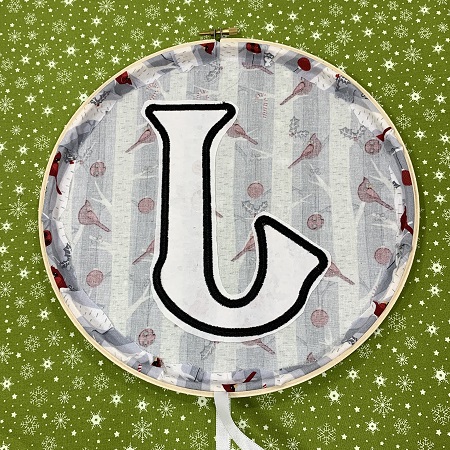
Hoop the 'J' block in a wooden embroidery hoop. Overlap one piece of the 8" ribbon over the hoop. Hoop letter 'J'. Center the metal closure at the top of the letter 'J'. The ribbon should be centered at the bottom of the hoop.
Step 16:
Hoop the 'O' block in a wooden embroidery hoop. Overlap one piece of the 8" ribbon over the hoop. Hoop letter 'J'. Center the metal closure at the top of the letter 'O'. The ribbon should be centered at the bottom of the hoop.
Hoop the 'Y' block in a wooden embroidery hoop.
Step 17:
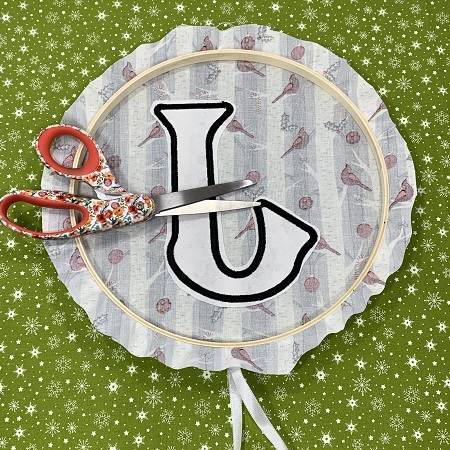
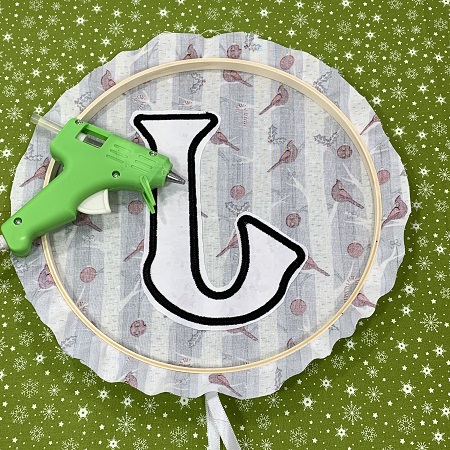
Trim excess fabric from around each wooden hoop leaving about 1" margin.
Step 18:
Fold the fabric edges to the inside of the hoop.
Step 19:
Glue the fabric to the hoop with hot glue.
Step 20:
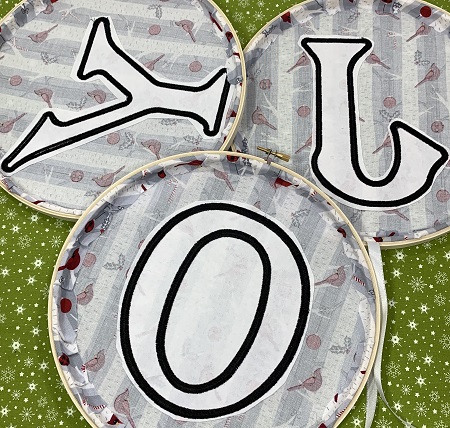
Hot glue the fabric edges for all the letters.
Step 21:
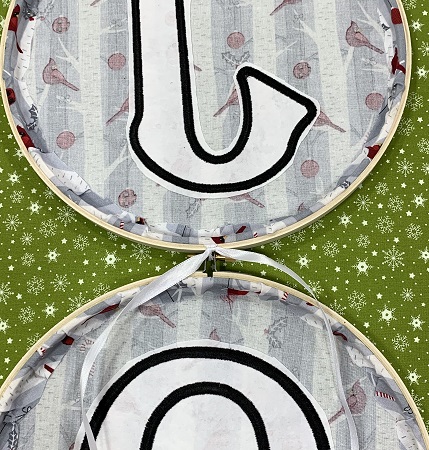
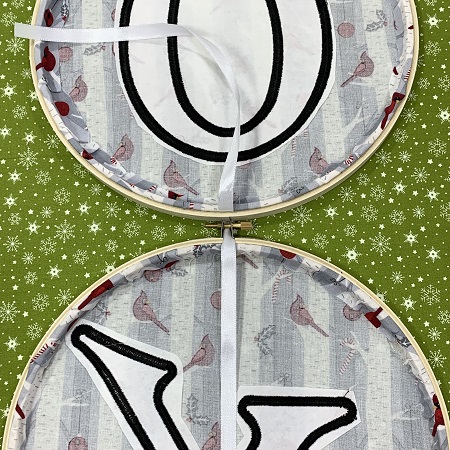
Lay hoops 'J' and 'O' together on a flat surface. Use the ribbon to attach the two hoops together. Tie the ribbon around the metal closure.
Step 22:
Lay hoops 'O' and 'Y' together on a flat surface. Use the ribbon to attach the two hoops together. Tie the ribbon around the metal closure.
Step 23:
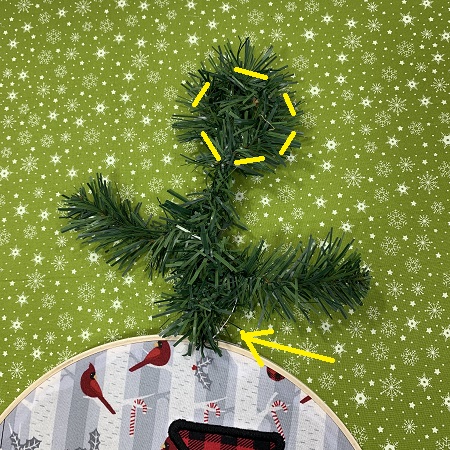
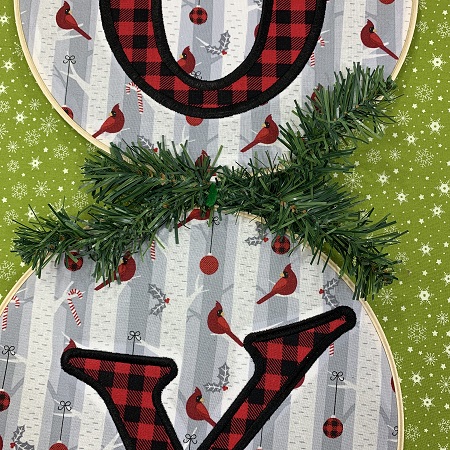
Attach one end of an 8" piece of pine garland to the metal closure at the top of Letter J. Make a closed loop at the other end of the pine garland. You will use this loop to hang the wall hanger.
Step 24:
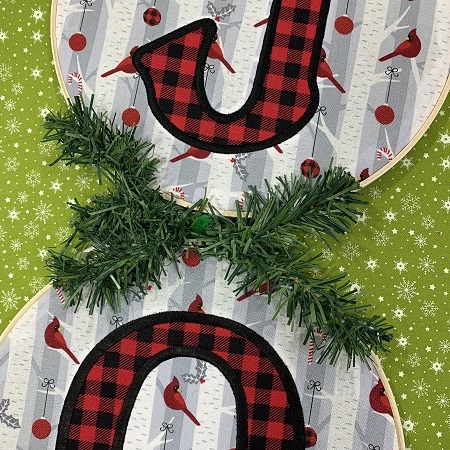
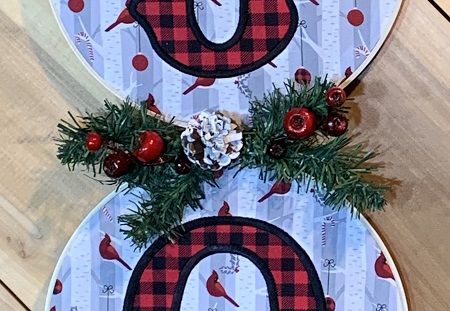
Use the ribbon that ties the hoops together to attach one piece of the pine garland in the center of hoop J & O. Put some hot glue on the back of the pine garland to secure the garland to the hoops.
Step 25:
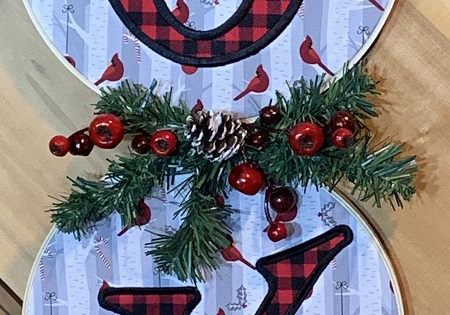
Use the ribbon that ties the hoops together to attach one piece of the pine garland in the center of hoop O & Y. Put some hot glue on the back of the pine garland to secure the garland to the hoops.
Step 26:
Use hot glue to bond the berries and pine cone to the garland for the section between letters J & O.
Step 27:
Use hot glue to bond the berries and pine cone to the garland for the section between letters O & Y.
Step 28:
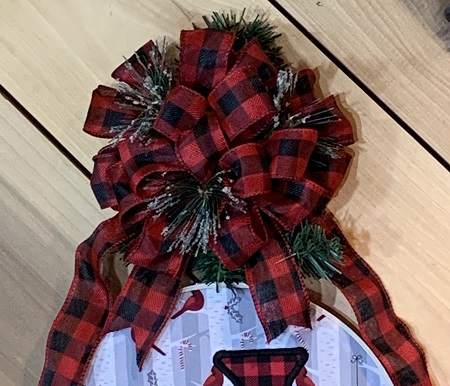
Use the 2.5" wire ribbon to make a bow for the top of the wall hanging. Once finished making the bow, attach the bow to the top of the wall hanging. I added some sprigs of pine garland to the ribbon after I attached the bow to the wall hanging.
Step 29:
(Click Image to Enlarge)
What a glorious JOY! You have completed a Joy Wall Hanging...
Beautiful things are made, one stitch at a time....
Marisa Littleton is a retired educator with a love for teaching and learning. Interests include machine embroidery, hand embroidery, quilting, cooking, and antiques.