Border OptionsHugging border, circle, square, or rectangle — with a 3mm satin stitch.
Backing OptionsAvailable with iron-on, sew-on, or velcro backing.
Fast ShippingShipped quickly from the USA.
Free Online Tools
Powerful embroidery utilities that save time and prevent costly mistakes.
Stitch AssistantRECOMMENDED
Get the exact stabilizer, machine settings, needle, and thread color sequence for every embroidery design you purchase — based on that design's stitch density, dimensions, and color count.
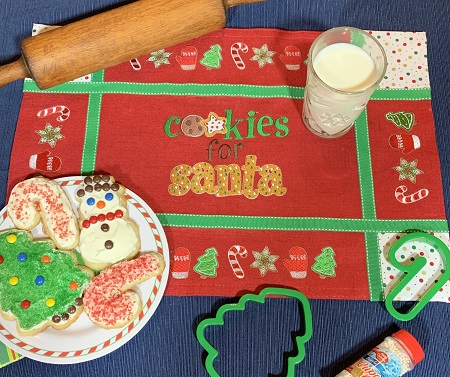
Create a charming mat for Santa's cookies with festive holiday decorations. Perfect for adding a special touch to your Christmas Eve tradition. Step-by-step instructions are included.
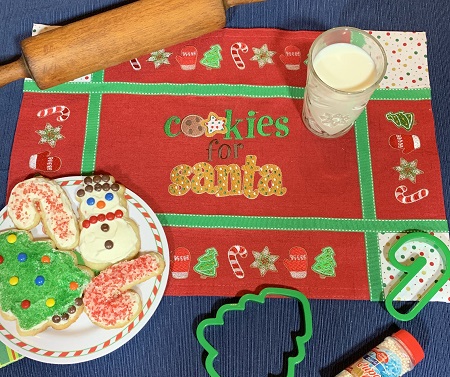
Whether home made or store bought, there's that one day of the year you need 'Cookies For Santa'! Put Santa's treats on a mat made especially for him. Be sure not to forget the milk... Two different designs were used on the cookie place mat. A computer software program was used to make the longest row of the 'Holiday Cookies' border. The 'Cookies For Santa' place mat was easy to frame. The stitch count of the total project is high (23,000 for 'Cookies for Santa, and approx. 9300 for each set of 'Holiday Cookie' border). Keep the total stitch count in mind when deciding on how much stabilizer to use. My placemat was very durable and sturdy; therefore, I only used one piece of stabilizer because the fabric was very stable. You may need two pieces of stabilizer especially for the 'Cookies for Santa' design. One piece of stabilizer should be enough for the other sections. You will hoop multiple times because of the layout of the design.
Step 1:
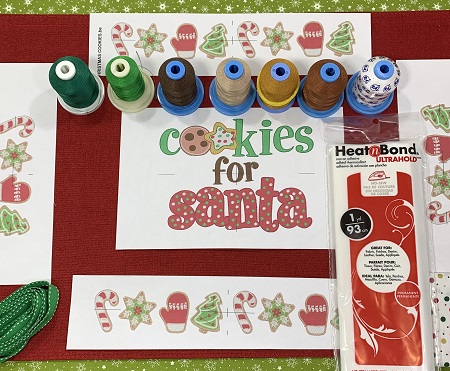
Read all the directions before beginning the project. Gather the materials needed for the project.
Step 2:
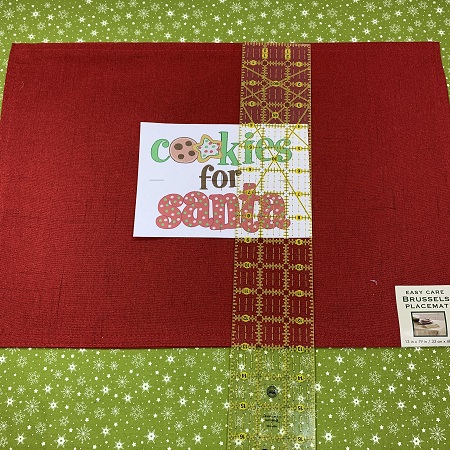
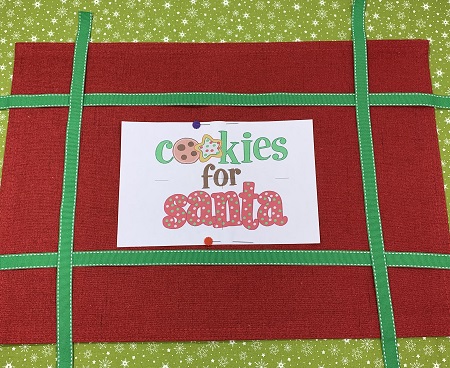
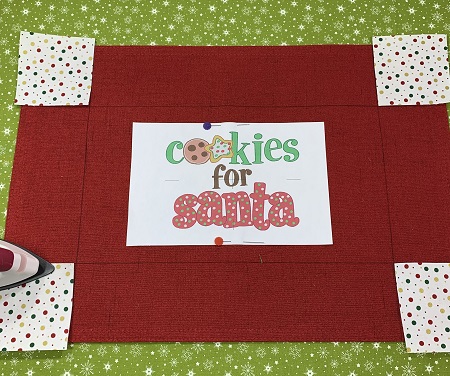
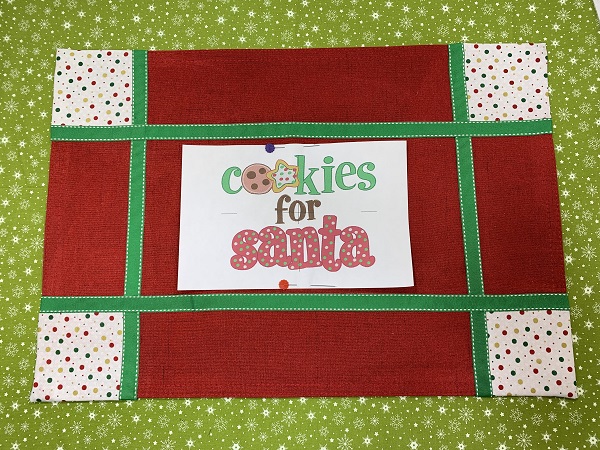
Center the 'Cookies for Santa' template on the placemat. Pin in place.
Step 3:
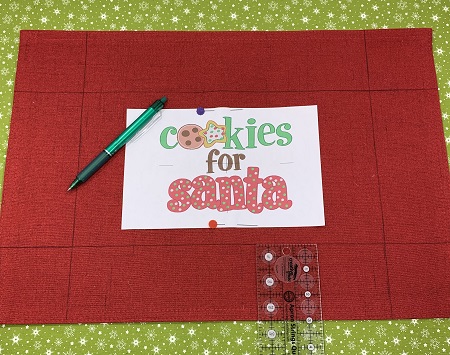
Determine the margins for the sections on the placemat. I used a 3" margin on all four sides. Using a fabric marker, mark lines 3" from the edges on all four sides of the placemat.
Step 4:
Cut two pieces of ribbon the length of the placemat adding an inch on each end. Cut two pieces of ribbon the width of the placemat adding an inch on each end. (Example: If the mat is 19" long, you would add two inches; 19+2. So you would need two pieces of ribbon 21" long).
Step 5:
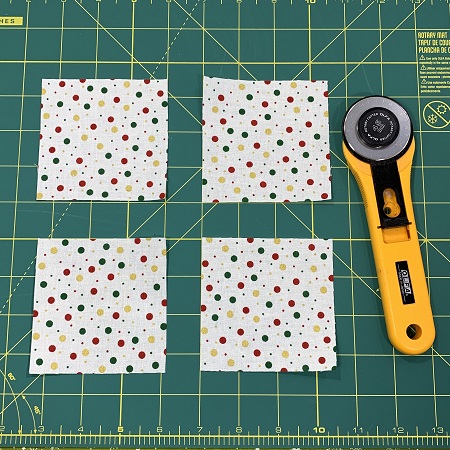
Measure the size of each corner on the placemat. Add 1" to your measurement. Cut 4 squares of fabric based on your measurements.
NOTE: A light fabric may not be the best choice if you have a dark colored placemat. The darker background dulled the lighter fabric in the example.
Step 6:
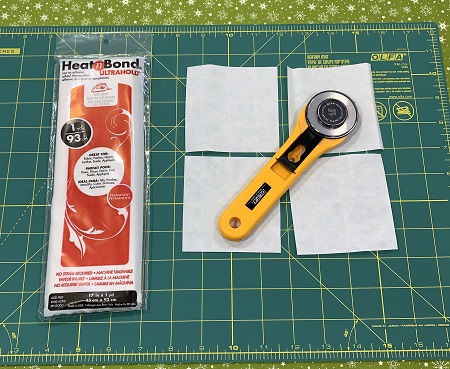
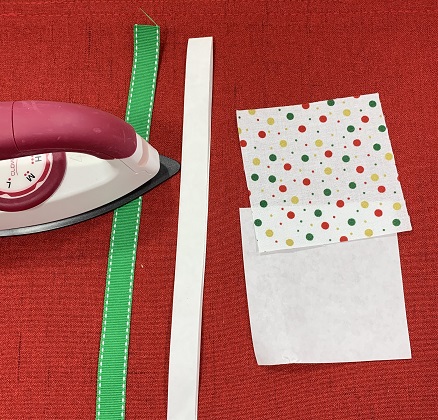
Cut four pieces of Heat n Bond ultra the size of your fabric pieces in Step 5.
Step 7:
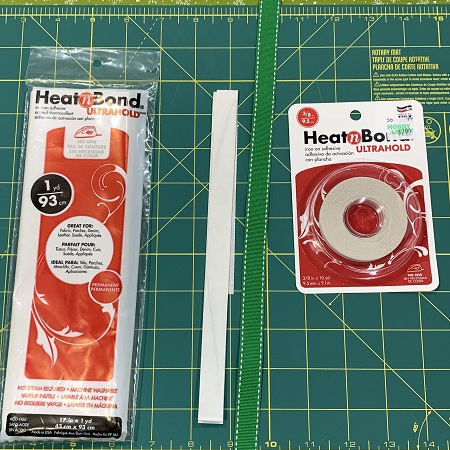
Cut strips of Heat n Bond ultra to match the width of the ribbon. Pre-cut Heat n Bond ultra is also an option.
Step 8:
Follow package instruction to adhere the Heat n Bond Ultra to the ribbon and the fabric.
Step 9:
Follow package directions to adhere the fabric to the corners of the placemat. Make sure you have an 1" overlap on the two outer edges.
Step 10:
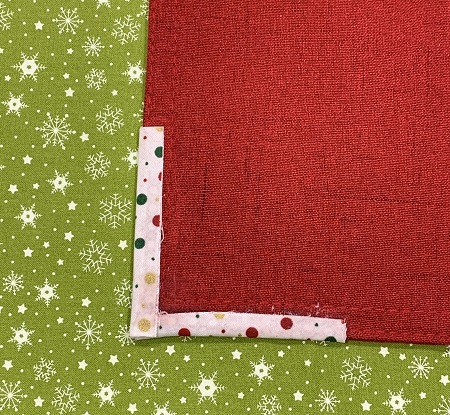
Turn the mat over and adhere the fabric edges to the back of the placemat.
NOTE: In the example, I had left an 1/2" margin and it was just about too short.
Step 11:
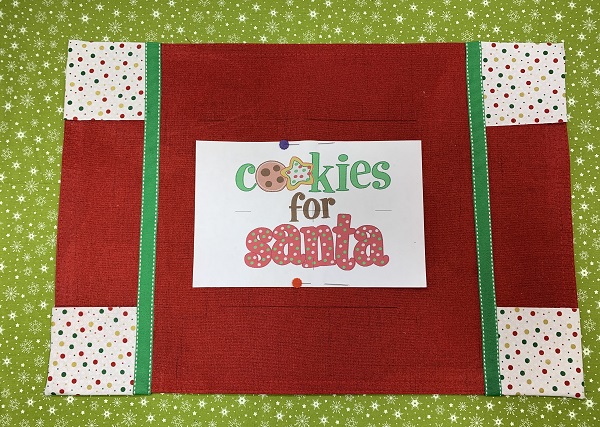
Follow package instructions to adhere the ribbon strips on the lines for the width of the placemat. Make sure that the ribbon covers the edges of the fabric. Place the ribbon so that the ends extend 1" on each end Bond the overlapped pieces of the ribbon to the back of the placemat.
(Click Image to Enlarge)
Step 12:
Follow package instructions to adhere the ribbon strips on the lines for the length of the placemat. Place the ribbon so that the ends extend 1" on each end. Make sure that the ribbon covers the edges of the fabric. Bond the overlapped pieces of the ribbon to the back of the placemat.
NOTE: The placement is very cute just with 'Cookies for Santa' embroidered in the center. However, adding border gives it some WOW!
(Click Image to Enlarge)
Step 13:
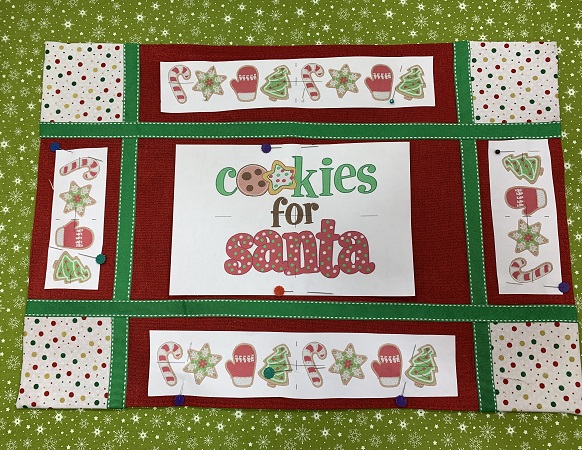
Center the 'Holiday Cookie' design templates on the placemat. Pin in place. Refer to the picture for guidance with placement.
The stitch count of the total project is high (23,000 for 'Cookies for Santa, and approx. 9300 for each set of 'Holiday Cookie' border). Keep the total stitch count in mind when deciding on how much stabilizer to use. My placemat was very durable and sturdy; therefore, I only used one piece of stabilizer because the fabric was very stable. You may need two pieces of stabilizer especially for the 'Cookies for Santa' design. One piece of stabilizer should be enough for the other sections. You will hoop multiple times because of the layout of the design. Hoop the stabilizer.
(Click Image to Enlarge)
Step 14:
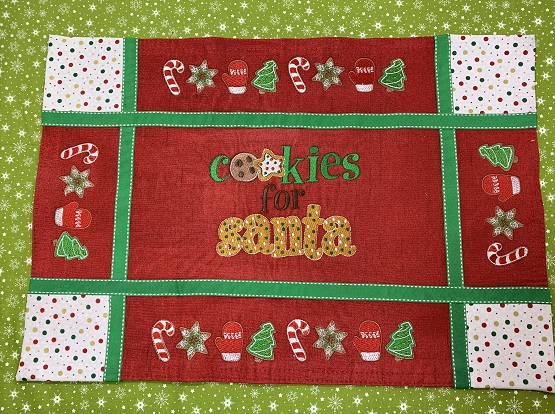
Check the needle and bobbin. Load the design you are stitching first. Trim excess stabilizer from the back leaving about a 1/2" margin after stitching each section. Continue stitching until all sections are completed.
(Click Image to Enlarge)
Step 15:
Congrats! You did it! Great job! Now time to bake some cookies...
Beautiful things come together, one stitch at a time....
Marisa Littleton is a retired educator with a love for teaching and learning. Interests include machine embroidery, hand embroidery, quilting, cooking, and antiques.