{{superHeaderAds.title}}
Live Chat
Embroidery Designs
Welcome, Embroiderer
Login
Burlap Snowflake Doilies
{{mainImageAlt || (productInfo._source && productInfo._source.name) || ''}}

Burlap Snowflake Doilies Embroidery Project

By   Marisa Littleton   on   December 09, 2019

PROJECT DETAILS

SKILL LEVEL
Beginner
TIME REQUIRED
01:00
Description

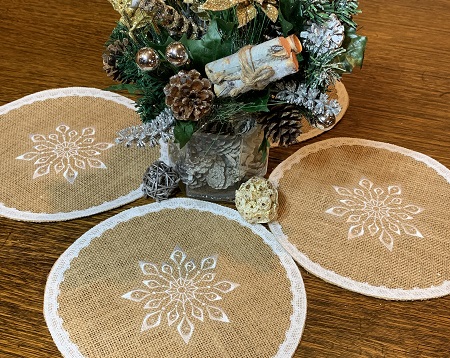
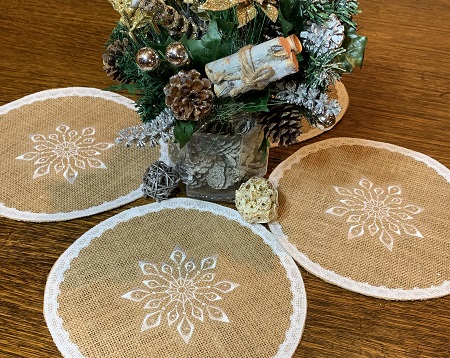
Add a touch of simple elegance to your tabletops by combining lace trimmed burlap doilies with an embroidered snowflake...

Project Preview Video

Materials
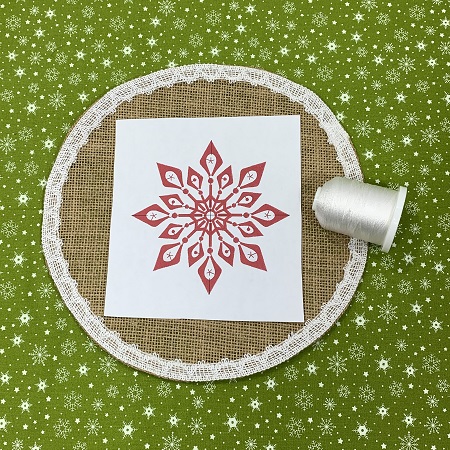
  • Commercial lace trimmed burlap doilies (9")
  • Design template (4.5x4.5") 8965 stitch count
  • Embroidery hoop (6x6)
  • Embroidery needle (80/14)
  • 40 wt. embroidery thread (Robison-Anton poly)
  • No Show Cutaway Mesh
  • Water soluble topping
  • 505 Temporary Adhesive Spray

  • Designs used in this project

    Final Product: What You Will Create

    Preface:
    Add a touch of simple elegance to a lace trimmed burlap doily with an embroidered snowflake.  The design is available in 5 sizes.  The 4.5"x4.5" size was used on 9" doilies.  Commercial doilies were used in this project; however, the doilies could easily be made with burlap fabric and a narrow lace.  A dinner or salad plate would make a good pattern if you are making your own doilies.  These doilies are very versatile and easy to make.   The doilies are a great project for beginners and would make an awesome quick gift...


    Step 1:
    Read the directions for the project.  Gather the materials needed for the project.  A medium weight cutaway or a no show mesh cutaway stabilizer would work fine for this project.  The stitch count for a snowflake is approximately 10,000.  Select hoop size based on the size of your design.  Decide on how many doilies you are going to make for the project.  Print a design template if possible to help with placement.


    Step 2:
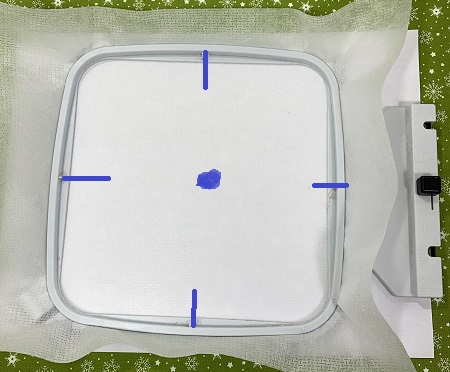
    Cut one piece of stabilizer to fit your hoop per doily you plan to embroider.  
    Hoop one piece of stabilizer in your hoop.  Mark the center and axis points on the stabilizer.   


    Step 3:
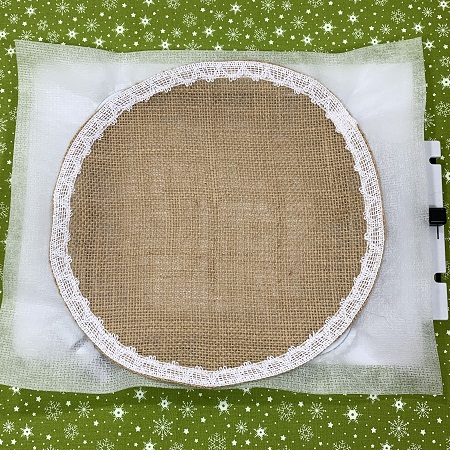
    The next step will 'float' the doily on the stabilizer.  The stabilizer is the only thing in the hoop.  The doily will float on top of the stabilizer.  Fold the doily in half.  Then fold the doily again making it into a fourth.  Place the doily on the stabilizer matching the center point with the tip of the 'L' shape side of the folded doily.  Lightly mist the stabilizer with a temporary adhesive spray.  Unfold the doily and press it gently onto the stabilizer.  Make sure the surface is smooth and wrinkle free.


    Step 4:
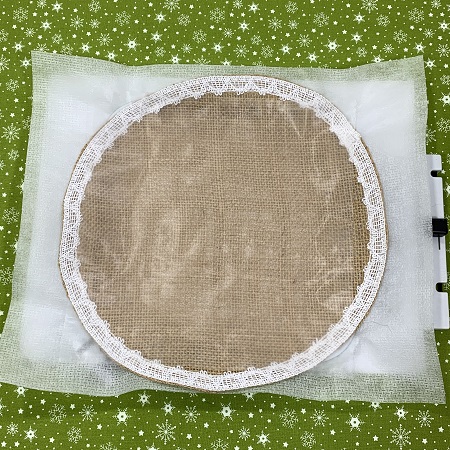
    Place one piece of water soluble topping on top of the doily.  The burlap has an open weave in the fabric. The topping will help keep the stitches on top of the fabric.  


    Step 5:
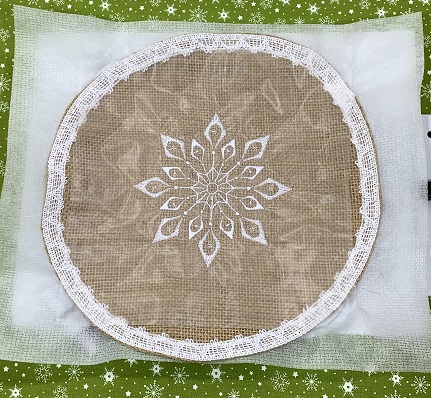
    Check your needle in the machine.  Load the design onto the machine.  Attach the hoop to the machine.  Stitch the design.  


    Step 6:
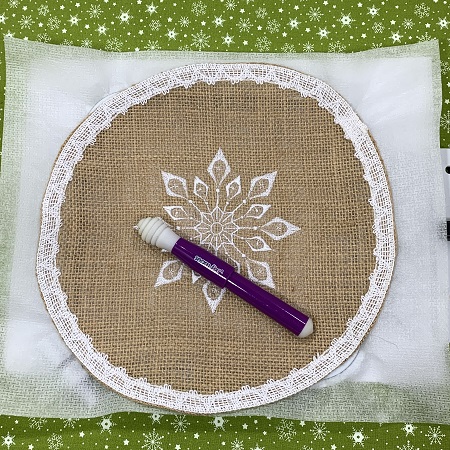
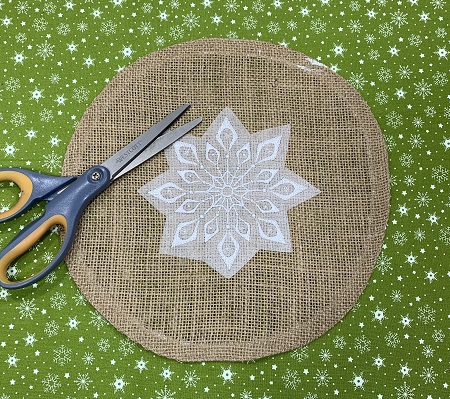
    Remove the hoop from the machine.  Take the project out of the hoop.  Gently tear away the topping from the doily.  The honey comb shaped tip on a 'Seam Fix' seam ripper is an awesome tool to help remove the remaining topping from the doily.  Just rub the tip gently on the areas that still have topping in them.   


    Step 7:
    Carefully trim excess stabilizer from the back of the doily.  Be very careful not to cut the doily while trimming off the stabilizer.  Leave about a 1/2" margin of stabilizer around the design.  


    Step 8:
    (Click Image to Enlarge)
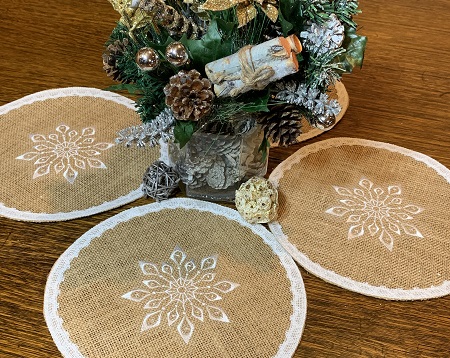
    Congrats!  Great job!  Now, repeat these steps if you want to make a set of doilies.  


    Step 9:
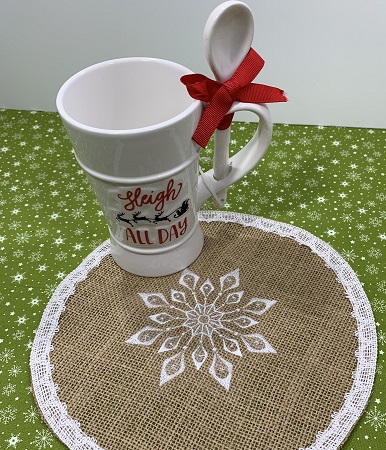
    The doilies are very versatile and a lovely addition to any décor...

    Beautiful things come together, one stitch at a time....
     
     
    Marisa Littleton 
    Meet the Author: Marisa Littleton
    Marisa Littleton
    Marisa Littleton is a retired educator with a love for teaching and learning. Interests include machine embroidery, hand embroidery, quilting, cooking, and antiques.
    More From This Author
    Link is Broken, Please check the URL
    Exclusive Embroidery Offers!
    Copyright © {{ currentDate | date:'yyyy'}} - EmbroideryDesigns.com
    GET 50% OFF! ×