














































PROJECT INSTRUCTIONS


PROJECT INSTRUCTIONS
Quilt Monogram Ruffle Cushion Embroidery Project
By
Kylie Burke
on
December 07, 2019
Description
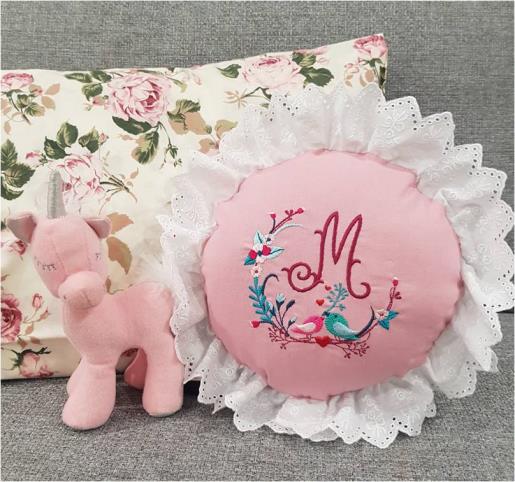
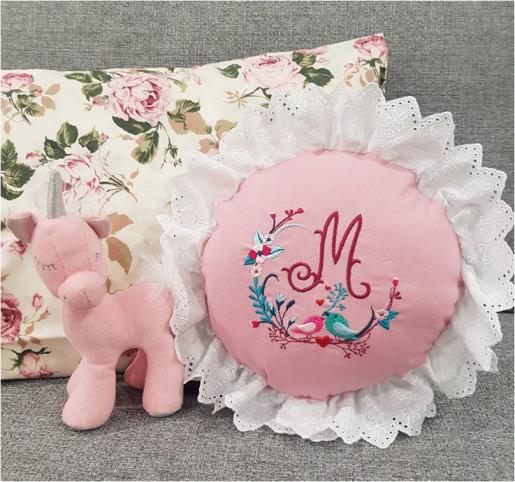
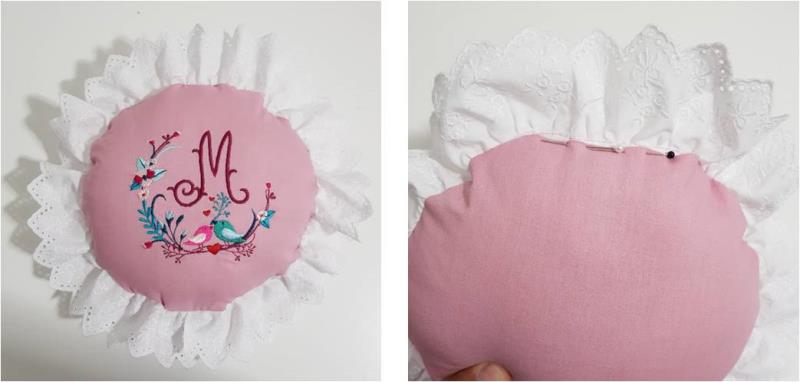
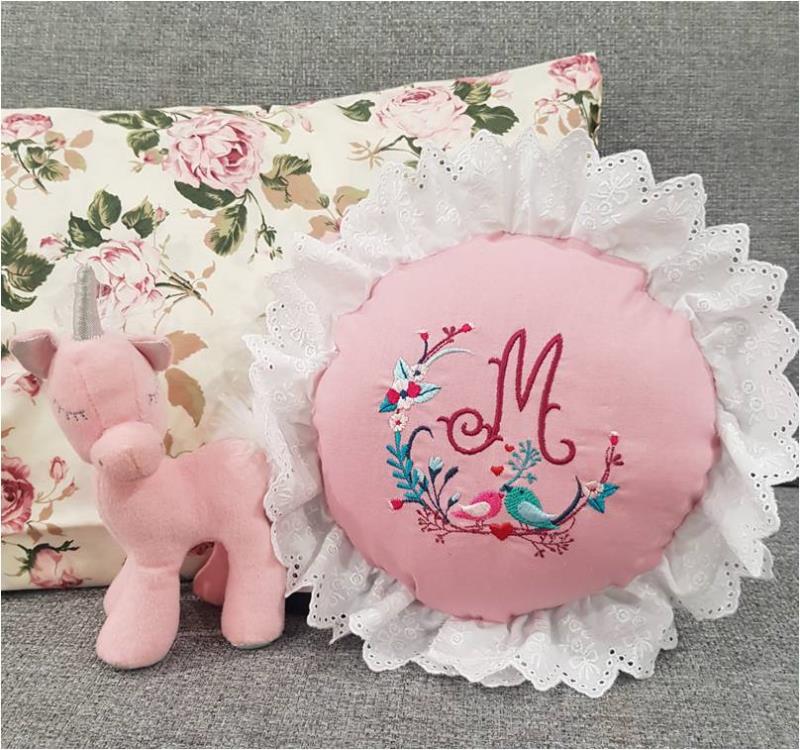
Enhance any girl's bedroom décor with this charming quilted monogram ruffle cushion. Its elegant design ensures it remains a timeless piece as children grow. Step-by-step instructions are included.
Step
of
Materials
Project Preview Video

QUICK VIEW
Elegant Script Alphabet Embroidery Designs Bundle – Letter A, Letter B, Letter C & More (26 Designs)
$39.95
$23.97
Circle Price: $23.97

Love Birds Wreath
$3.89
Circle Price: $2.92

QUICK VIEW
Tear Away Stabilizer
$7.98
Circle Price: $7.18

Water Soluble Stabilizer - 12" x 25 Yds
$32.46
Circle Price: $29.21
{{ item.name }}
{{ item.listPriceDisplay }}{{ item.salePriceDisplay }}
Circle Price:
{{ item.clubPriceDisplay }}


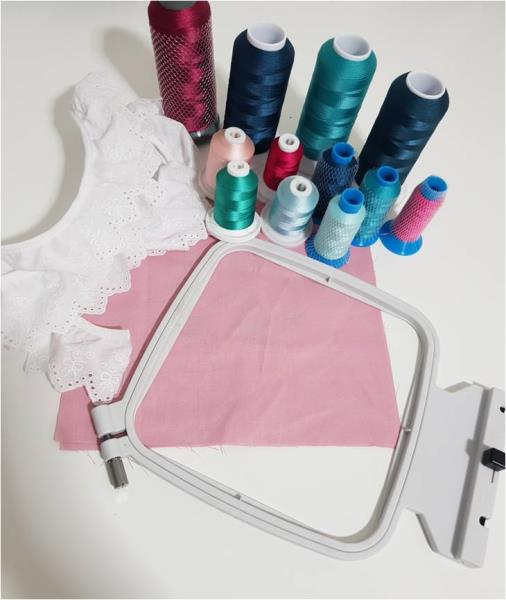
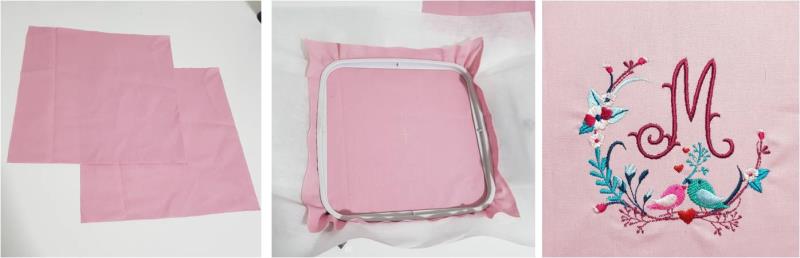
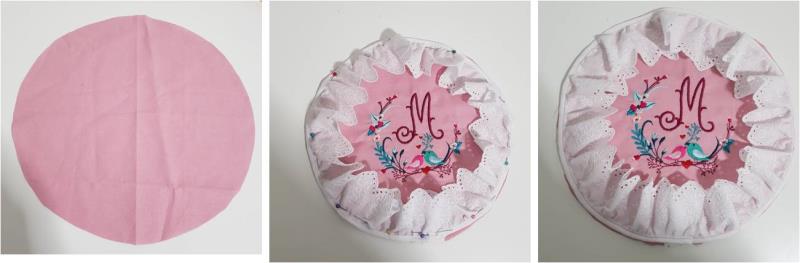
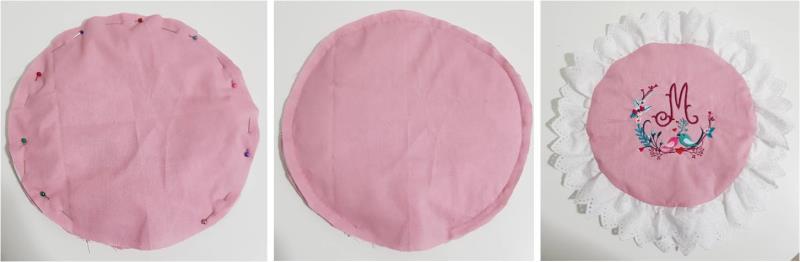
| Materials 2 x 4 ½” squares of cotton fabric 25” of lace ruffle trim Tearaway stabilizer 4” hoop Chosen embroidery thread colors |
| Designs used in this project |
| Final Product: What You Will Create |
 |
|
Projects You May Like
Meet the Author:
Kylie Burke

Kylie is based in Australia and loves creating and sharing her unique pieces.
Feedback
Characters Remaining
Please Login to Submit a Feedback
Invalid Characters, Please enter a valid Comment
Please enter a valid Comment
Reviewed On
Link is Broken, Please check the URL