














































PROJECT INSTRUCTIONS


PROJECT INSTRUCTIONS
Applique Christmas Hanging Pockets Embroidery Project
By
Kylie Burke
on
October 23, 2019
Description
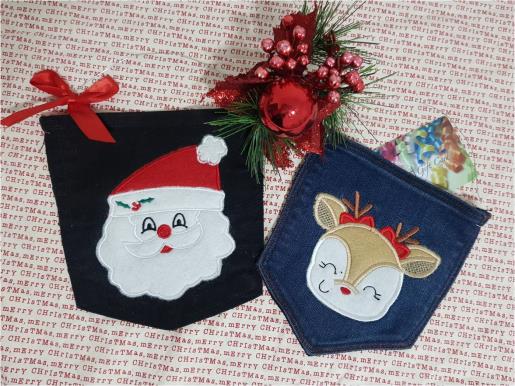
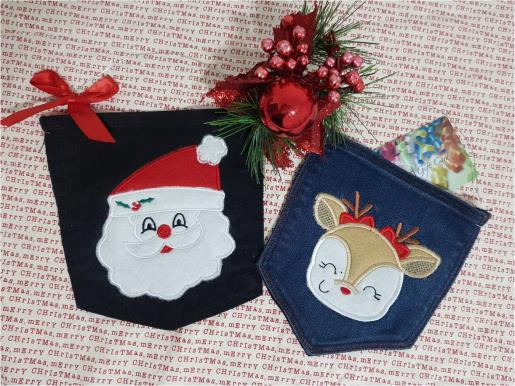
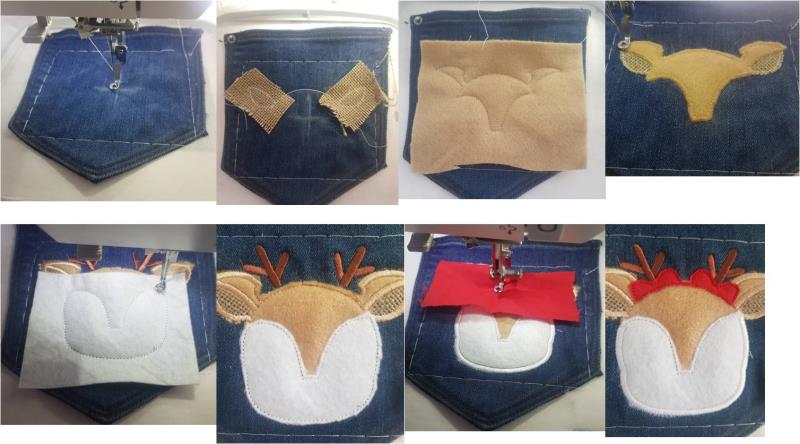
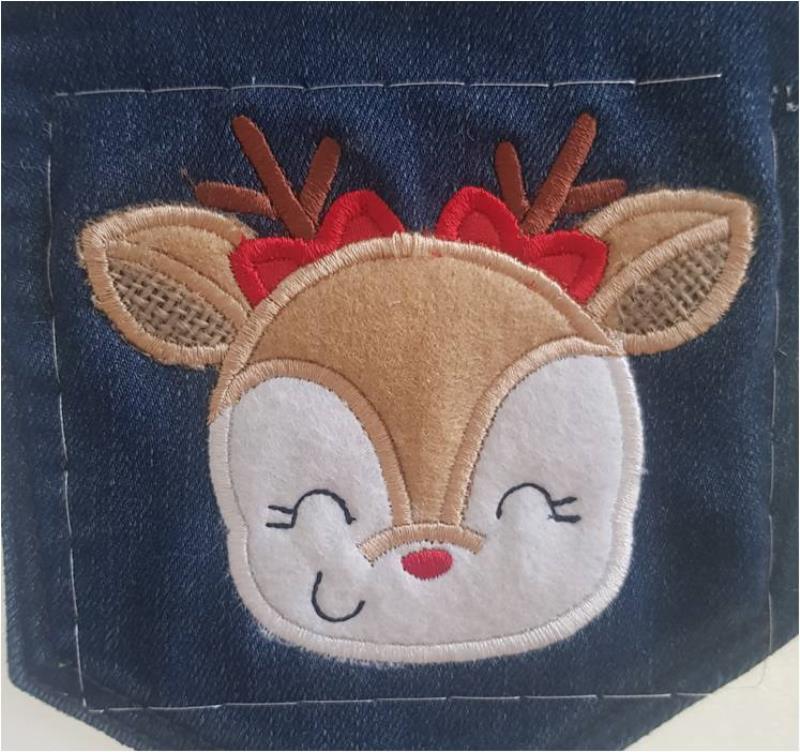
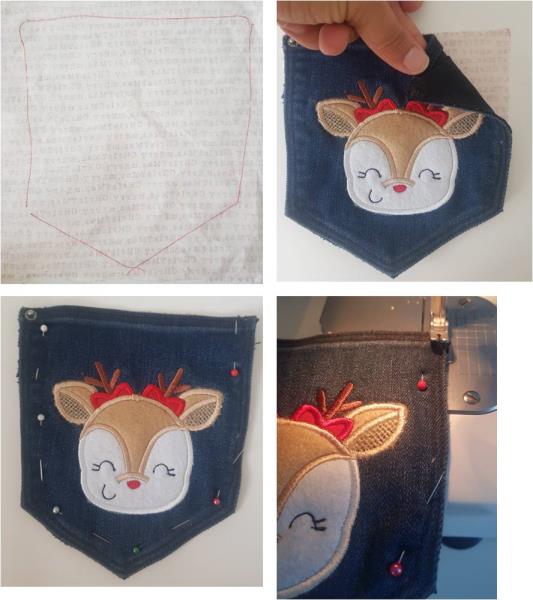
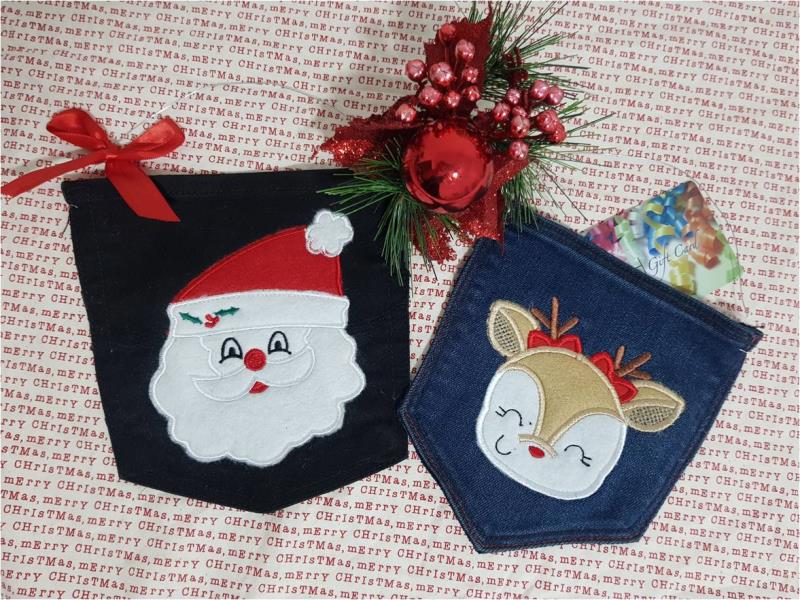
Create charming applique hanging pockets using up-cycled jeans featuring festive designs like Santa and a reindeer. Perfect for use as gift bags, card holders, or decorative accents during the holiday season. Step-by-step instructions are included.
Step
of
Materials
Project Preview Video

QUICK VIEW
Applique Santa Face
$6.24
Circle Price: $1.14

QUICK VIEW
Female Reindeer Applique
$4.00
Circle Price: $3.60

QUICK VIEW
Tear Away Stabilizer
$7.98
Circle Price: $7.18
{{ item.name }}
{{ item.listPriceDisplay }}{{ item.salePriceDisplay }}
Circle Price:
{{ item.clubPriceDisplay }}



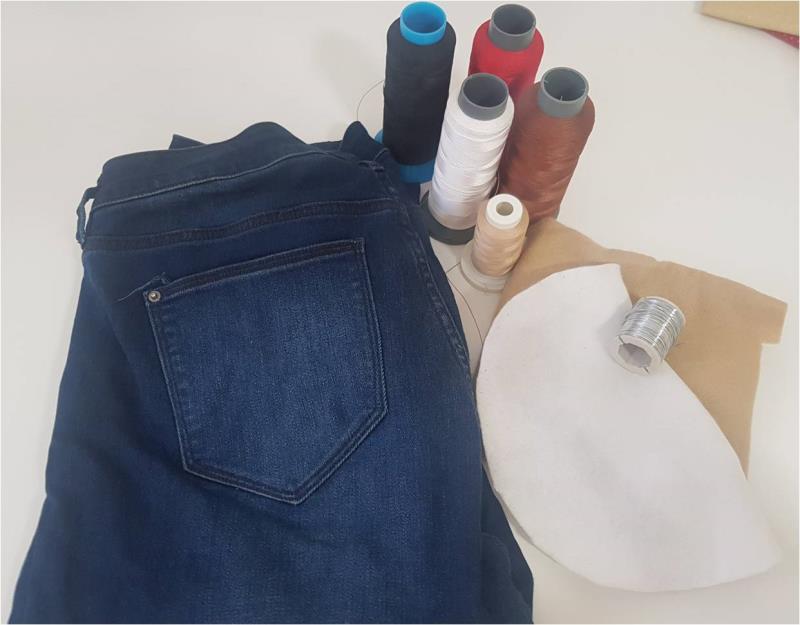
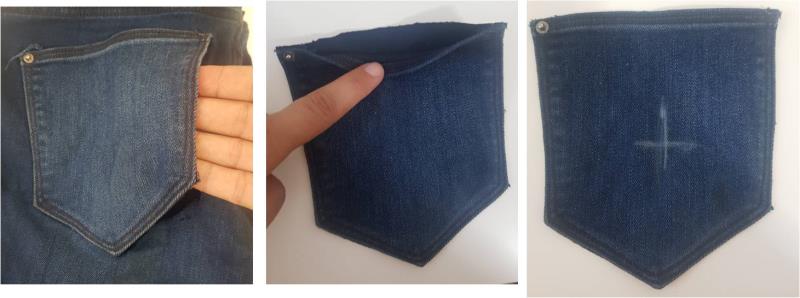
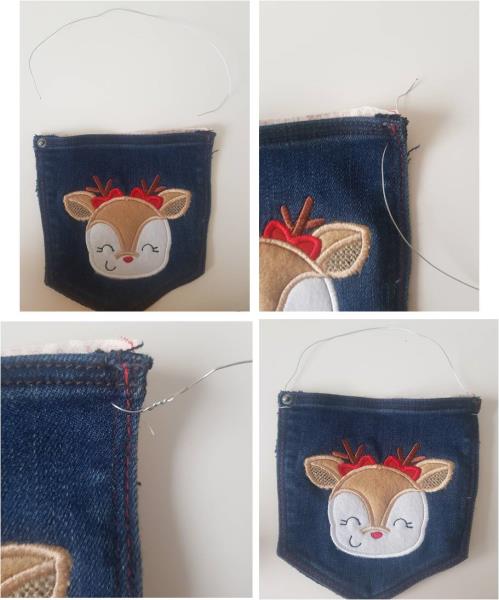
| Materials Old pair of jeans to cut the back pockets out of Relevant thread colors for your chosen design Felt pieces in relevant colors (I have also used hessian for the ears) Backing fabric of your choice Pinking shears (optional) Beading wire (for hanger) Tearaway stabilizer 4” hoop |
| Designs used in this project |
| Final Product: What You Will Create |
 |
|
Projects You May Like
Meet the Author:
Kylie Burke

Kylie is based in Australia and loves creating and sharing her unique pieces.
Feedback
Characters Remaining
Please Login to Submit a Feedback
Invalid Characters, Please enter a valid Comment
Please enter a valid Comment
Reviewed On
Link is Broken, Please check the URL