Border OptionsHugging border, circle, square, or rectangle — with a 3mm satin stitch.
Backing OptionsAvailable with iron-on, sew-on, or velcro backing.
Fast ShippingShipped quickly from the USA.
Free Online Tools
Powerful embroidery utilities that save time and prevent costly mistakes.
Stitch AssistantRECOMMENDED
Get the exact stabilizer, machine settings, needle, and thread color sequence for every embroidery design you purchase — based on that design's stitch density, dimensions, and color count.
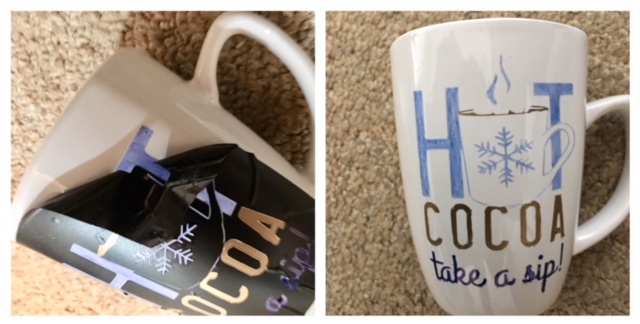
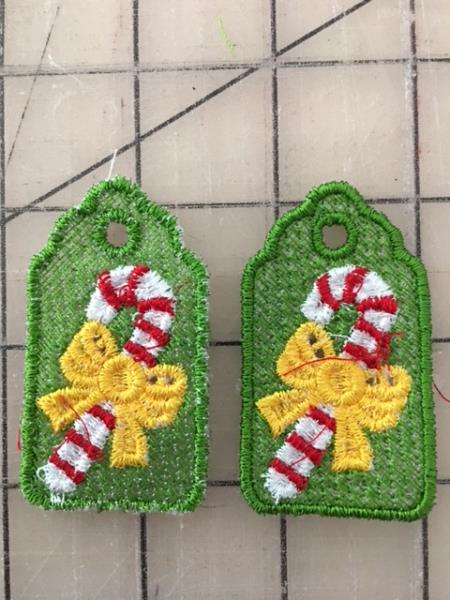
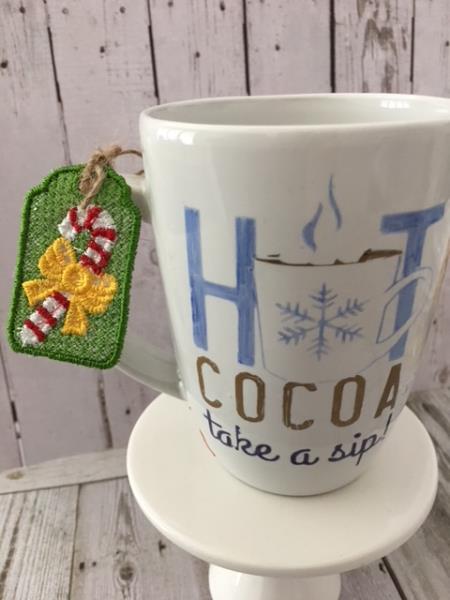
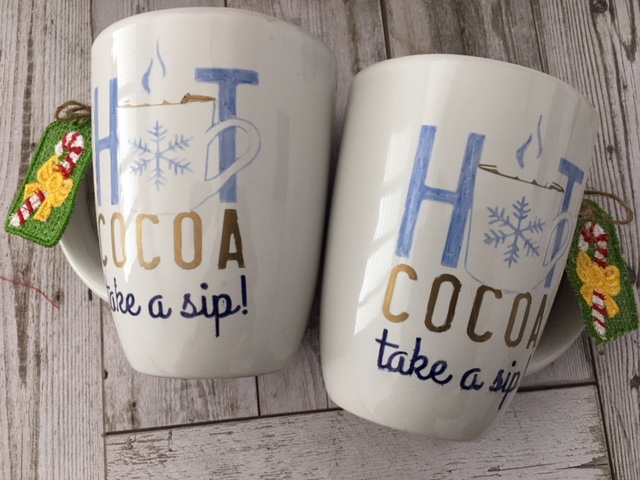
Enhance store-bought ceramic mugs with the charming 'Take A Sip' design for the perfect holiday gift. Complete the set with embroidered FSL gift tags and a touch of cocoa and marshmallows. Step-by-step instructions are included.
In this tutorial we will be combining SVG/Print Art and Embroidery as you will be cutting stencils (s) using your cutting machine and applying the cut design to ceramic mugs to be “painted” in the open areas of your weeded design with oil based sharpie pens and then “firing” in your oven to set the ink. Embroidering fun gift tags to attach to the ceramic mugs will bring this project all together.
Step 1:
(Click Image to Enlarge)
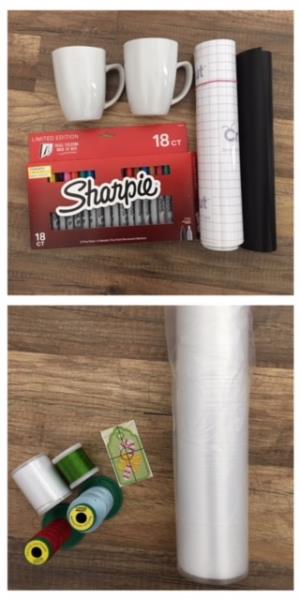
Gather all supplies and review instructions before beginning.
*Basic knowledge of cutting machine and how to prepare vinyl for stencil is needed.
Step 2:
Wash and dry ceramic mugs. Remove all sticker labels. Please note that you will be placing these mugs in the oven to "fire".
Step 3:
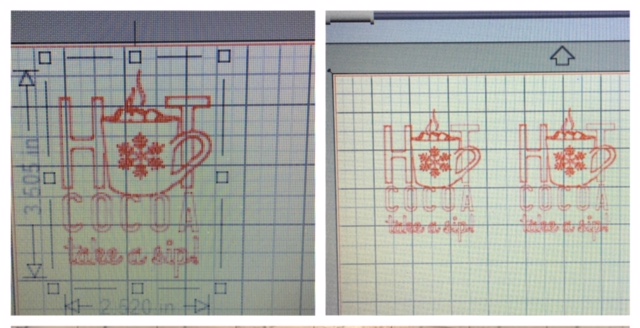
Bring in the SVG/Print Art design "Take A Sip into your cutting machine software. Resize design to approx 3.5” x 2.5”. Adjust these measurements based on the size of your ceramic mug. Copy and paste for two designs to cut.
(Click Image to Enlarge)
Step 4:
Per your cutting machines instructions:
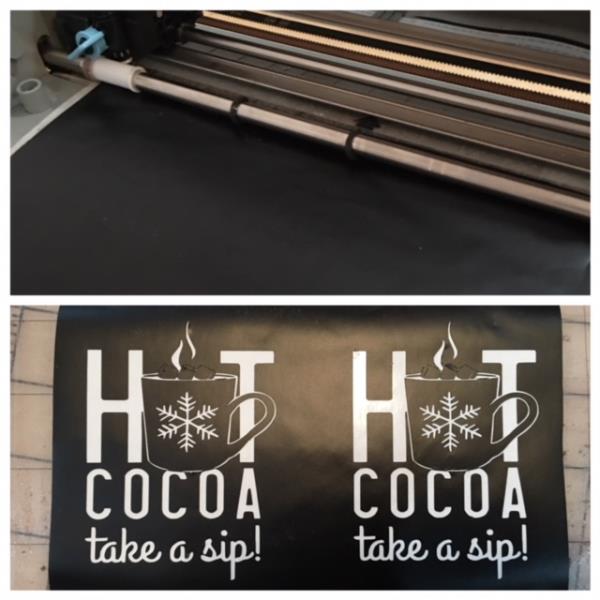
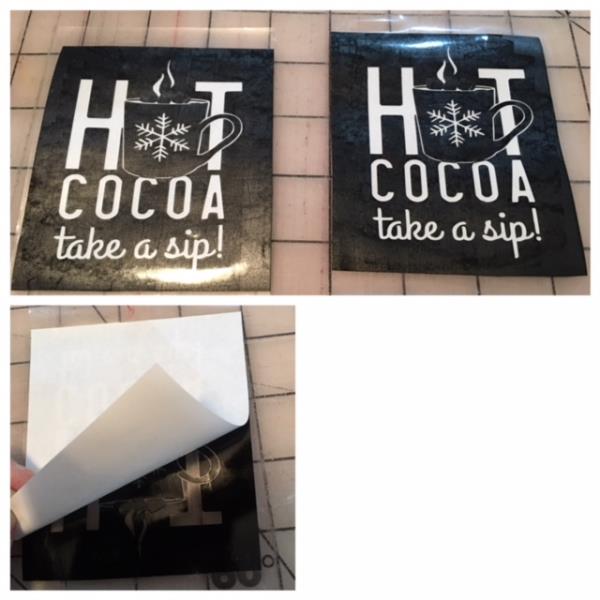
Prepare your adhesive vinyl for cutting. Load your vinyl into your cutting machine. Cut design. Design cut complete. Weed your design for a stencil using the reverse weeding technique.
REVERSE WEEDING: REMOVING THE AREA OF THE VINYL THAT WOULD NORMALLY BE LEFT BEHIND. THIS TECHNIQUE IS MAINLY USED WHEN MAKING A STENCIL.
(Click Image to Enlarge)
Step 5:
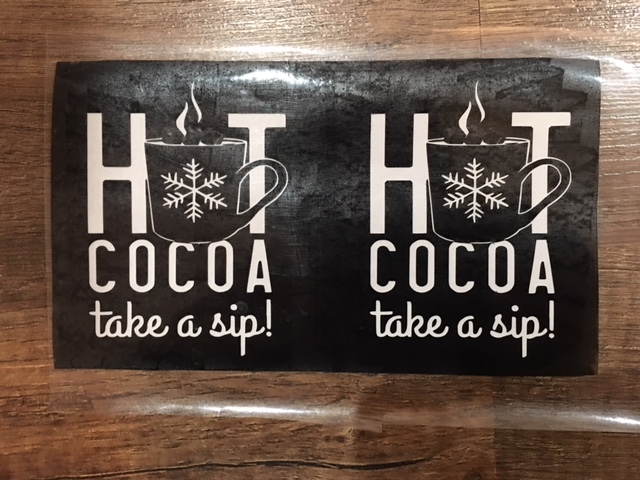
Apply transfer paper to top of your stencil per manufacturer’s instructions.
(Click Image to Enlarge)
Step 6:
Trim to size and into two separate stencils and for an easier application on mug. Remove adhesive back from one of the stencils.
(Click Image to Enlarge)
Step 7:
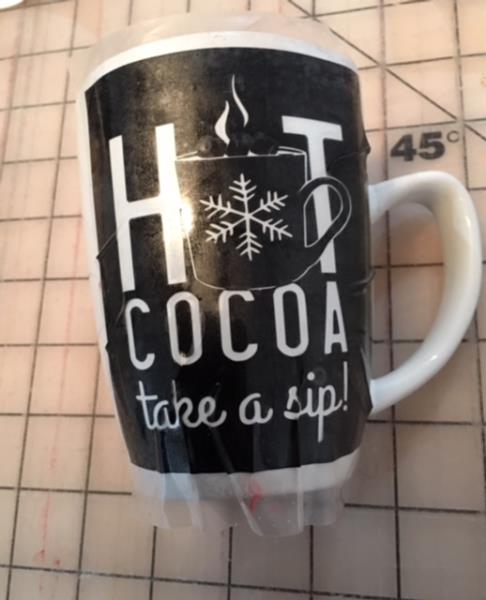
Center stencil onto mug. When you have positioned/centered to your liking, fingertip press and smooth out starting from the middle of stencil and working your way to outside edges.
(Click Image to Enlarge)
Step 8:
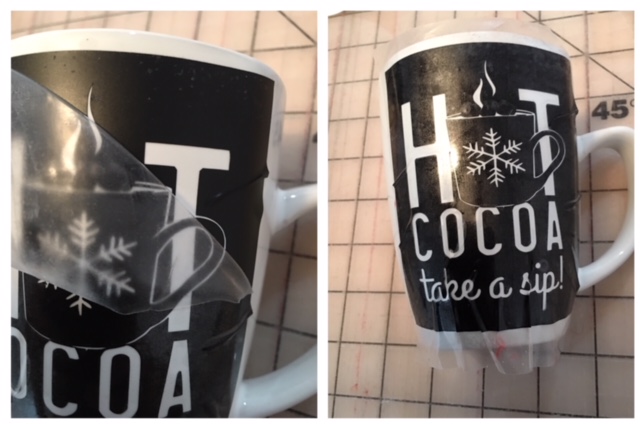
Slowly remove transfer paper. Smooth out air bubbles from around the lettering/design to help avoid any paint/ink seepage from going under the stencil when "painting".
(Click Image to Enlarge)
Step 9:
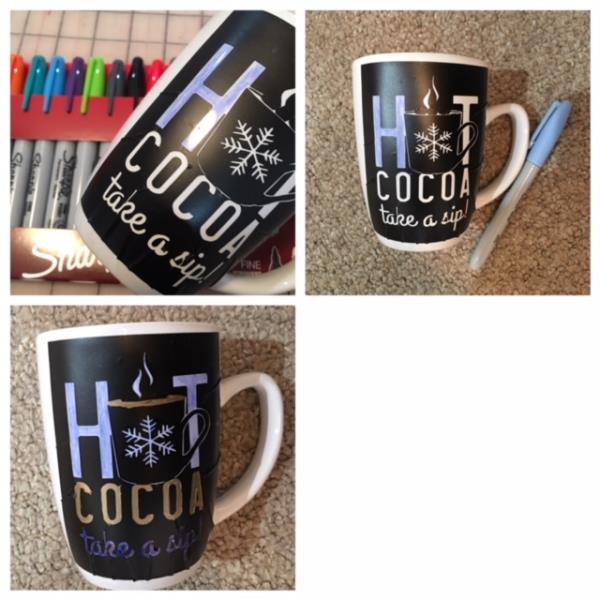
Choose your sharpie colors (3). I followed the design colors: light blue, brown, dark blue. Start from the top of the stencil down to the bottom with tracing and coloring in all the open weeded areas of the stencil.
(Click Image to Enlarge)
Step 10:
Allow a minute or two for the paint/ink to completely dry. Slowly remove stencil. If there are pieces of stencil still on your mug remove using your hook weeding tool. Make any necessary touch ups at this time. If there was any seepage underneath your stencil carefully using your hook weeding tool lightly scrape off the ink/paint.
(Click Image to Enlarge)
Step 11:
Remove back adhesive paper on other stencil and repeat steps 7 - 10 for the second mug.
Step 12:
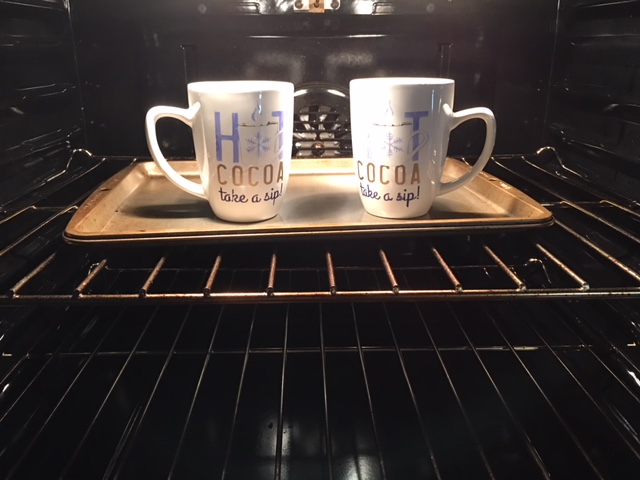
Place mug(s) onto a cookie sheet. Place into a cold oven. Set oven temperature to 275*and "fire" for 30 minutes.
After 30 minutes turn off oven. Leave mugs in oven to cool. ( approx. 20-30 min) if mugs cool too fast they may crack. When mugs are cool remove from oven. The “firing” should set your sharpie colors into your mugs.
(Click Image to Enlarge)
Step 13:
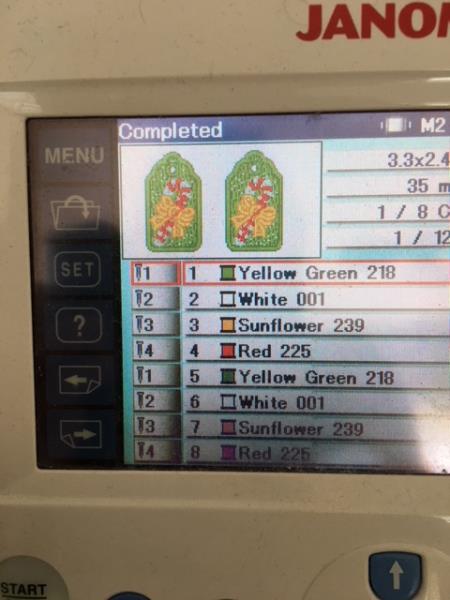
MAKING THE TAGS Load FSL Candy Cane tag design into your machine. Per your machines edit instructions copy and paste design so that you are able to stitch out two at the same time. If your machine does not have this function you will need to stitch out design twice.
(Click Image to Enlarge)
Step 14:
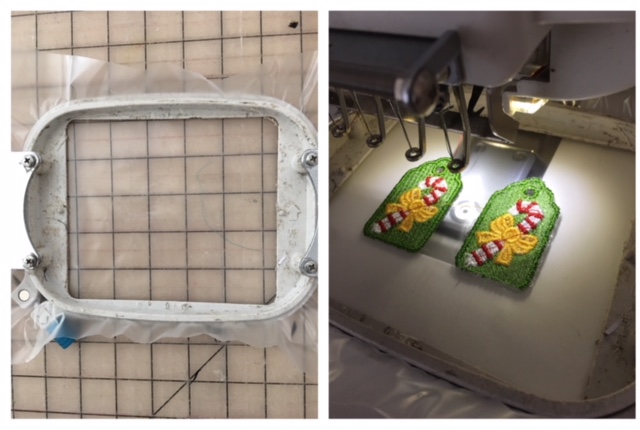
Cut and hoop water soluble stabilizer. Attach hoop to machine. Begin the embroidering process.
(Click Image to Enlarge)
Step 15:
Embroidery complete. Remove hoop from machine. Cut and trim all jump stitches and loose thread ends. Tear away water soluble stabilizer. Submerge in water for a few seconds to dissolve excess stabilizer. Lay flat to dry.
(Click Image to Enlarge)
Step 16:
ATTACHING TAGS TO MUG Cut a piece of ribbon/twine to thread into eye of tag. Tie onto handle of mug(s).
(Click Image to Enlarge)
Step 17:
Congratulations! Your Take A Sip mugs and Candy Cane gift tags are now complete. Have fun creating your gift set!