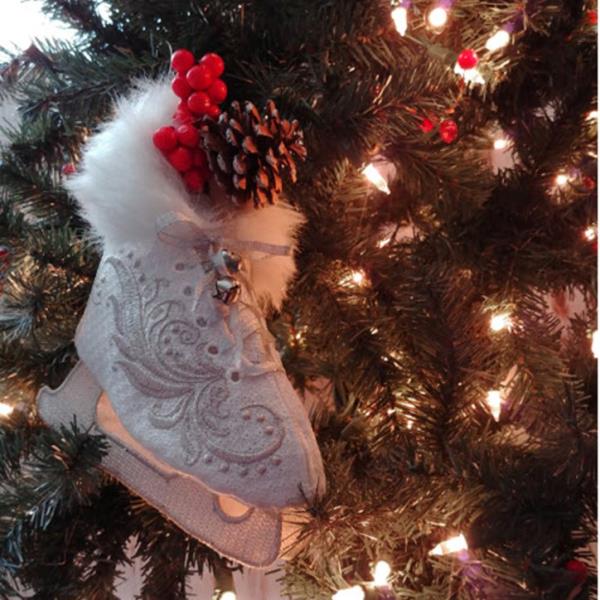
| Preface: | I love winter. I know, I’m one of those silly people who loves the first snowfall, comfort food, warm comfy sweaters, the smell of a wood-burning fireplace, and the sound of ice skate blades scraping on the ice. As a kid my dad would literally have to drag me off the ice. No Dorothy Hamill was I, but I just loved the crisp air and the feeling of racing along which felt like flying.
The kid in me wanted some new ice skates when we moved back to cold country but my husband said I was probably too old to be skating and I might “get broken”. I disagreed, but to satisfy my need to have a pretty new skate, I decided to digitize one!
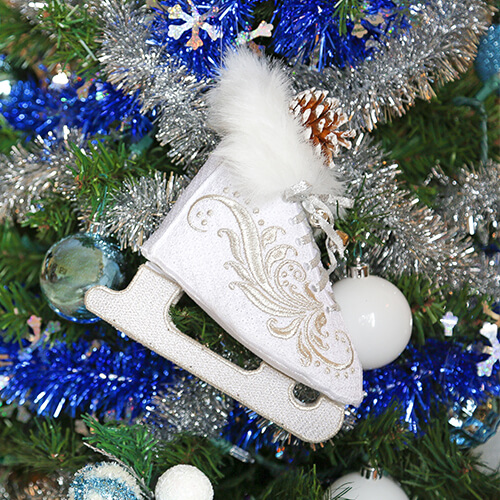
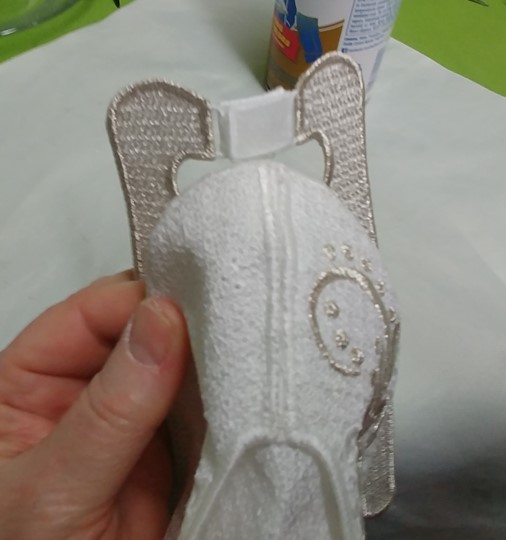
Stitch and assemble a pretty white skate with silver trim, a white fur cuff, and jingle bells. To me it represents all the best of winter; I hope you enjoy making it as much as I did creating, digitizing, and making it.
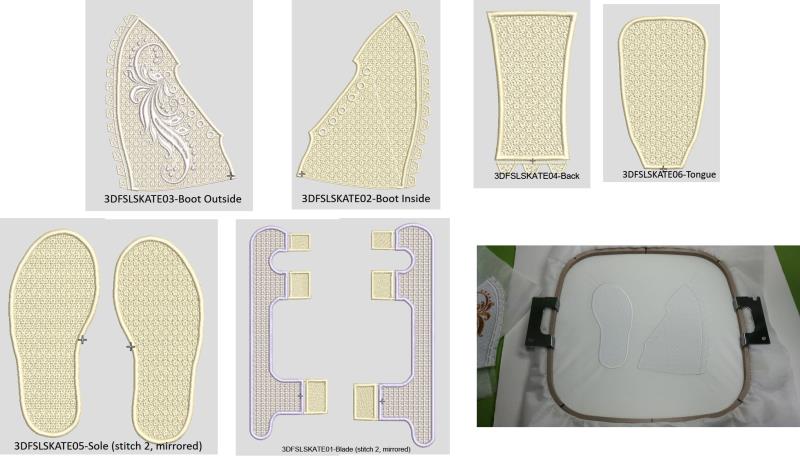
Six designs files are needed, which are included in the download:
3DFSLSKATE01-Blade (stitch 2, mirrored)
3DFSLSKATE02-Boot Inside
3DFSLSKATE03-Boot Outside
3DFSLSKATE04-Back
3DFSLSKATE05-Sole (stitch 2, mirrored)
3DFSLSKATE06-Tongue
Because the design file numbers can be confusing, the parts of the skate will be referred to as their part-name instead of the number so they are more easily identified.
Please be advised, stitching time is approximate because machine speeds vary. The time does not include drying and assembly time. |
Step 1: | Read through the instructions thoroughly before beginning and assemble all the materials needed to complete the project. For each file stitched, hoop two layers of fibrous water-soluble stabilizer and sew pieces regular white bobbin thread for the entire skate. Use the white polyester thread for all the main parts of the skate, changing to the silver metallic thread when stated for the Blade and Boot Outside. For each skate, load the designs on the machine and embroider 1 boot outside, 1 boot inside, 1 tongue, 1 back, 2 blades-mirrored, and 2 soles- mirrored. As stated in the color sequence, use silver metallic thread as directed. If ganging up the designs in a larger hoop, leave room between pieces for proper stabilization. Stitch all the pieces for the skate. | 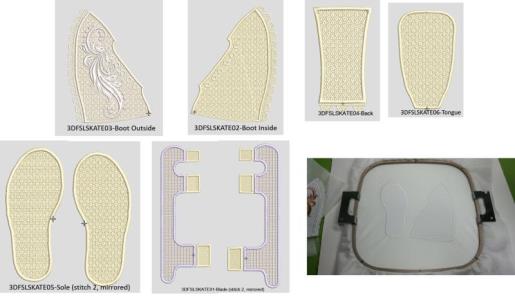 (Click Image to Enlarge) |
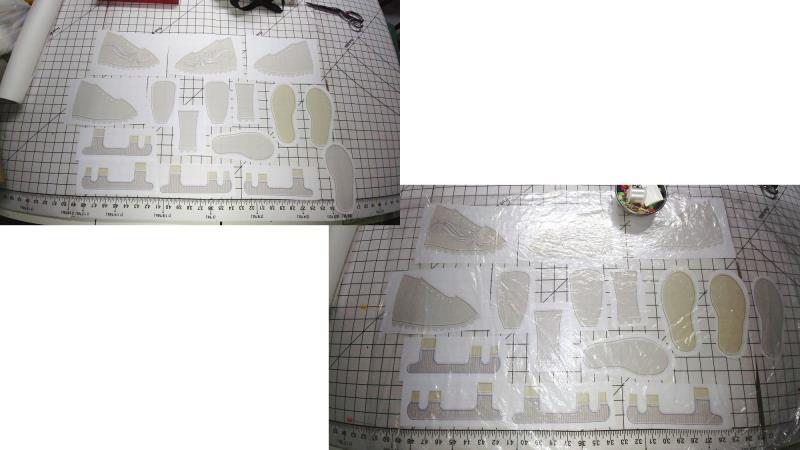
Step 2: | Print out paper templates of each of the design pieces, mirroring the soles and blades. Generally, cut out the paper and lay the pieces on a surface that can have pins poked into it, like an old cutting board. Cover the paper pieces with a sheet or two of plastic and secure the plastic in place. | 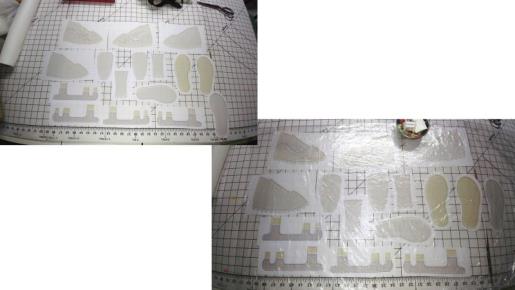 (Click Image to Enlarge) |
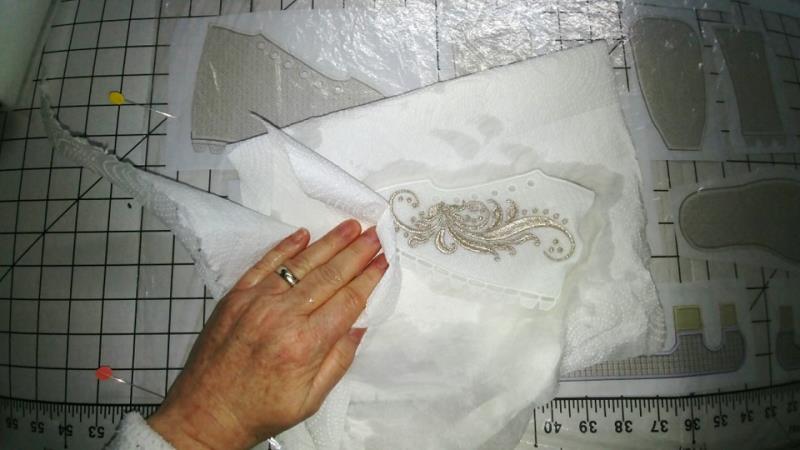
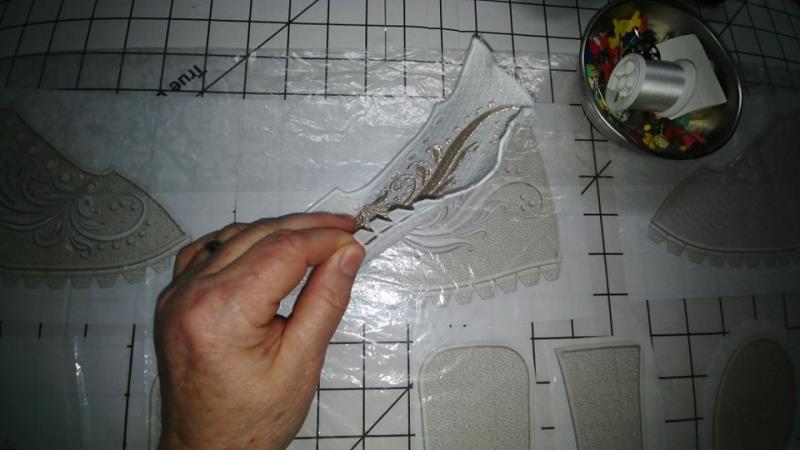
Step 3: | Working with each piece individually, soak the embroidered piece in water just until the stabilizer has been dissolved (you want most of the stabilizer left in the piece). Dab the piece dry with a paper towel just to remove the excess water. You want the piece to be fairly damp so it is workable for blocking. | 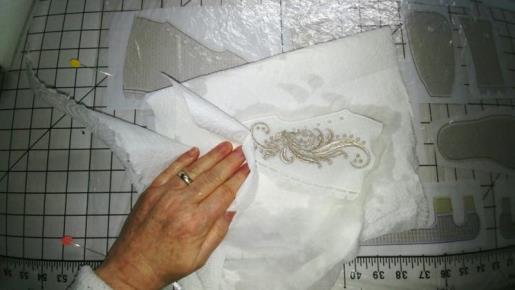 (Click Image to Enlarge) |
Step 4: | Lay the piece over the corresponding paper template. | 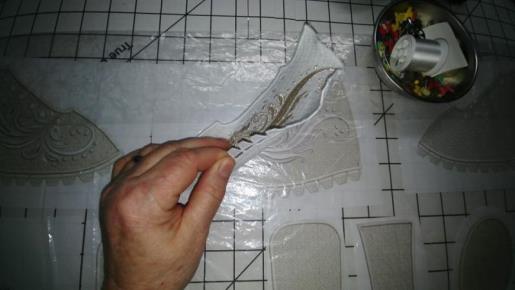 (Click Image to Enlarge) |
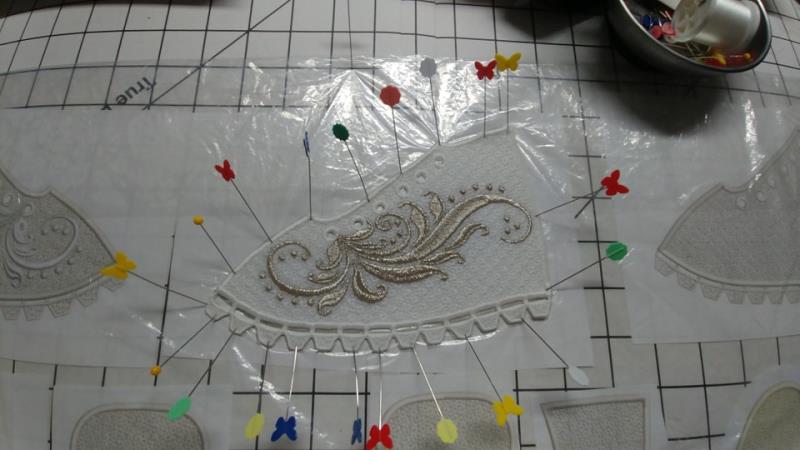
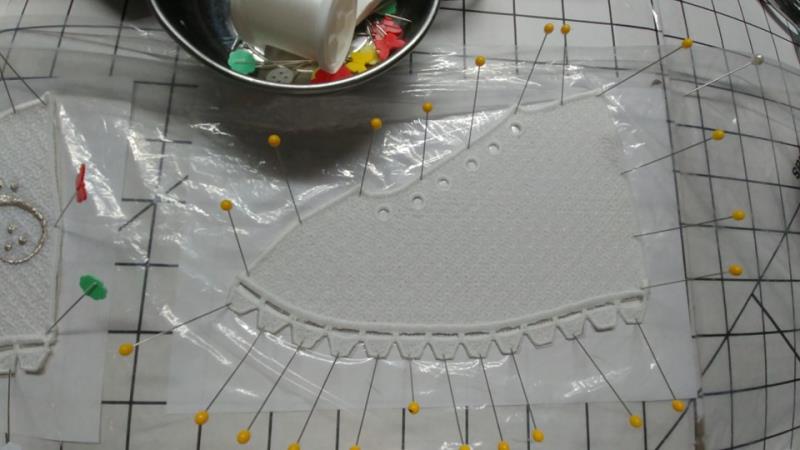
Step 5: | Block each piece. Use old quilting pins to secure the embroidered piece over the paper to block the piece. Place pins at key points and make sure the outline of the embroidered piece matches the outline of the printed template exactly. Position pins at an angle to securely hold the piece in place. | 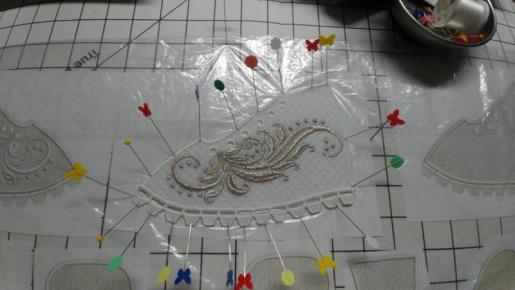 (Click Image to Enlarge) |
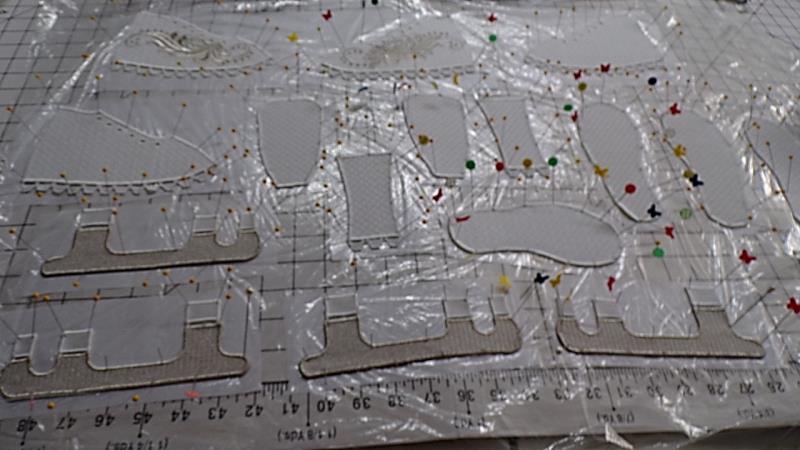
Step 6: | Repeat the steps of rinsing and pinning the remaining embroidered pieces over the paper templates to block them. | 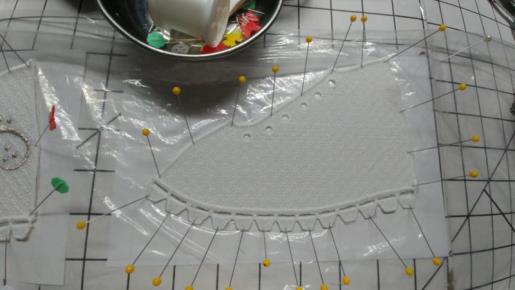 (Click Image to Enlarge) |
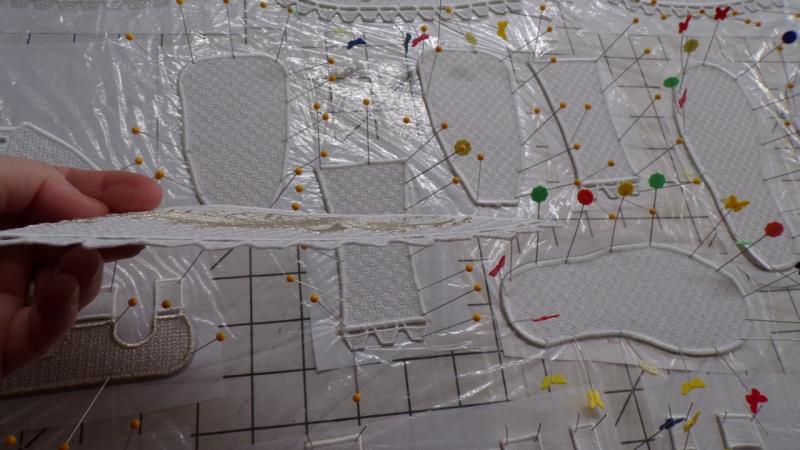
Step 7: | Let the pieces dry overnight | 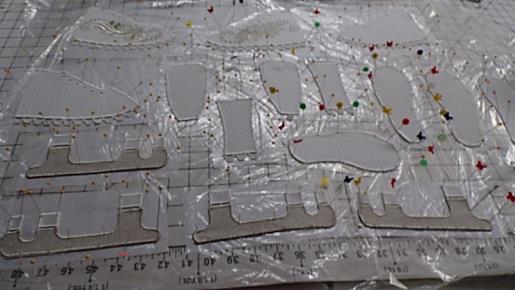 (Click Image to Enlarge) |
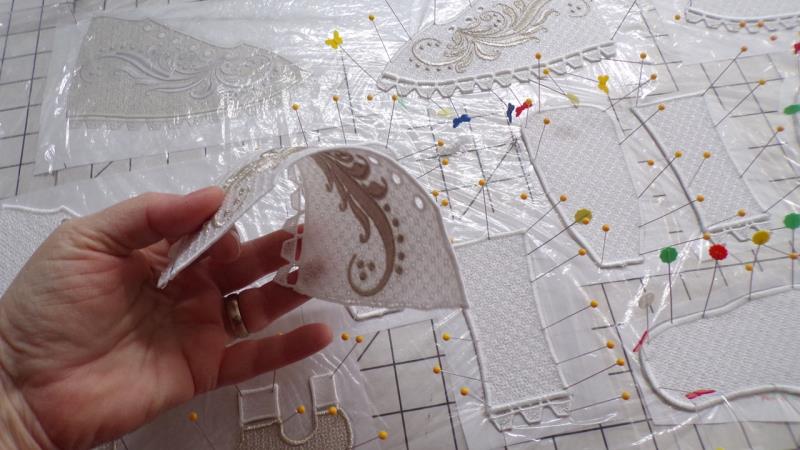
Step 8: | The dried piece should be stiff | 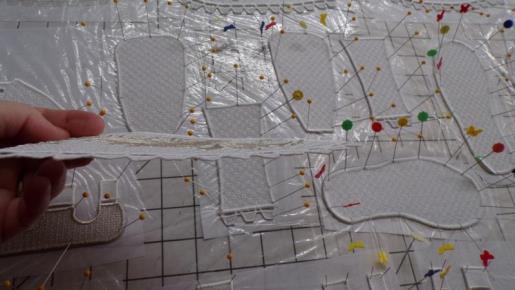 (Click Image to Enlarge) |
Step 9: | yet pliable. If too much stabilizer was rinsed out, leave the pieces in place on the plastic and spray them with TerialMagic to stiffen the pieces. Let dry overnight, again. | 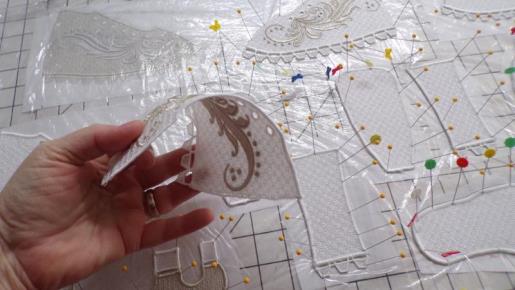 (Click Image to Enlarge) |
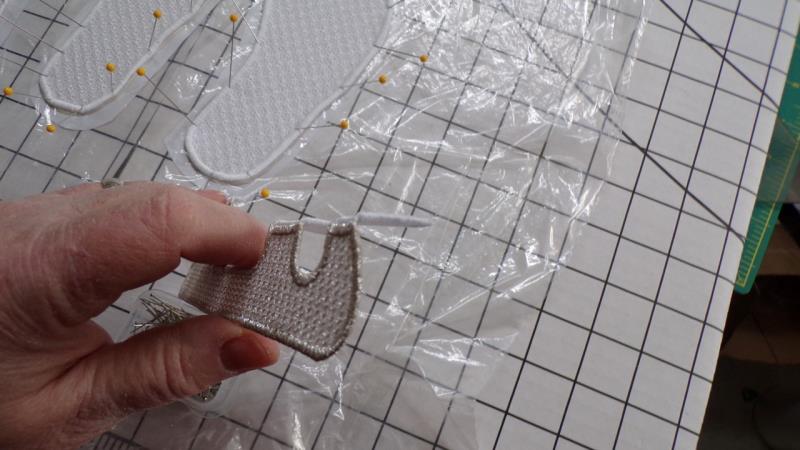
Step 10: | The tab-edges of the boot pieces and the blade pieces should bend easily, but the tabs should be stiff. | 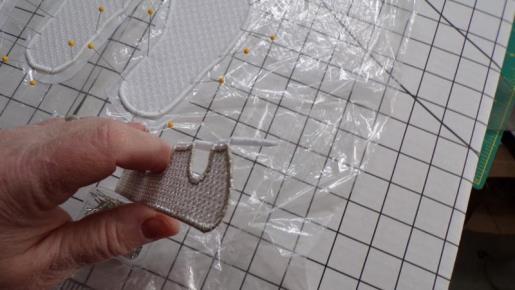 (Click Image to Enlarge) |
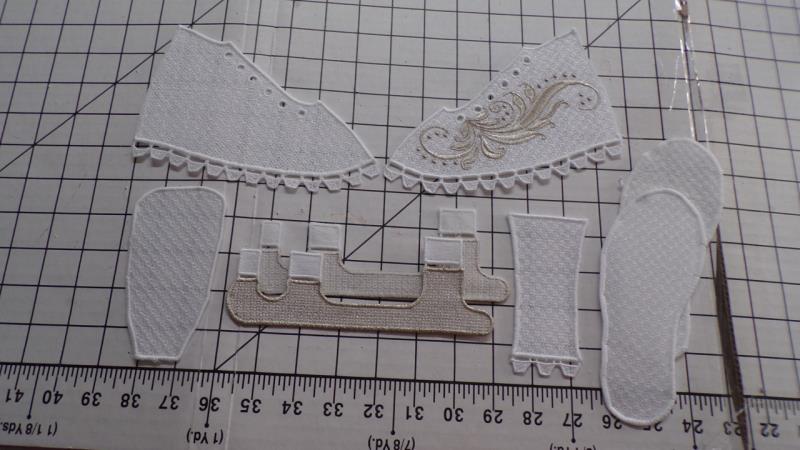
Step 11: | For each skate you should have the boot inside, the boot outside, the tongue, 2-mirrored blade pieces, the back, and two mirrored-soles. | 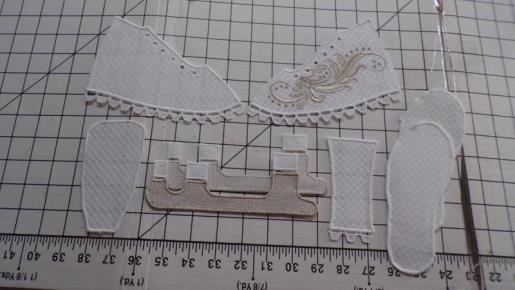 (Click Image to Enlarge) |
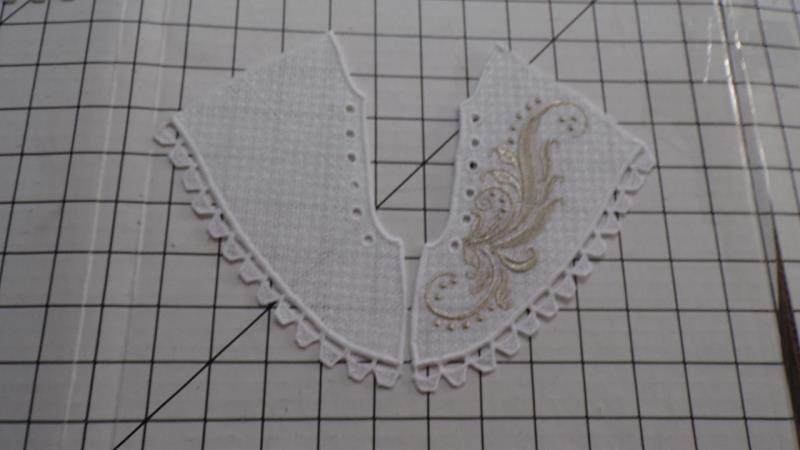
Step 12: | To begin assembly, the boot will be sewn together at the center front. The pieces will be aligned | 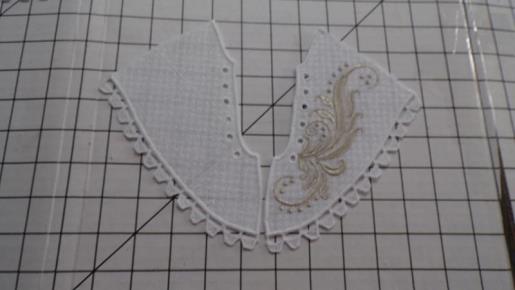 (Click Image to Enlarge) |
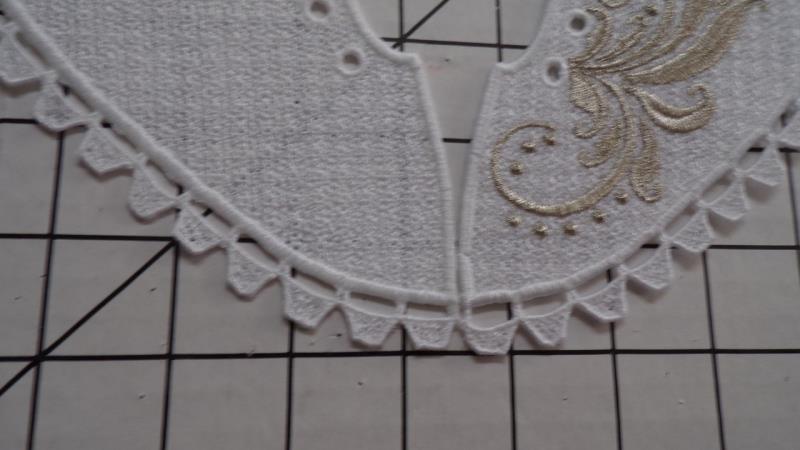
Step 13: | and the bottom seams matched | 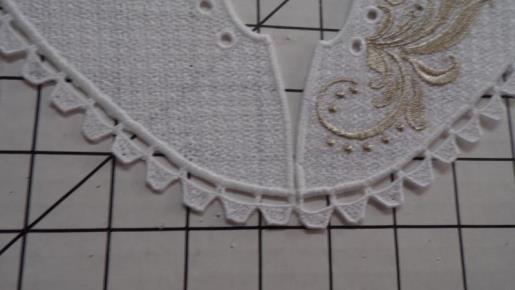 (Click Image to Enlarge) |
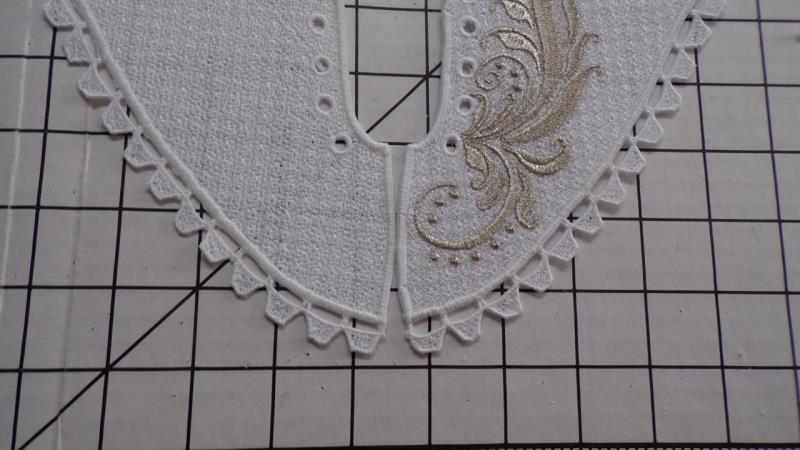
Step 14: | and sewn to the middle, then the middle on the pieces matched, | 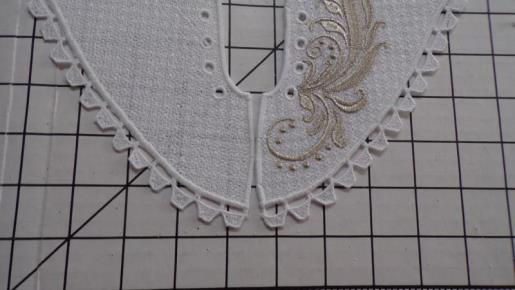 (Click Image to Enlarge) |
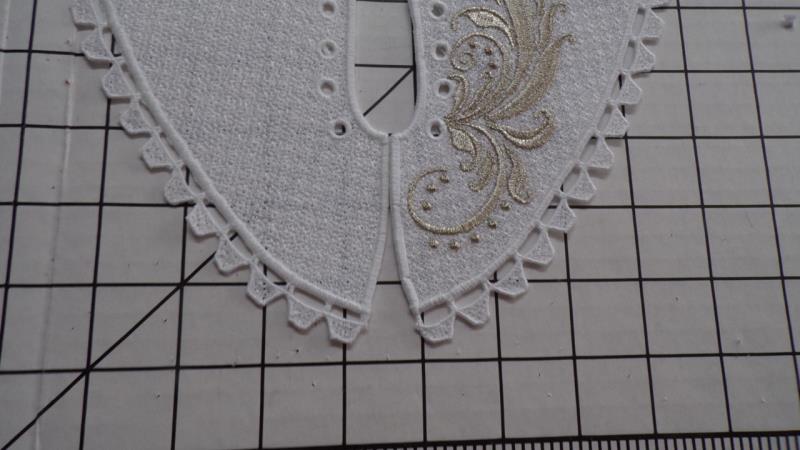
Step 15: | all the way to the top. | 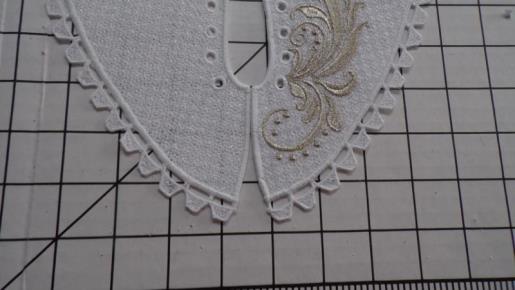 (Click Image to Enlarge) |
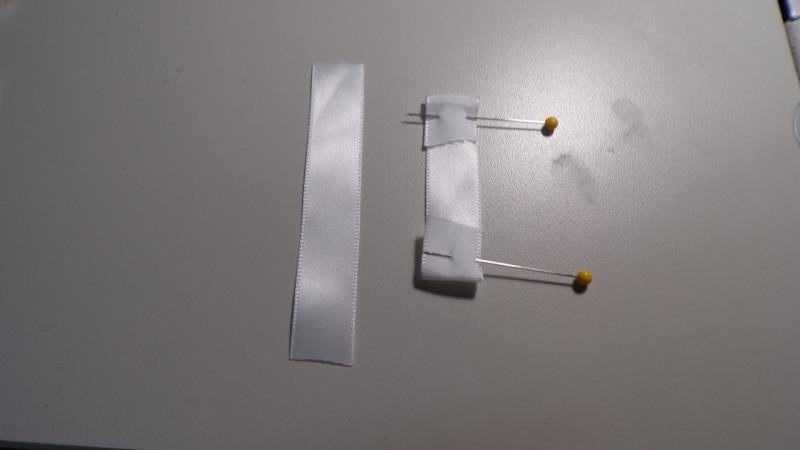
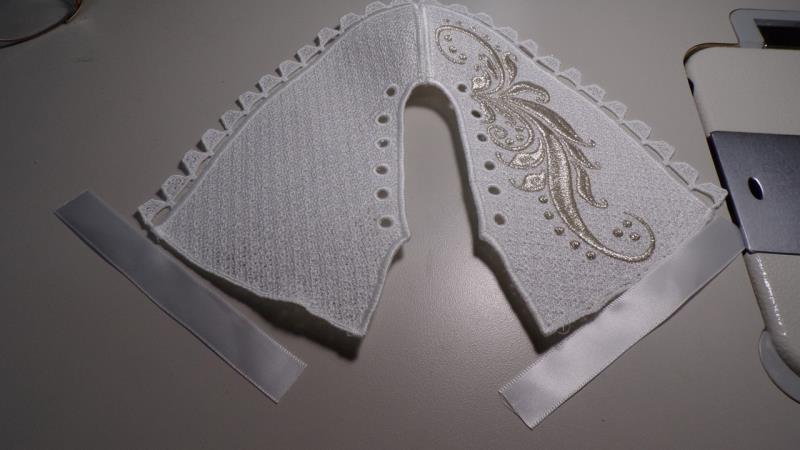
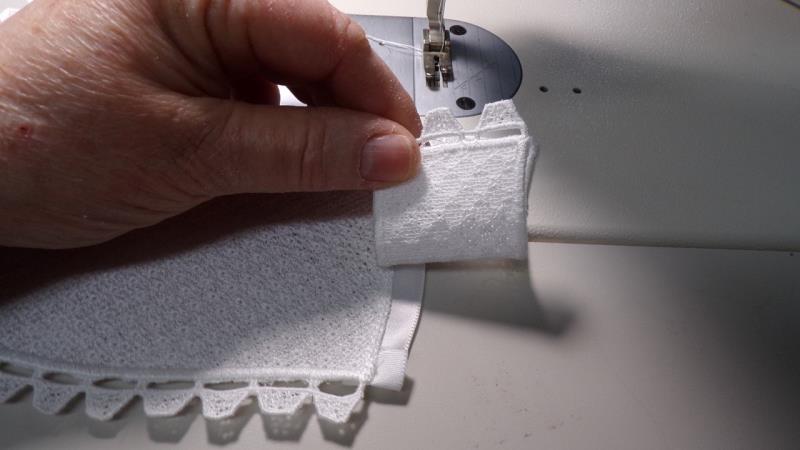
Step 16: | To do this, cut a strip of satin ribbon 4” long and fold the ends in ½”. | 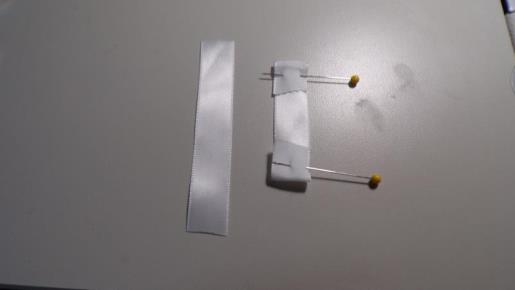 (Click Image to Enlarge) |
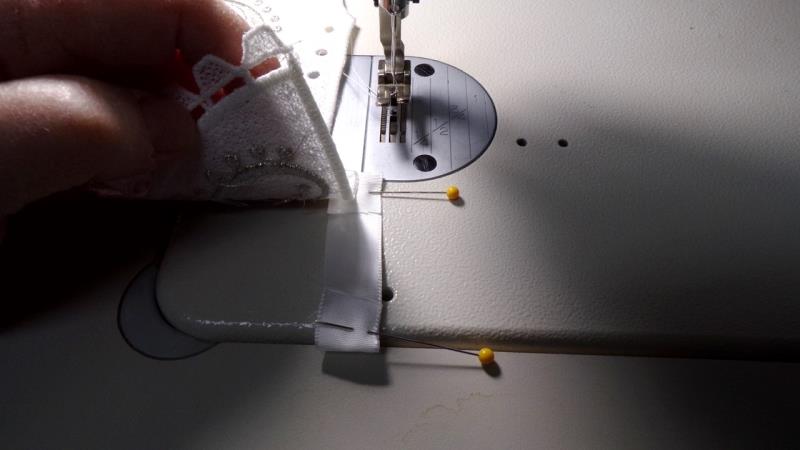
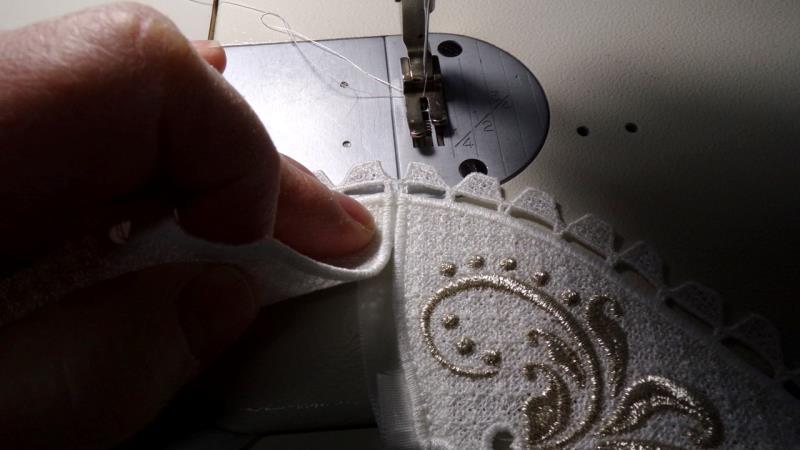
Step 17: | Beginning with the left side of the skate. Lay the top of the skate right at the edge of the top fold of the ribbon. Align the seam of the skate in the middle of the ribbon. | 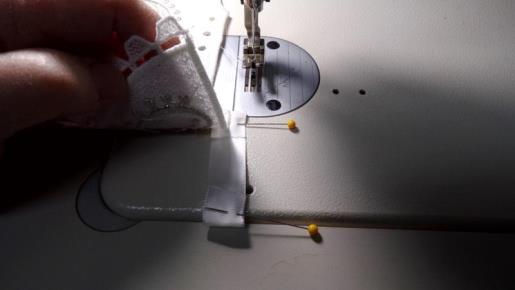 (Click Image to Enlarge) |
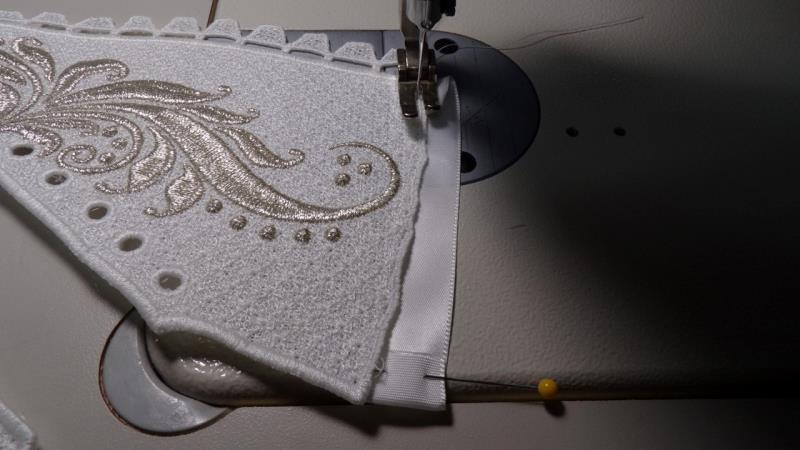
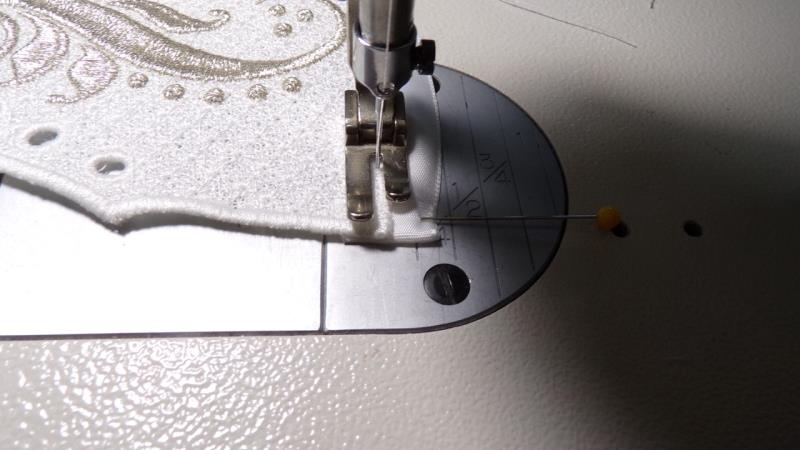
Step 18: | Sew the skate to the ribbon by stitching to the left side of the satin stitch using a 2.5mm stitch length and | 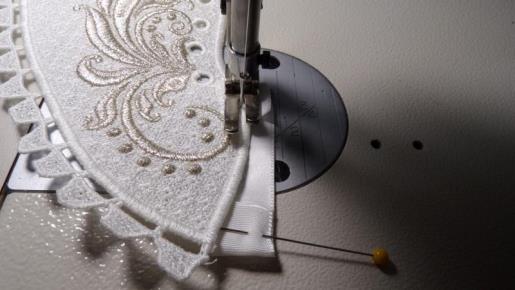 (Click Image to Enlarge) |
Step 19: | keeping the seam in the middle of the ribbon. Adjust the fold at the bottom if needed so it aligns with the satin stitch at the bottom of the boot. | 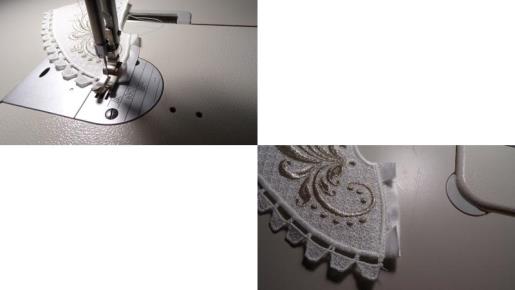 (Click Image to Enlarge) |
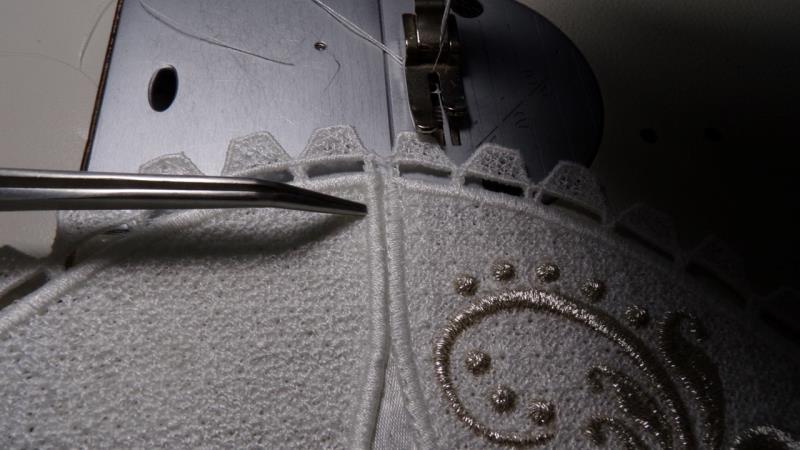
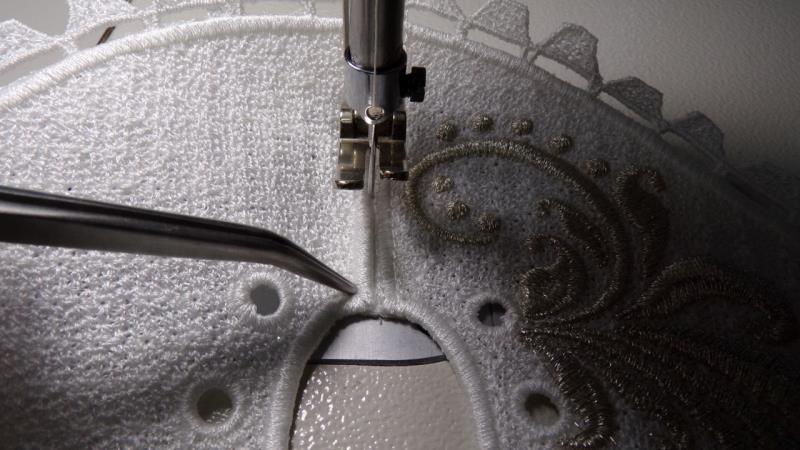
Step 20: | Now position the other side of the boot in line with and butted up to the part just sewn. | 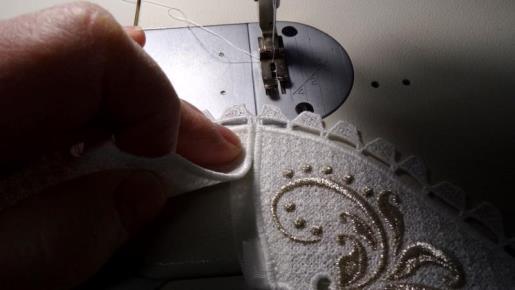 (Click Image to Enlarge) |
Step 21: | You may wish to use tweezers or an awl to help hold the piece right next to the piece already sewn. | 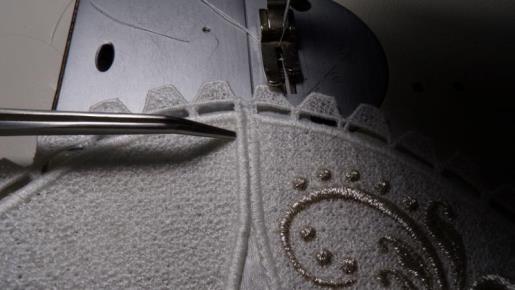 (Click Image to Enlarge) |
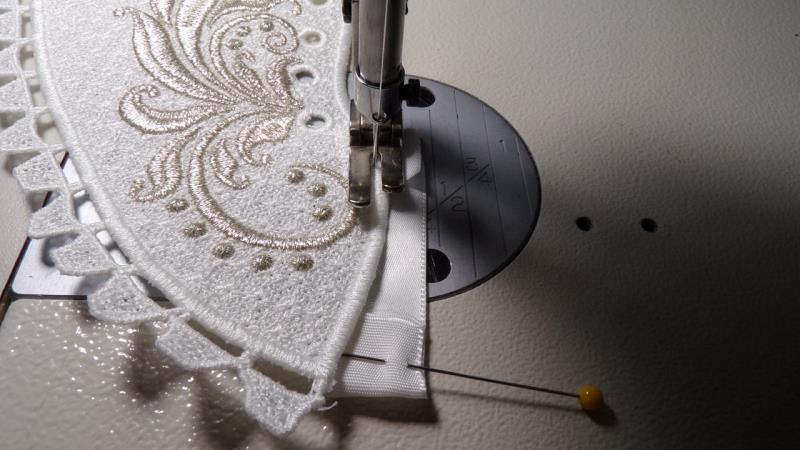
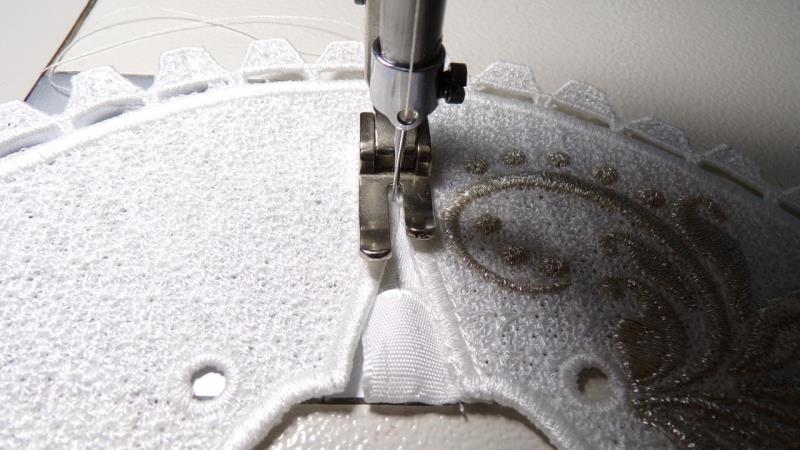
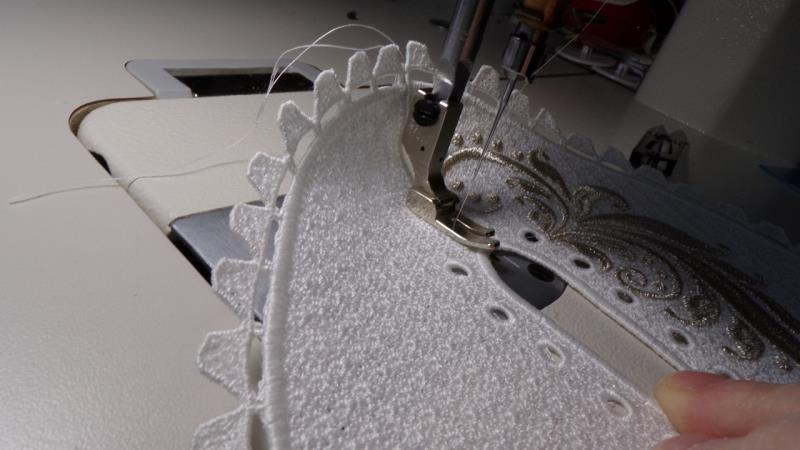
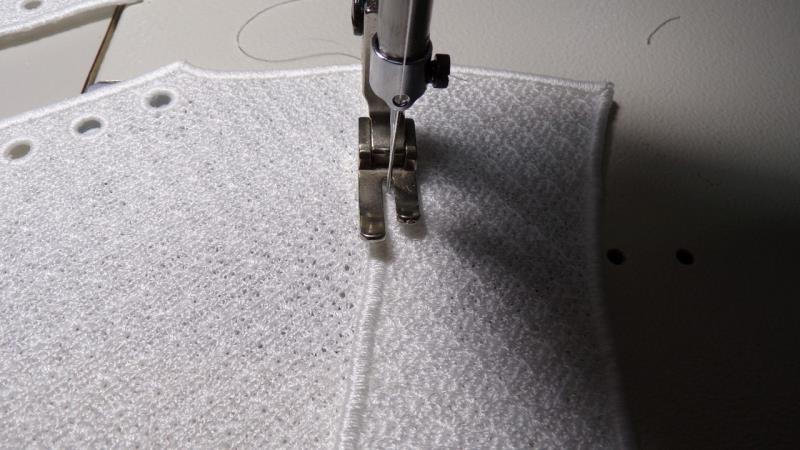
Step 22: | This time, sew along the right side of the satin stitch. Sew up to the point where the seams start to spread apart and stop with the needle in the work. | 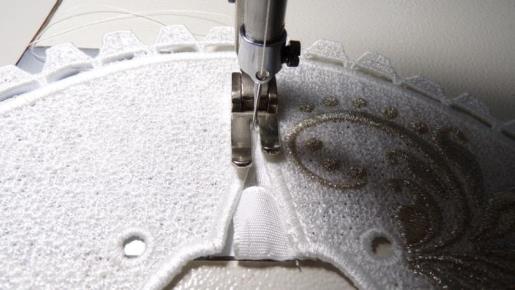 (Click Image to Enlarge) |
Step 23: | Continue to butt the pieces together and stitch. | 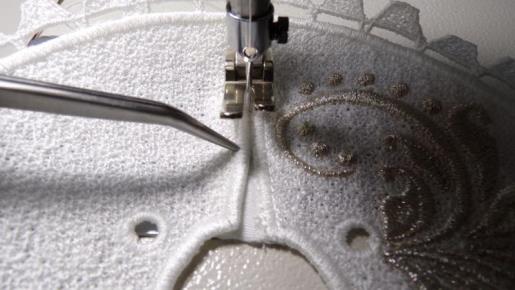 (Click Image to Enlarge) |
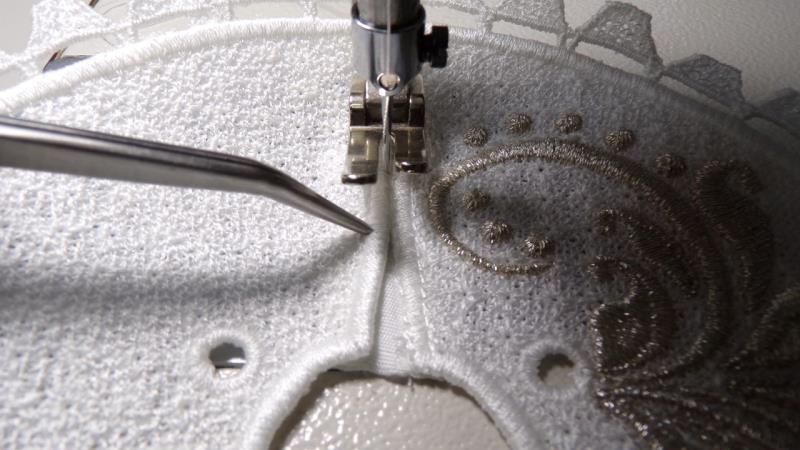
Step 24: | Be sure the satin stitches at the top meet. Now go back and sew on the other side of the satin stitch for each piece. | 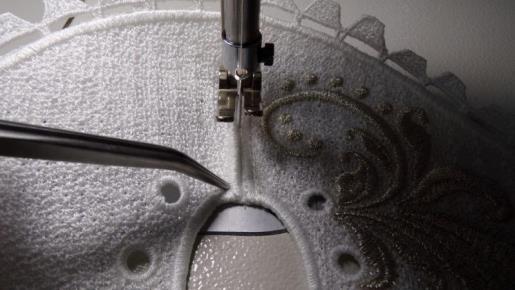 (Click Image to Enlarge) |
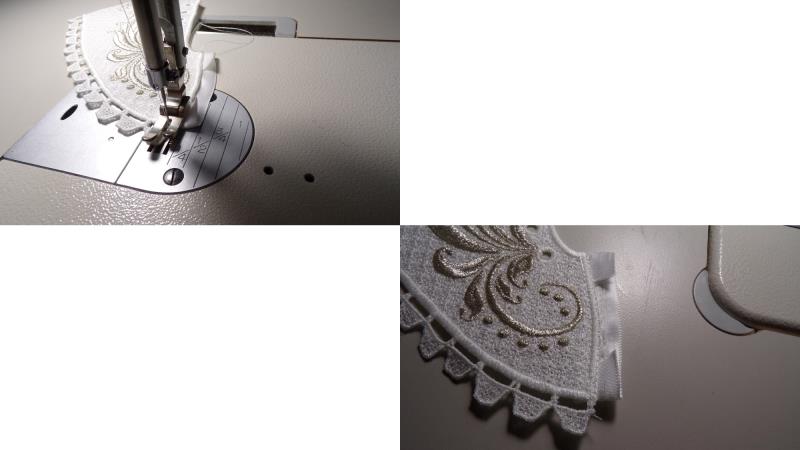
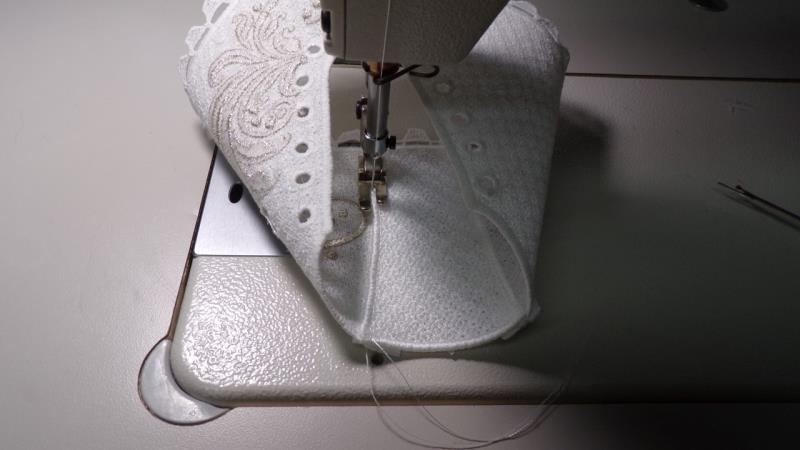
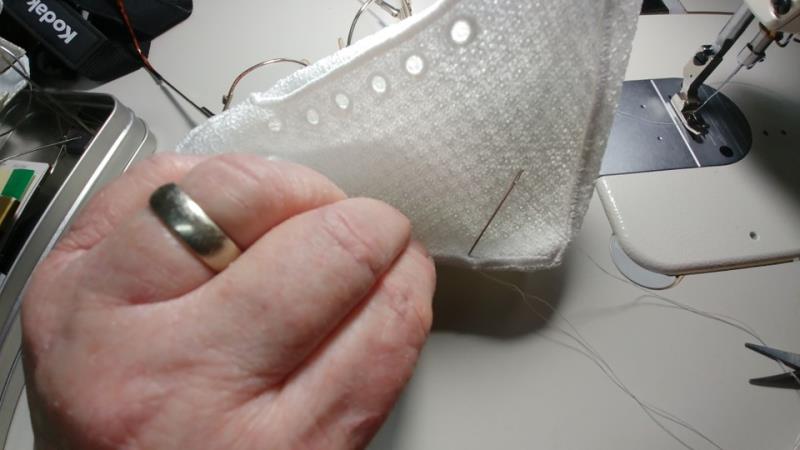
Step 25: | Because you are sewing a straight seam and the seams are really curved, the pieces will begin to curl behind the needle. | 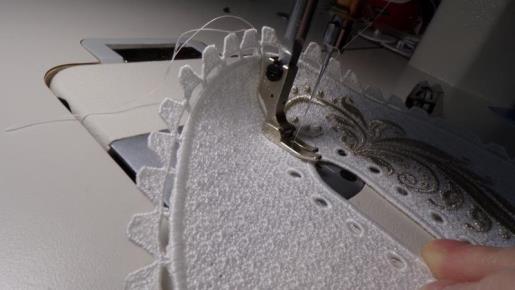 (Click Image to Enlarge) |
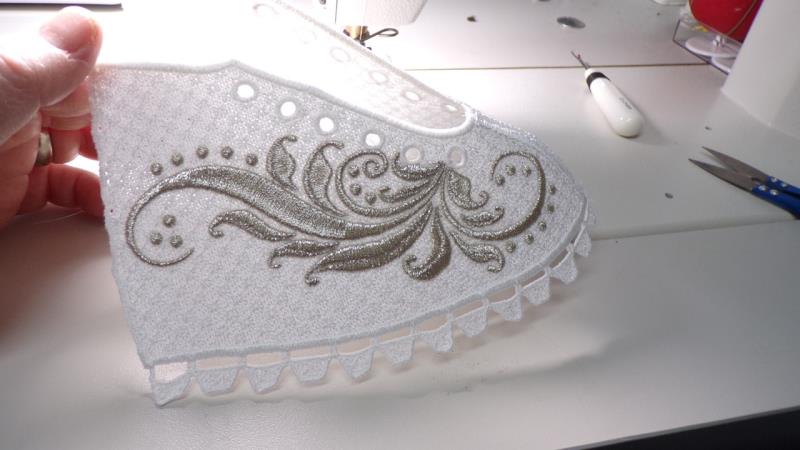
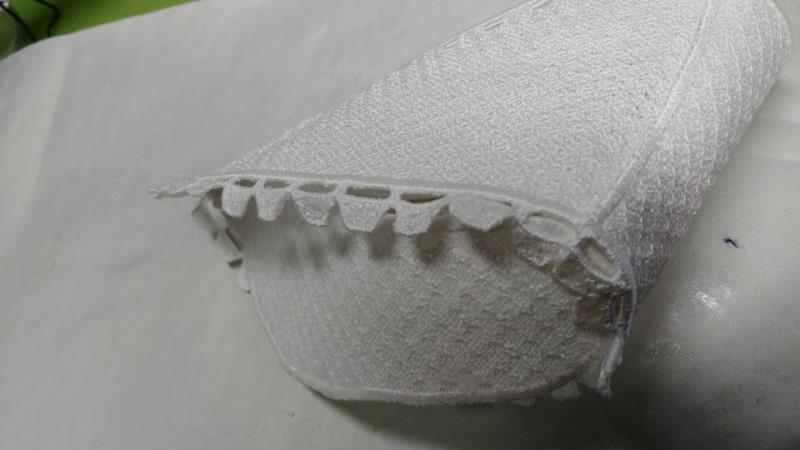
Step 26: | This is what it should look like—a nice curve at the center front seam. | 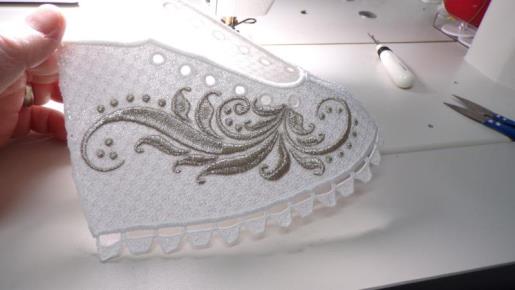 (Click Image to Enlarge) |
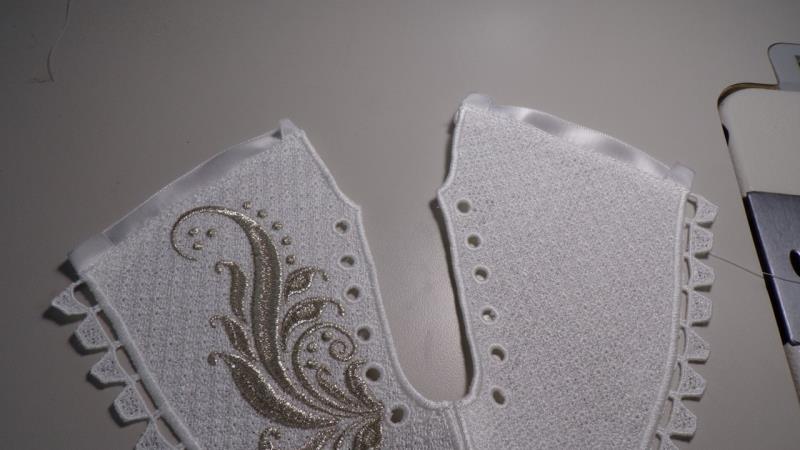
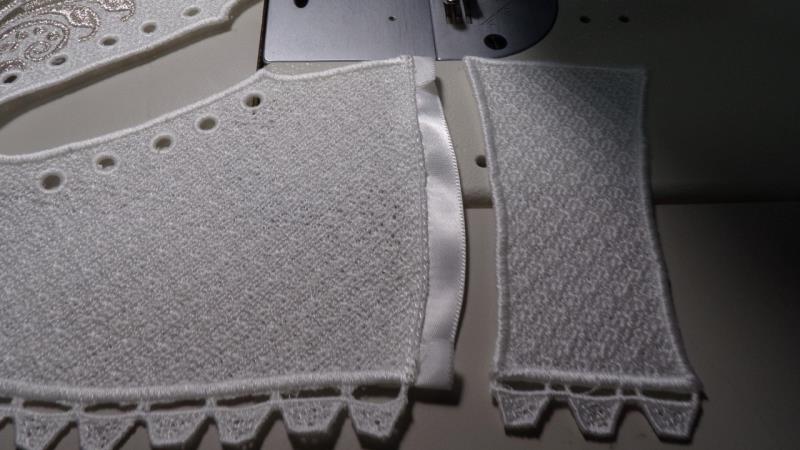
Step 27: | Now the same process will be used to sew the back piece to the skate back sections. Cut 2 pieces of ribbon 6” long and turn the edges under ½”. | 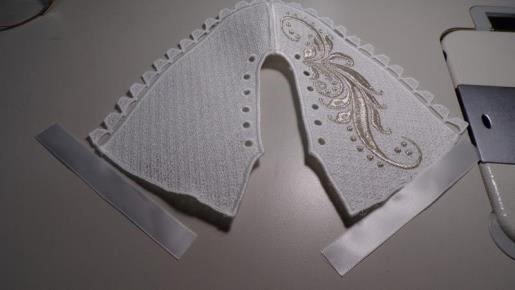 (Click Image to Enlarge) |
Step 28: | Begin on one side of the skate back and stitch the skate-back down the middle of the ribbon, again matching the folded edges to the top and bottom of the skate back. | 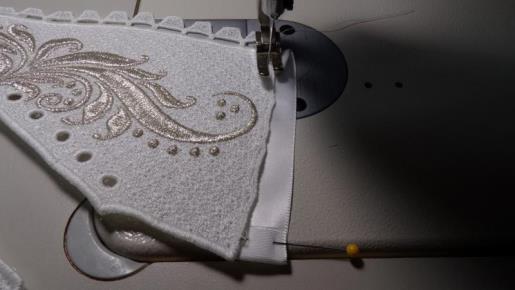 (Click Image to Enlarge) |
Step 29: | Adjust the fold at the other edge if necessary so it aligns with the satin stitch. | 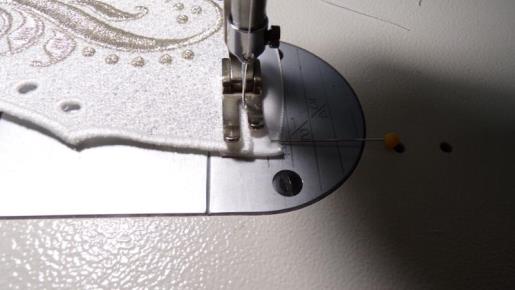 (Click Image to Enlarge) |
Step 30: | Repeat for the other back edge. | 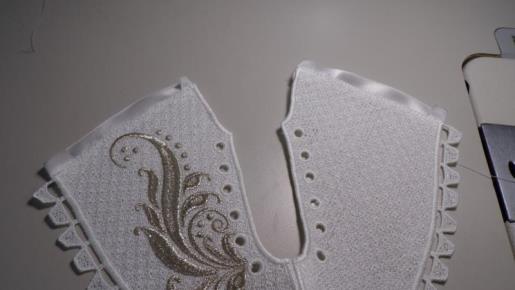 (Click Image to Enlarge) |
Step 31: | Now will be to sew the skate back satin edge over the skate back edge. | 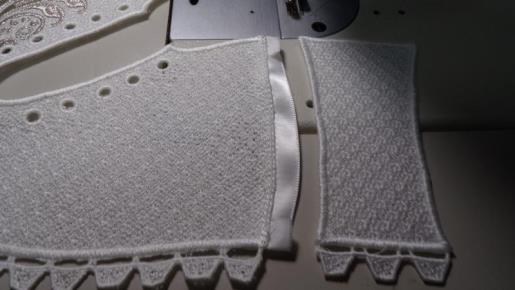 (Click Image to Enlarge) |
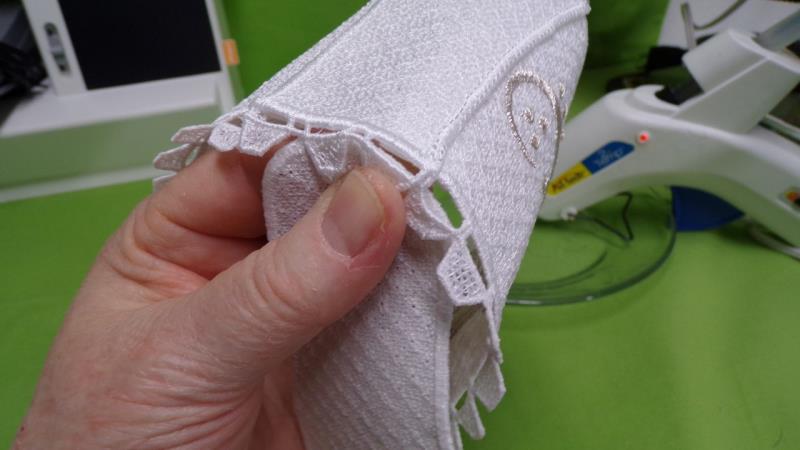
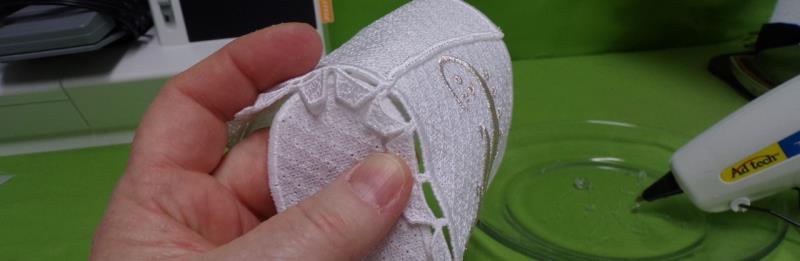
Step 32: | Aligning the top edges, position the skate back satin stitch over the skate back edge—the satin edge of the skate-back should just cover the zig-zag edge of the skate boot. | 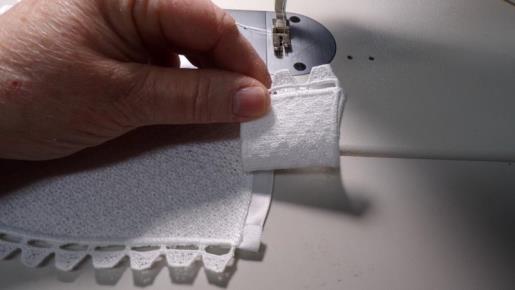 (Click Image to Enlarge) |
Step 33: | Sew along the inside edge of the satin stitch on the skate back piece through all layers. | 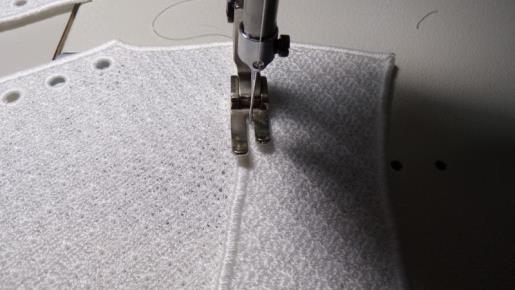 (Click Image to Enlarge) |
Step 34: | Align the remaining skate back to the skate boot section at the top and bottom. | 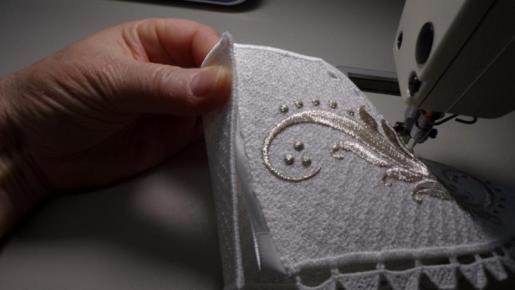 (Click Image to Enlarge) |
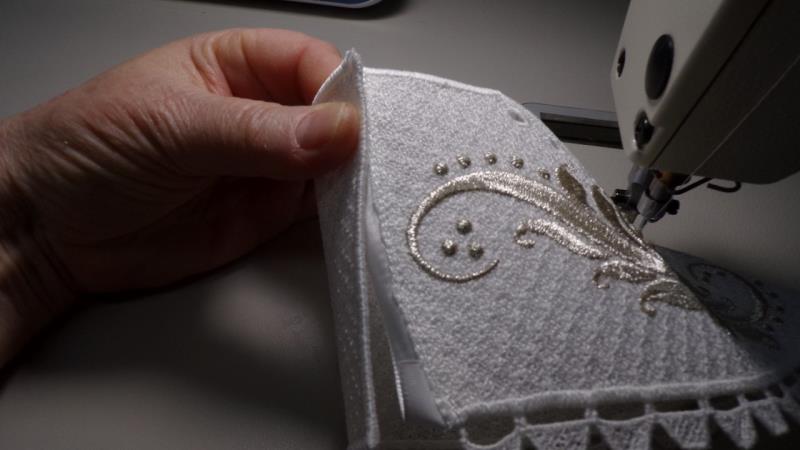
Step 35: | Working from the inside of the skate, sew the sections together through all layers. Now go back and sew along the other edge of the satin stitch on each side. | 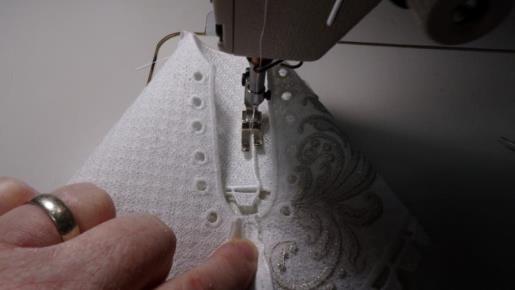 (Click Image to Enlarge) |
Step 36: | Keep the piece inside out so it is easier to work and now sew along both outer satin edges of the skate back; turn the piece right side out. | 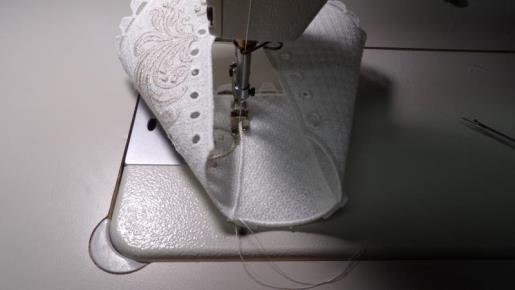 (Click Image to Enlarge) |
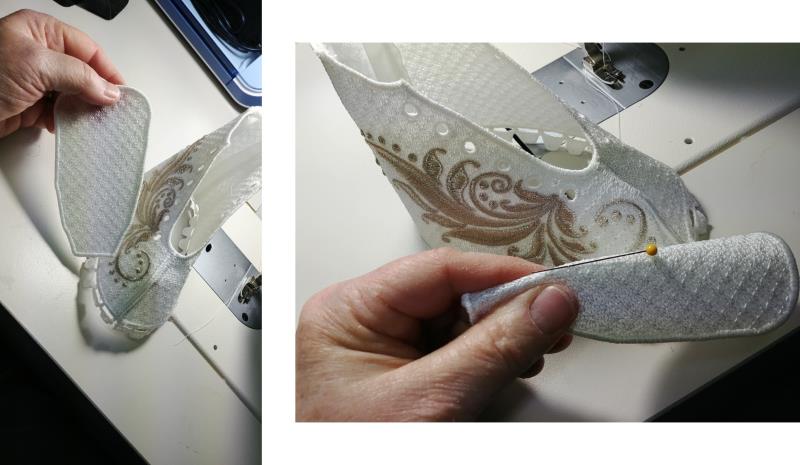
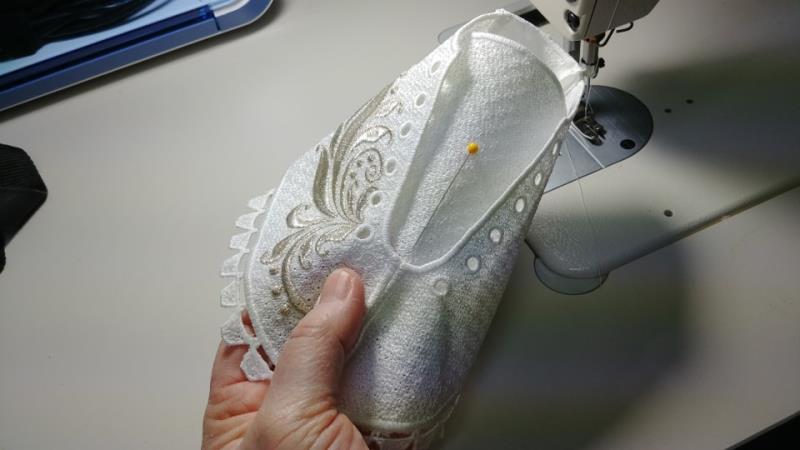
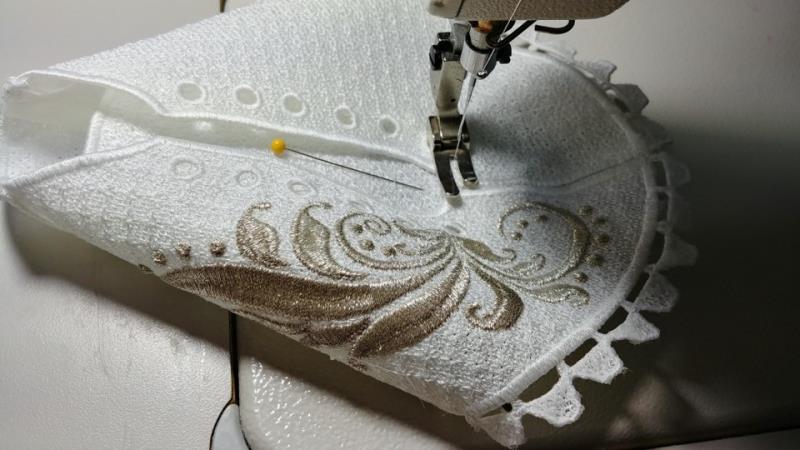
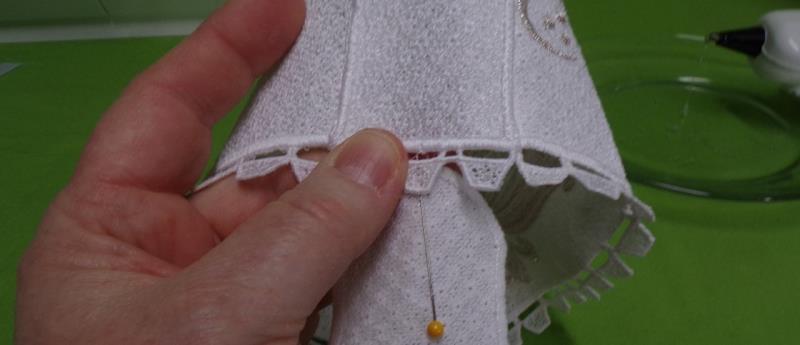
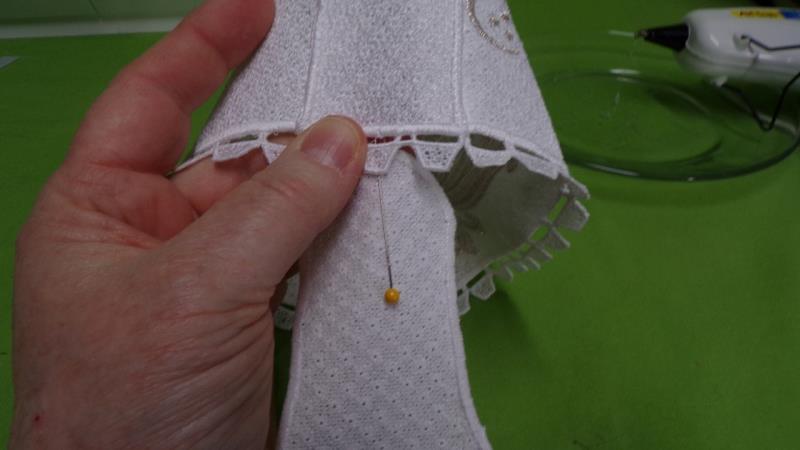
Step 37: | To sew in the tongue, gently fold the bottom of the tongue, wrong sides together, and place a pin along the fold. | 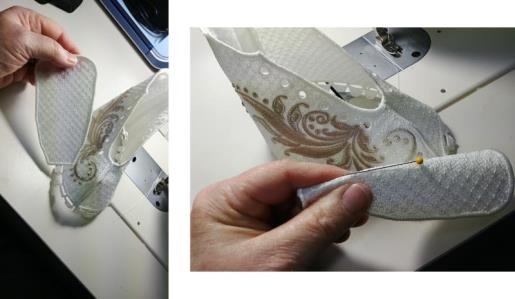 (Click Image to Enlarge) |
Step 38: | Align the pin to the center front of the skate boot, extending the tongue top about 3/8” beyond the top of the boot. | 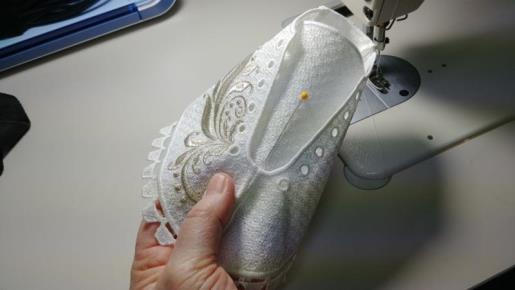 (Click Image to Enlarge) |
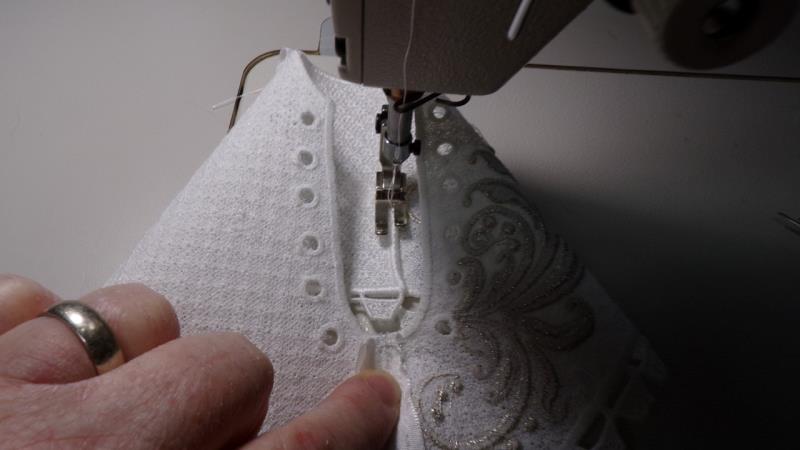
Step 39: | Sew the tongue in place along the curve at the top section of the boot front curve (be careful not to catch any other sections of the skate). | 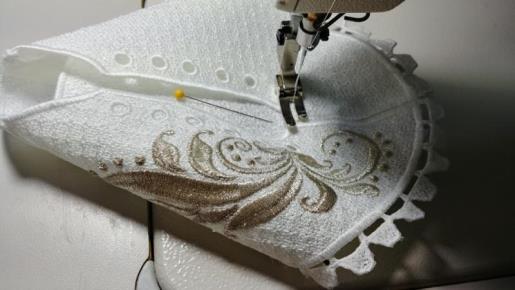 (Click Image to Enlarge) |
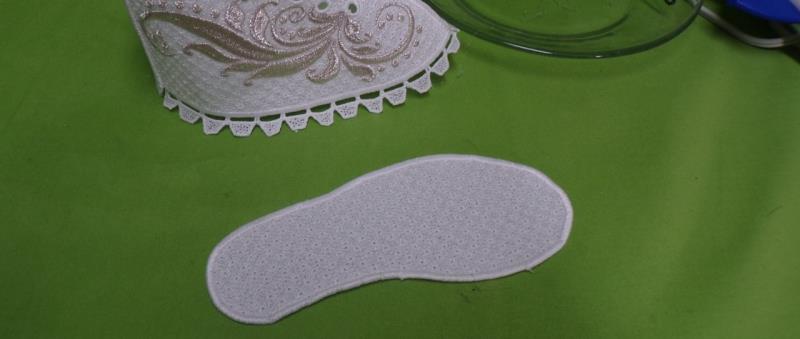
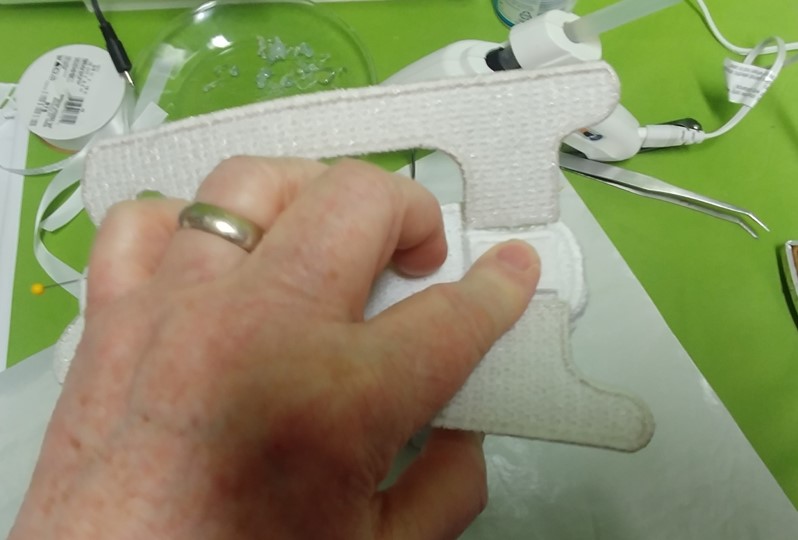
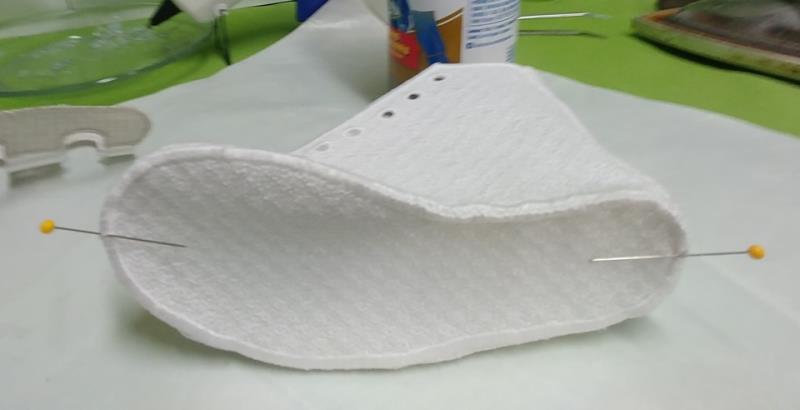
Step 40: | Now will be to position the inner sole inside the boot. Be sure the long curve goes toward the outside (swirl side) of the boot. Both soles will eventually be placed with wrong sides together. | 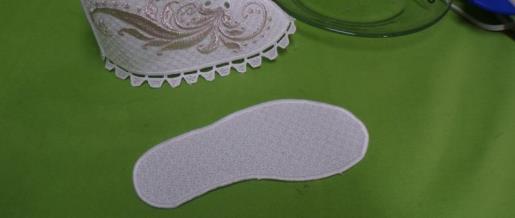 (Click Image to Enlarge) |
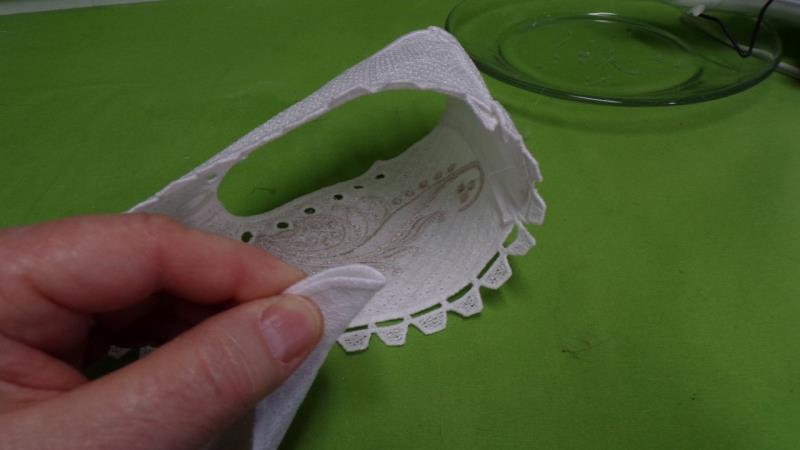
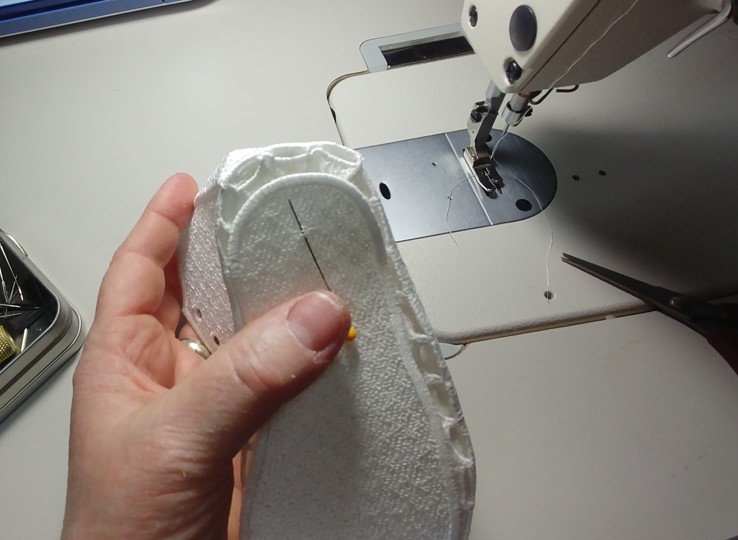
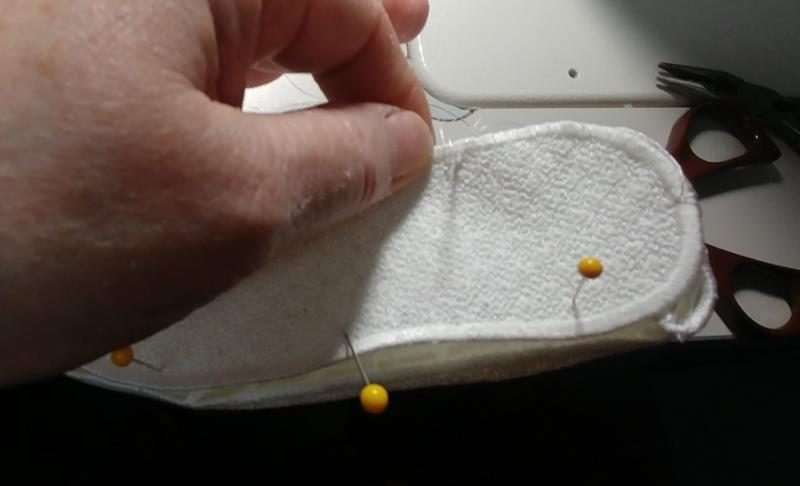
Step 41: | Gently fold the sole back, right sides together, in half | 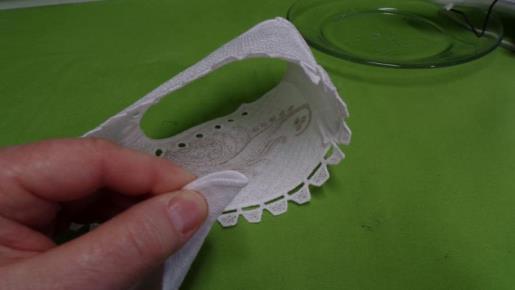 (Click Image to Enlarge) |
Step 42: | and place a pin in the fold. The pin is in the wrong side of the inner sole. | 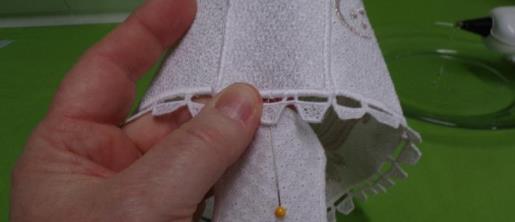 (Click Image to Enlarge) |
Step 43: | Align the pin to the middle tab at the bottom of the skate back. | 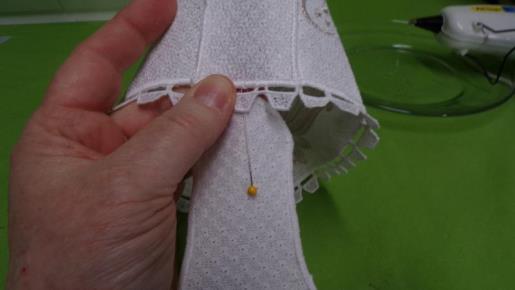 (Click Image to Enlarge) |
Step 44: | Note: the satin edge of the insole should be aligned to the bottom satin edge of the boot when the tabs are glued in place. | 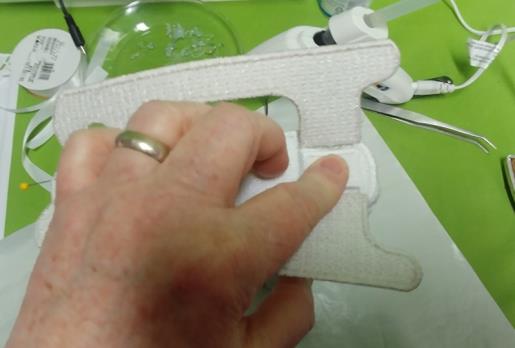 (Click Image to Enlarge) |
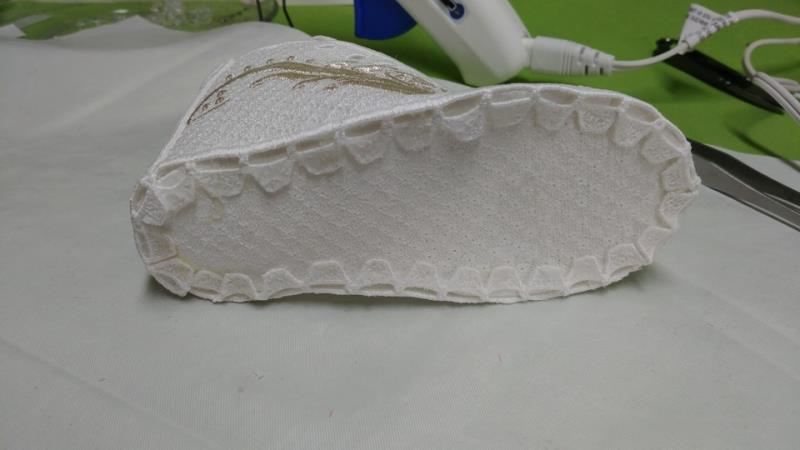
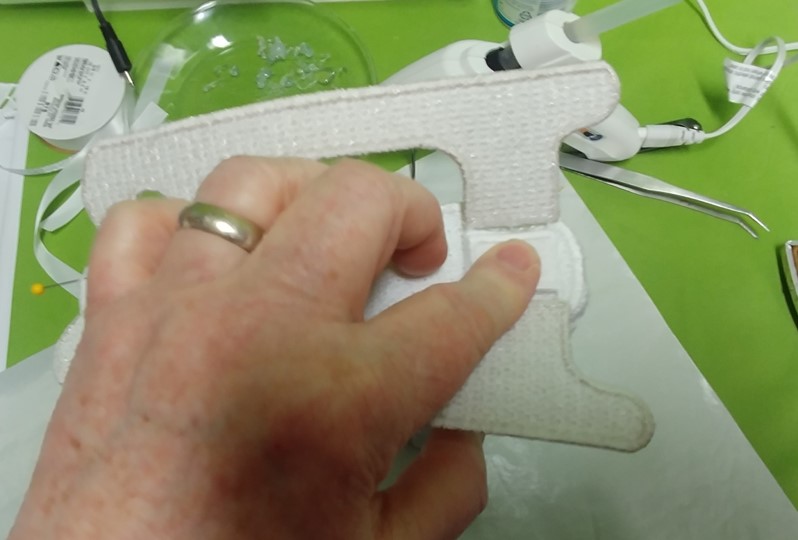
Step 45: | Heat up the glue gun. Place a small dab of hot glue to the underside of the tab and hold the tab in place until the glue dries. | 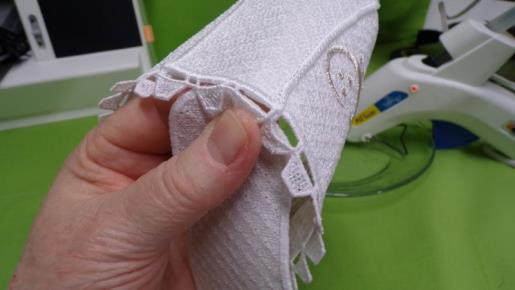 (Click Image to Enlarge) |
Step 46: | Work the tabs one at a time, gluing them to the bottom of the insole. Be sure the glue does not extend beyond the tabs toward the satin edge or when sewing on the bottom sole, the glue will interfere with the stitching. | 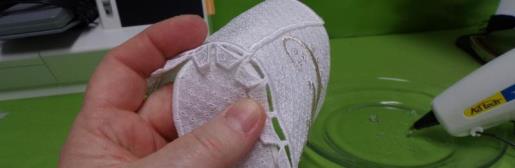 (Click Image to Enlarge) |
Step 47: | Continue gluing all the tabs around the insole | 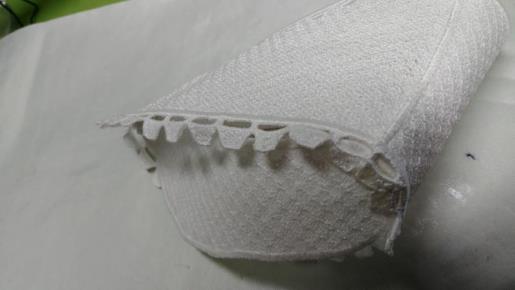 (Click Image to Enlarge) |
Step 48: | until all the tabs are in place. | 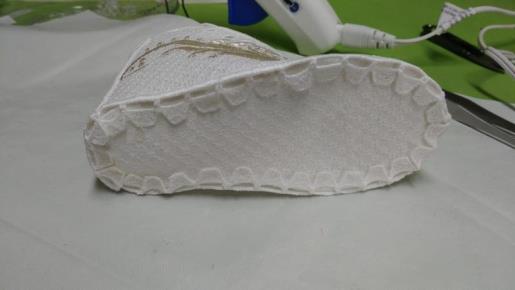 (Click Image to Enlarge) |
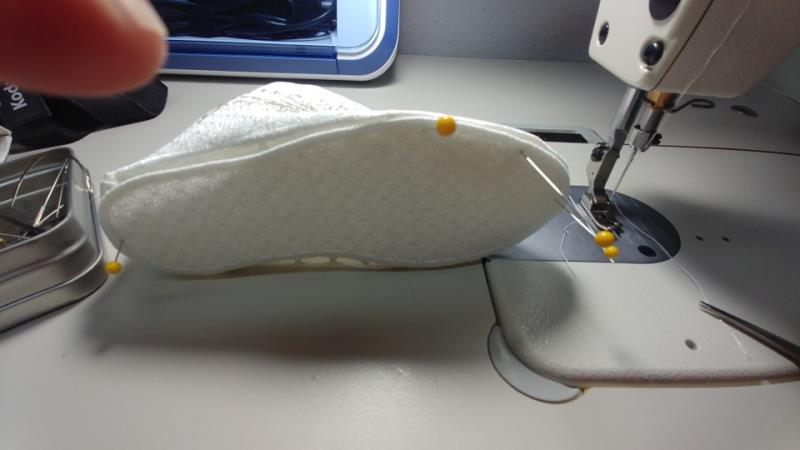
Step 49: | Now will be to sew on the bottom sole. Fold the back part of the bottom sole in half, wrong sides together and place a pin in the fold. Align the pin to the middle tab at the back of the skate. | 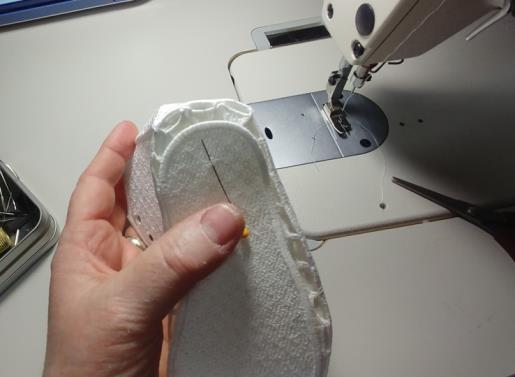 (Click Image to Enlarge) |
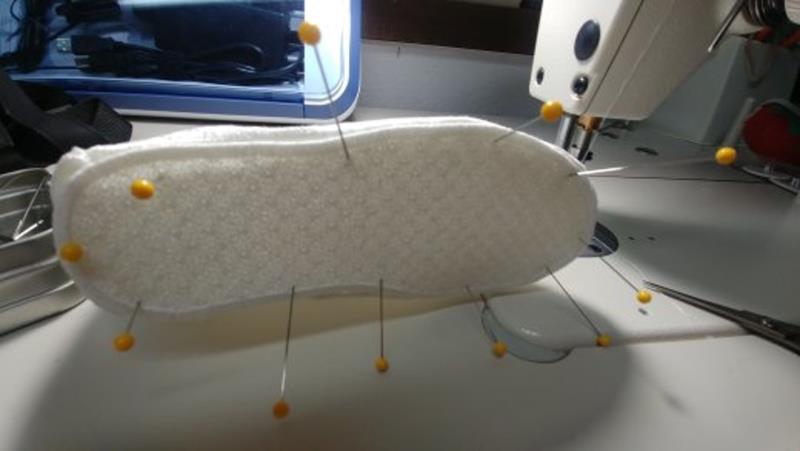
Step 50: | Place pins through the bottom sole and skate, | 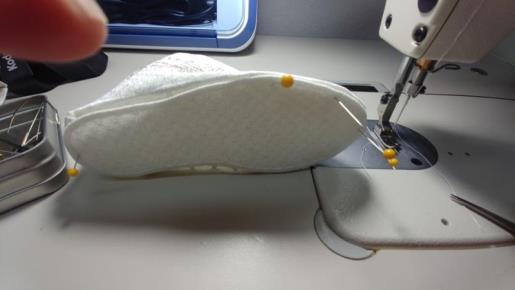 (Click Image to Enlarge) |
Step 51: | aligning the edges of the soles together. It may be helpful to place a very small amount of hot glue on the tab to hold the bottom sole in place instead—see what works best for you. | 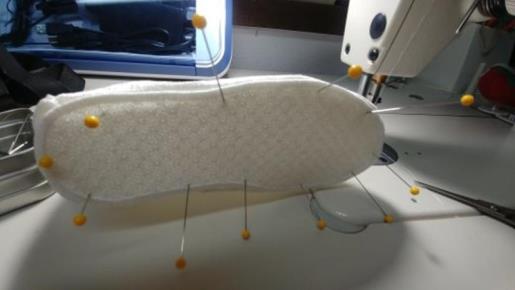 (Click Image to Enlarge) |
Step 52: | With a hand sewing needle and the same embroidery thread used to stitch the skate, bring the needle down from the top of the skate | 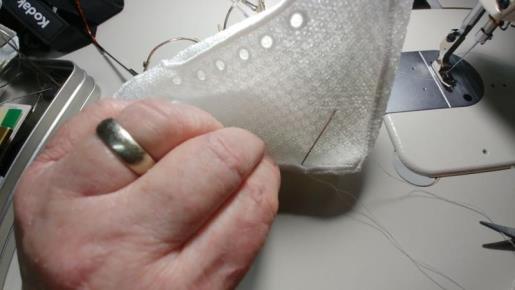 (Click Image to Enlarge) |
Step 53: | to the same point on the bottom sole of the skate. Use a ladder stitch | 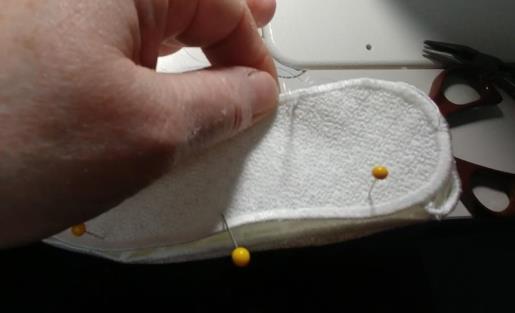 (Click Image to Enlarge) |
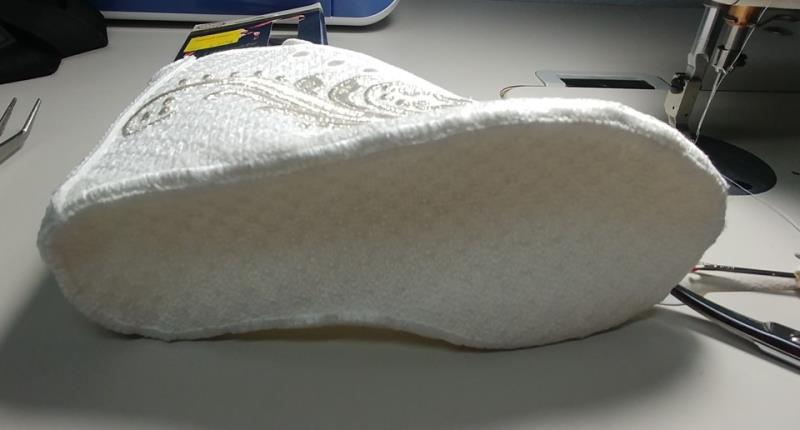
Step 54: | and sew all around the skate to sew the soles together. | 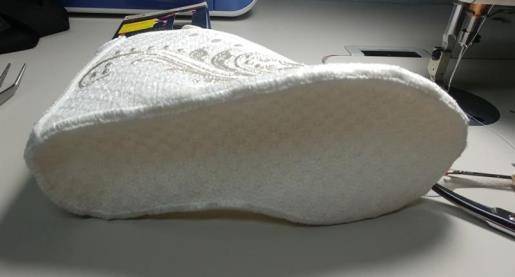 (Click Image to Enlarge) |
Step 55: | Next will be to place the blades together and glue them to the bottom of the skate. | 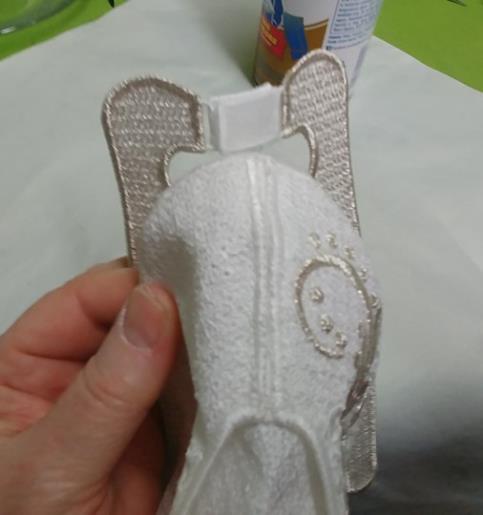 (Click Image to Enlarge) |
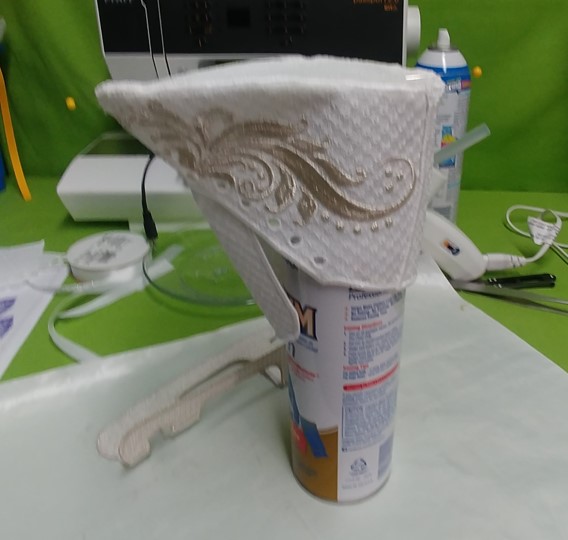
Step 56: | Find the center points of the front and back of the boot; place pins at the center points. | 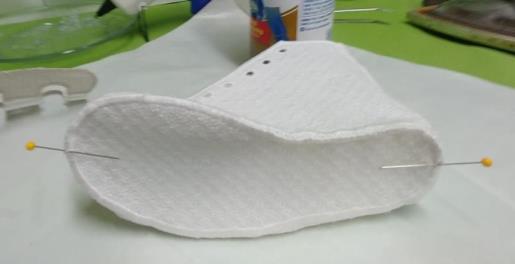 (Click Image to Enlarge) |
Step 57: | It is easier to affix the blade if the boot is balanced on a spray can. | 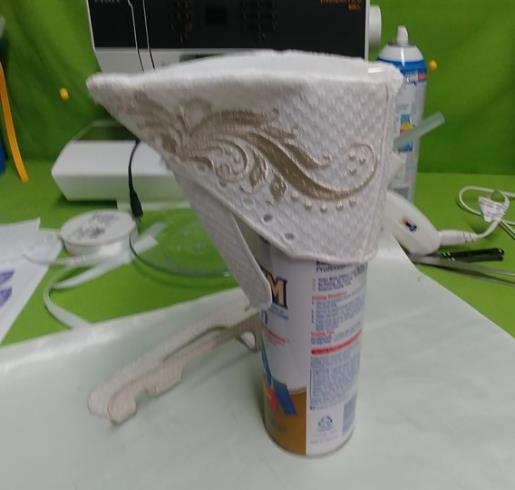 (Click Image to Enlarge) |
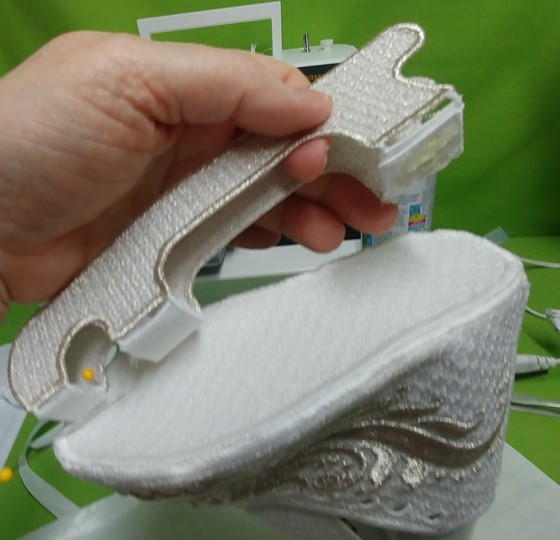
Step 58: | With the wrong sides of the blades facing each other, position and glue the blade tabs together one on top of the other; let the glue set. | 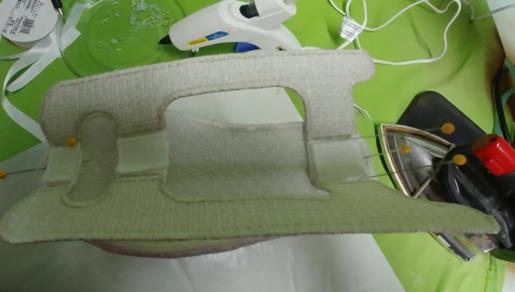 (Click Image to Enlarge) |
Step 59: | Now place glue on the bottom of the tabs and center the blade on the skate, using the pins as a guide to center the blades. | 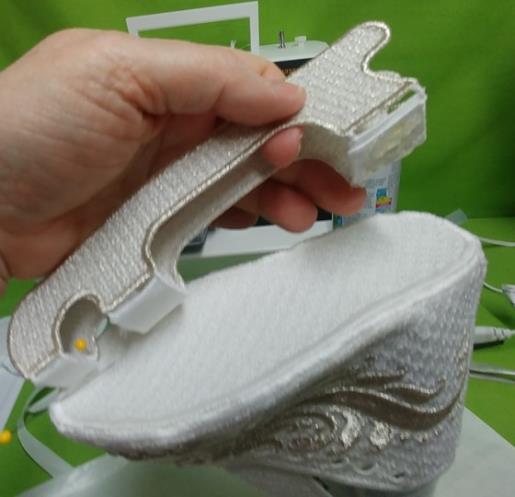 (Click Image to Enlarge) |
Step 60: | Hold the glued tab on the bottom sole until the glue sets. | 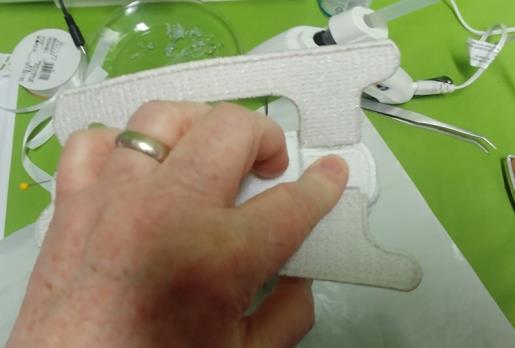 (Click Image to Enlarge) |
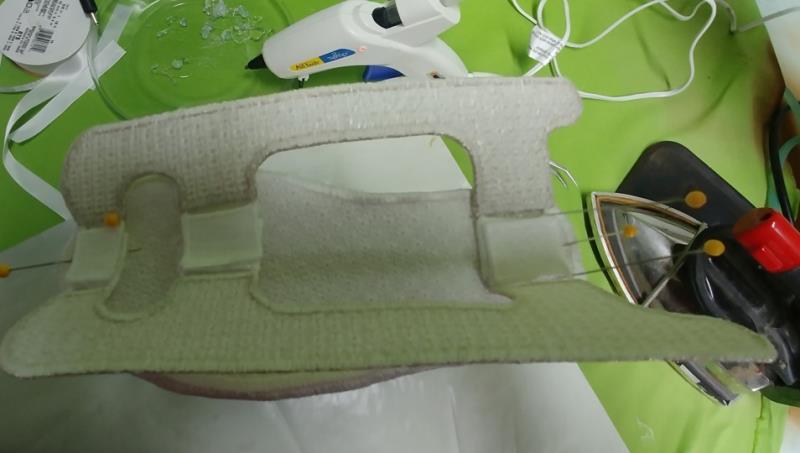
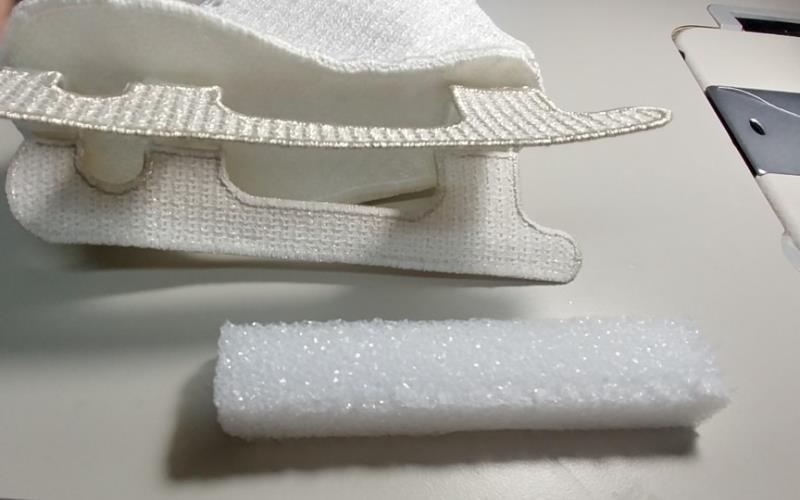
Step 61: | Spread an even layer of Styrofoam glue along the side edges of the Styrofoam piece. | 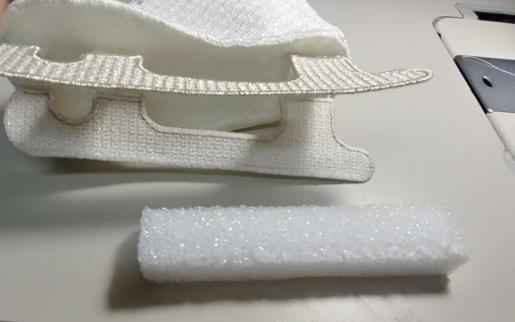 (Click Image to Enlarge) |
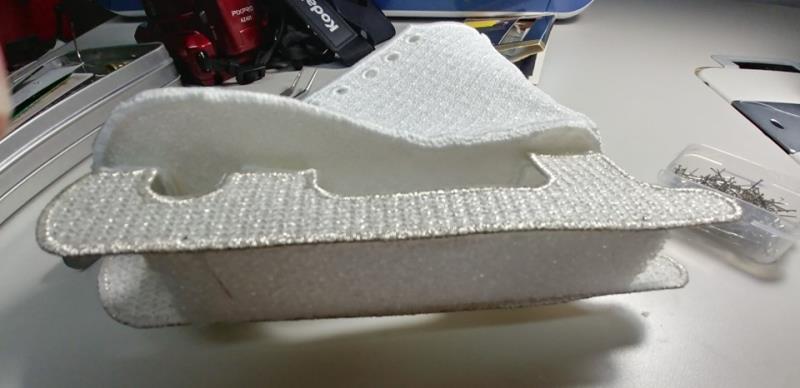
Step 62: | Sandwich the Styrofoam between the blades, aligning the bottom of the Styrofoam to the bottom of the blade. | 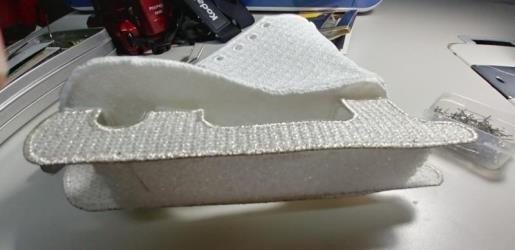 (Click Image to Enlarge) |
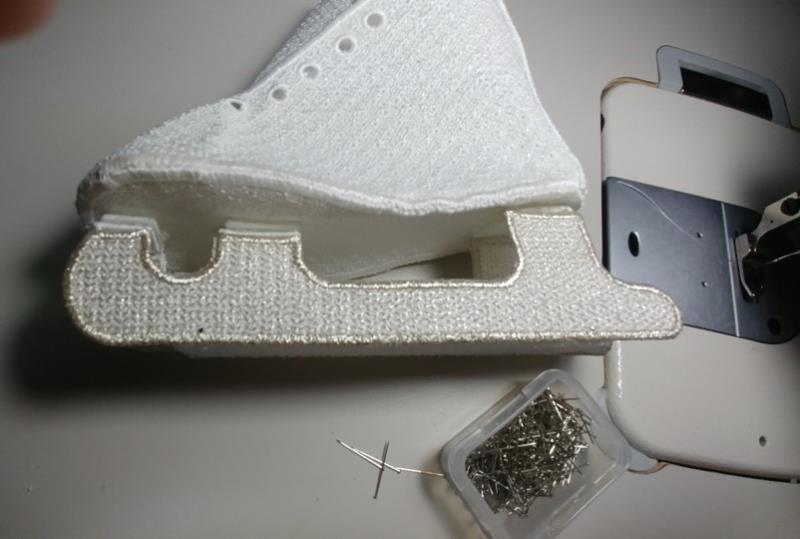
Step 63: | Use applique pins to further secure the blade pieces to the Styrofoam. Position the pins in several places along the satin edge of the blades so they are as inconspicuous as possible yet will help hold the Styrofoam in place. Let everything dry overnight. | 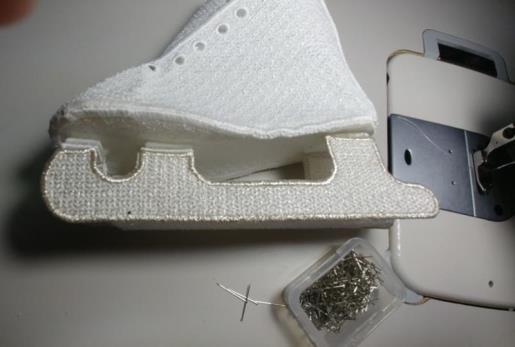 (Click Image to Enlarge) |
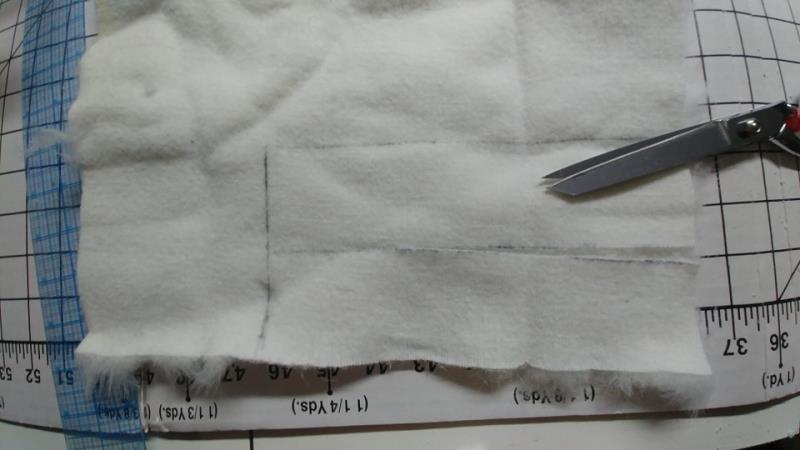
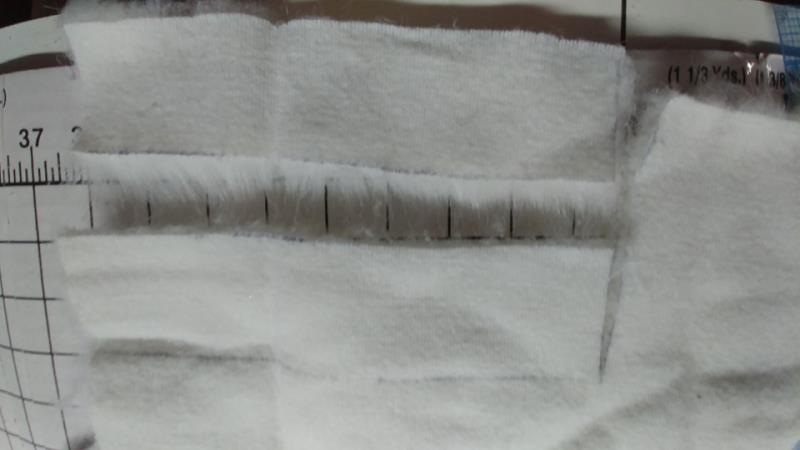
Step 64: | When cutting the fur pieces, draw the dimensions on the back of the fur piece and cut the backing layer only. | 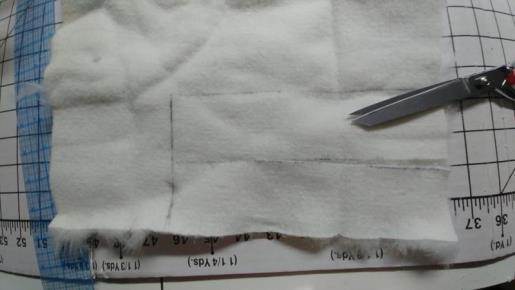 (Click Image to Enlarge) |
Step 65: | The fur will come apart and create as little mess as possible. | 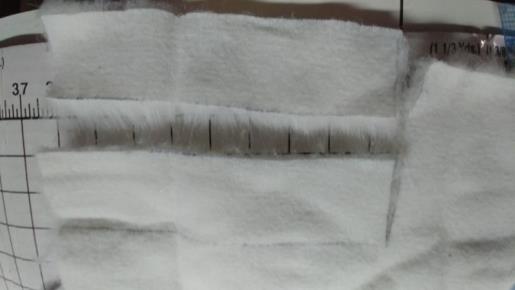 (Click Image to Enlarge) |
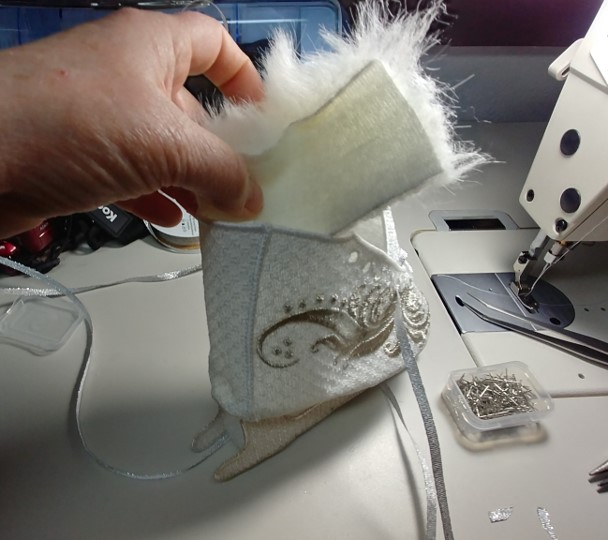
Step 66: | Fold the fur piece in half to find the center and then position the center to the center back of the skate. | 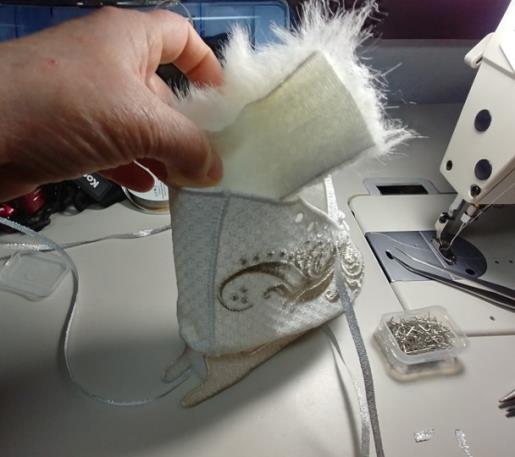 (Click Image to Enlarge) |
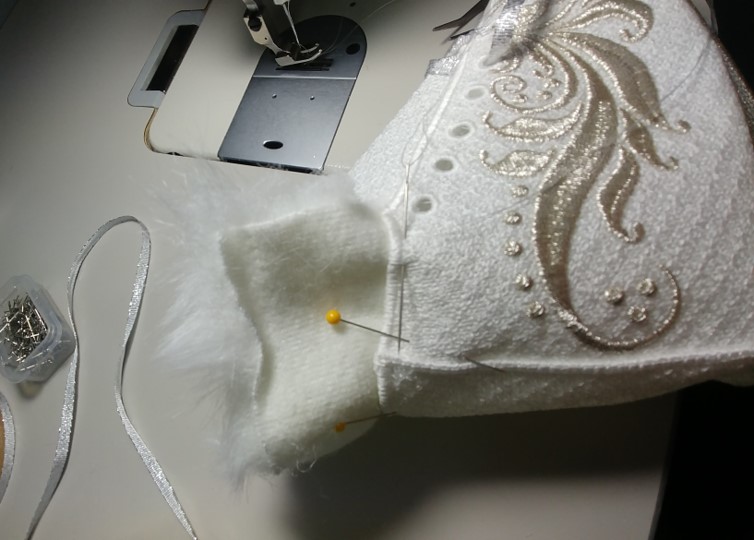
Step 67: | | Create soft folds along the fur and pin the fur in place. The fur should be seated about ¼-3/8” inside the skate edge. |
Step 68: | The short sides of the fur edge should extend just slightly beyond the skate boot front. Pin and then and tack the fur in place through the skate boot. | 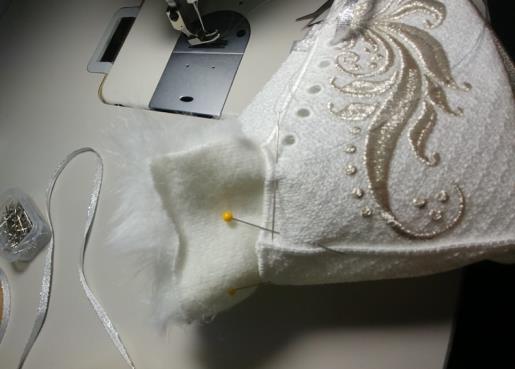 (Click Image to Enlarge) |
Step 69: | Crumple up the tissue and stuff it into the boot to help shape the boot beginning with the toe, then the back, and then the center section and up toward the top. Stuff it to about the top of the upper most eyelet; the skate should be firmly stuffed. Lace the skate with the silver ribbon, tie a bow at the top and then attach one bell to each end of the ribbon strands; knot each end of the ribbon to hold the bell in place. Cut off the excess ribbon about 1.5” below the bell and tuck the ends of the ribbon under the side of the boot front edge. Insert pics into the top of the skate and use for a table decoration, tree, or mantel decoration. | 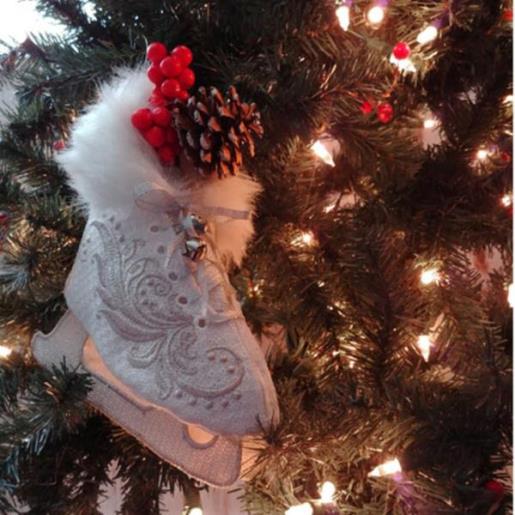 (Click Image to Enlarge) |
|