Live Chat
Embroidery Designs
Welcome, Embroiderer
Login
Wintery Accent Pillow Cover

Wintery Accent Pillow Cover Embroidery Project

By   Linda Mills   on   November 22, 2022
  • SKILL LEVELIntermediate
  • TIME REQUIRED02:30
  • FINISHED SIZE14 x 14 inches
Description

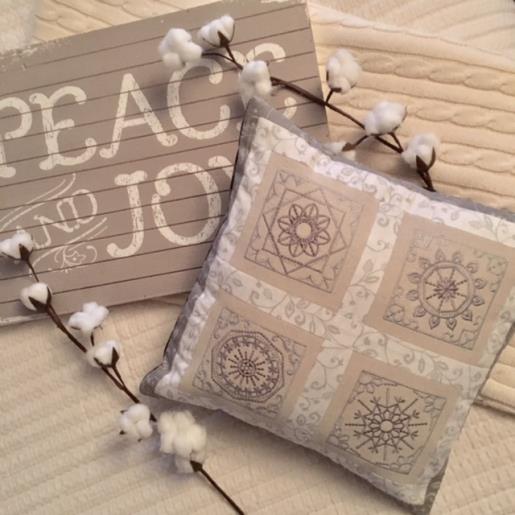
This Wintery Accent Pillow Cover with a four patch block of embroidery designs will add a special Winter flair to your holiday décor .

Step of

Materials

Project Preview Video

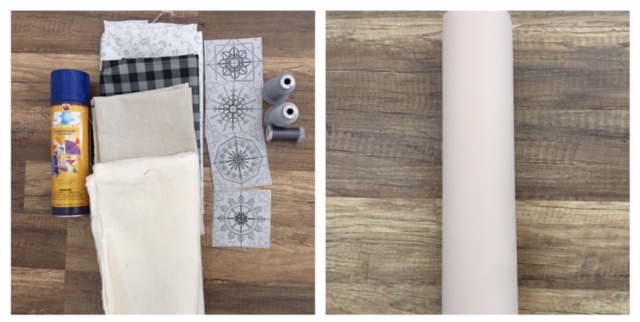
Materials
  • TEMPORARY ADHESIVE SPRAY
  • COTTON FABRIC 1/2 yard(FOR BACKING)
  • COTTON FABRIC 1/4 yard (SASHING)
  • ACCENT COTTON FABRIC (remnant) (STRIPS)
  • HEAVY WEIGHT COTTON 1/4 yard (i.e dropcloth, denim, etc(EMBROIDERY BLOCKS)
  • COTTON BATTING (15 x 15" square piece)
  • EMBROIDERY THREAD
  • SEWING THREAD
  • CUT AWAY MESH STABILIZER
  • 14” X 14” PILLOW FORM (NOT PICTURED)
  • (Embroidery design size: 3.82" x 3.82")

  • Designs used in this project

    Final Product: What You Will Create

    Preface:
    The four patch embroidered blocks are joined by sashing along with a contrasting color fabric border that will bring this project together. 


    Step 1:
    Gather all supplies and review instructions before beginning. Prewash and dry fabric to preshrink. 

    (Click Image to Enlarge)


    Step 2:
    Cut (4) 6” x 6” squares from your heavy weight cotton fabric.

    (Click Image to Enlarge)


    Step 3:
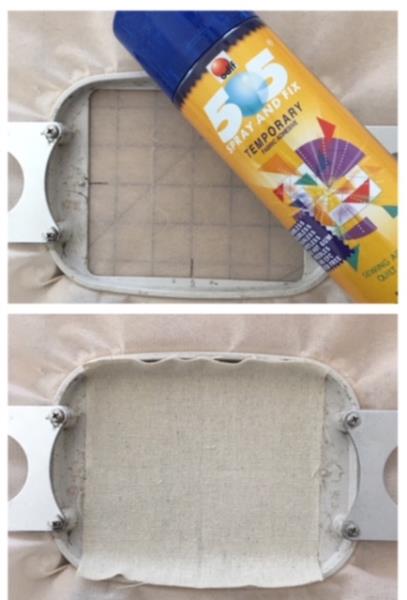
    Cut and hoop stabilizer. Mark side, top and bottom axis points directly onto stabilizer.

    (Click Image to Enlarge)


    Step 4:
    Fold one of the 6” x 6” squares of fabric in half. Fingertip press. Unfold. Fold in half again. This method will make a fingertip pressed crosshair.

    (Click Image to Enlarge)


    Step 5:
    Lightly spray temporary adhesive spray onto hooped stabilizer. Center place 6” x 6 “ fabric square matching up axis points. 

    (Click Image to Enlarge)


    Step 6:
    (Click Image to Enlarge)
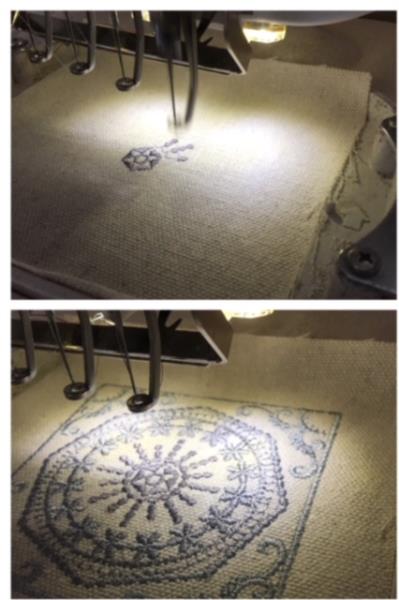
    You will be stitching out 4 embroidery designs.

    Load your first design into your machine. Attach hoop.
    confirm center needle placement. Begin the embroidering process.
    (you will be using 3 thread colors....your choice or follow the design thread color chart. You will be using the same colors for each embroidery design). Repeat steps 3 - 5 for the remaining 3 embroidery designs. Each design will take approximately 20 minutes based on a 600 SPM.


    Step 7:
    All embroidery design stitch outs complete. Cut all jump and loose thread ends. Trim excess stabilizer from back. 

    (Click Image to Enlarge)


    Step 8:
    SASHING AND CONSTRUCTION
    Use ½” Seam allowance unless otherwise noted
     
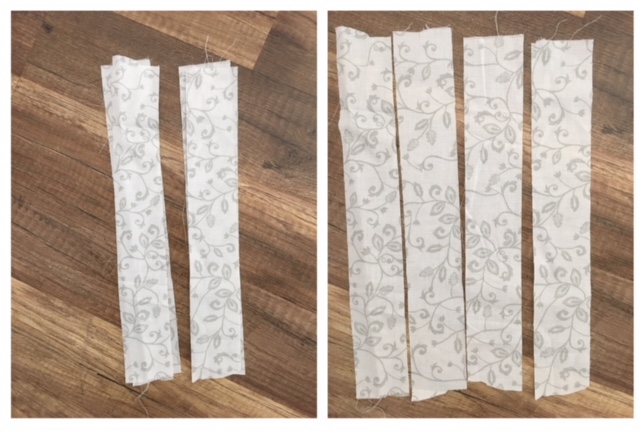
    Cut (6) 2” x 8” strips from your selected sash fabric. 

    (Click Image to Enlarge)


    Step 9:
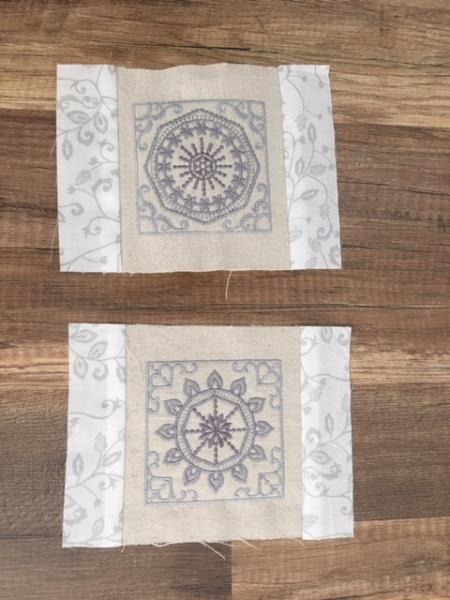
    Sew one strip to each side of two embroidered blocks. Iron press. Trim excess strip fabric to even up sides. 

    (Click Image to Enlarge)


    Step 10:
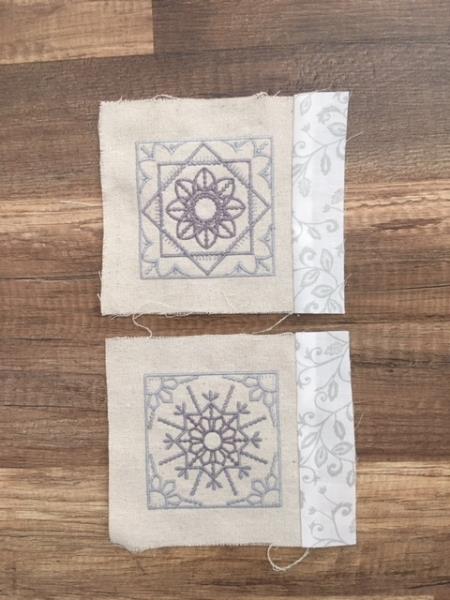
    Sew one strip to one side of the two remaining embroidered blocks. Trim excess strip fabric. 

    (Click Image to Enlarge)


    Step 11:
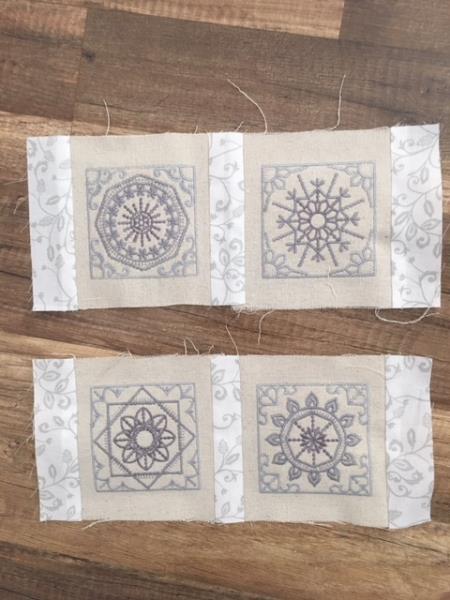
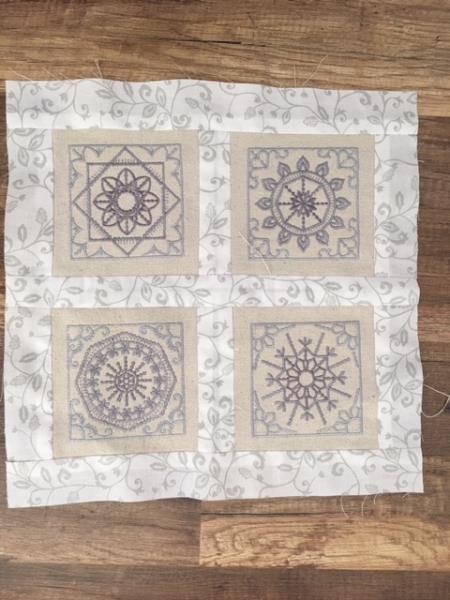
    With right sides together sew one sashing strip sided block to sashing of two strip block. (See picture for the final construction)  Repeat for remaining blocks. Iron press.

    (Click Image to Enlarge)


    Step 12:
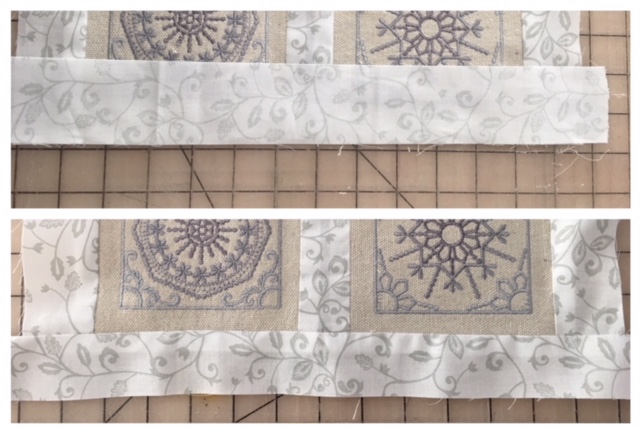
    Cut (3) 2” x 15” strips from sashing fabric. 
     ew one strip to bottom of sewn/embroidered block set. Iron press. Trim excess
     

    (Click Image to Enlarge)


    Step 13:
    With right sides together attach/sew to second embroidered block set. 

    (Click Image to Enlarge)


    Step 14:
     Sew remaining strips to top and bottom. Trim excess to even up sides. Iron press.

    (Click Image to Enlarge)


    Step 15:
    Border 
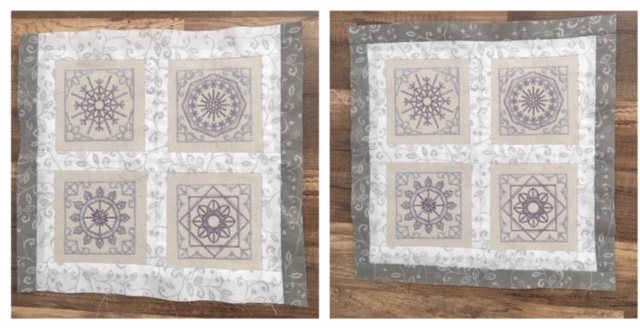
    Cut (4) 1.5” x 15” strips from chosen border fabric. Sew to sides then top( trim excess) and bottom. Trim and square up sides. Iron press

    (Click Image to Enlarge)


    Step 16:
    Cut a piece of cotton batting a bit larger than your pillow top cover. Lightly spray temporary adhesive spray onto batting and place pillow top cover right side up on top. Smoothing out as you go. 

    (Click Image to Enlarge)


    Step 17:
    CONSTRUCTION OF PILLOWCOVER
    From your backing fabric cut (1) 12” x 15” and (1) 11” x 15”.
     
    You should now have 3 pieces to construct your pillow cover. With right sides together, lay your four patch embroidered panel down right side up and lay the 15” x 12” piece down first. Then lay atop the 15” x11 ”. Overlapping the two back pieces to form the flap. Pin in place and sew all sides using 1/2” seam allowance. Optional: zig zag or serge raw edges.

    (Click Image to Enlarge)


    Step 18:
    Turn pillow cover right side out. Iron press. Insert your pillow form and Viola your Wintery Accent Pillow Cover is now finished!

    (Click Image to Enlarge)

    Meet the Author: Linda Mills
    Linda Mills
    Linda loves to create by sharing her different sewing and machine embroidery techniques so others can utilize their machines to the fullest
    More From This Author
    Link is Broken, Please check the URL
    Exclusive Embroidery Offers!
    Copyright © {{ currentDate | date:'yyyy'}} - EmbroideryDesigns.com
    GET 50% OFF! ×