














































PROJECT INSTRUCTIONS


PROJECT INSTRUCTIONS

Calories Don't Count Apron Embroidery Project
By
Marisa Littleton
on
October 02, 2019
Description
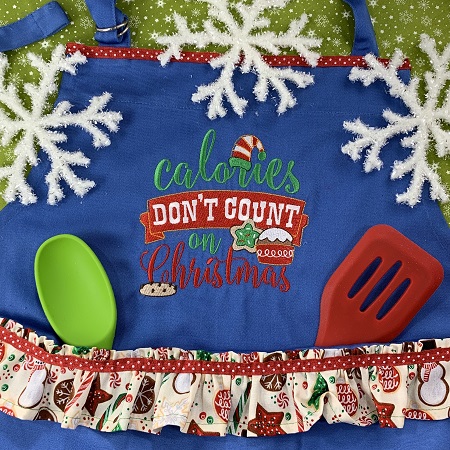
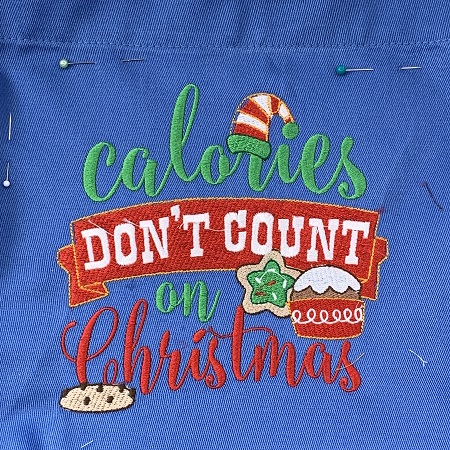
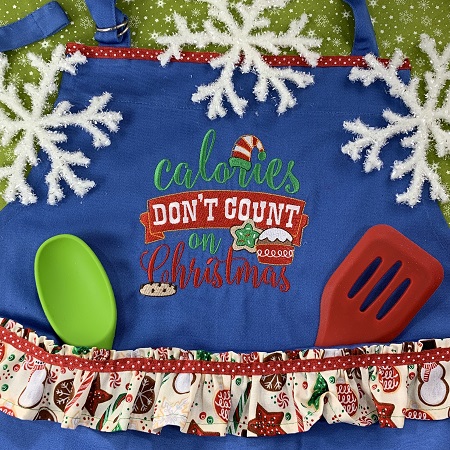
Calories Don't Count... especially at Christmas time! Cookie baking day just got tastier when you're wearing this festive apron.
Step
of
Materials
Project Preview Video

QUICK VIEW
Calories Dont Count
$4.00
Circle Price: $3.60

QUICK VIEW
Cut Away Stabilizer - 2.5 Oz wt.
$8.94
Circle Price: $8.05
{{ item.name }}
{{ item.listPriceDisplay }}{{ item.salePriceDisplay }}
Circle Price:
{{ item.clubPriceDisplay }}


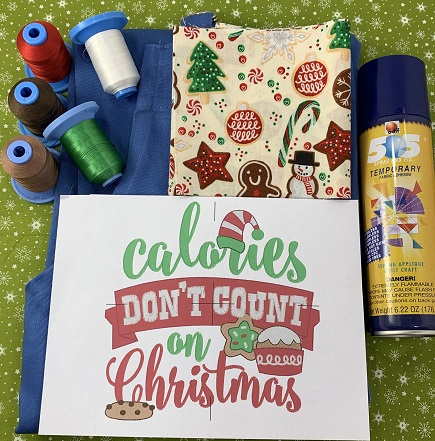
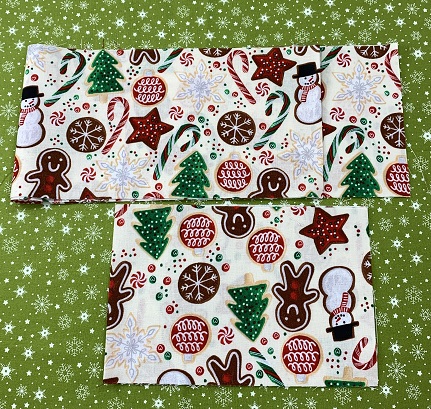
| Materials 8x8 hoop Design Template 75/11 embroidery needle 40 wt. embroidery thread (Robison-Anton poly) per color chart One commercial apron 1 yard 1/2" grosgrain ribbon for trim 4"x 60" strip of 100% quilter's cotton for trim Sewing machine, needle, thread & matching bobbin 505 Temporary Adhesive spray Medium weight (2.5) cutaway stabilizer |
| Designs used in this project |
| Final Product: What You Will Create |
 |
|
learn by teaching... Marisa Littleton |
Projects You May Like
Meet the Author:
Marisa Littleton

Marisa Littleton is a retired educator with a love for teaching and learning. Interests include machine embroidery, hand embroidery, quilting, cooking, and antiques.
Feedback
Characters Remaining
Please Login to Submit a Feedback
Invalid Characters, Please enter a valid Comment
Please enter a valid Comment
Reviewed On
Link is Broken, Please check the URL