Border OptionsHugging border, circle, square, or rectangle — with a 3mm satin stitch.
Backing OptionsAvailable with iron-on, sew-on, or velcro backing.
Fast ShippingShipped quickly from the USA.
Free Online Tools
Powerful embroidery utilities that save time and prevent costly mistakes.
Stitch AssistantRECOMMENDED
Get the exact stabilizer, machine settings, needle, and thread color sequence for every embroidery design you purchase — based on that design's stitch density, dimensions, and color count.
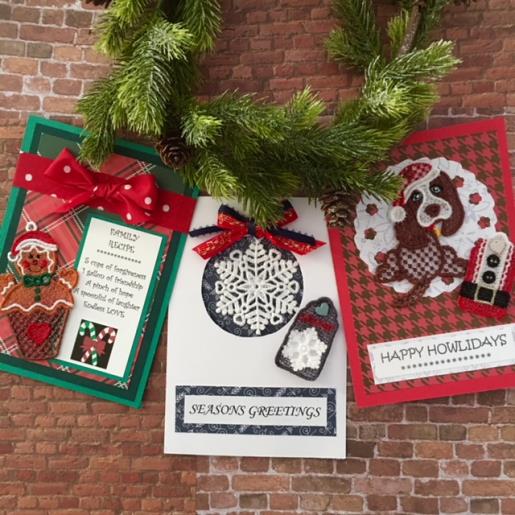
Surprise your friends and families with these hand crafted holiday greeting cards adorned with FSL Holiday designs that will showcase your embroidery talents.
These cards are simple and fun to make using patterned paper/cardstock, scrapbooking fasteners and the like. The FSL holiday embroidery designs brings the cards all together with a holiday whimsical touch. Stitching out all the embroidery designs and creating the word greetings first will make for smooth card construction. The time stated of 1h 30 min is for the Seasons Greetings Card. Allow card construction time of 30 minutes plus time for the stitch outs of the FSL Designs per card..
Step 1:
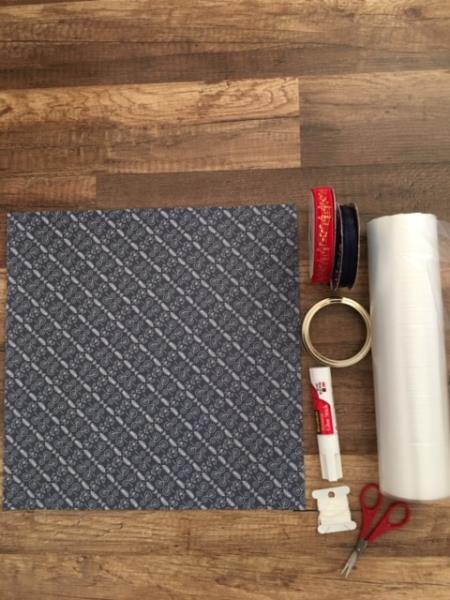
Gather supplies and review instructions before beginning.
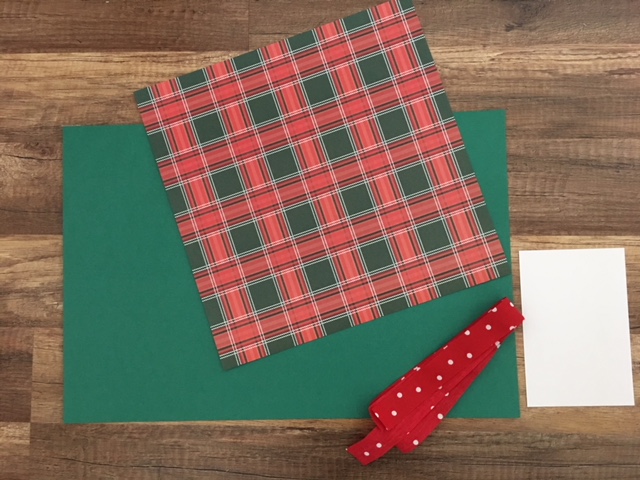
There are 3 cards to create in this tutorial and each card instruction will need card specific additional supplies. The supplies listed above are the basic supplies you will need for each card construction. All card stock colors and pattern paper are of your choice. The cards have been sized to fit a 7 ½” x 5 ½” envelope.
Step 2:
SEASONS GREETING CARD
ADDITIONAL SUPPLIES NEEDED:
(1) 12” x 12” patterned paper ( 80lb weight is recommended. Patterned on one side and white on the other. 3” circle template. ( small mason jar ring) Embroidery scissors ( with a curve) Embroidery floss (white) Ribbon ( 2 coordinating colors ½” and ¼” wide)
(Click Image to Enlarge)
Step 3:
(Click Image to Enlarge)
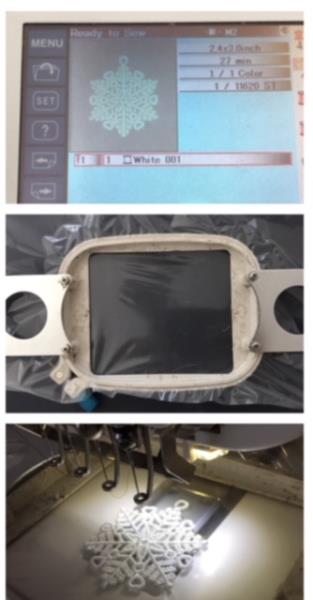
Stitch out FSL snowflake design using white thread and also white thread in your bobbin. Load design in to your machine. Cut and hoop water soluble stabilizer. Attach hoop to machine. Begin the embroidering process.
Step 4:
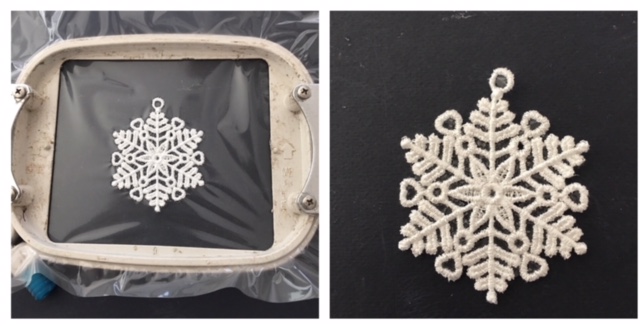
Embroidery complete. Remove hoop from machine. Cut and trim all jump stitches and loose thread ends. Tear away water soluble stabilizer. Submerge stitched design in water to remove excess stabilizer. Let dry.
(Click Image to Enlarge)
Step 5:
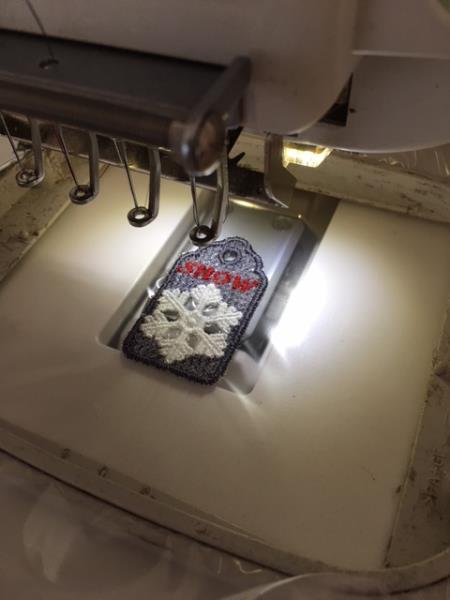
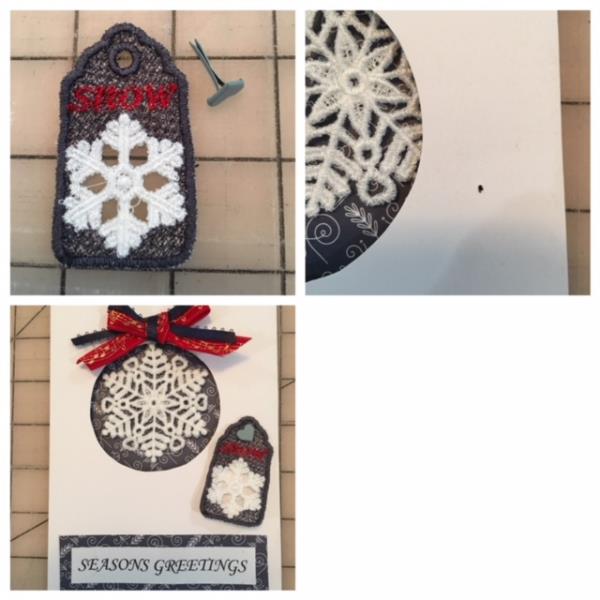
Repeat steps 3 and 4 to stitch out FSL Snow Tag design. (opt. choose your thread color for background to match your card stock)
(Click Image to Enlarge)
Step 6:
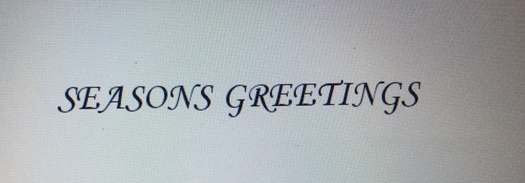
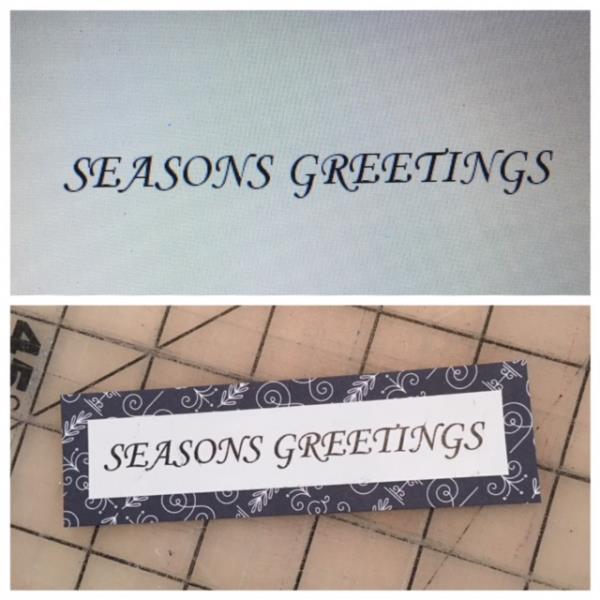
Create the greeting: Seasons Greetings using computer word document. Font: Monotype Corsiva 28pt. Print out using white card stock .
(Click Image to Enlarge)
Step 7:
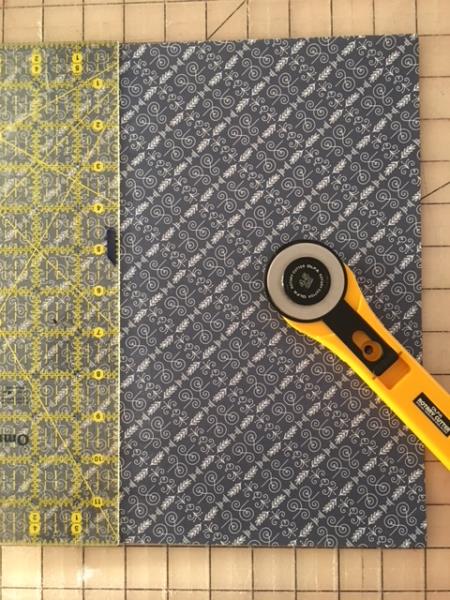
Construction of card: Using your chosen 12” x 12” patterned paper. Cut 7 1/8” x 10” . The patterned side of your paper will be the inside of your card. ( this will be a side folded card)
(Click Image to Enlarge)
Step 8:
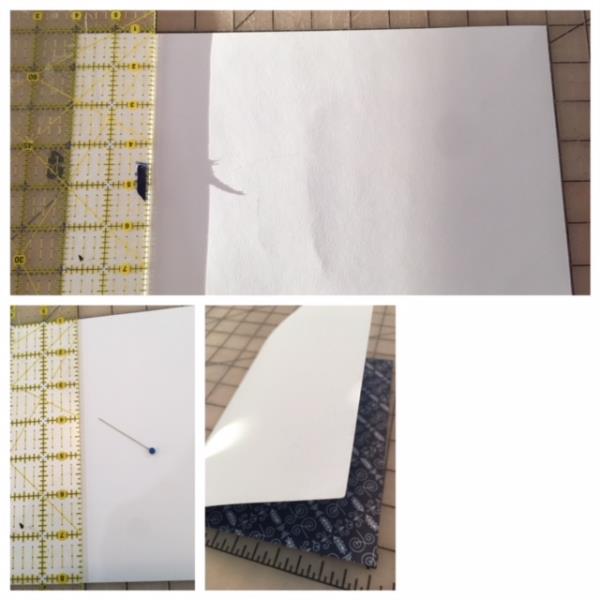
Find center (5”) and lightly “score” card with straight pin on the outside of paper(white side).
*Scoring refers to the process of making a crease in paper so it will fold easier.
(Click Image to Enlarge)
Step 9:
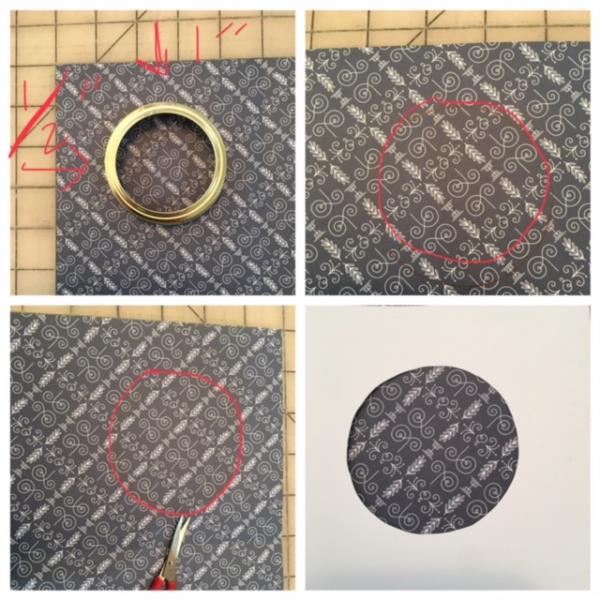
CREATING CIRCLE CUTOUT Place your 3” circle template 1” down and ½ “ in from left edge of your patterned side paper. Trace. Cut out traced circle using your curved embroidery scissors.
(Click Image to Enlarge)
Step 10:
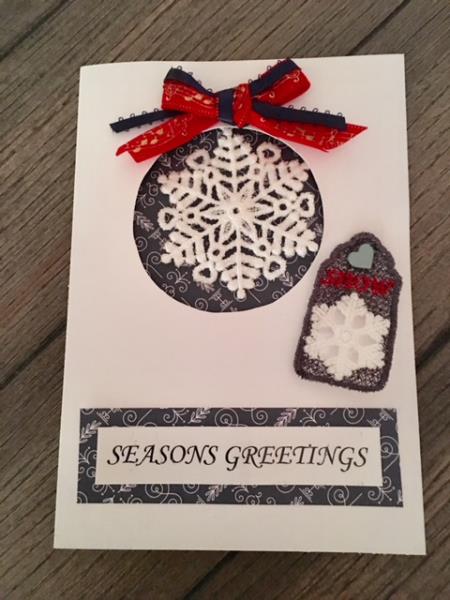
Cut out your greeting “ Seasons Greetings” and glue onto accent color card stock. Trim ½” around to frame. See picture .
(Click Image to Enlarge)
Step 11:
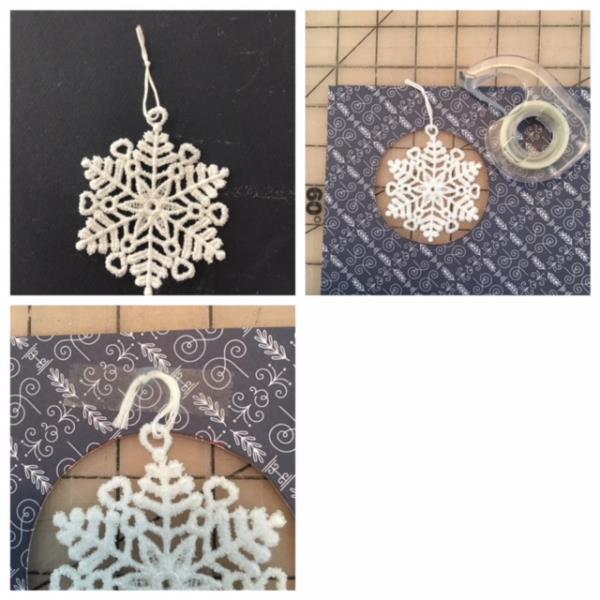
Thread a piece of white floss in the eyelet of your snowflake and knot ends. Using tape apply to inside of card centering in cutout circle.
(Click Image to Enlarge)
Step 12:
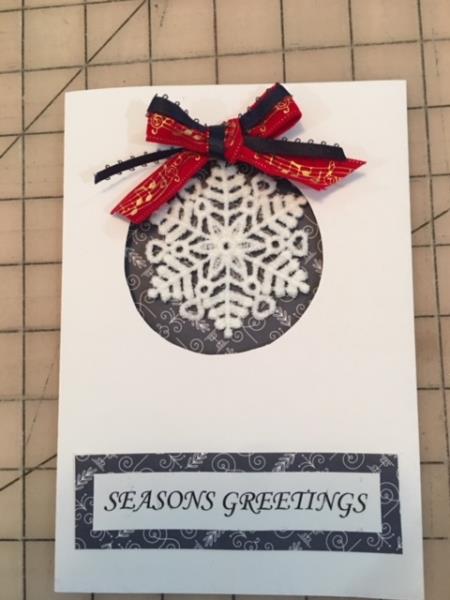
Make a bow with ribbons. Center and glue ( glue gun) above circle/snowflake. Center season greetings ½” up from bottom edge of card. Glue in place using glue stick.
(Click Image to Enlarge)
Step 13:
Attach your FSL Snow Tag to the card using your paper fastener. Insert fastener into the eyelet. See picture for position. ( tip: make a small puncture into card for easier attachment)
(Click Image to Enlarge)
Step 14:
Your Seasons Greetings Card is finished. Now onto the 2nd card: Family Recipe Card.
(Click Image to Enlarge)
Step 15:
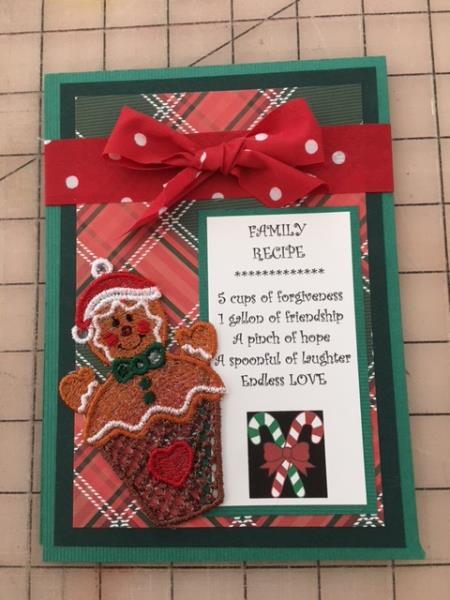
FAMILY RECIPE CARD
ADDITIONAL SUPPLIES:
(1) 12” x 18” cardstock of your choice (1) coordinating patterned paper Coordinating pieces of cardstock for framing (2) 1” x 15” strips of fabric ( coordinate with your chosen cardstock)
(Click Image to Enlarge)
Step 16:
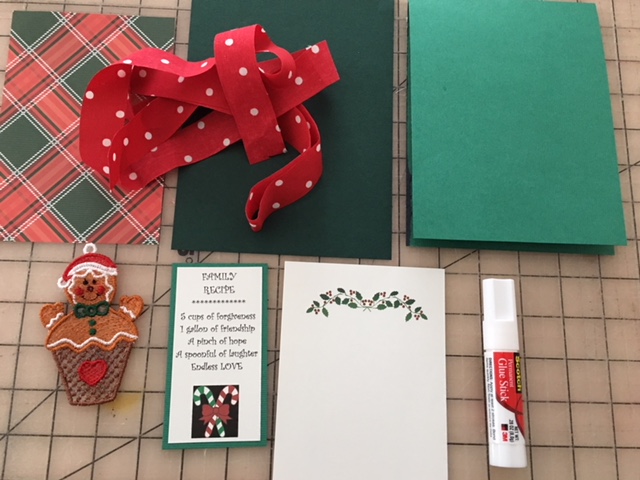
Gather all supplies for this card and review instructions if needed as they are pretty similar to the Seasons Greetings card. This will be a top folded card.
(Click Image to Enlarge)
Step 17:
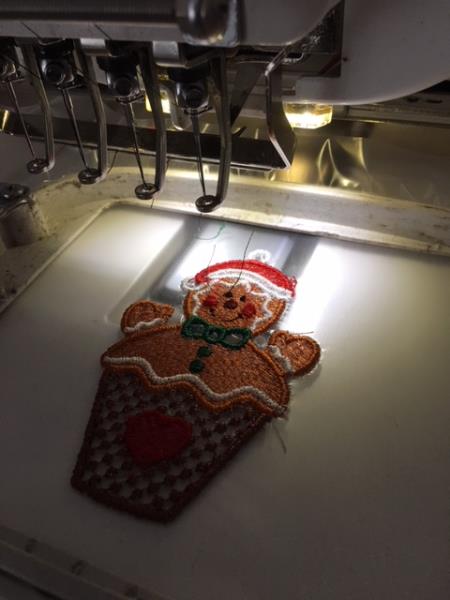
Stitch out the FSL Gingerbread Ornament Design. Refer to steps 3 and 4 of the Seasons Greetings Card instructions. Refer to color chart of design for embroidery threads needed) time for this stitch out is approx 20 minutes based on 600spm.
(Click Image to Enlarge)
Step 18:
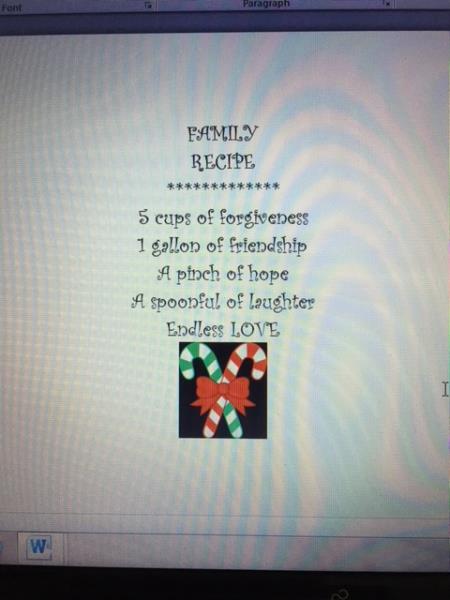
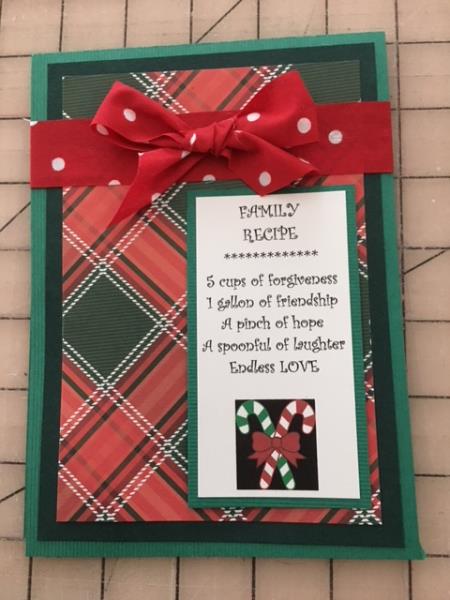
Create the greeting: Family Recipe from the Family Recipe Design using your computer word document. Add candy cane clip art from your word program. Font : Curlz MT, size: 14pt. Refer to picture
(Click Image to Enlarge)
Step 19:
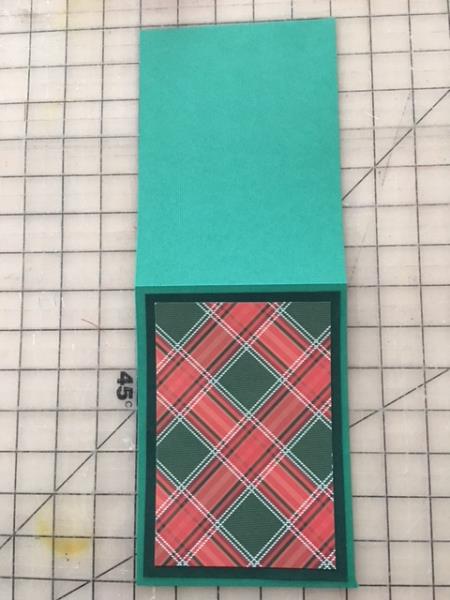
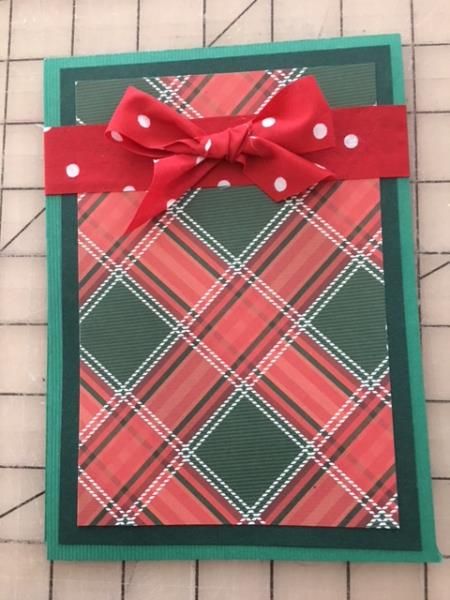
Cut (1) 5 1/8” x 14” from your 12” x 18” chosen cardstock Cut (1) 4 ¼” x 6 ¼” from your patterned paper/cardstock
Construction of card
Find the center ( 7”) of the 5 1/8” x 14” cardstock piece and score for a top folded card.
Glue your cut patterned paper atop a coordinating/accent piece of cardstock. Trim ¼” around to frame. Glue to outside of main card piece.
(Click Image to Enlarge)
Step 20:
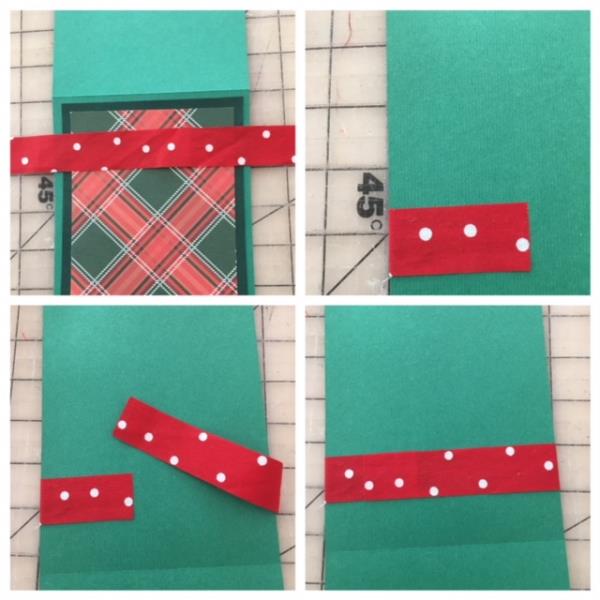
Glue one fabric strip to outside of card 1” down from top folded edge of card. Flip card over and glue one end of strip to inside. Overlapping the other end, glue in place.
(Click Image to Enlarge)
Step 21:
Make a bow with other fabric strip and glue in place as shown in picture.
(Click Image to Enlarge)
Step 22:
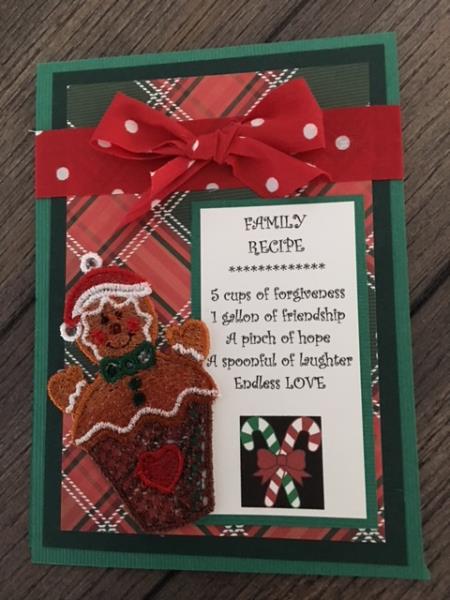
Cut out Family Recipe greeting and glue onto accent/coordinating piece of card stock. Trim ¼” around to frame. Position below ribbon and to side of card ( see picture) Glue in place.
(Click Image to Enlarge)
Step 23:
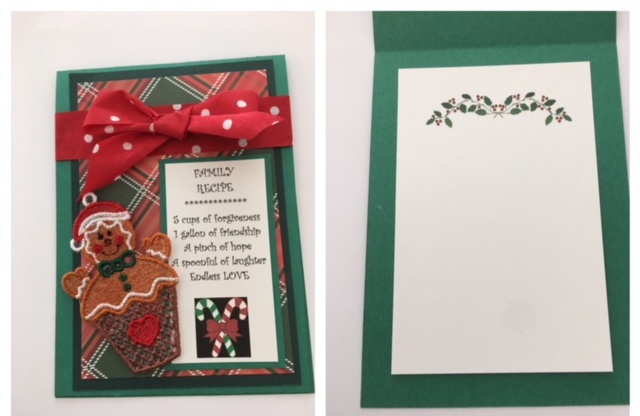
Position the stitched out FSL Gingerbread Ornament as shown in picture and glue in place.
(Click Image to Enlarge)
Step 24:
Optional: Create a framed background card stock piece to include a family recipe or to write a personal note. Glue in place to inside of card.
(Click Image to Enlarge)
Step 25:
Your Family Recipe Card is finished!
(Click Image to Enlarge)
Step 26:
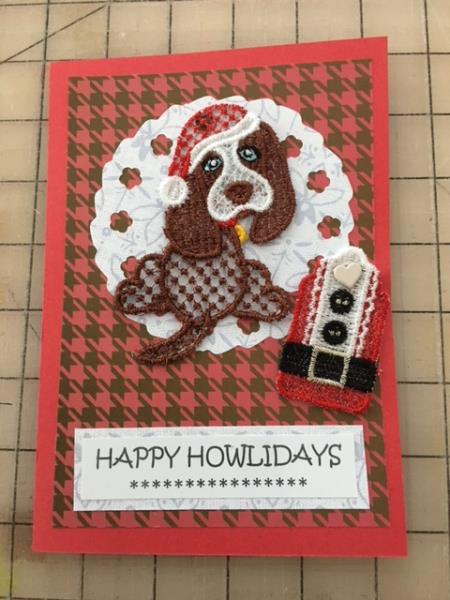
HAPPY HOWLIDAYS CARD
Apply and incorporate the necessary steps to create this card. Remember to stitch out the embroidery designs first and create the greetings for a smoother construction. Most of all have fun creating!