Be Merry Pan Handler Mitt

Be Merry Pan Handler Mitt Embroidery Project

By   Marisa Littleton   on   October 01, 2019
  • SKILL LEVELBeginner
  • TIME REQUIRED01:00
Description

This festive pan handler mitt is perfect for the holiday season, featuring the cheerful phrase 'Eat, Drink & Be Merry'. Ideal for protecting your hands while baking holiday treats. Step-by-step instructions are included.

Step of

Materials

Project Preview Video

Materials
  • 5x7 hoop
  • Design Template
  • 90/14 Embroidery needle
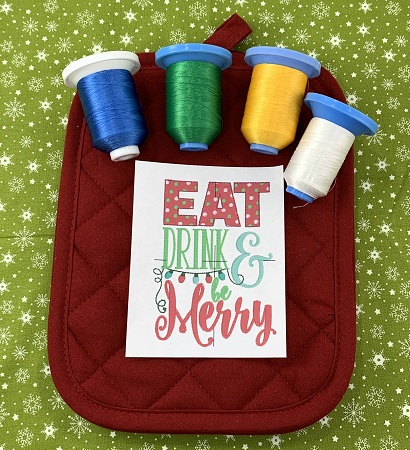
  • 40 wt. embroidery thread (Robison-Anton poly)
  • Two approx. 7"x10" rectangle potholders
  • Medium weight (2.5) cutaway stabilizer
  • Sewing machine, needle, thread & matching bobbin

  • Designs used in this project

    Preface:
    Eat, Drink, & Be Merry at Christmas!  Cookie making & candy tasting time!  Protect the hands with a quick and easy variation of a mitt with a 'Be Merry Panhandler'.  


    Step 1:
    Gather and prepare the materials needed for the project.  Print a design template.  Read the directions before starting the project.


    Step 2:
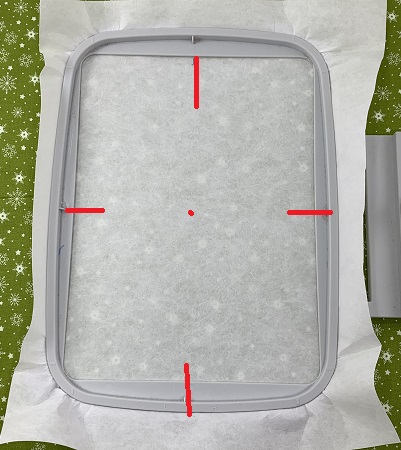
    Hoop one piece of medium weight (2.5) cutaway stabilizer.  Mark the center and axis points on the stabilizer.


    Step 3:
    (Click Image to Enlarge)
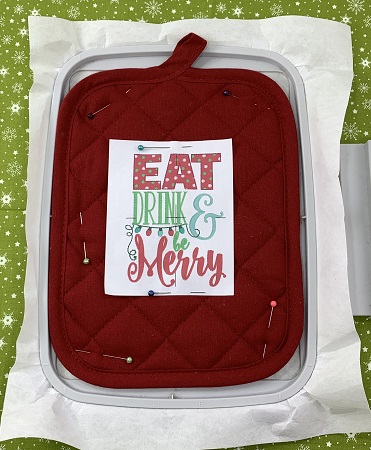
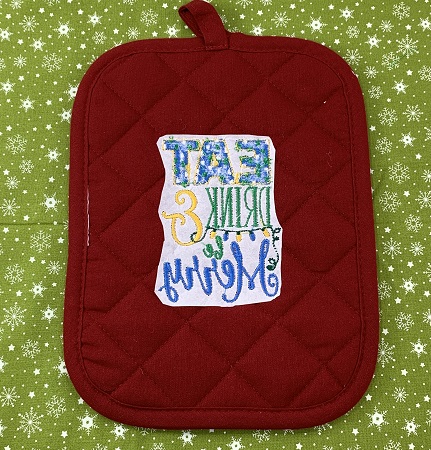
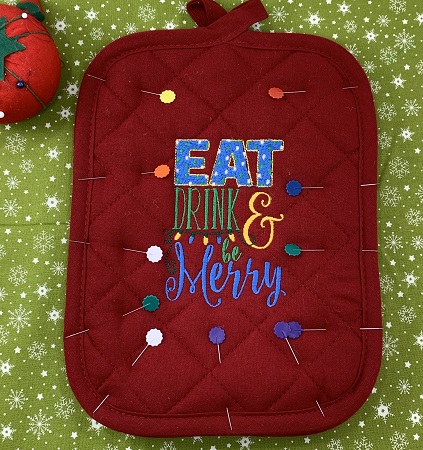
    Use the design template to center the design on the potholder.  Pin the design template onto the potholder.  
     
    Match the center point on the stabilizer with the center point on the design template and align the axis points.  
     
    Float the potholder on the stabilizer.  Carefully lift on side of the potholder up and lightly spray the stabilizer with 505 Temporary Adhesive.  Gently press the potholder onto the stabilizer.  Repeat for the other side of the potholder.   


    Step 4:
    Load the embroidery design onto the machine.  Check your embroidery needle. 
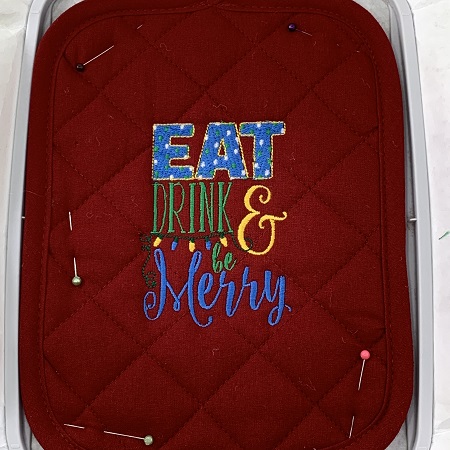
    Attach the embroidery hoop.  Using the color chart as a guide, embroider the design.   


    Step 5:
    Once completed, remove the hoop from the machine.  Trim the extra stabilizer on the back leaving about a 1/4" margin around the design.  Trim any long threads if needed.  Use a lint brush to remove debris from the surface.


    Step 6:
    Pin the second mitt to the back of the one with the embroidered design on three sides.  Leave the top side open.  
     
    Use the sewing machine to stitch closely to the edge of the potholder.  Remove the pins. 
     
    Repeat the steps to make another 'Be Merry Panhandler' to make a set. 


    Step 7:
    (Click Image to Enlarge)
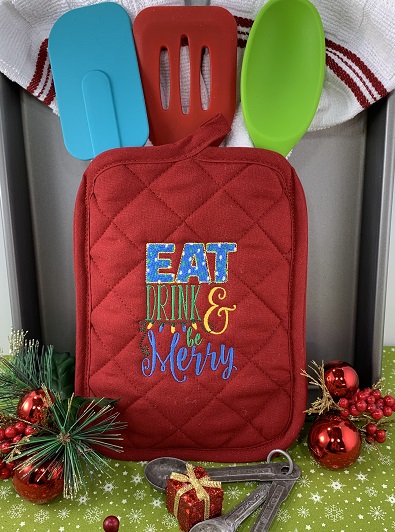
    Congrats!  You have completed a simple version of a 'Be Merry Panhandler' mitt. Really cute and easy!  Great for gifts!   

    learning by teaching...
     
     
    Marisa Littleton 
    Meet the Author: Marisa Littleton
    Marisa Littleton
    Marisa Littleton is a retired educator with a love for teaching and learning. Interests include machine embroidery, hand embroidery, quilting, cooking, and antiques.
    More From This Author
    Link is Broken, Please check the URL
    Exclusive Embroidery Offers!
    Copyright © {{ currentDate | date:'yyyy'}} - EmbroideryDesigns.com
    GET 50% OFF! ×