














































PROJECT INSTRUCTIONS


PROJECT INSTRUCTIONS

Be Merry Pan Handler (1) Embroidery Project
By
Marisa Littleton
on
October 01, 2019
Description
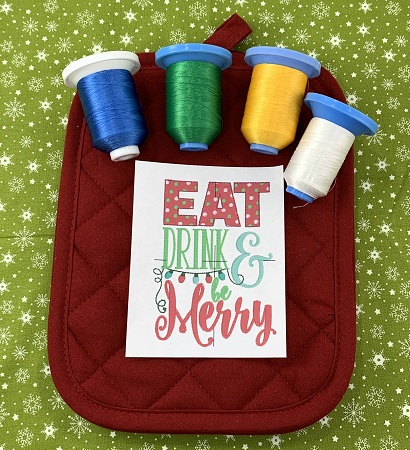
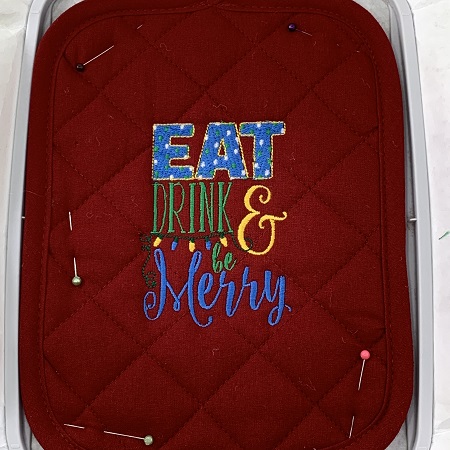
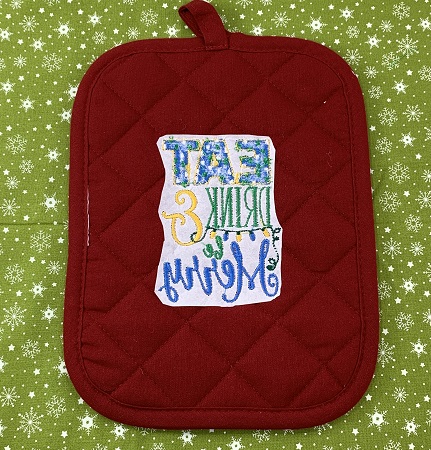
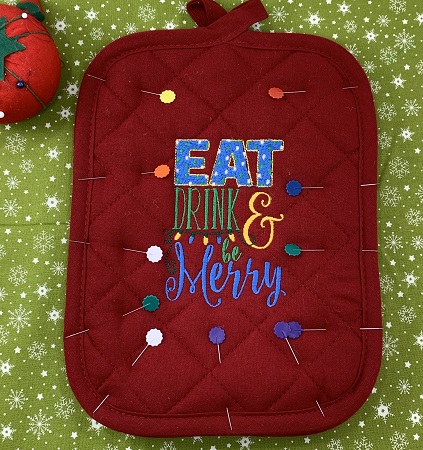
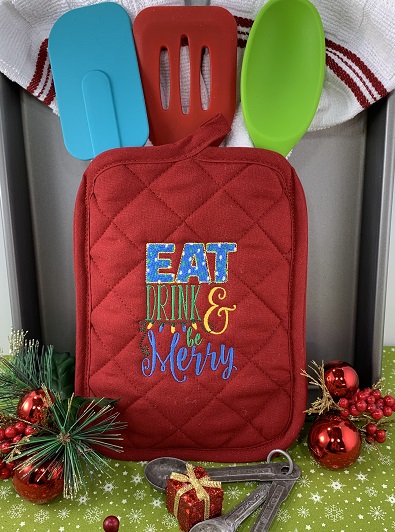
Eat, Drink, & Be Merry is a common theme at Christmas time! Protect your hands while baking all those goodies with a 'Be Merry Panhandler' mitt.
Step
of
Materials
Project Preview Video

QUICK VIEW
Be Merry
$4.00
Circle Price: $3.60

QUICK VIEW
Cut Away Stabilizer - 2.5 Oz wt.
$8.94
Circle Price: $8.05
{{ item.name }}
{{ item.listPriceDisplay }}{{ item.salePriceDisplay }}
Circle Price:
{{ item.clubPriceDisplay }}


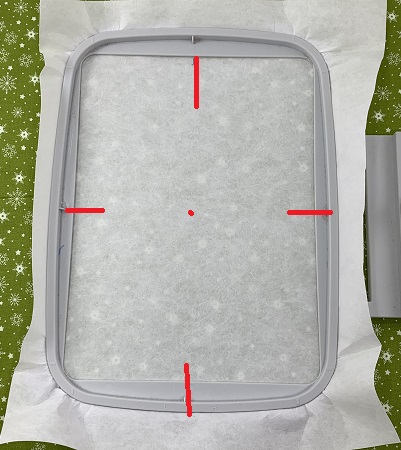
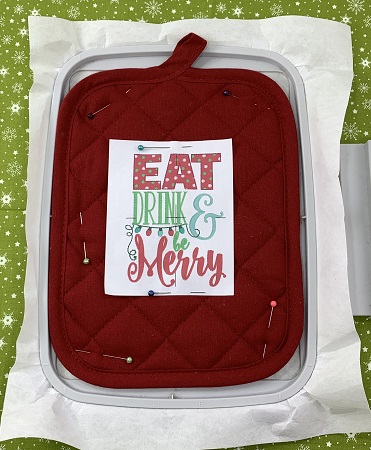
| Materials 5x7 hoop Design Template 90/14 Embroidery needle 40 wt. embroidery thread (Robison-Anton poly) Two approx. 7"x10" rectangle potholders Medium weight (2.5) cutaway stabilizer Sewing machine, needle, thread & matching bobbin |
| Designs used in this project |
|
learning by teaching... Marisa Littleton |
Projects You May Like
Meet the Author:
Marisa Littleton

Marisa Littleton is a retired educator with a love for teaching and learning. Interests include machine embroidery, hand embroidery, quilting, cooking, and antiques.
Feedback
Characters Remaining
Please Login to Submit a Feedback
Invalid Characters, Please enter a valid Comment
Please enter a valid Comment
Reviewed On
Link is Broken, Please check the URL