Border OptionsHugging border, circle, square, or rectangle — with a 3mm satin stitch.
Backing OptionsAvailable with iron-on, sew-on, or velcro backing.
Fast ShippingShipped quickly from the USA.
Free Online Tools
Powerful embroidery utilities that save time and prevent costly mistakes.
Stitch AssistantRECOMMENDED
Get the exact stabilizer, machine settings, needle, and thread color sequence for every embroidery design you purchase — based on that design's stitch density, dimensions, and color count.
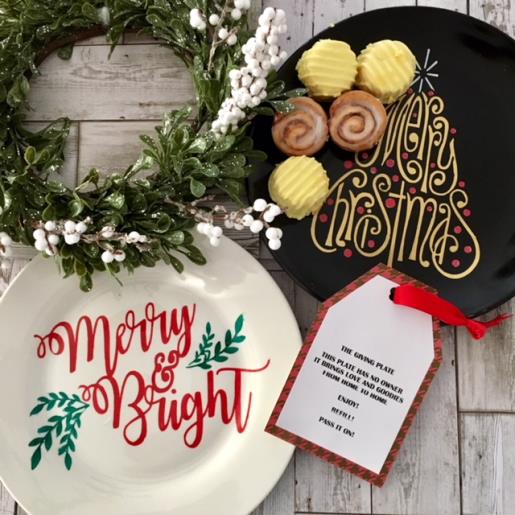
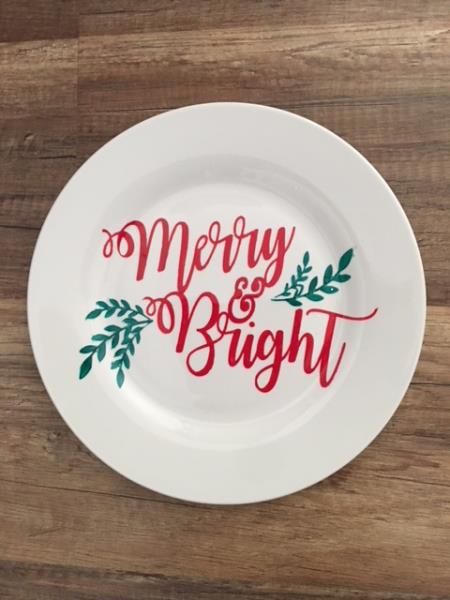
Start a heartfelt tradition with The Giving Plate, perfect for sharing joy among friends and family. This set includes a beautifully crafted plate with a festive design intended to be gifted and regifted. Enjoy spreading happiness as the plate travels from one home to another. Step-by-step instructions are included.
In this tutorial a 10 ½” diameter plate was used and purchased from a dollar store. If you use a larger or smaller plate you will need to resize the SVG/Print Art design to fit. You will be creating stencils using these holiday spirited SVG/Print Art designs. Filling in the open areas of your weeded stencil with the Sharpie markers and “firing” the plate in your oven to set the colors to make it safe to place your goodies on the plate. Look for other SVG/Print Art designs on the embroidery design website to create design specific plates for giving.
Step 1:
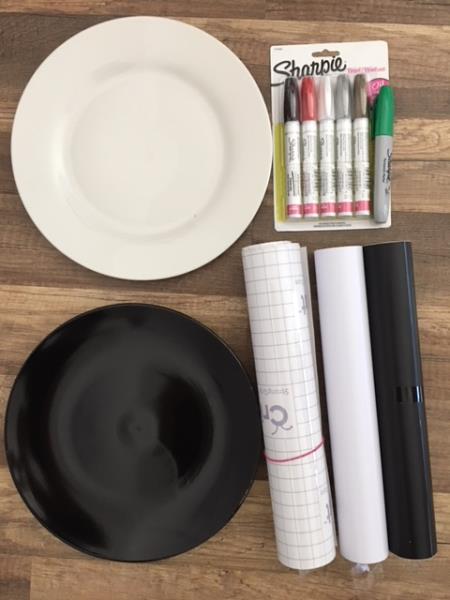
Gather all supplies and review instructions before beginning. The time stated to complete the project is for one plate and does not include the firing time. *BASIC KNOWLEDGE OF CUTTING MACHINE AND HOW TO PREPARE VINYL FOR STENCIL IS NEEDED.
(Click Image to Enlarge)
Step 2:
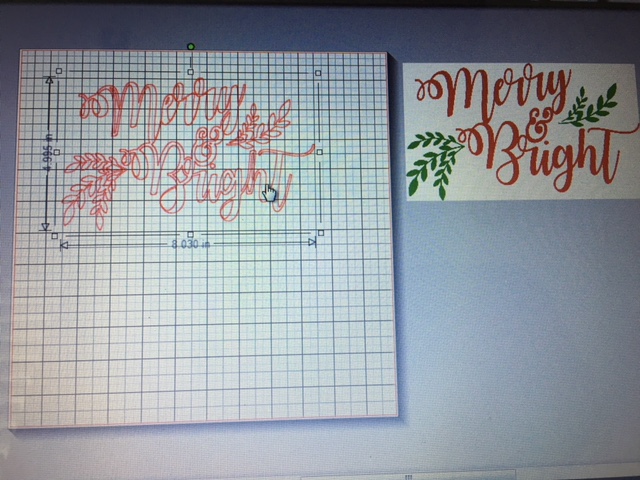
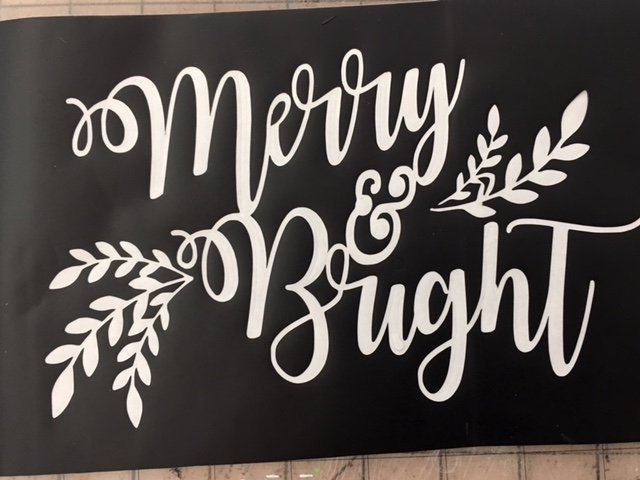
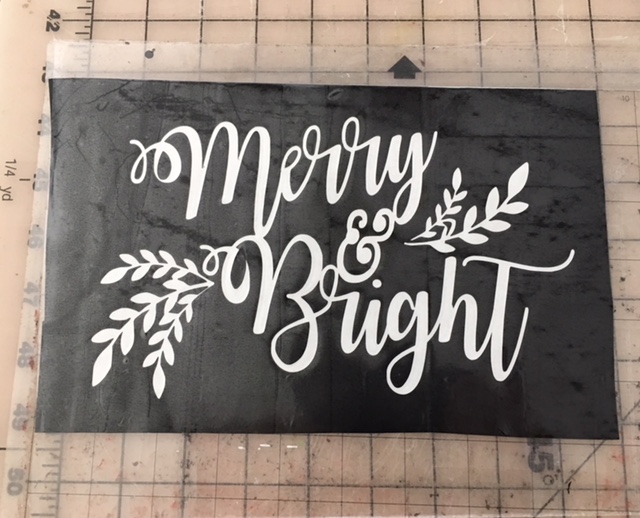
Bring the SVG/Print Art design “Merry and Bright” in to your cutting machine software program. Resize design to approximately 8” x 5”. If the plate you are using is larger or smaller than the 10 ½” plate used in this tutorial, resize your design to fit to your liking.
*FOR SILHOUETTE CAMEO OWNERS/USERS: IF YOUR SILHOUETTE MACHINE HAS NOT BEEN UPDATED TO ALLOW WORKING WITH AN SVG ( CUTTABLE ) FILE. YOU CAN WORK AROUND THIS BY DOWNLOADING THE PRINT ART DESIGN AS A JPEG OR PNG FILE. YOU WILL FIND INSTRUCTIONS ON HOW TO WORK AROUND TO “CUT” YOUR DESIGN BY REVIEWING STEP 4 OF MY THANKSGIVING THEMED WOOD ART/SVG PROJECT TUTORIAL.
(Click Image to Enlarge)
Step 3:
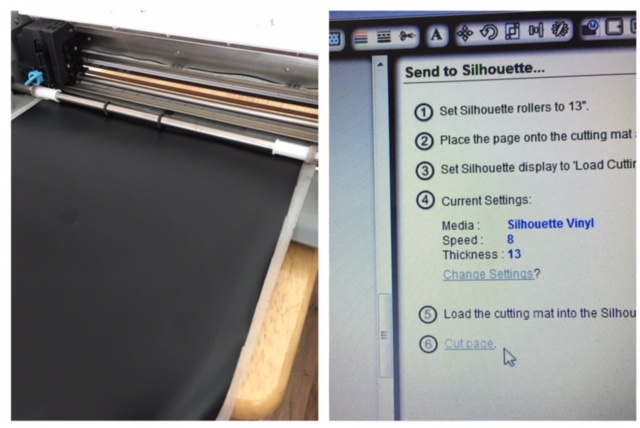
Per your cutting machines instructions: Prepare your adhesive vinyl for cutting. Load your vinyl into your cutting machine. Cut design
(Click Image to Enlarge)
Step 4:
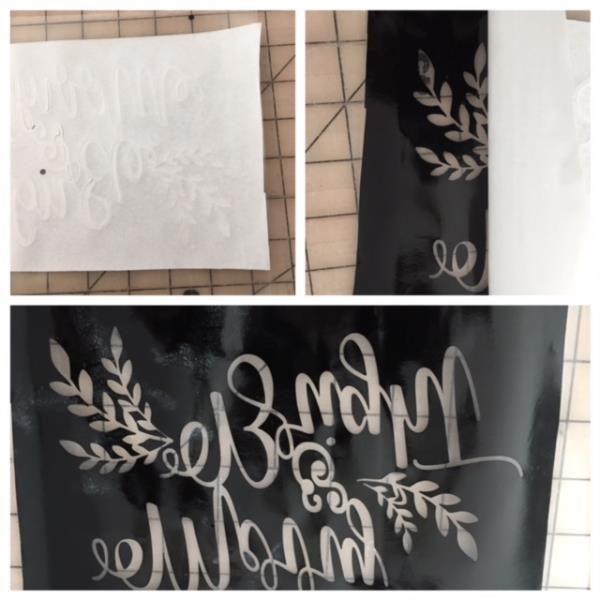
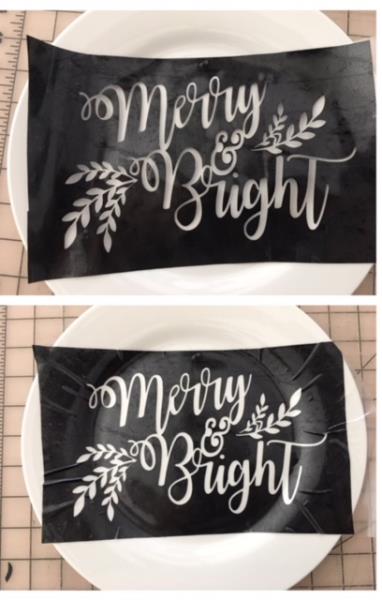
Design cut complete. Weed your design for a stencil using the reverse weeding technique.
REVERSE WEEDING: REMOVING THE AREA OF THE VINYL THAT WOULD NORMALLY BE LEFT BEHIND. THIS TECHNIQUE IS MAINLY USED WHEN MAKING A STENCIL.
(Click Image to Enlarge)
Step 5:
Apply transfer paper on top of your stencil per manufacturer’s instructions.
(Click Image to Enlarge)
Step 6:
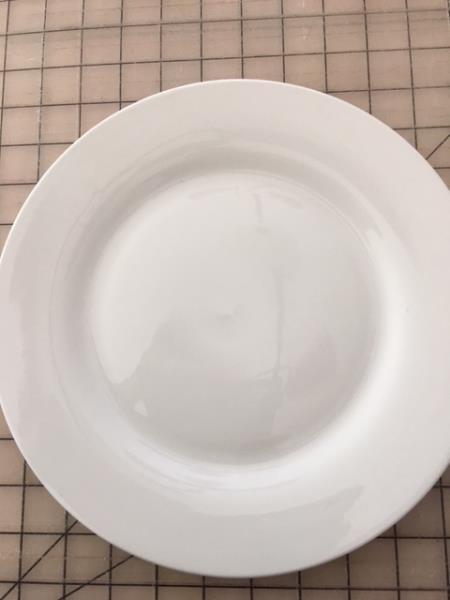
Wash/clean plate. Remove any store barcode/adhesive stickers.
(Click Image to Enlarge)
Step 7:
Remove adhesive back from your stencil.
(Click Image to Enlarge)
Step 8:
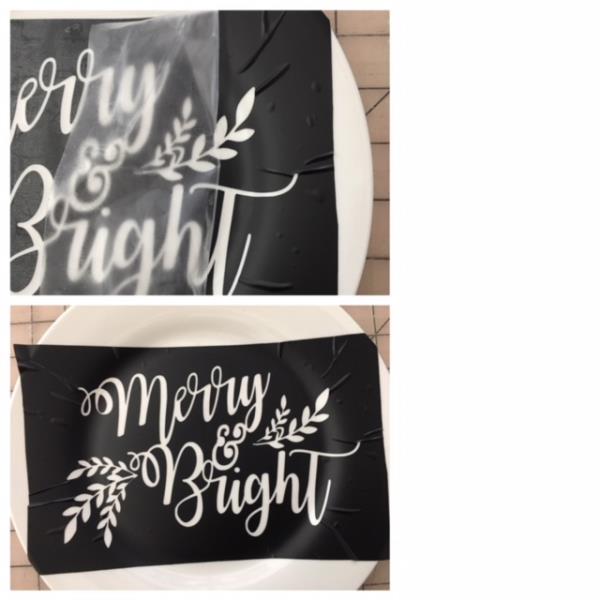
Center stencil onto plate. When you have positioned/centered to your liking, fingertip press and smooth out, starting from the middle of stencil and working your way out to the edge of plate.
(Click Image to Enlarge)
Step 9:
Slowly remove transfer paper. As you can see in the pic I still have some air bubbles. Just ensure smoothing out the bubbles from around the lettering/design to help avoid paint/ink seepage from going under the stencil.
(Click Image to Enlarge)
Step 10:
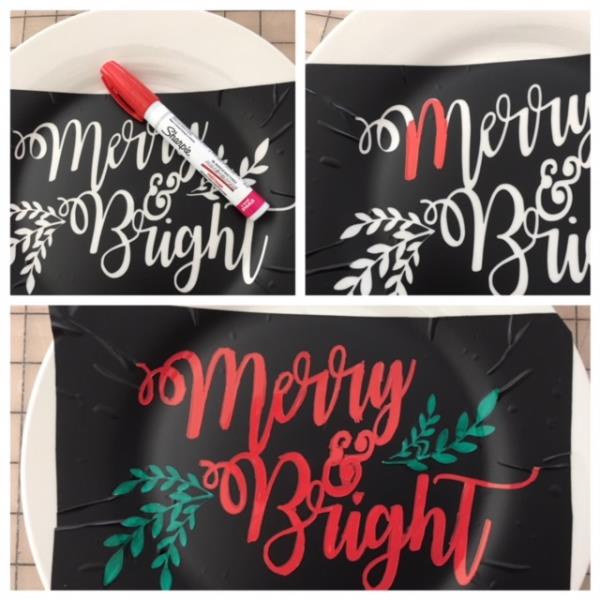
Start with tracing and filling in the Merry and Bright wording using your red sharpie. The ink dries quickly but still ensure that the sharpie color does not rub off on your hand. Next trace and fill in the leaves using your green sharpie.
(Click Image to Enlarge)
Step 11:
Allow a minute or two for the paint/ink to completely dry. Slowly remove stencil. If there are small pieces of vinyl still on your plate remove using your hook weeding tool. Make any necessary touch ups at this time. If there was any seepage underneath your stencil carefully using your hook weeding tool lightly scrape off the ink/paint .
(Click Image to Enlarge)
Step 12:
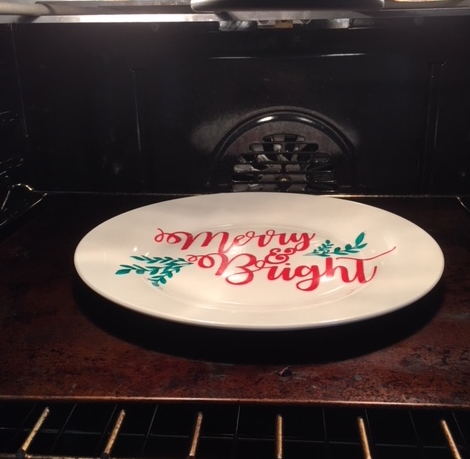
Place plate onto a cookie sheet. Place into a cold oven. Set oven temperature to 225*and fire (bake) for 30 minutes. After 30 minutes. Turn off oven. Leave plate in oven to cool. ( approx. 20-30 min) If plate cools too fast it may crack. When your plate is cool remove from oven using oven mitt. The “firing” should set your sharpie colors into your plate.
Step 13:
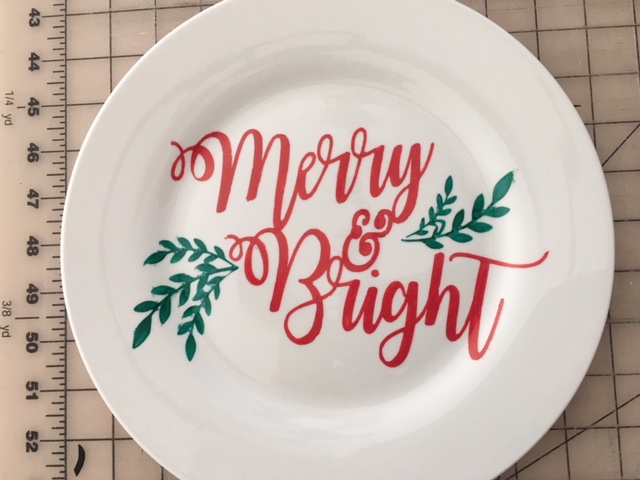
Viola ! Your “Merry and Bright” Giving Plate is complete. Great job! Repeat steps 2 through 12 to create the “Merry Christmas Tree” plate.
(Click Image to Enlarge)
Step 14:
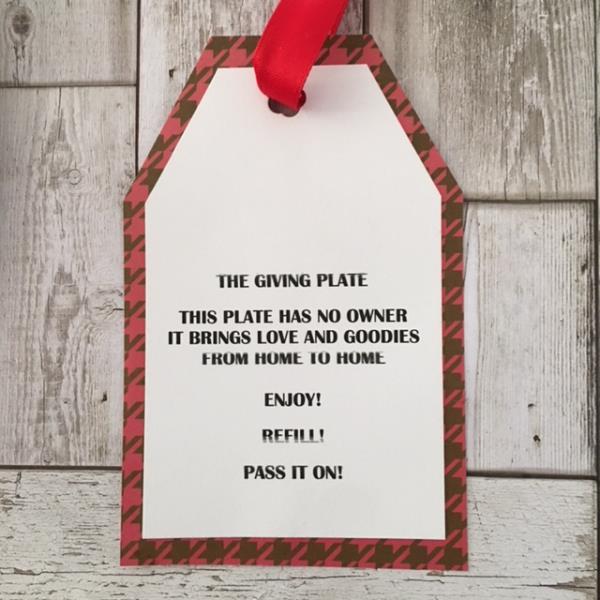
You can also make a gift tag out of card stock similar to the one in the picture to attach to your Giving Plate of goodies.