{{superHeaderAds.title}}
Live Chat
Embroidery Designs
Welcome, Embroiderer
Login
Pumpkin Towel Topper
{{mainImageAlt || (productInfo._source && productInfo._source.name) || ''}}

Pumpkin Towel Topper Embroidery Project

By   Martha Montgomery   on   September 09, 2019

PROJECT DETAILS

SKILL LEVEL
Some Experience
TIME REQUIRED
02:00
Description

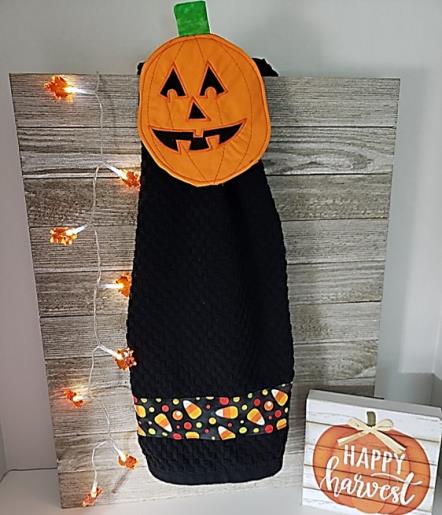
This towel topper is fun, easy and versatile. The topper and towel can be done in contrasting fabric like this project, or in matching fabric and towel. Enjoy!

Project Preview Video

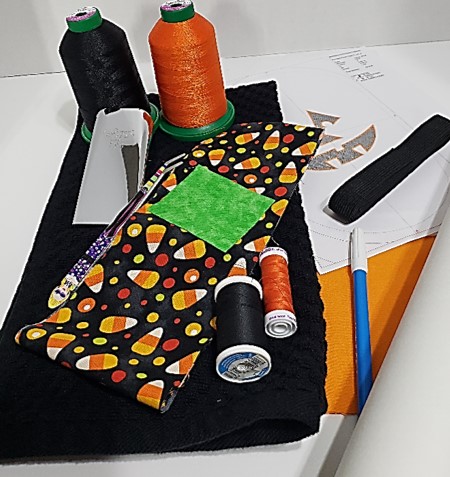
Materials
  • 1 black kitchen towel
  • Tear Away Stabilizer
  • Black elastic cut long enough to go across the width of the pumpkin
  • 2.5” x 2.5” square green fabric
  • 2 10” x 10” squares of orange fabric
  • 1 10” x 10” square of cotton batting
  • ¼ yard of holiday themed fabric, cut to desired width for trim
  • 2 circular patterns, one should be 1” larger than the other. I used saucers.
  • Embroidery Thread
  • Sewing Thread
  • Water soluble marking pen
  • Bias tape maker desired width (optional)

  • Designs used in this project

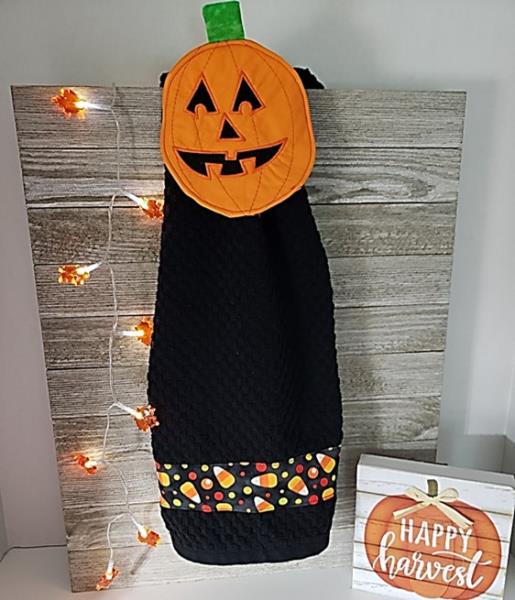
    Final Product: What You Will Create

    Preface:
    Brighten up your kitchen with this fun pumpkin towel topper. The topper is separate from the towel, so it can be used with different color towels throughout the season. It does take a sewing machine as well as an embroidery machine. To use the topper you tuck the towel end through the elastic on the back, tuck it over the towel bar and back into the elastic. These would make great gifts and the pumpkin could be made without the jack-o-lantern face for any fall décor.


    Step 1:
    Gather the materials and read through the instructions before beginning. Print out a paper template of the design and color sequence.


    Step 2:
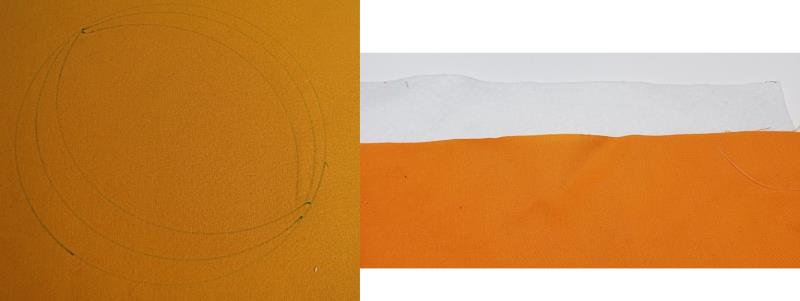
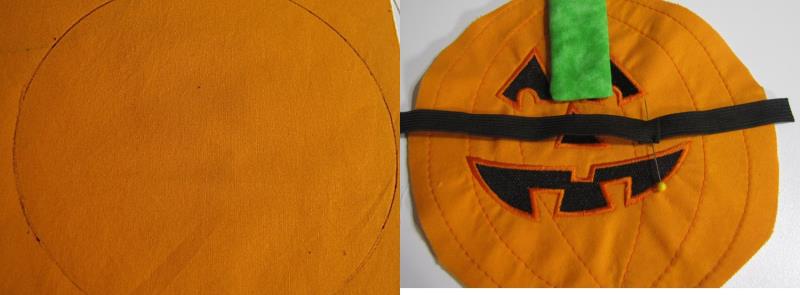
    Using the water soluble marking pen and the larger round pattern, mark the circle for the outer form of the pumpkin on the center of one orange fabric square. Using the smaller round pattern, make the lines for the pumpkin face. Remember pumpkins aren’t uniform so your lines don’t have to be, either! Lay the square of the orange fabric on the batting square.

    (Click Image to Enlarge)


    Step 3:
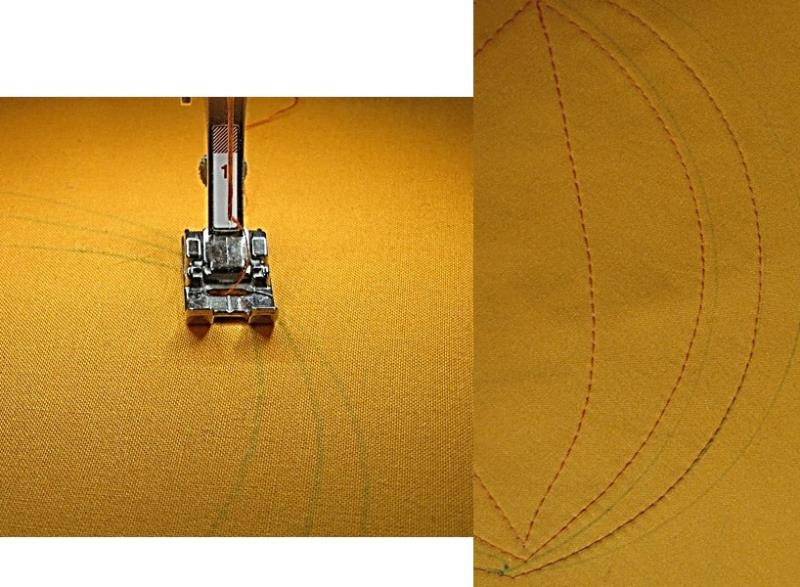
    On the regular sewing machine, stitch a basting length stitch along the lines you have drawn on the pumpkin face. If you would like to add a stem, you can also stitch it at this time, taking the square of green fabric, folding it wrong sides together and stitching along one short side and the long side. Leave the other short side open to turn the stem.

    (Click Image to Enlarge)


    Step 4:
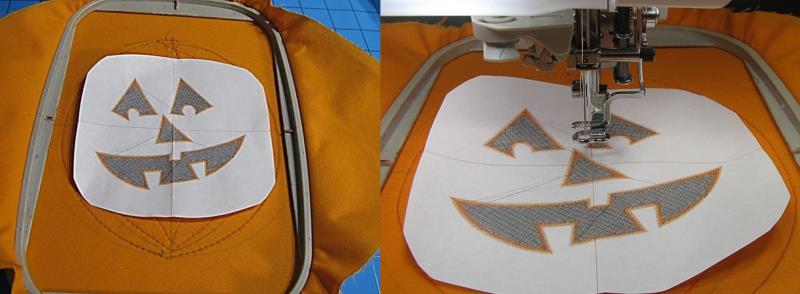
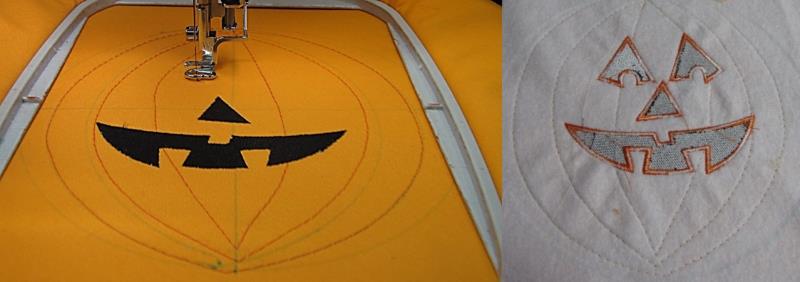
    Once the lines have been stitched, hoop the fabric and batting, centering the pumpkin face in the hoop. Load the hooped fabric and batting onto your embroidery machine and confirm that the design is centered in the area you desire.

    (Click Image to Enlarge)


    Step 5:
    Remove the pumpkin template and stitch the pumpkin face, following the color sequence.

    (Click Image to Enlarge)


    Step 6:
    To assemble the pumpkin topper you will need to trim around the pumpkin face; cut the plain orange fabric the same size as the trimmed pumpkin face and make a “sandwich” placing the black elastic across the face of the pumpkin, the stem facing the inside of the sandwich, and then placing the plain fabric atop the face and elastic.

    (Click Image to Enlarge)


    Step 7:
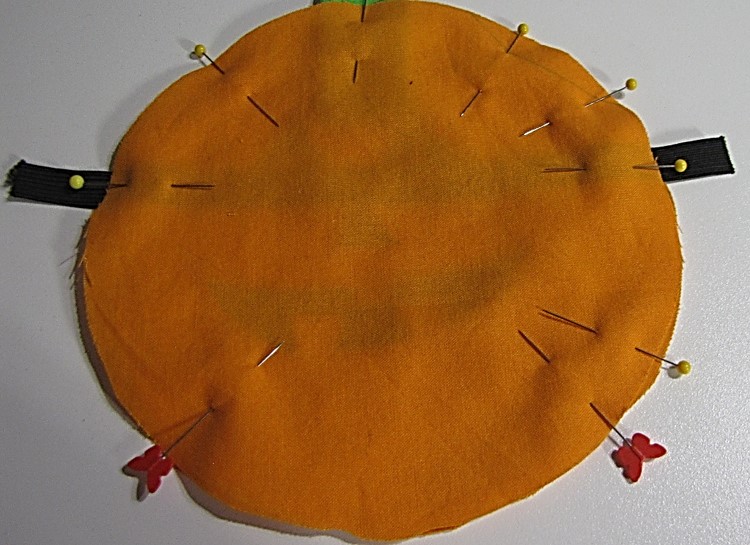
    Pin the circumference of the sandwich, being sure to leave an area open to turn the pumpkin right side out.  Stitch allowing a 1/2" seam allowance around the pumpkin sandwich, starting and stopping at the opening. 

    Tip: I like to use different pins to clearly indicate my starting and stopping point.

    (Click Image to Enlarge)


    Step 8:
    Turn the pumpkin right side out, press it and top stitch around the outside of the pumpkin to close the turning area.


    Step 9:
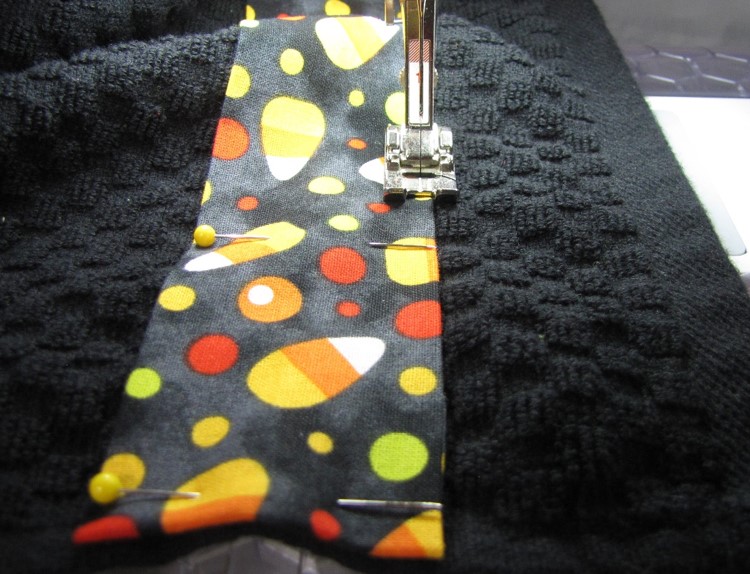
    Following the manufacturer’s instructions, use the bias tape maker to make the trim using the holiday fabric for the bottom of the towel. If you desire, you can also use purchased trim.

    Place the trim as desired and pin into place. Stitch on the regular sewing machine.

    (Click Image to Enlarge)


    Step 10:
    Well done! You are now ready display the cute pumpkin topper for everyone to enjoy!

    (Click Image to Enlarge)

    Meet the Author: Martha Montgomery
    Martha Montgomery
    Martha has been sewing since childhood. She is a maker of garments, quilter and machine embroiderer. Martha loves all things fabric and fabric-related.
    More From This Author
    Link is Broken, Please check the URL
    Exclusive Embroidery Offers!
    Copyright © {{ currentDate | date:'yyyy'}} - EmbroideryDesigns.com
    GET 50% OFF! ×