














































PROJECT INSTRUCTIONS


PROJECT INSTRUCTIONS
Halloween Table Luminaries Embroidery Project
By
Linda Mills
on
September 04, 2019
Description
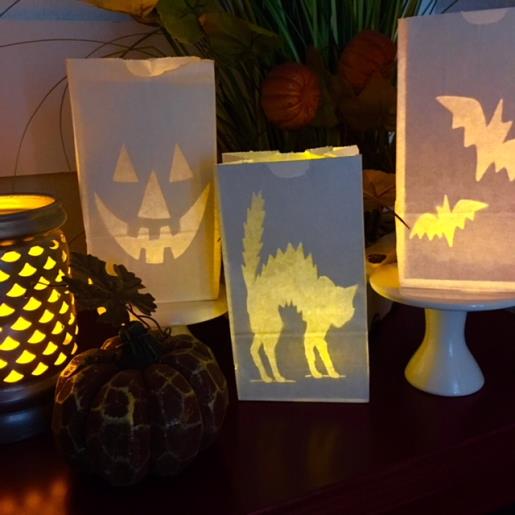
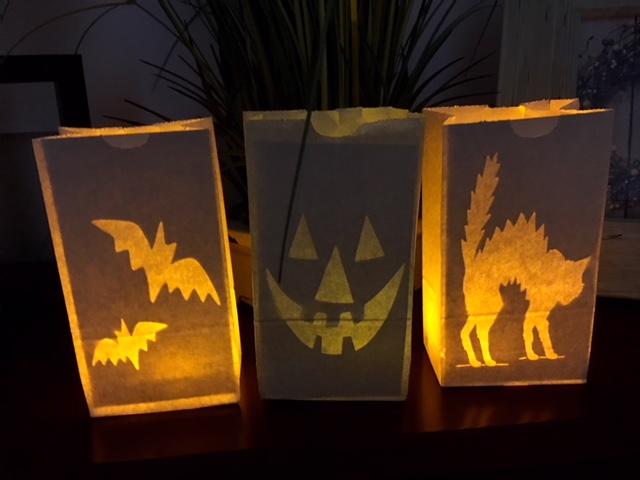
Create spooky luminaries to enhance your Halloween table décor. These simple and budget-friendly luminaries add a festive touch to welcome Trick or Treaters. Step-by-step instructions are included.
Step
of
Materials
Project Preview Video

QUICK VIEW
Halloween Black Cat Silhouette
$2.99
Circle Price: $0.00

QUICK VIEW
Red Eye Bats
$2.99
Circle Price: $2.24

QUICK VIEW
Jack-O-Lantern Face
$2.99
Circle Price: $2.69

Cut Away Stabilizer - 2.5 Oz wt.
$8.94
Circle Price: $8.05

Cut Away Stabilizer - 2 oz wt.
$8.52
Circle Price: $7.67



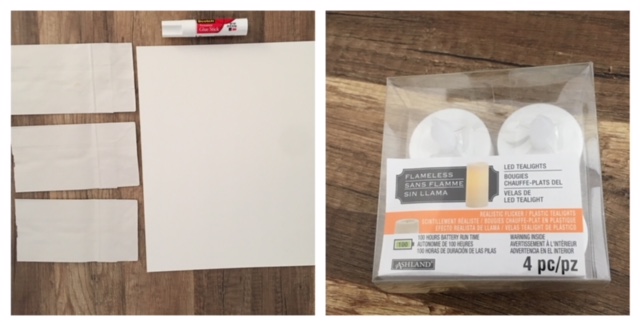
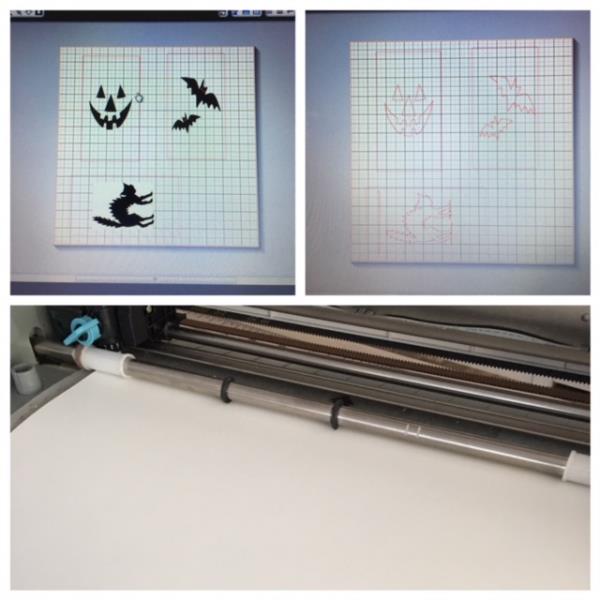
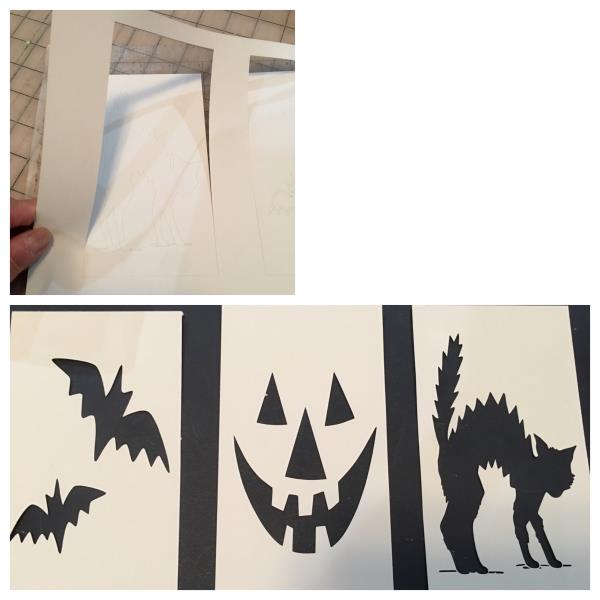
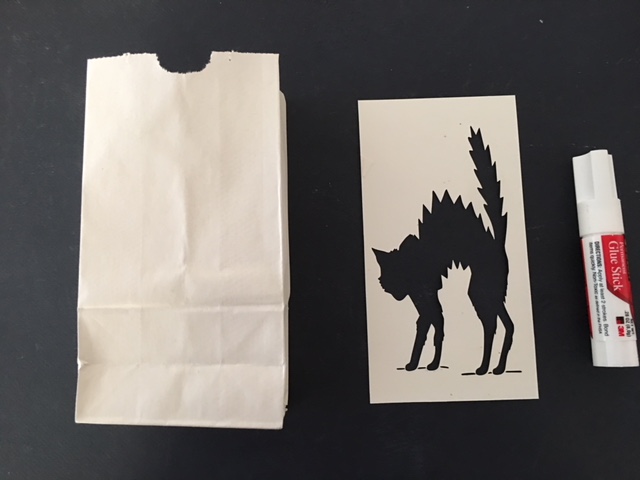
| Materials 12” X 12” WHITE CARDSTOCK (3) WHITE PAPER BAGS ( SMALL 3 ½”X 6 ½”) GLUE STICK CUTTING MACHINE (SILHOUETTE CAMEO, CRICUT ) (3) TEALIGHTS ( Battery Operated) |
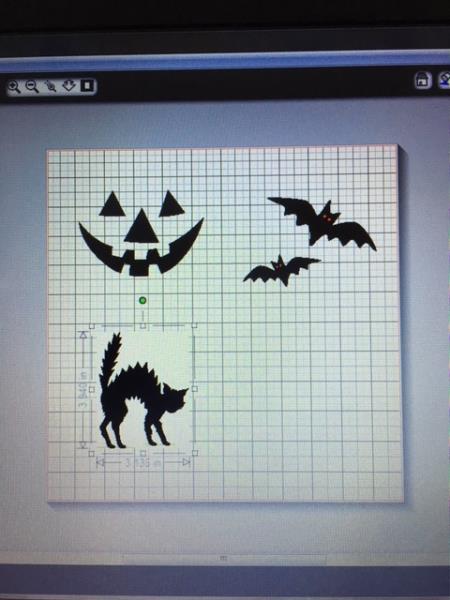
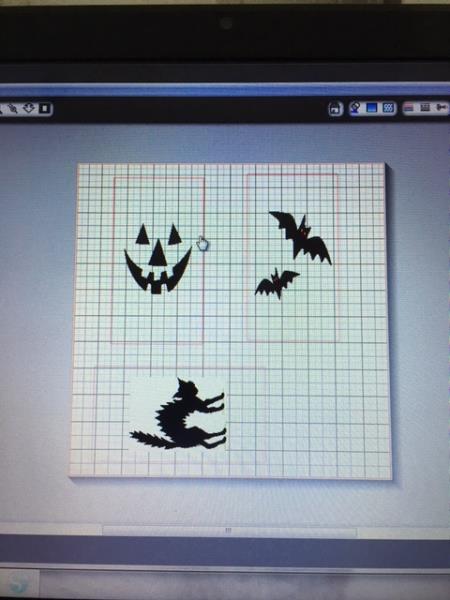
| Designs used in this project |
| Final Product: What You Will Create |
 |
|
Projects You May Like
Meet the Author:
Linda Mills

Linda loves to create by sharing her different sewing and machine embroidery techniques so others can utilize their machines to the fullest
Feedback
Characters Remaining
Please Login to Submit a Feedback
Invalid Characters, Please enter a valid Comment
Please enter a valid Comment
Reviewed On
Link is Broken, Please check the URL