Border OptionsHugging border, circle, square, or rectangle — with a 3mm satin stitch.
Backing OptionsAvailable with iron-on, sew-on, or velcro backing.
Fast ShippingShipped quickly from the USA.
Free Online Tools
Powerful embroidery utilities that save time and prevent costly mistakes.
Stitch AssistantRECOMMENDED
Get the exact stabilizer, machine settings, needle, and thread color sequence for every embroidery design you purchase — based on that design's stitch density, dimensions, and color count.
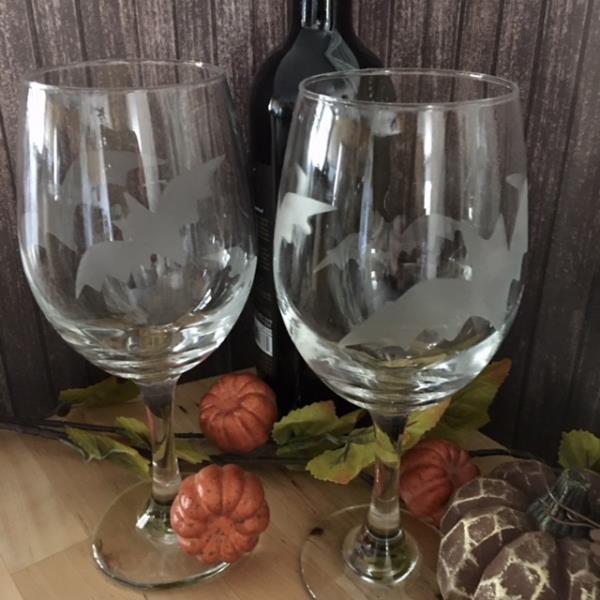
Transform ordinary wine glasses into stunning Halloween-themed etched showpieces. Perfect for adding a spooky touch to your table setting or as a unique gift idea. Step-by-step instructions are included.
An easy project tutorial and a great way to use up all those adhesive vinyl pieces by creating Halloween themed stencils using Print Art/SVG designs, placing the created stencil onto your glass, apply the etching cream then wait approx 5 minutes, wash off and see the magic happen!
Step 1:
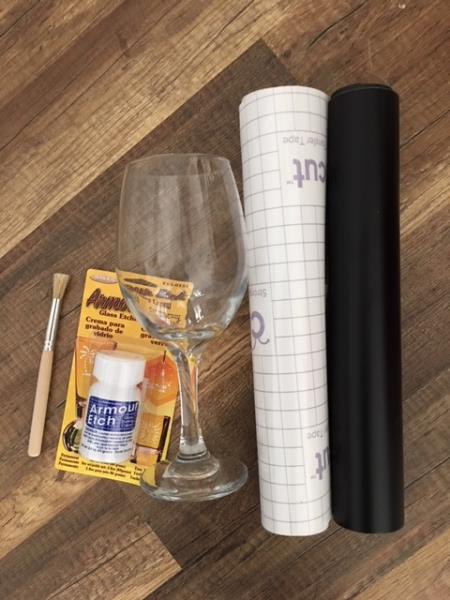
Gather all the materials and review instructions before beginning.
* BASIC KNOWLEDGE OF CUTTING MACHINE AND HOW TO PREPARE VINYL FOR STENCIL IS NEEDED.
(Click Image to Enlarge)
Step 2:
Prep your wine glass by washing with soap and water or with rubbing alcohol to remove any dirt or grease.
Step 3:
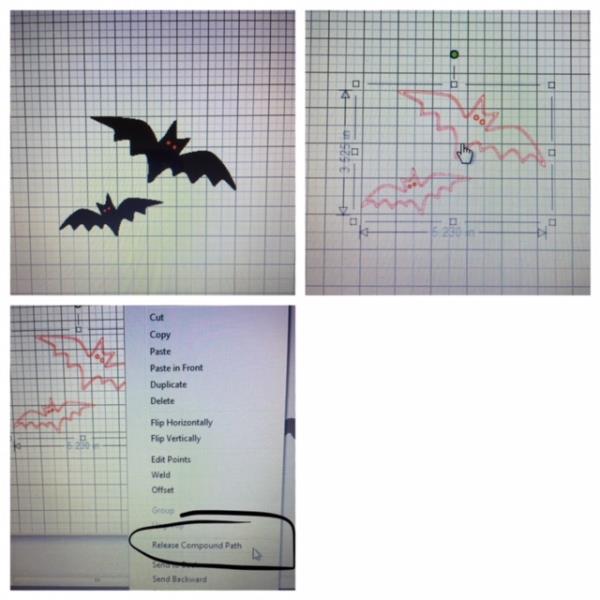
Bring in your Red Eye Bats SVG/Print Art design into your cutting machine software program . Trace, cut, resize design to approx.3.525” x 5.230”. Ungroup design by using the “release compound path”.
(Click Image to Enlarge)
Step 4:
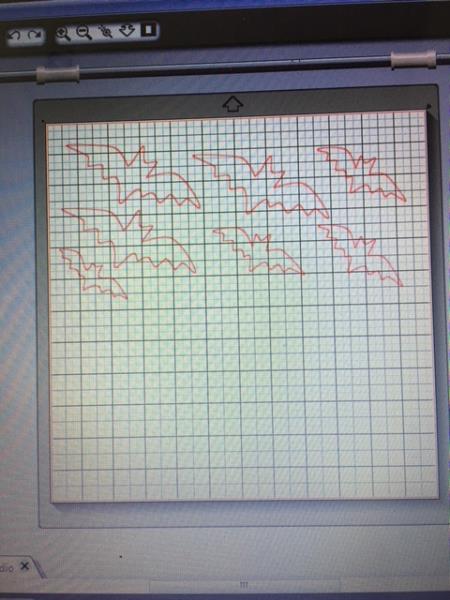
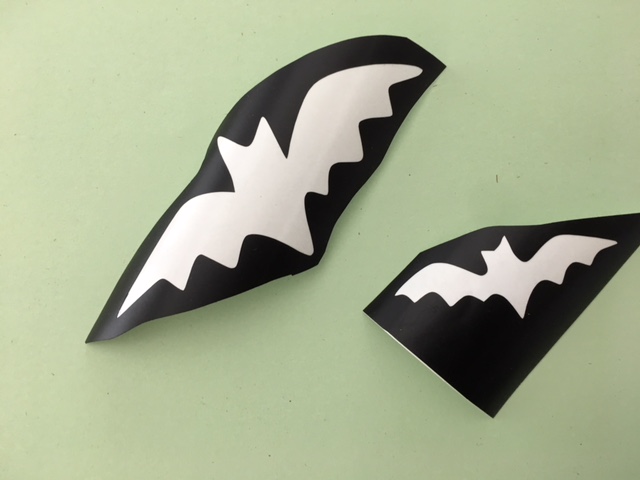
Edit the design by cropping out the eyes and creating individual bats for stencils. (In this tutorial one large bat and two smaller bats were used for the size of the wine glass) . Create as many as you would like that will fit on your glass.
(Click Image to Enlarge)
Step 5:
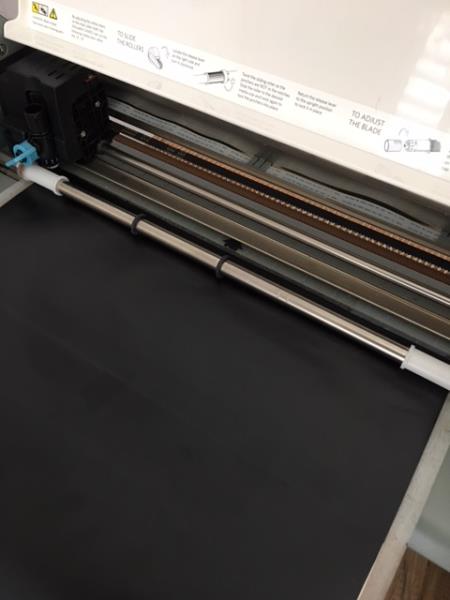
PER YOUR CUTTING MACHINES INSTRUCTIONS: Prepare your adhesive vinyl for cutting. Load your vinyl into your cutting machine. Cut design.
(Click Image to Enlarge)
Step 6:
Weed each bat design for a stencil. *WEEDING VINYL IS THE PROCESS OF REMOVING THE UNWANTED VINYL FROM YOUR CUT DESIGN.
(Click Image to Enlarge)
Step 7:
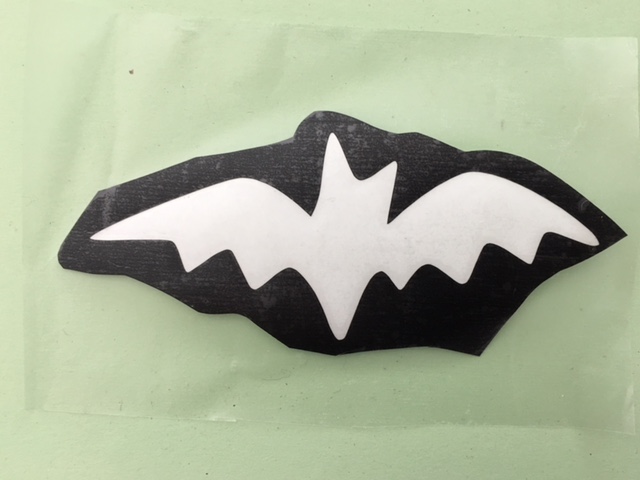
Cut an over-sized piece of transfer paper to cover each individual bat designs. Apply transfer paper per manufacturer’s instructions on top of each of your weeded stencils.
(Click Image to Enlarge)
Step 8:
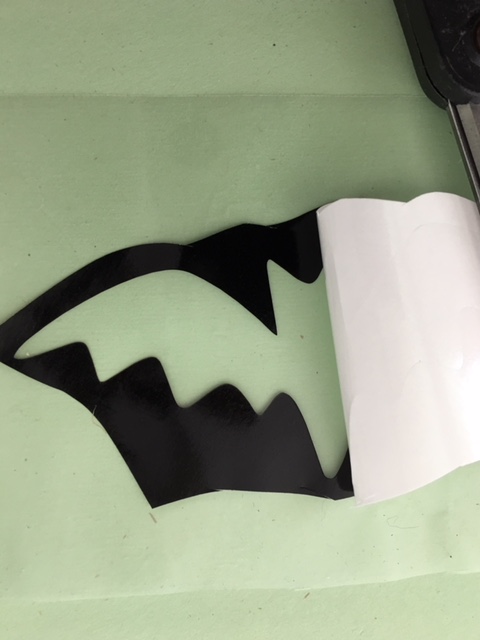
Remove adhesive from the back of your larger bat design.
(Click Image to Enlarge)
Step 9:
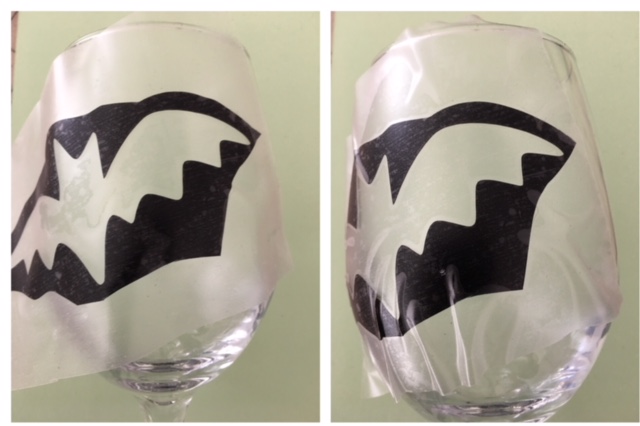
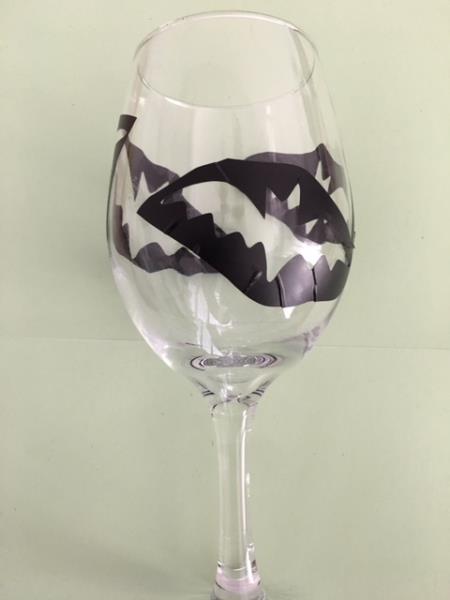
Position stencil onto your wine glass. Fingertip press down to secure. Smooth out as many of the air bubbles as your can.
(Click Image to Enlarge)
Step 10:
Remove transfer paper. Repeat steps 8 and 9 to apply the next two smaller bats. Position the smaller bats per your discretion based on the size of your glass.
(Click Image to Enlarge)
Step 11:
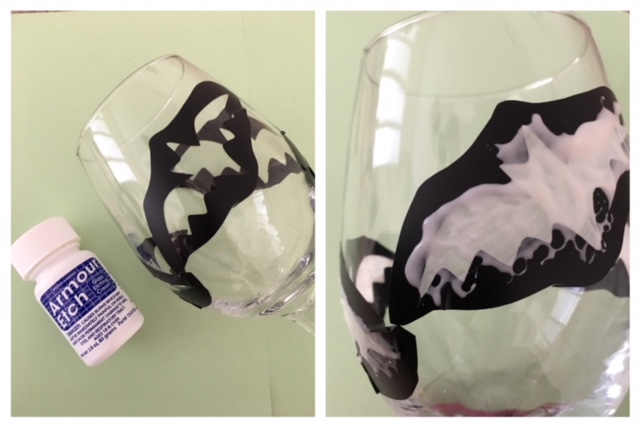
Put on your rubber gloves and apply a liberal amount of etching cream to the open area of your stencils. Leave on for at least 5 minutes.
(Click Image to Enlarge)
Step 12:
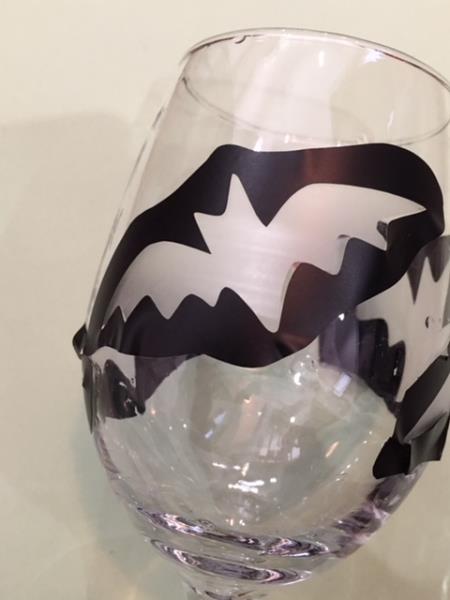
Wash off etching cream.
(Click Image to Enlarge)
Step 13:
Remove the stencil …. And viola your etched wine glass is complete! Repeat steps to complete your set of glasses! Mix and match your set by using other SVG/Print art designs!