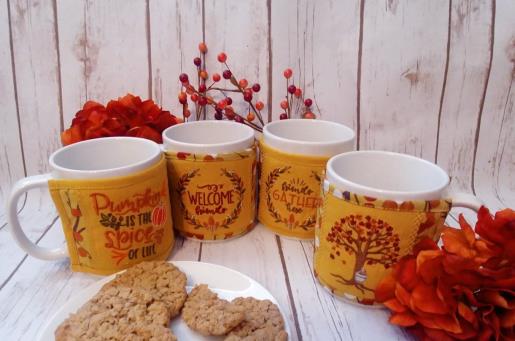
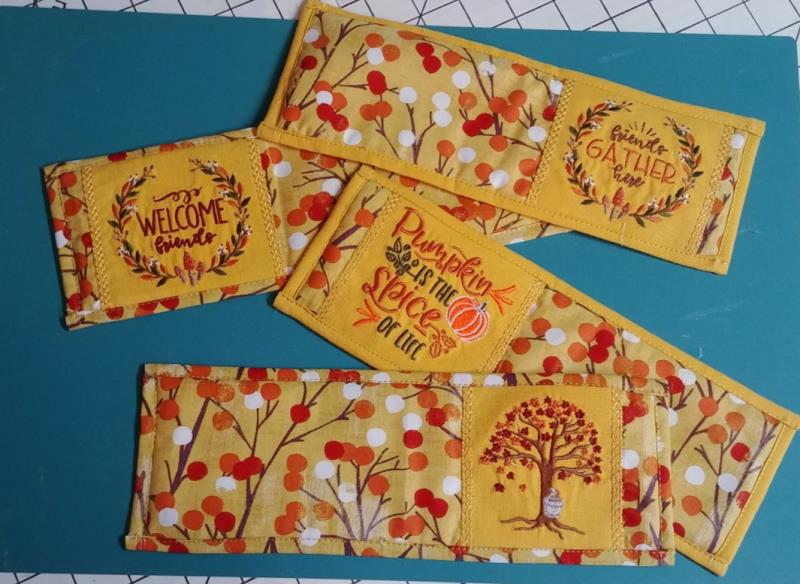
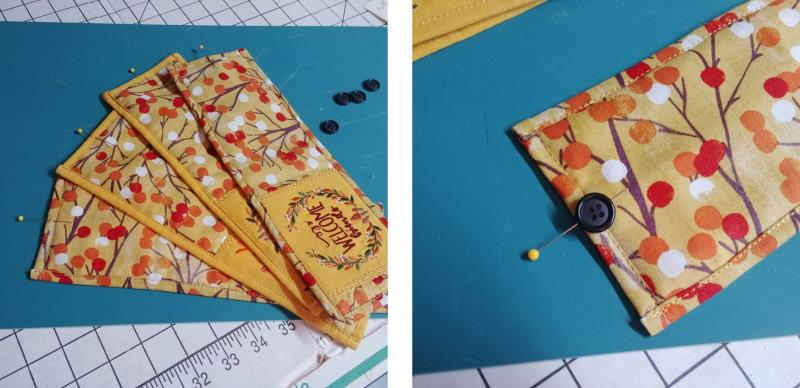
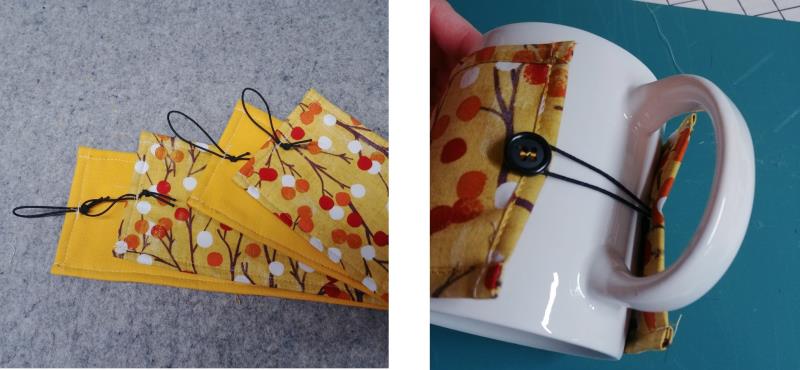
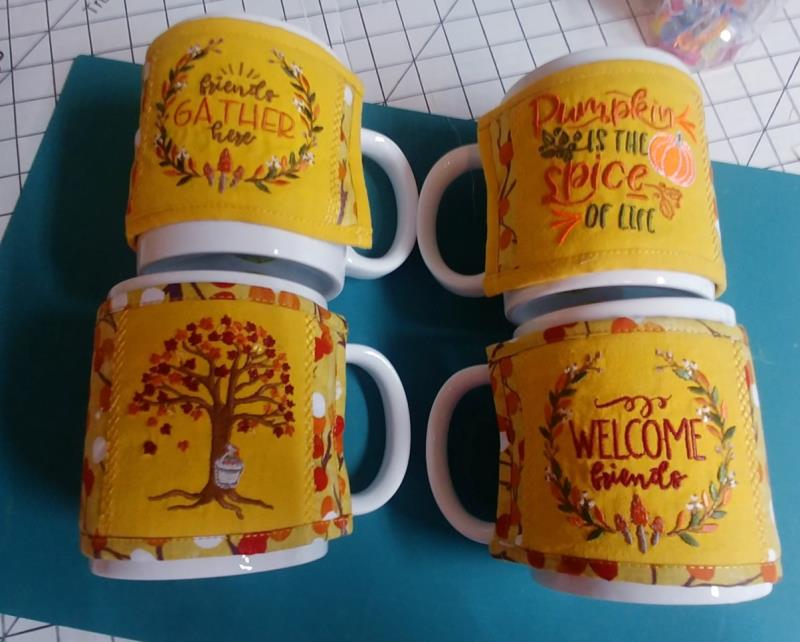
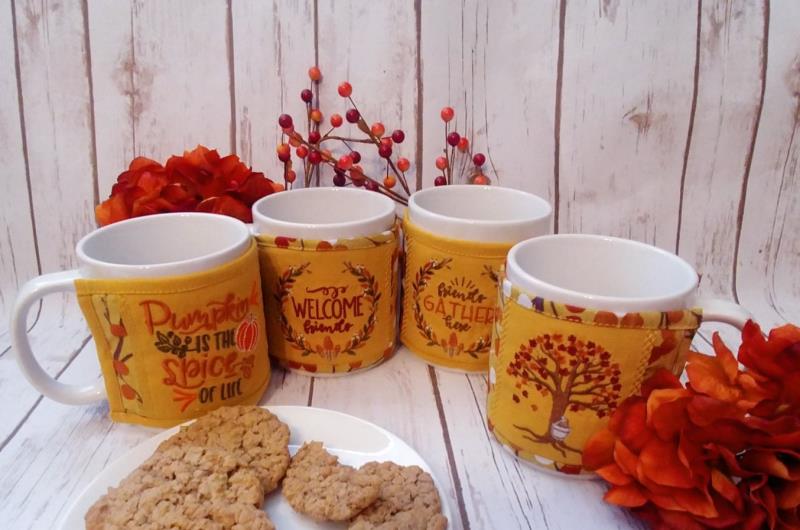
Four large mugs are wrapped in embroidered fabric, sandwiching batting, and fastening with a button and a narrow elastic.
Step 1:
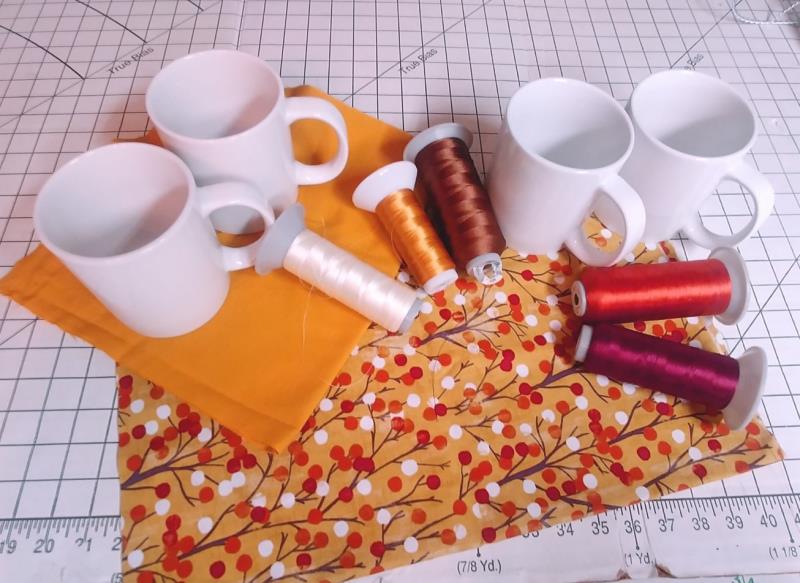
Read through the instructions thoroughly before beginning and assemble all the materials needed to complete the project. The sizes given are for 19 oz. straight side mugs. If different sized mugs are used, adjust the measurements for cutting the fabric and stitching the design to fit.
(Click Image to Enlarge)
Step 2:
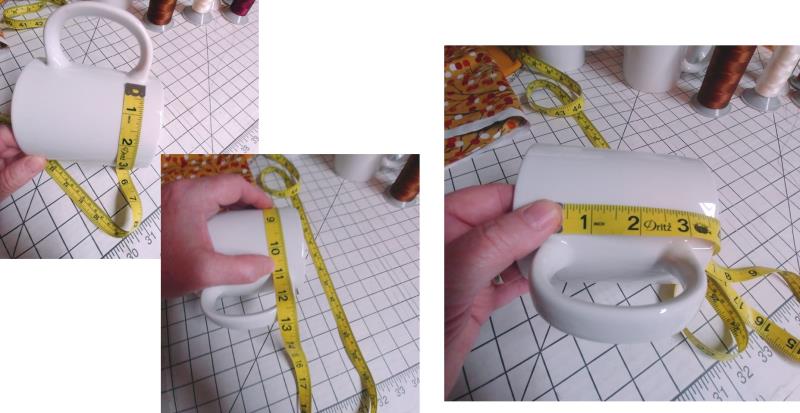
Measure around the mug from one side of the handle to the other to know how long to cut the wrap fronts and backs. Also measure the height so you know how wide to cut the wrap pieces and know how tall to make the design.
(Click Image to Enlarge)
Step 3:
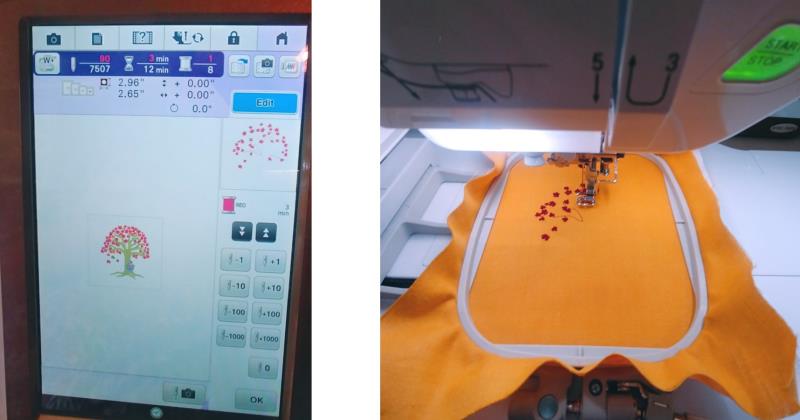
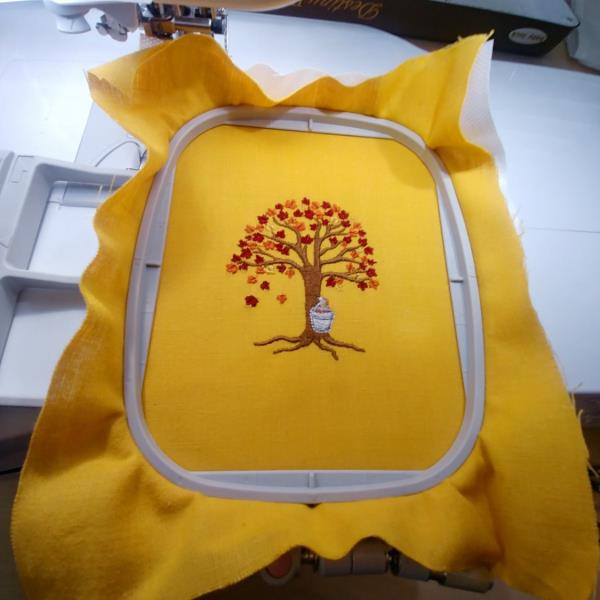
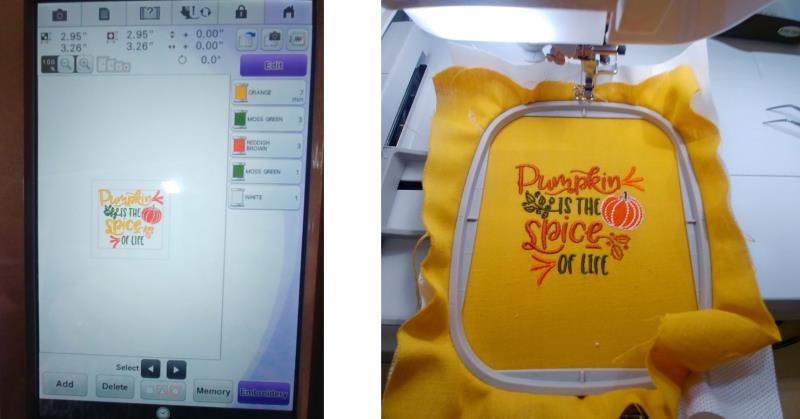
For the mugs used in the project, the maximum height for the designs could be 2.96”. The designs chosen for the project were small, so only a small percentage of reduction was needed. If the designs need to be reduced for the mugs you have chosen, be sure not to reduce the designs any more than 10%. Hoop the chosen fabric with one layer of tearaway stabilizer and stitch the design following the color sequence using the chosen thread colors.
(Click Image to Enlarge)
Step 4:
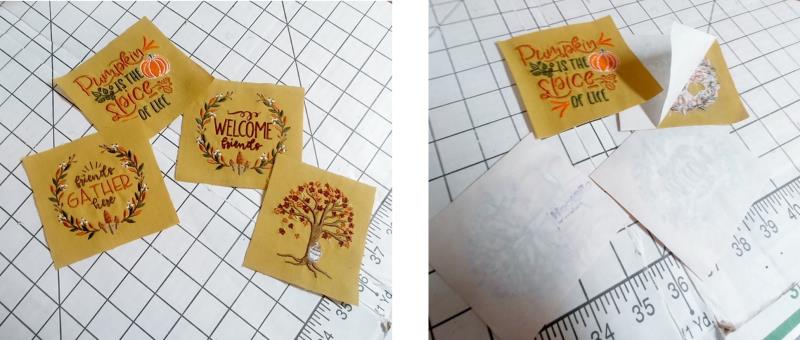
After the design finishes stitching, remove the fabric from the hoop; tear away the excess stabilizer.
(Click Image to Enlarge)
Step 5:
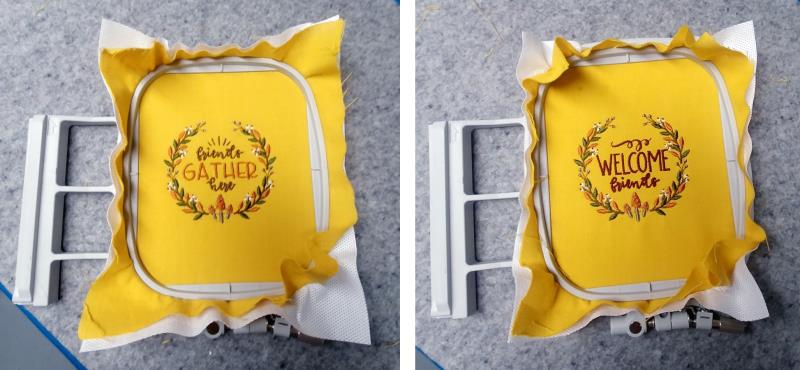
Continue hooping fabric and stitching the remaining three designs, reducing the designs before stitching.
(Click Image to Enlarge)
Step 6:
The embroidery colors are so pretty against the gold fabric.
(Click Image to Enlarge)
Step 7:
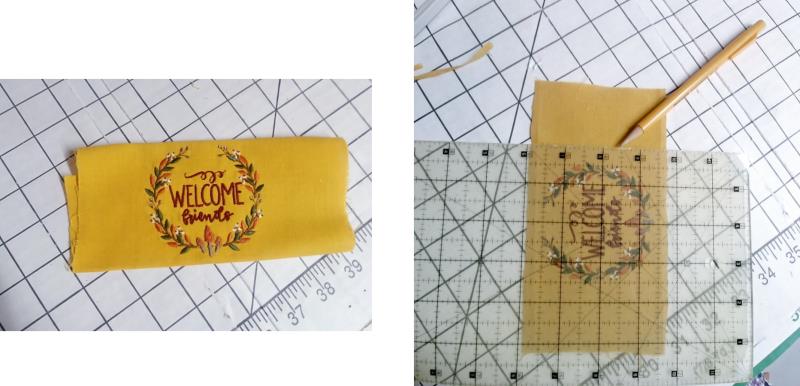
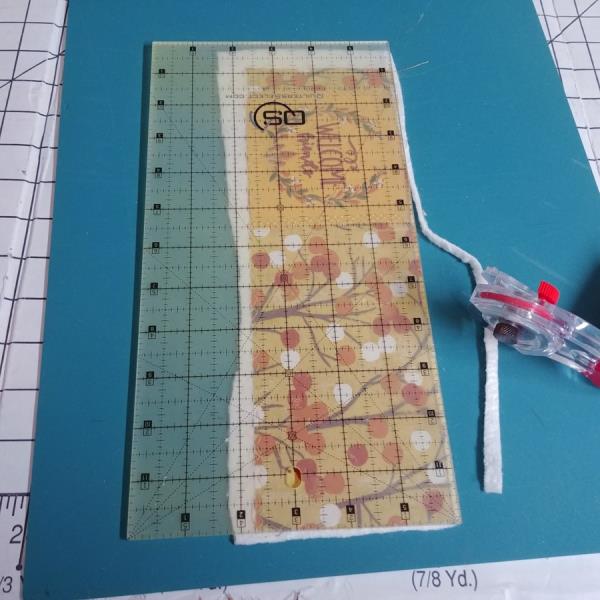
Trim the fabric from around each design. Using a ruler, square up the embroidered fabric pieces so the cut edge is 3/8” beyond the outer most edge of the design on each side edge, and centered up and down, 3 ¾”. This allows for ¼” seam and a small edge around the embroidered design.
(Click Image to Enlarge)
Step 8:
Repeat for all pieces. Back each embroidered design with a piece of Heat ‘n Bond Lite.
(Click Image to Enlarge)
Step 9:
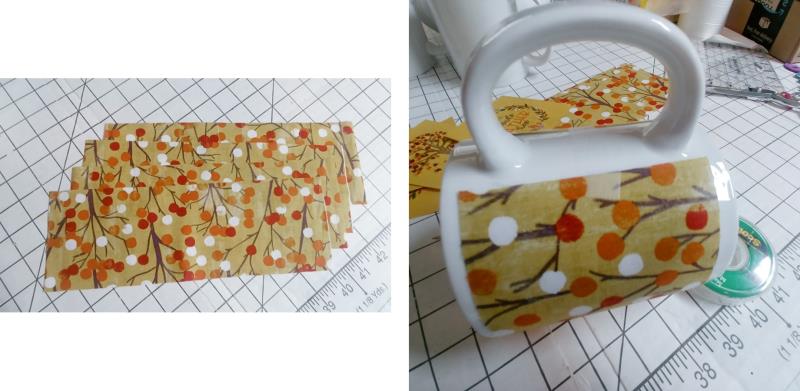
For each mug, wrap one piece of front wrap fabric around the mug and secure in place with tape.
(Click Image to Enlarge)
Step 10:
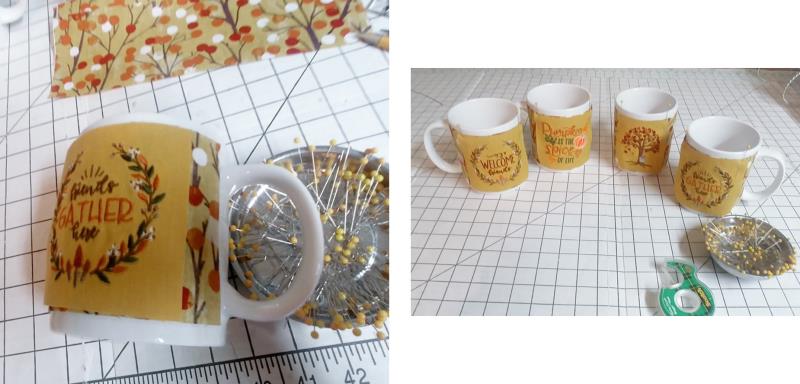
Decide how you would like each design placed on the mug and pin in place. The designs can face the person drinking from the mug, away from the person using the mug, centered on the mug—the choice is yours.
(Click Image to Enlarge)
Step 11:
Repeat for the remaining three designs and then remove the fabric from the mug.
(Click Image to Enlarge)
Step 12:
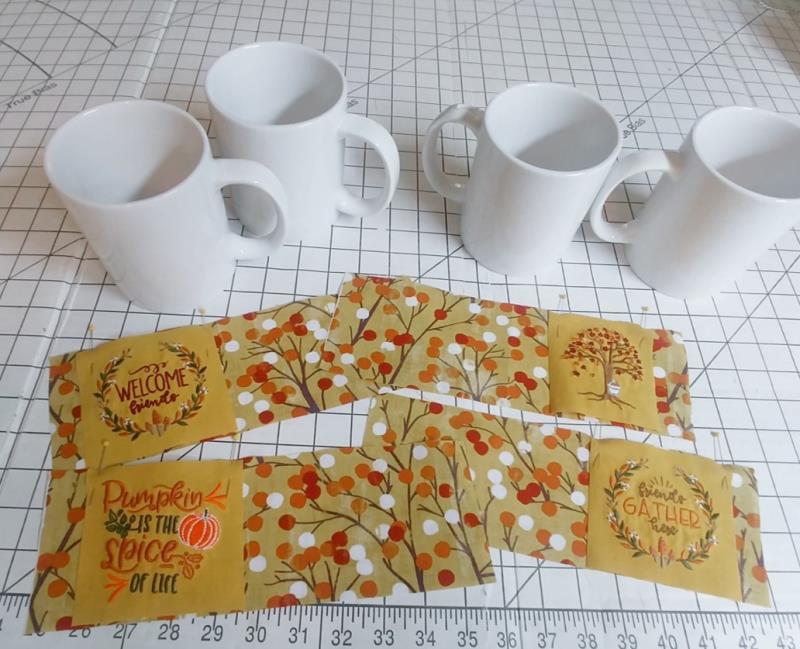
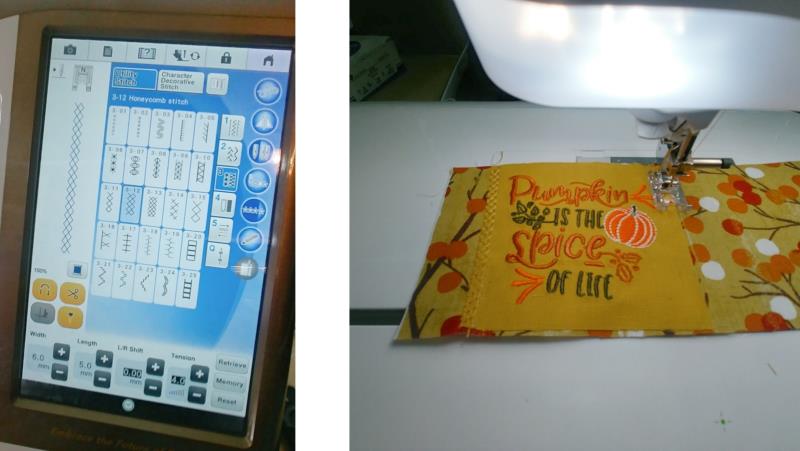
Using an embroidery thread color used in stitching the design, choose a decorative machine stitch to stitch the embroidered fabric to the wrap fabric. A cross stitch design was chosen for the project. Stitch down each side of the fabric. Repeat until all four designs are stitched down on each wrap.
(Click Image to Enlarge)
Step 13:
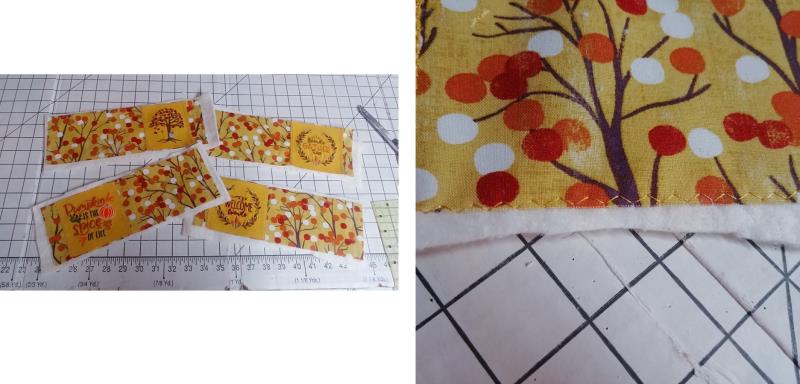
With right side up, place each wrap on top of one of the batting pieces and zig-zag the batting to the wrap. Use a small width and long length zig-zag. For the project. 2.5mm width and 4.0mm length was used.
(Click Image to Enlarge)
Step 14:
Trim the batting right next to the stitching line.
(Click Image to Enlarge)
Step 15:
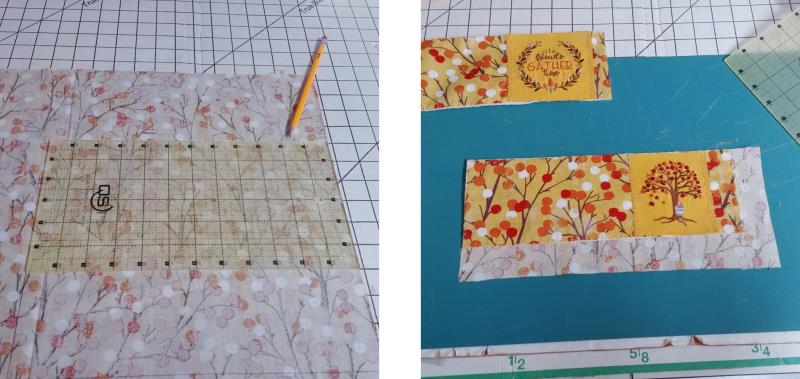
If you have not already done so, cut the back-wrap pieces; they are 1 ¼” larger than the wrap front pieces to accommodate the batting and fold to the front to form the bound edges.
(Click Image to Enlarge)
Step 16:
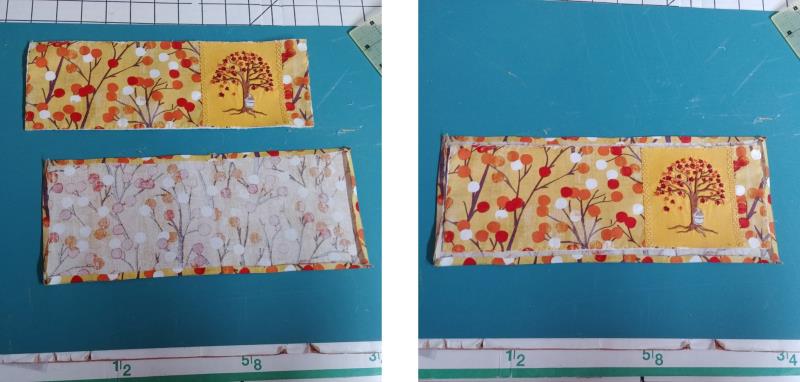
On each back-wrap piece, fold in each edge ¼” toward the wrong side of the fabric and press. Center a wrap front piece over the fabric back piece as shown.
(Click Image to Enlarge)
Step 17:
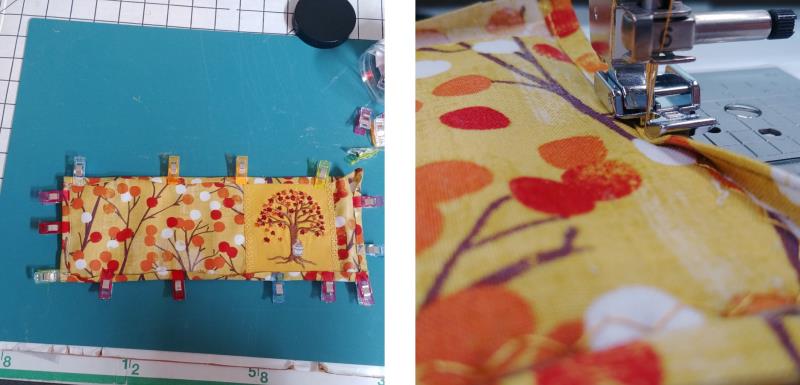
Fold over each back edge again, forming a bound edge over the wrap front piece. Using a zipper foot, stitch along the folded edge along all four sides through all layers.
(Click Image to Enlarge)
Step 18:
Repeat wrapping, each edge and stitching around the three remaining pieces.
(Click Image to Enlarge)
Step 19:
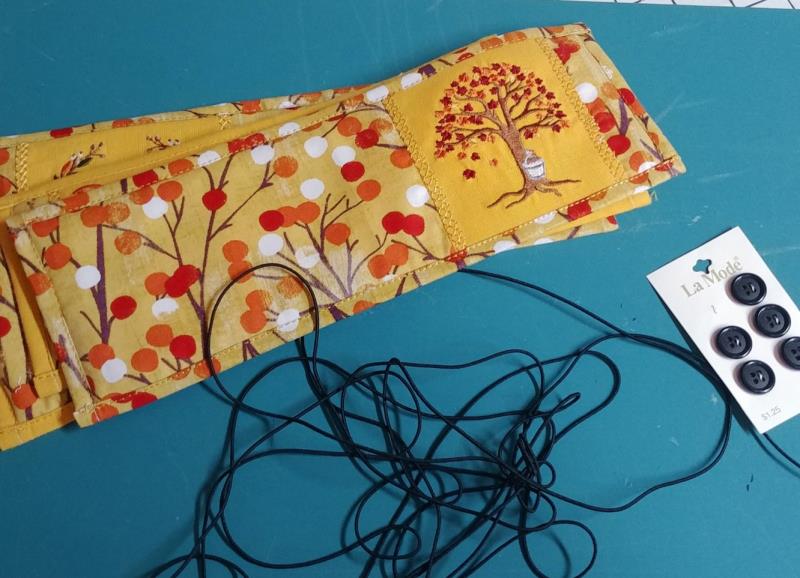
Buttons and small round elastic is used to fasten the wraps around the mug.
(Click Image to Enlarge)
Step 20:
Fold the short edge furthest away from the embroidery in half and place a pin to mark the center. Sew the button either by hand or machine at the pin; repeat for all four wraps.
(Click Image to Enlarge)
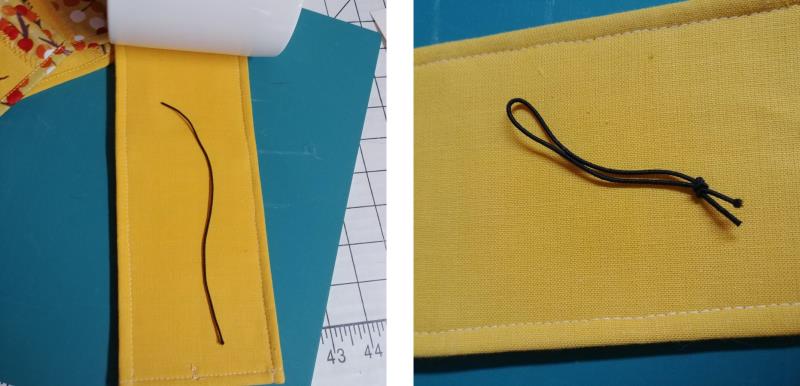
Step 21:
Cut the four pieces of elastic, fold in half, and tie the cut ends together.
(Click Image to Enlarge)
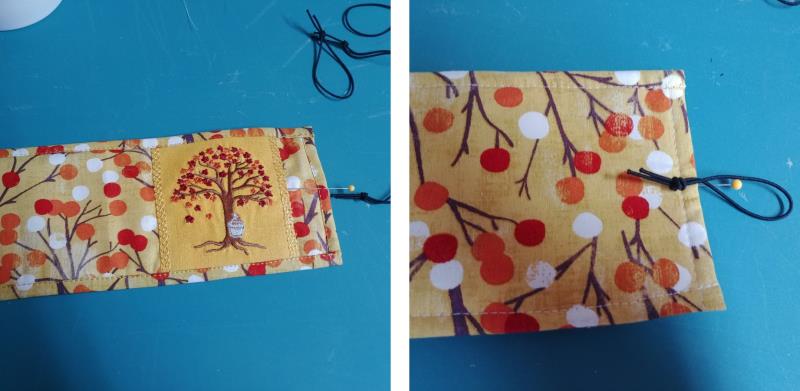
Step 22:
Place the elastic at the center back of the other short end and pin in place.
(Click Image to Enlarge)
Step 23:
Stitch the elastic in place by machine or hand. Wrap each mug with a wrap and fasten the elastic around the button to hold the wrap in place.
(Click Image to Enlarge)
Step 24:
These mug wraps will be a welcome gift set, or individual mug to greet a friend for morning coffee.
(Click Image to Enlarge)
Step 25:
Add a few cookies, some good conversation and enjoy a morning with friends using your newly created Friendship Mug Wraps.
Ramona Baird has been in the embroidery industry for over 23 years. She and her husband owned a commercial and retail embroidery store in Arizona for many years. She is an experienced digitizer having been mentored by award-winners Pat Williams and Lindee Goodall. Ramona is a contributor to “Creative Machine Embroidery” magazine having 5 covers to her credit. Ramona has worked for Wilcom America and served many years as Education Director for the American Sewing Guild. With a degree in fashion design, she is able to design and execute patterns which Pat Williams says are “out of the box” in creativity and application. Ramona likes to challenge the boundaries of embroidery and bring new and exciting designs, ideas, and projects to EmbroideryDesigns.com. She wants embroiderers of all levels to increase their skills and enjoyment in using their embroidery machine for gift-making and personal pleasure.