














































PROJECT INSTRUCTIONS
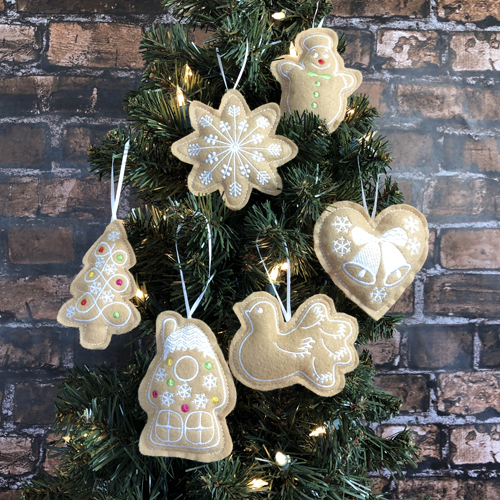


PROJECT INSTRUCTIONS

ITH Stuffed Christmas Cookie Ornaments Embroidery Project
By
Pat Williams
on
August 14, 2019
Description
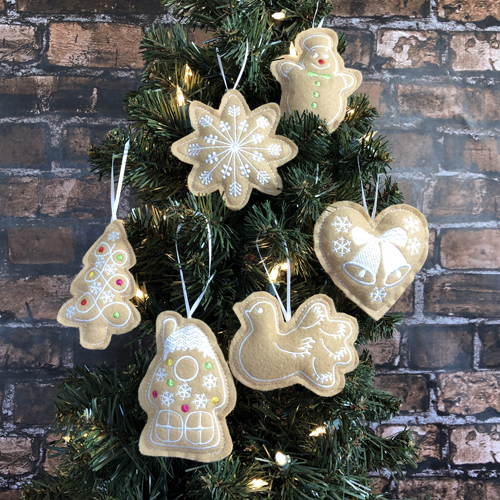
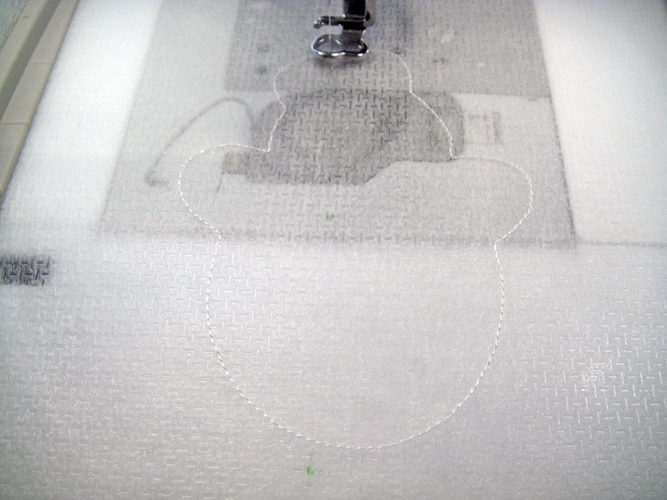
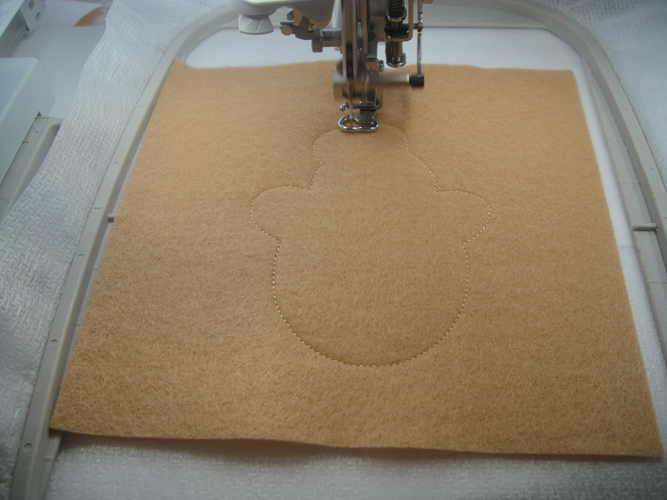
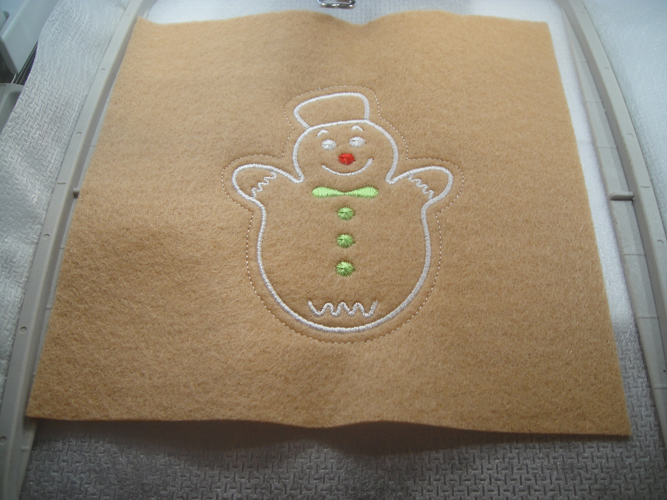
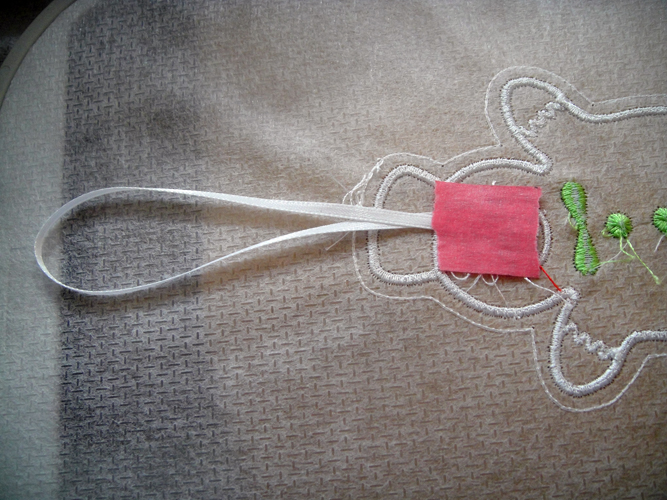
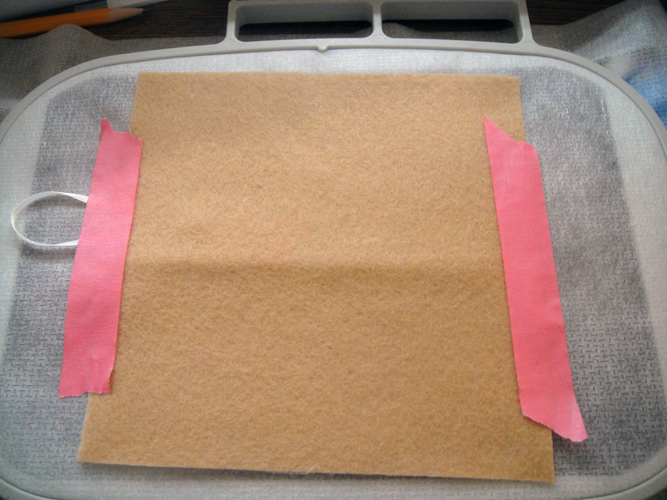
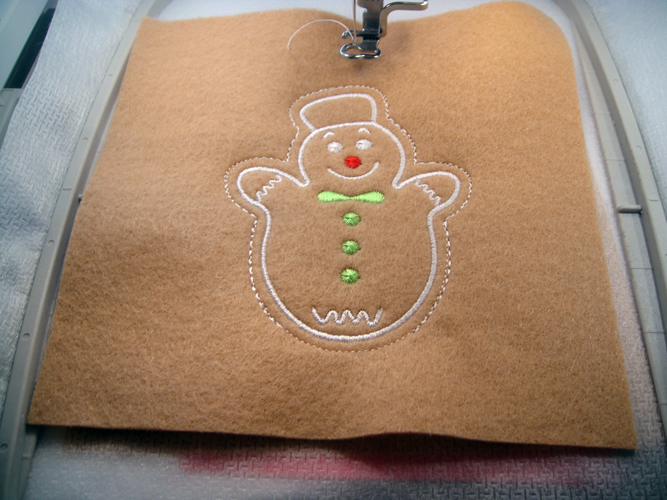
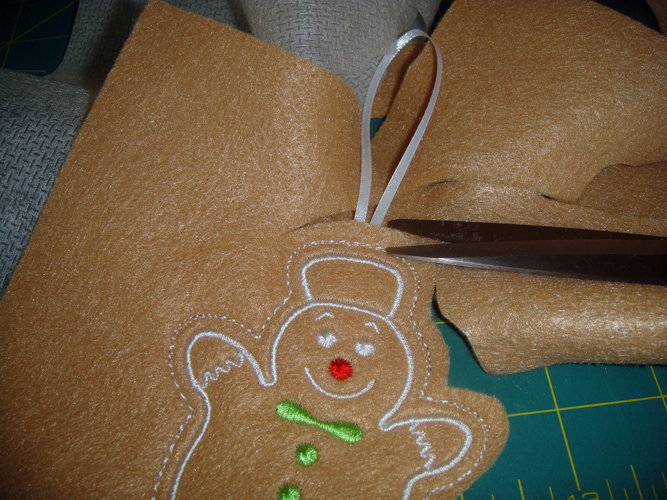
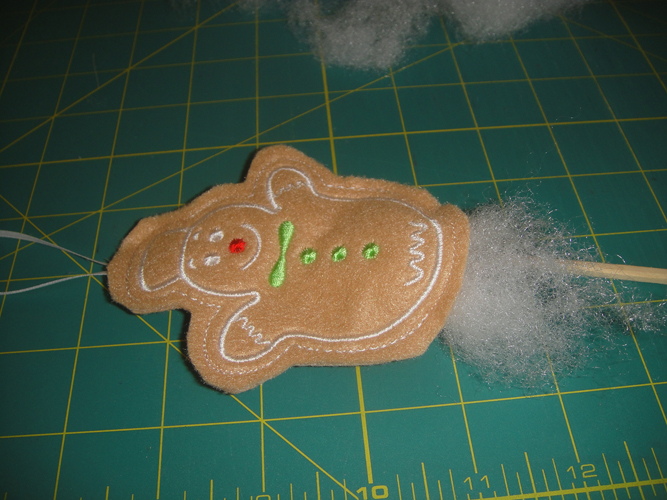
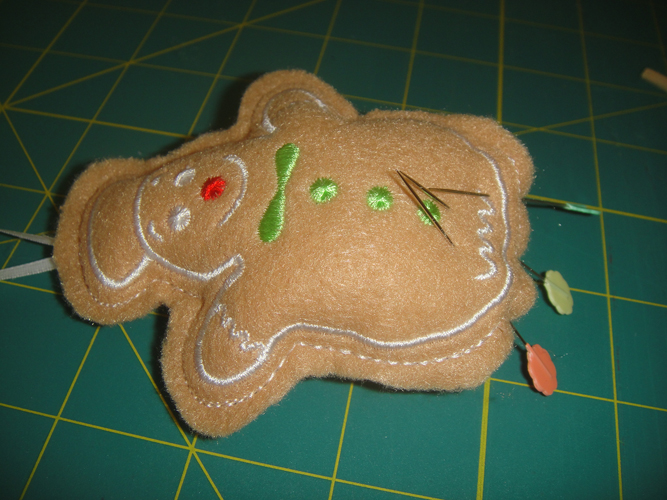
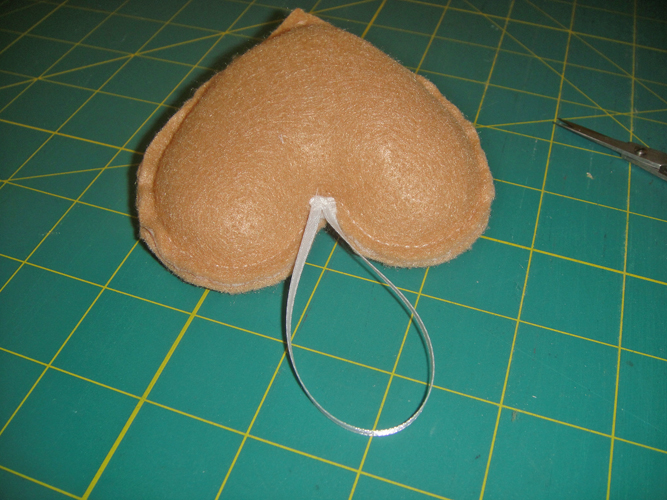
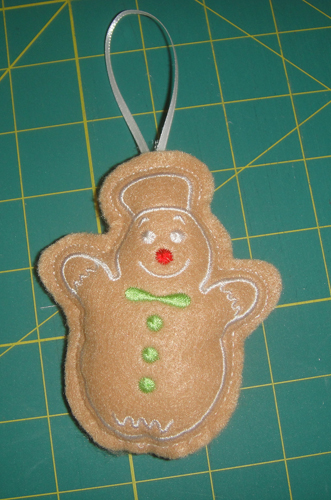
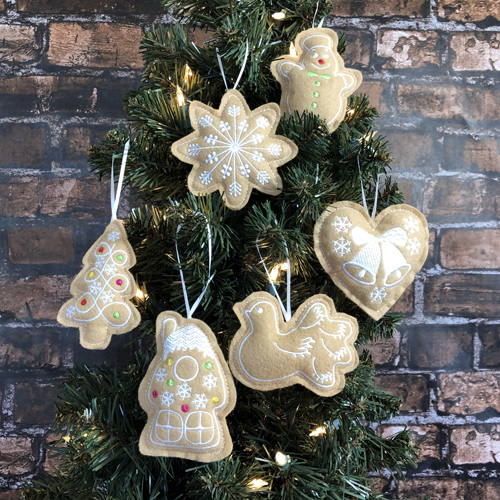
These felt Christmas cookie ornaments are so easy to stitch up. They are made in the hoop then stuffed. The small opening is closed by hand. This is a great way to create ornaments that the smallest children can safely hang on the tree.
Step
of
Materials
Project Preview Video

QUICK VIEW
ITH Gingerbread Holiday Embroidery Designs Bundle – Gingerbread Man, Dove, Heart, Bell & More (6 Designs)
$35.00
$21.00
Circle Price: $21.00

QUICK VIEW
ITH Stuffed Ornament Dove
$11.99
$6.00
Circle Price: $5.85

QUICK VIEW
ITH Stuffed Ornament Snowman
$11.99
$6.00
Circle Price: $5.85

QUICK VIEW
ITH Stuffed Ornament Heart
$11.99
$6.00
Circle Price: $5.85

QUICK VIEW
ITH Stuffed Ornament House
$11.99
$6.00
Circle Price: $5.85

QUICK VIEW
ITH Stuffed Ornament Snowflake
$11.99
$6.00
Circle Price: $5.85

QUICK VIEW
ITH Stuffed Ornament Tree
$11.99
$6.00
Circle Price: $5.85

QUICK VIEW
Cut Away Stabilizer - 2.5 Oz wt.
$8.94
Circle Price: $8.05
{{ item.name }}
{{ item.listPriceDisplay }}{{ item.salePriceDisplay }}
Circle Price:
{{ item.clubPriceDisplay }}


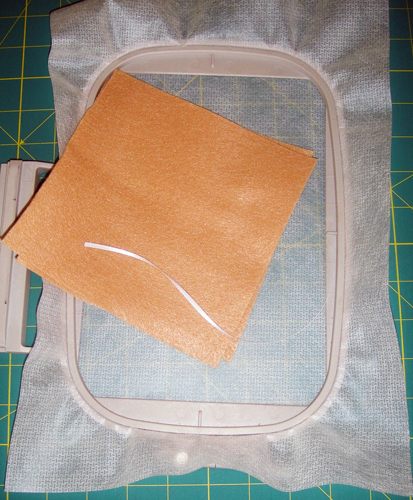
| Materials 4” x 4” embroidery hoop ½ yard of 60” wide quality felt No Show Stabilizer for 6 hoopings 1/8” White Satin or Grosgrain ribbon Chop stick or other blunt tool to assist in stuffing Polyester Fiber Fill White sewing thread and a hand needle Embroidery Tape Spray Adhesive |
| Designs used in this project |
| Final Product: What You Will Create |
 |
|
| For the love of embroidery… Pat Williams |
Projects You May Like
Meet the Author:
Pat Williams

Award winning Digitizer, Embroidery Educator, Author and a Consultant to the Industry, Pat Williams has 30 years of experience in the embroidery industry. Pat has won multiple awards for her digitizing expertise including the 2007 Impressions Awards Grand Championship, Best of Show as well as the 1st and 2nd Place Awards. Pat’s love of digitizing has afforded her the opportunity to write numerous articles for Impressions magazine in the United States and Images Magazine in Europe. In 2001 Pat was named “Embroidery Educator of the Year.” For many years Pat taught digitizing seminars at the ISS Shows in Long Beach, CA and for Compucon software. She now resides in Tucson, AZ.
Feedback
Characters Remaining
Please Login to Submit a Feedback
Invalid Characters, Please enter a valid Comment
Please enter a valid Comment
Reviewed On
Link is Broken, Please check the URL