Border OptionsHugging border, circle, square, or rectangle — with a 3mm satin stitch.
Backing OptionsAvailable with iron-on, sew-on, or velcro backing.
Fast ShippingShipped quickly from the USA.
Free Online Tools
Powerful embroidery utilities that save time and prevent costly mistakes.
Stitch AssistantRECOMMENDED
Get the exact stabilizer, machine settings, needle, and thread color sequence for every embroidery design you purchase — based on that design's stitch density, dimensions, and color count.
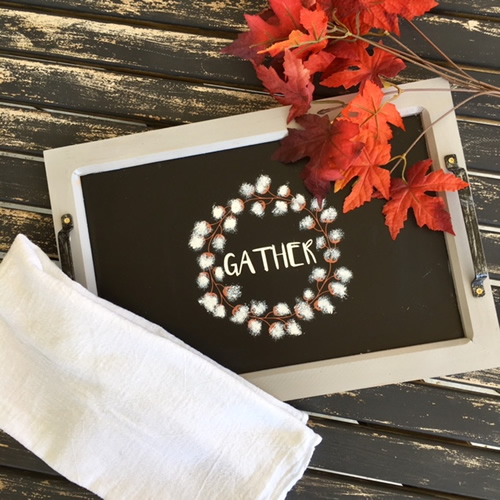
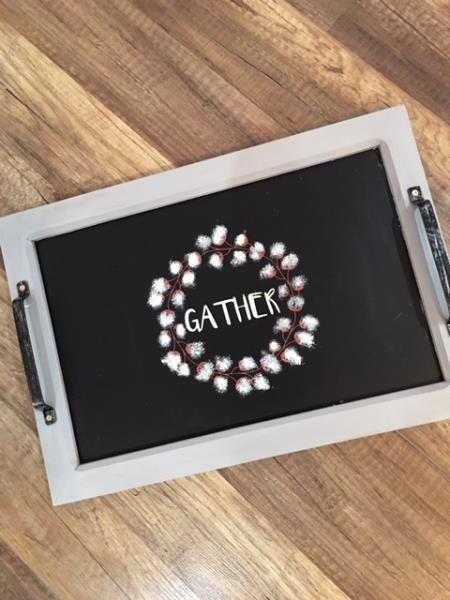
This decorative serving tray enhances your fall décor with a charming chalkboard design, perfect for gathering with family and friends. It adds a personal touch to your home while serving as a functional centerpiece. Step-by-step instructions are included.
Embellish a 16” x 11” purchased chalkboard serving tray using two SVG/Print Art designs incorporated into one. The cotton stem wreath design will frame the word “Gather” which you will create as one design cutout.
Step 1:
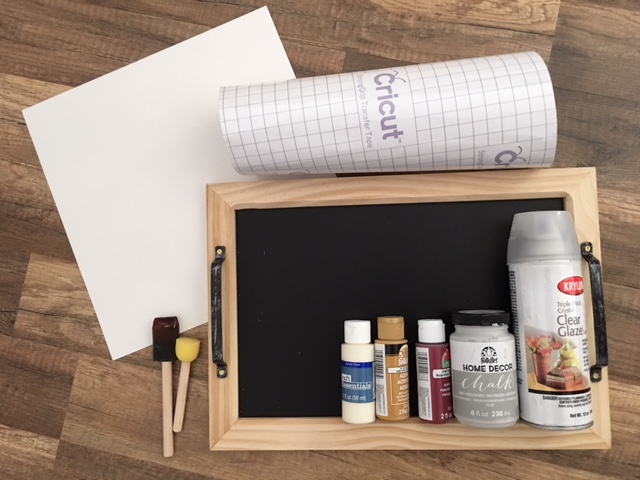
Gather all materials and review instructions before beginning.
* Basic knowledge of a cutting machine and how to prepare vinyl for stencil is required for this tutorial.
(Click Image to Enlarge)
Step 2:
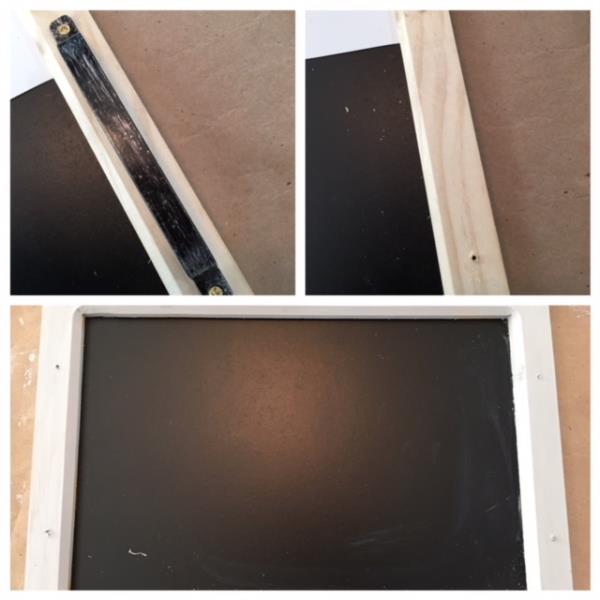
If you have chosen to leave your wooden frame natural you can skip this step and the next two steps.
Remove handle hardware from your framed serving tray and set aside.
(Click Image to Enlarge)
Step 3:
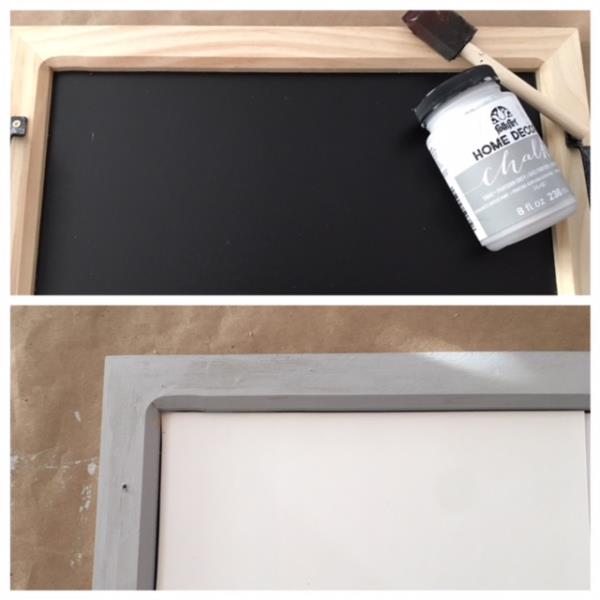
Paint the wooden framed area of your tray using your chalk paint. ( cover the chalk board area) let dry. Approx 10 – 15 min.
(Click Image to Enlarge)
Step 4:
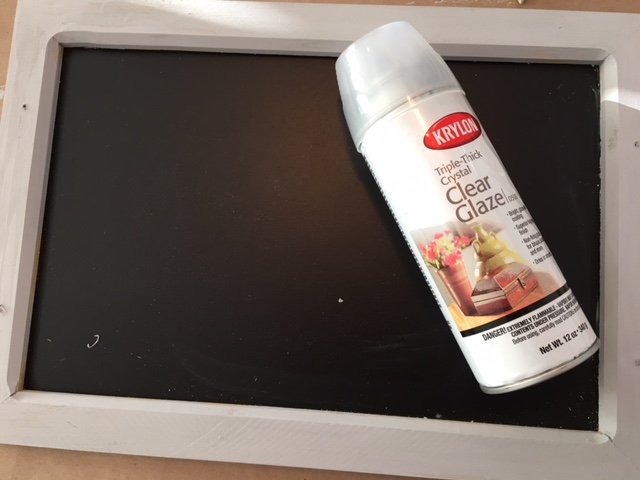
Lightly spray the clear glaze over the painted area. ( cover the chalk board area) let dry.
(Click Image to Enlarge)
Step 5:
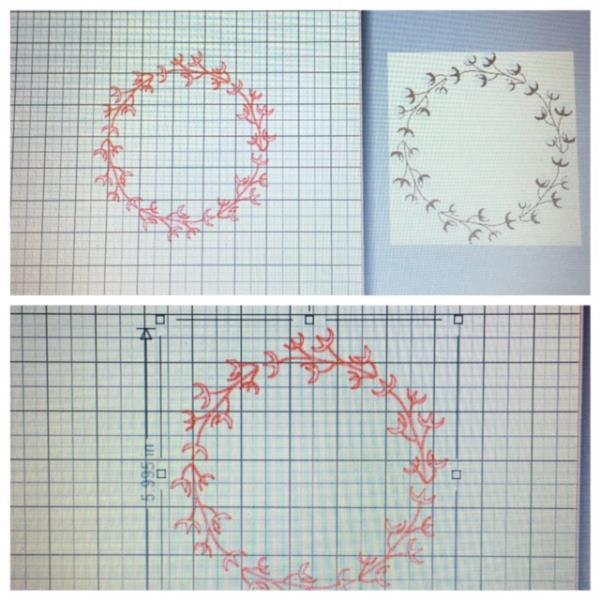
Bring into your cutting machine software program the Cotton Wreath SVG/Print Art design. Design size will be approx. 5.995” x 5.755” .
*For Silhouette Cameo owners/users: If your silhouette machine has not been updated to allow working with an SVG (cuttable) file.. You can work around this by downloading the print art design as a jpeg or png file. You will find instructions on how to work around to “cut” your design by reviewing step 4 of my Thanksgiving Themed Wood Art/SVG project tutorial.
(Click Image to Enlarge)
Step 6:
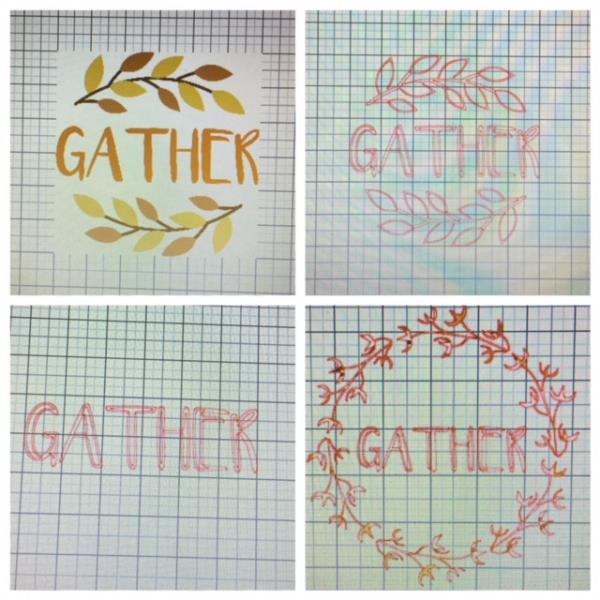
Now bring into your cutting machine software program the “Gather” SVG/Print Art design. Edit and delete the leaves from this design and incorporate the word “GATHER” into the Cotton Wreath design. Resize the word to fit.
(Click Image to Enlarge)
Step 7:
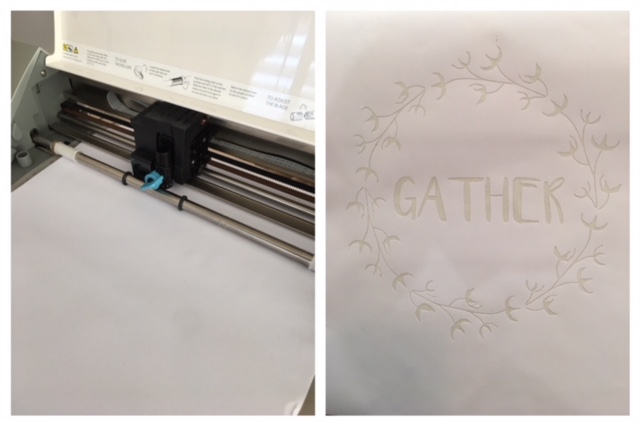
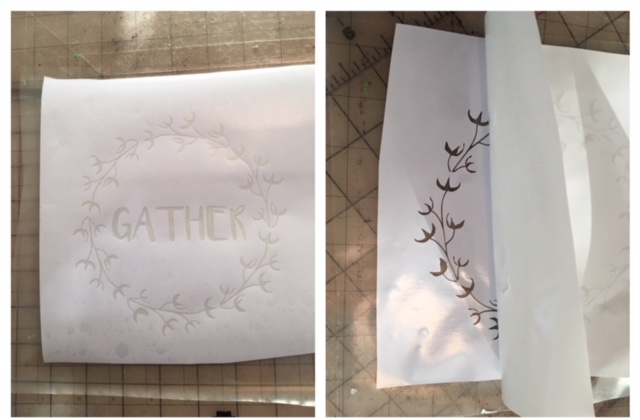
Prepare vinyl for cutting and cut your design. Weed design for stencil.
*WEEDING VINYL IS THE PROCESS OF REMOVING THE UNWANTED VINYL FROM YOUR CUT DESIGN)
(Click Image to Enlarge)
Step 8:
Cut a piece of transfer paper to cover your weeded design. Apply transfer paper per manufacturer’s instructions. Slowly remove adhesive backing paper from stencil.
(Click Image to Enlarge)
Step 9:
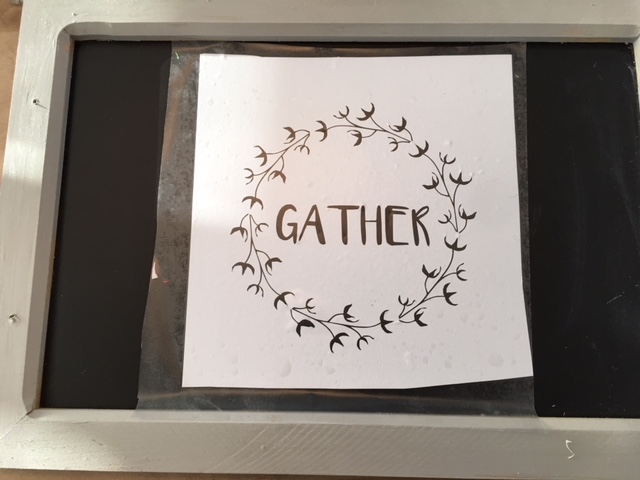
Center your stencil onto your serving tray. ( adhesive side down) When centered to your liking, fingertip press and smooth down onto tray to secure pushing out air bubbles as you go.
(Click Image to Enlarge)
Step 10:
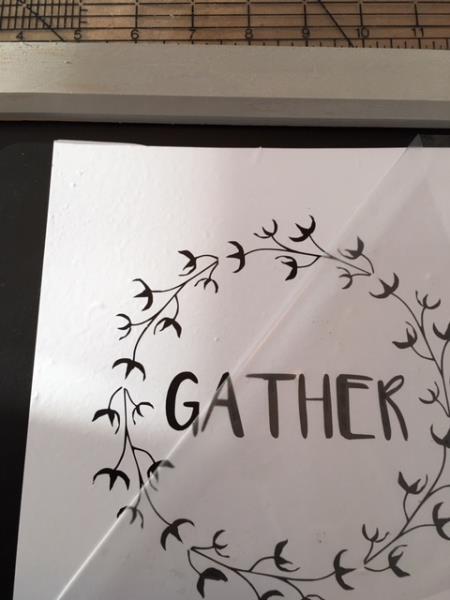
Slowly remove the transfer paper/tape
(Click Image to Enlarge)
Step 11:
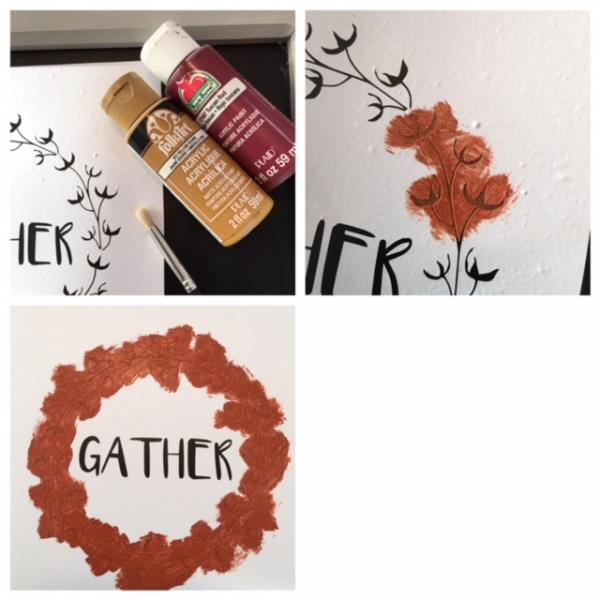
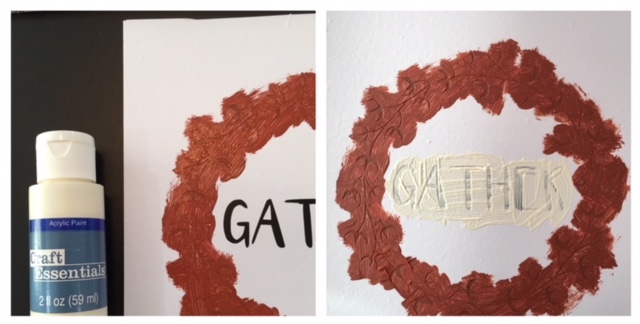
Select your paint colors for the wreath stemmed area. ( 2 colors were used and mixed in this tutorial) Begin painting by dabbing the paint onto the open (weeded) areas. Once you have covered all open areas allow paint to dry. If needed apply a 2nd coat .
(Click Image to Enlarge)
Step 12:
Paint the word “GATHER” using the white paint to cover the open ( weeded) areas. Allow to dry completely. Apply a second coat of paint if needed. ( I applied 3 coats of the white paint to the letters as the chalkboard kept showing through)
(Click Image to Enlarge)
Step 13:
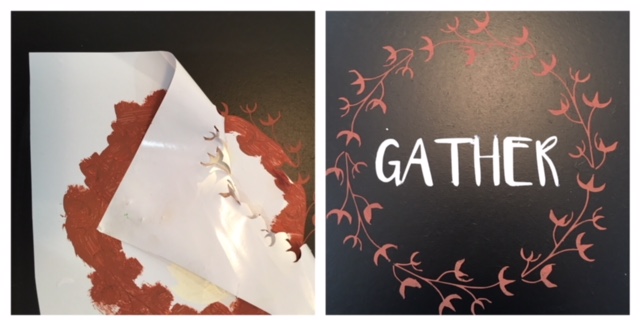
When completely dry. Slowly peel and remove your stencil.
(Click Image to Enlarge)
Step 14:
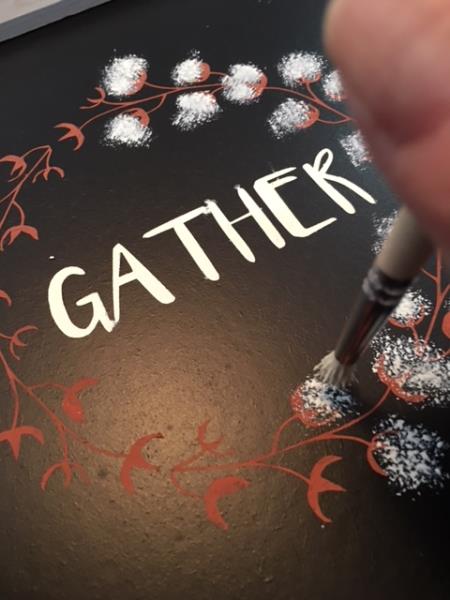
MAKE THE “COTTON” BY USING YOUR WHITE PAINT AND DABBER BRUSH.
Dab paint to create your “cotton” over the bottom of all stemmed areas. Have fun with this process! Let dry.
(Click Image to Enlarge)
Step 15:
Good job! Reattach the handle hardware and your decorative serving tray is now finished!