Border OptionsHugging border, circle, square, or rectangle — with a 3mm satin stitch.
Backing OptionsAvailable with iron-on, sew-on, or velcro backing.
Fast ShippingShipped quickly from the USA.
Free Online Tools
Powerful embroidery utilities that save time and prevent costly mistakes.
Stitch AssistantRECOMMENDED
Get the exact stabilizer, machine settings, needle, and thread color sequence for every embroidery design you purchase — based on that design's stitch density, dimensions, and color count.
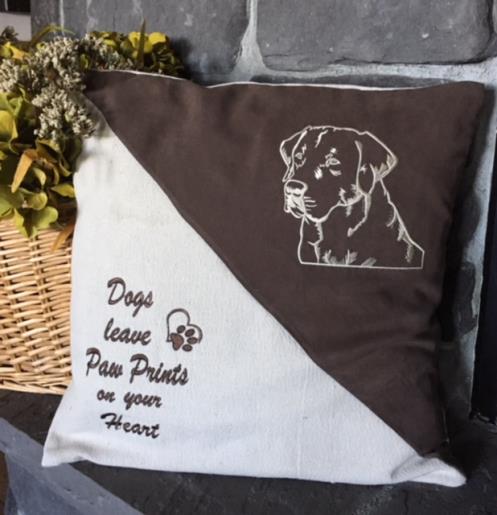
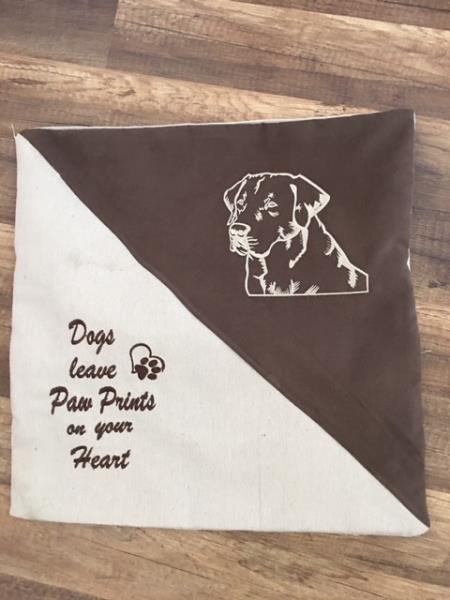
Create a heartfelt tribute to a beloved pet with this memorial pillow cover. Featuring a touching message and a simple outline of a dog, this pillow cover serves as a comforting keepsake. Step-by-step instructions are included.
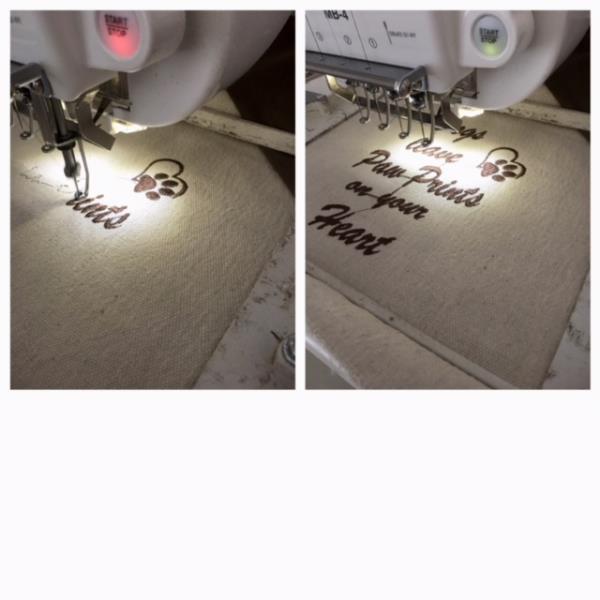
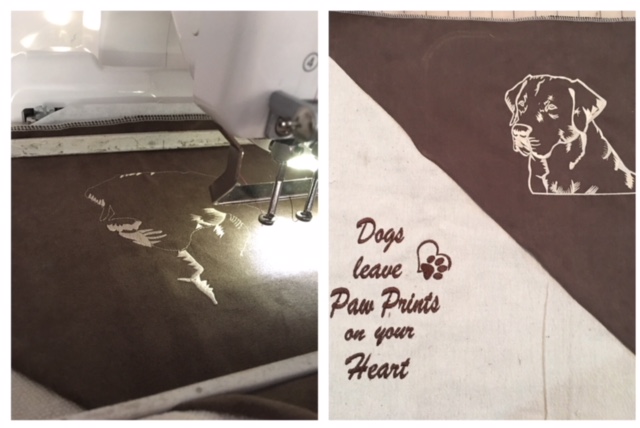
This pillow cover has an envelope back. Neutral color fabrics were used as it compliments most décor. Using your embroidery software program to create the quote and incorporating the Paw Print Heart design along with the embroidery outlined head of the furry companion brings this pillow together to pay tribute to Man’s Best Friend. The head design used is a Labrador Retriever. Look for other head designs on the ED website to personalize.
Step 1:
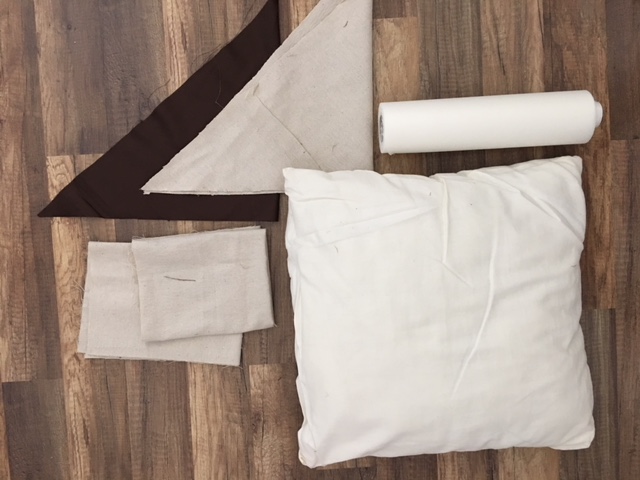
Gather all supplies and review instructions before beginning.
(Click Image to Enlarge)
Step 2:
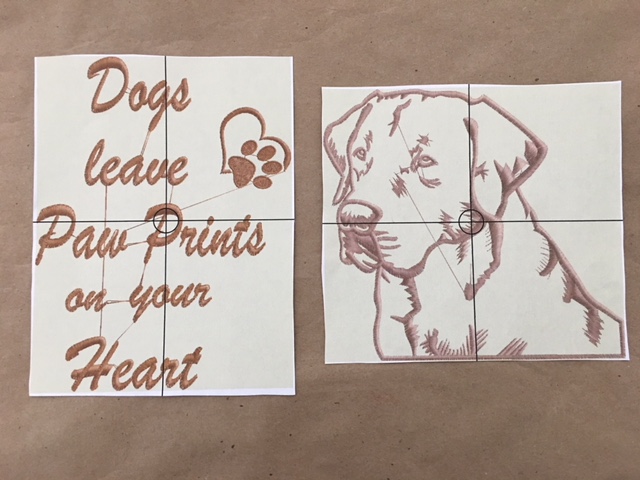
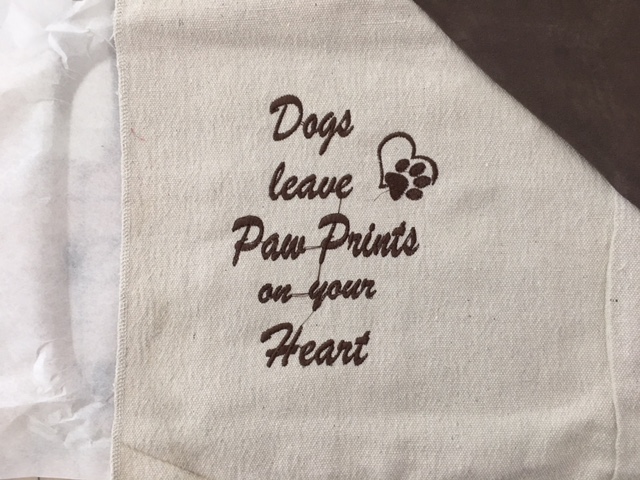
Create the quote “Dogs Leave Paw Prints on your Heart” with your embroidery software program and bring into your design the Paw Print Heart embroidery design to incorporate to complete. Size to approx 5” x 6.5” . Print out templates of designs.
(Click Image to Enlarge)
Step 3:
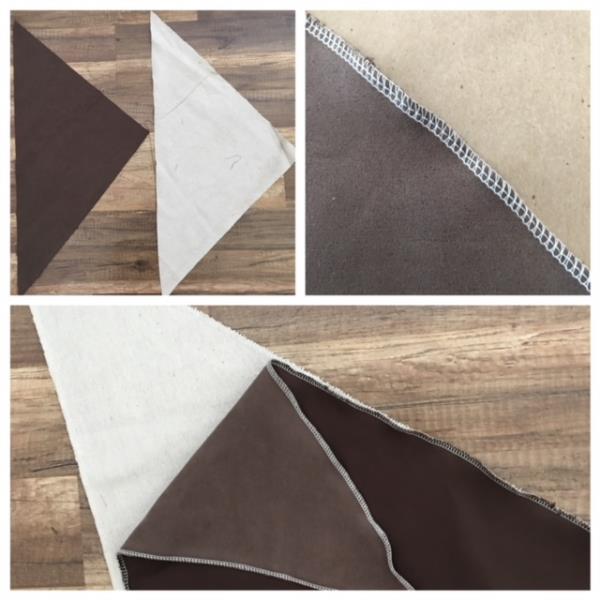
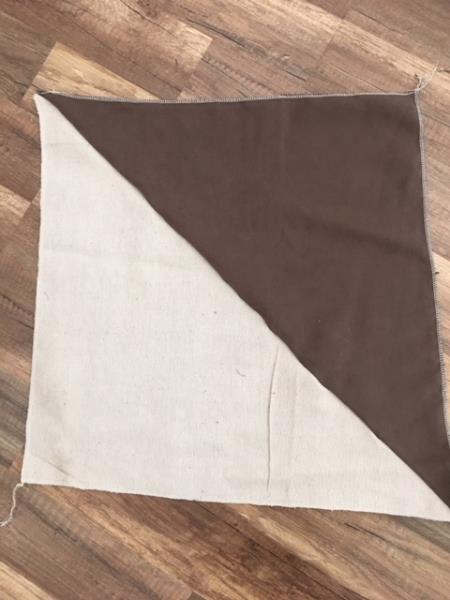
Stitch the cut two triangles right sides together on the long 29” side edge using ¼” seam allowance. ( opt. Serge/zig zag raw edges to prevent fraying)
(Click Image to Enlarge)
Step 4:
Even edges to square to 19” x 19” . Zig zag/serge all sides.
(Click Image to Enlarge)
Step 5:
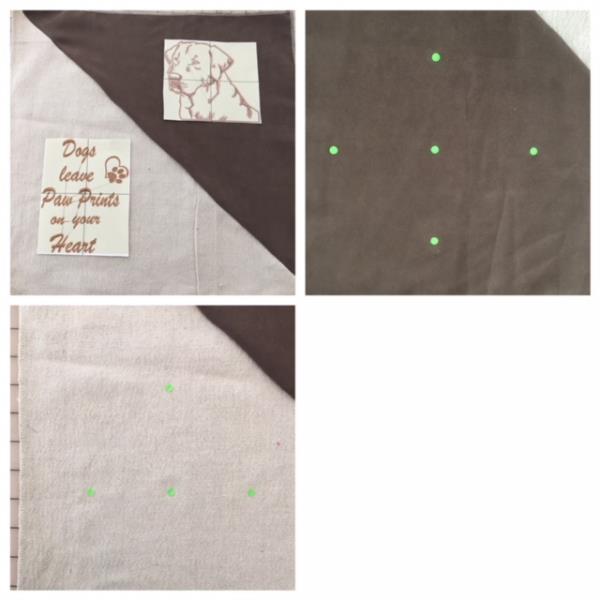
Center design templates as shown picture. Center mark and mark axis points.
(Click Image to Enlarge)
Step 6:
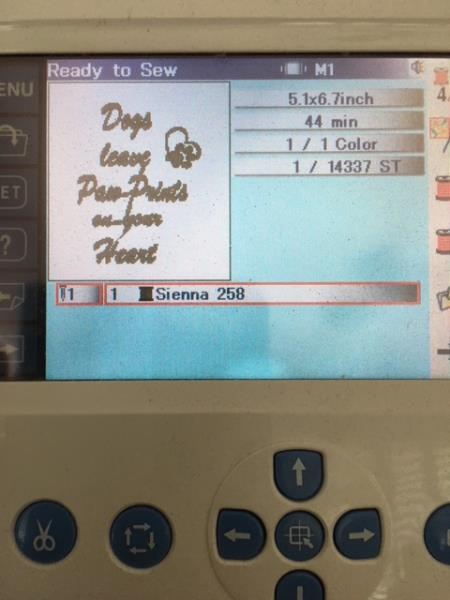
Load your created quote design into your machine.
(Click Image to Enlarge)
Step 7:
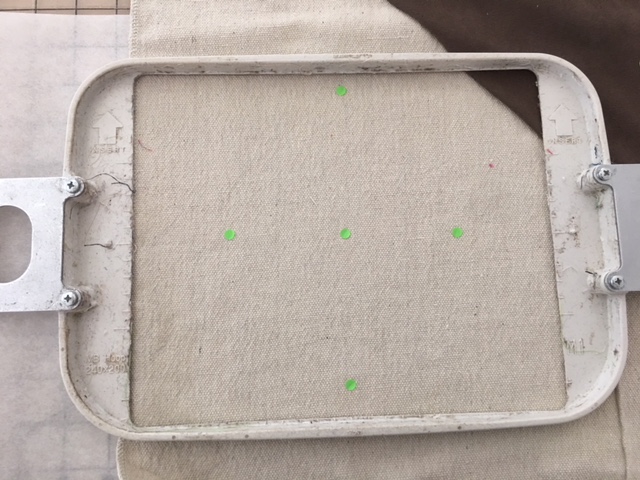
Cut a piece of stabilizer larger than your hoop. Place behind marked area. Match up axis points to your hoop marks and hoop.
(Click Image to Enlarge)
Step 8:
Attach hoop to your machine. Confirm center needle placement. Begin the embroidering process.
(Click Image to Enlarge)
Step 9:
Design complete. Remove hoop. Cut and trim all jump stitches and loose thread ends. (front and back) Remove stabilizer.
(Click Image to Enlarge)
Step 10:
Repeat steps #7 through #9 for the dog head embroidery design.
(Click Image to Enlarge)
Step 11:
ASSEMBLING OF PILLOW COVER WITH ENVELOPE BACK
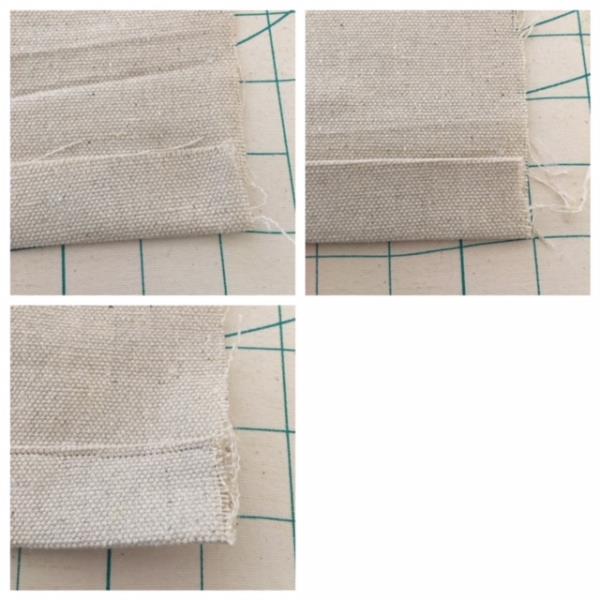
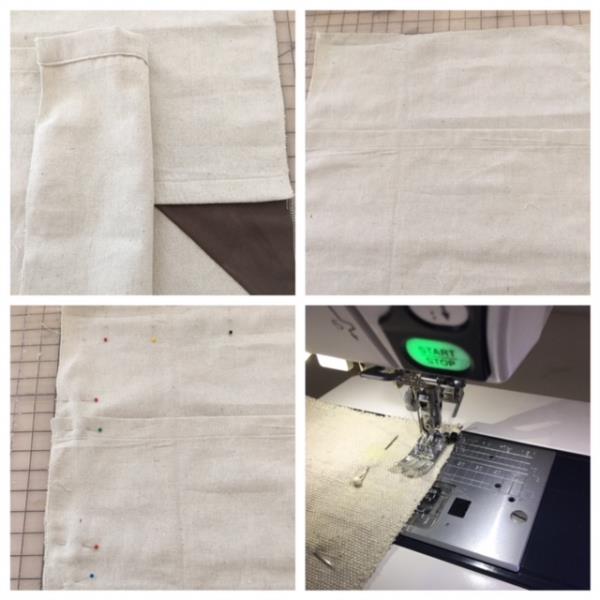
Using your cut pieces (1) 14”x 19 ” and (1) 16”x 19 “. Fold down 1” of the 19 ” side, press and fold over again. Repeat for the 2nd piece. Stitch down using 1/8 ” from the folded edge.
(Click Image to Enlarge)
Step 12:
You should now have 3 pieces to assemble your pillow cover. Place right sides together, lay your embroidered top down right side up and lay the 16”x 19 ” piece down first. Then lay the 14”x 19 ” next. Overlapping the two back pieces to form a flap for easy insertion of pillow form. Pin in place and sew all sides using 1/2” seam allowance.
(Click Image to Enlarge)
Step 13:
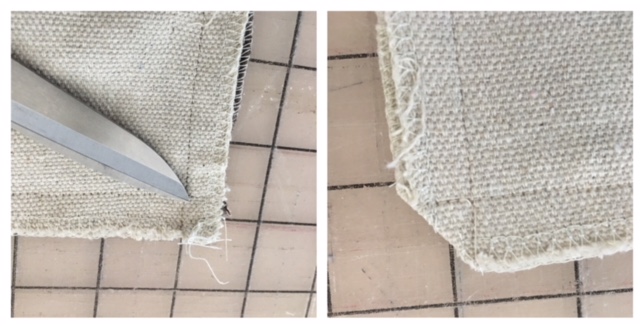
Clip all four corners.
(Click Image to Enlarge)
Step 14:
Turn right side out. Push out corners. Iron press edges. Your pillow cover is finished. Insert pillow form to complete the look.