














































PROJECT INSTRUCTIONS


PROJECT INSTRUCTIONS
DIY Yarn and Ribbon Accessory Embroidery Project
By
Kay Brooks
on
March 01, 2005
Description
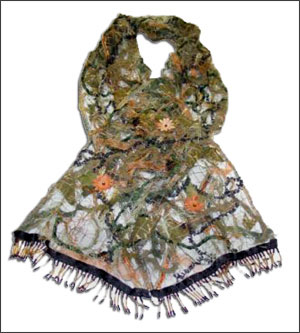
Create a stylish accessory using leftover yarns and ribbons with this easy and fun project. Perfect for crafting unique scarves or belts, this project helps you make the most of your crafting supplies. Step-by-step instructions are included.
Step
of
Materials
Project Preview Video

Cut Away Stabilizer - 2.5 Oz wt.
$8.94
$7.15
Circle Price: $7.15

Cut Away Stabilizer - 2 oz wt.
$8.52
$6.82
Circle Price: $6.82
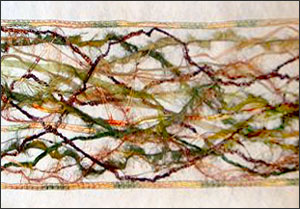
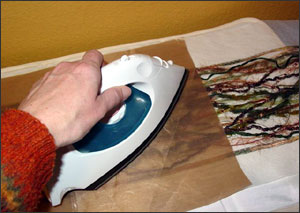
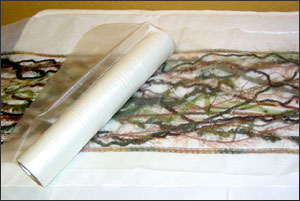
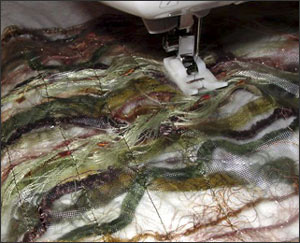
| Materials Floriani Wet N Gone Fusible – This product is a fibrous water soluble stabilizer that has a fusible coating on one side. It will rinse clean making it a perfect choice for this project. Floriani Water Soluble Topping – Creates an even stitching field after the ribbons and threads are fused into place. Teflon Pressing Sheet – Will allow you to fuse without the stabilizer sticking to the surface of the iron. Teflon Pressing Foot – When stitching the ribbons in place, this foot will glide over the Water Soluble Topping. Decorative Thread for the bobbin and top – I prefer to use two different colors for a “twist look”. Pieces of Yarns, Ribbons, Threads, Netting, Fabric, etc. – Anything goes! There are several companies that have 2 or 3 yard cuts of multiple, coordinating yarns and ribbons pre-packaged on a card. One scarf can usually be created from one package. |
|
Projects You May Like
Meet the Author:
Kay Brooks

Kay Brooks is co-owner of RNK Distributing, a distributor of Floriani products. Kay has been teaching sewing, quilting and embroidery for over 15 years and has a vast knowledge of various types of sewing/embroidery machines and techniques. Having owned her own Sewing Business that employed as many as 12 full time teachers, she has had the opportunity to glean her knowledge from some of the best! Kay’s new joint venture with Walter Floriani and Fred Lebow has lead to the creation of many new and unique stabilizers as well as other embroidery products for the sewing, quilting and embroidery industry.
Feedback
Characters Remaining
Please Login to Submit a Feedback
Invalid Characters, Please enter a valid Comment
Please enter a valid Comment
Reviewed On
Link is Broken, Please check the URL