Border OptionsHugging border, circle, square, or rectangle — with a 3mm satin stitch.
Backing OptionsAvailable with iron-on, sew-on, or velcro backing.
Fast ShippingShipped quickly from the USA.
Free Online Tools
Powerful embroidery utilities that save time and prevent costly mistakes.
Stitch AssistantRECOMMENDED
Get the exact stabilizer, machine settings, needle, and thread color sequence for every embroidery design you purchase — based on that design's stitch density, dimensions, and color count.
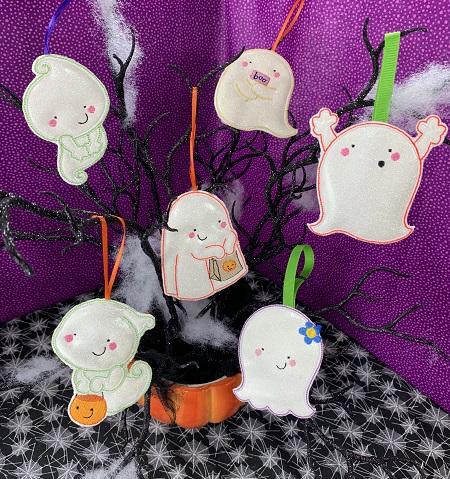
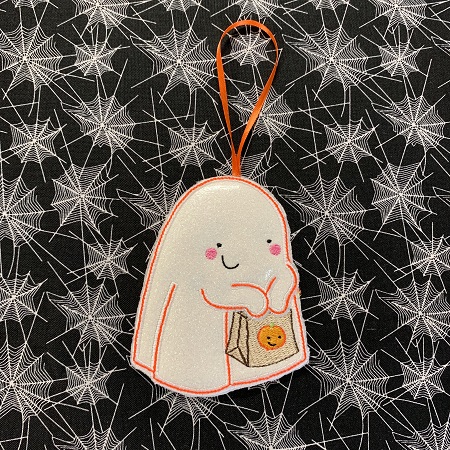
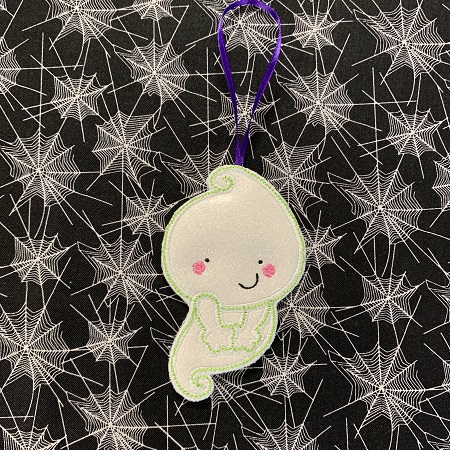
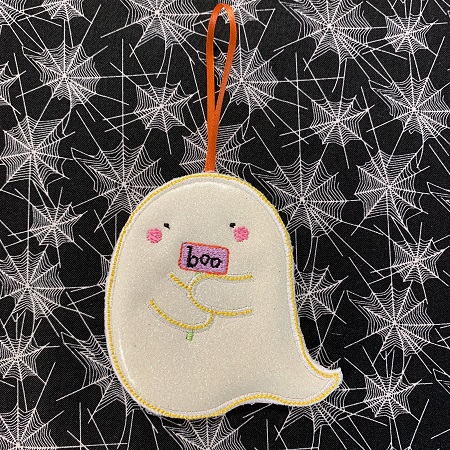
Not So Spooky applique designs has 12 designs in the set. Materials listed are for only for one design. Time to complete the project will depend on the number of ornaments you want to make. It takes about 20-25 minutes to make an individual ornament. A 90/14 embroidery needle is suggested for stitching this project. Marine vinyl for embroidery was used to make the ornaments. Low nap quilt batting was used to make the ornament puffy. Felt would work for this project also.
Step 1:
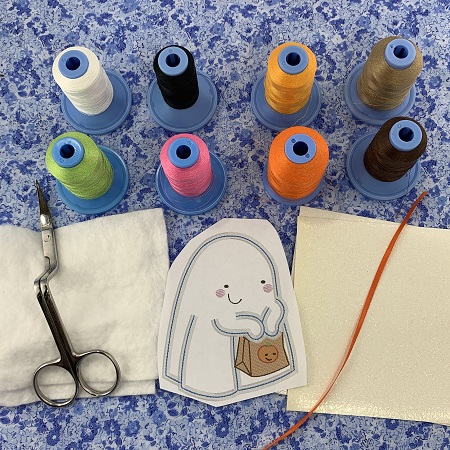
Gather the materials needed to complete this project. Cut the vinyl into 4"x4" squares. Two squares are needed for each ornament. Cut the low nap quilt batting into 4"x4" squares. Two squares are needed for each ornament. One piece of 1/8" x 8" ribbon is needed for each ornament.
Step 2:
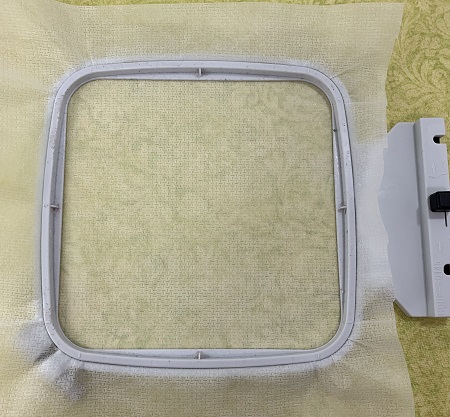
Hoop one piece of Water Soluble stabilizer.
Step 3:
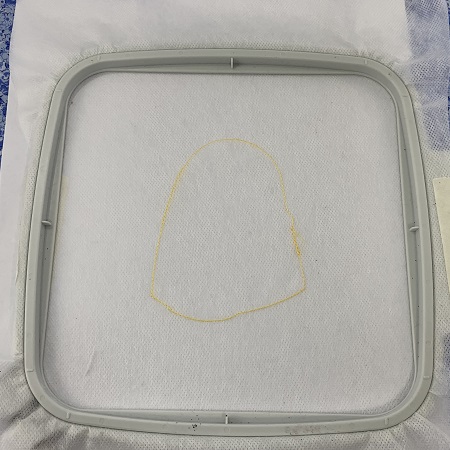
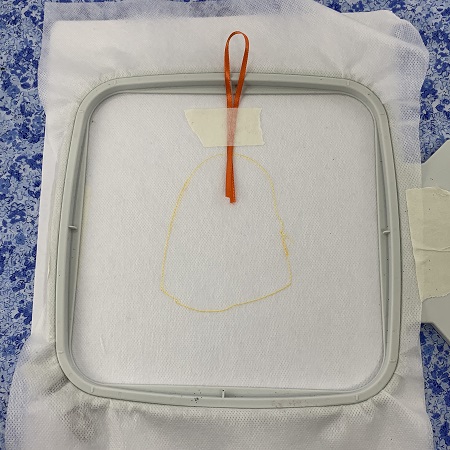
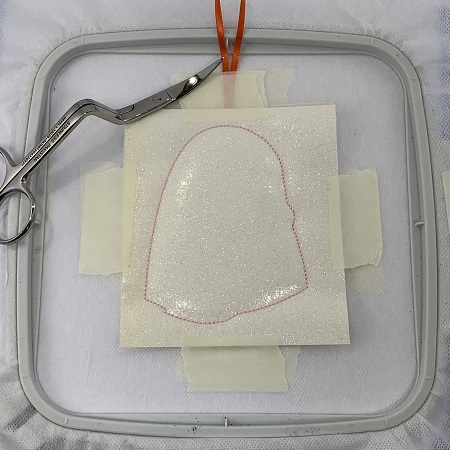
Load the design onto the embroidery machine. Sew the placement stitches onto the stabilizer.
Step 4:
Remove the hoop from the machine. Fold the ribbon in half. Tape the ribbon in place for a hanger for the ornament.
Step 5:
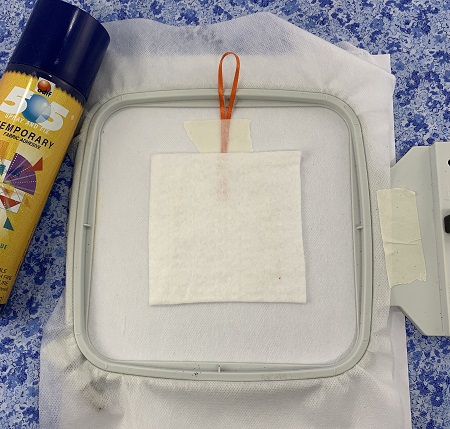
Lightly mist the inside the placement stitches with Temporary Adhesive spray. Place one piece of low nap batting over the placement stitches.
Step 6:
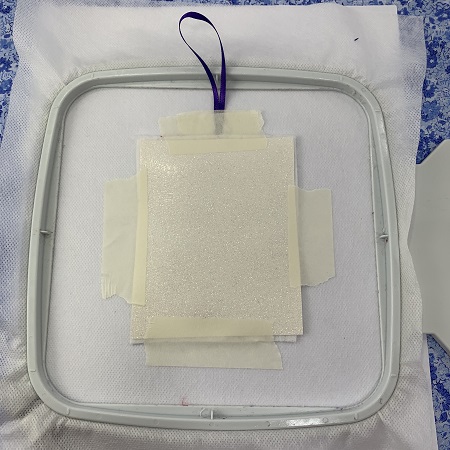
Place one piece of vinyl over the batting. Use masking tape to hold the vinyl in place.
Step 7:
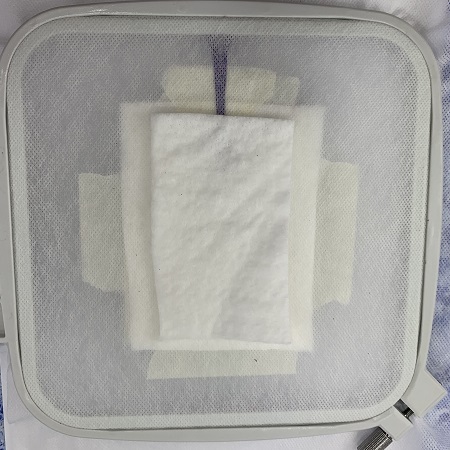
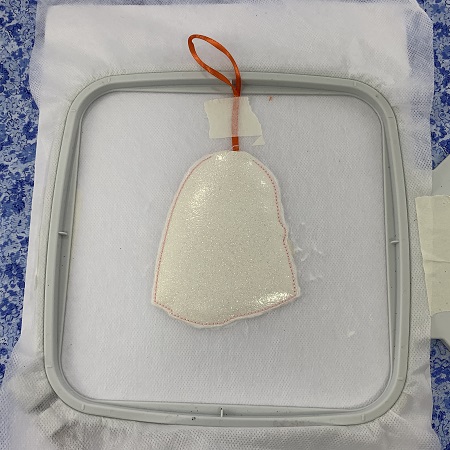
Turn the hoop over so that the back of the hoop is facing you. Repeat steps 5 & 6 now. Lightly mist the placement stitch area with temporary adhesive spray. Place the low nap batting over the placement stitch area. Place the vinyl on the batting. Use masking tape to hold the vinyl in place.
Step 8:
Re-attach the hoop. Sew the next step which is the tack down stitches.
Step 9:
Remove the hoop from the machine. DO NOT remove the ornament from the hoop.
Use applique scissors to trim extra batting and vinyl from around the ornament on the front and back side. Be careful not to clip the stitches or the ornament ribbon hanger.
Step 10:
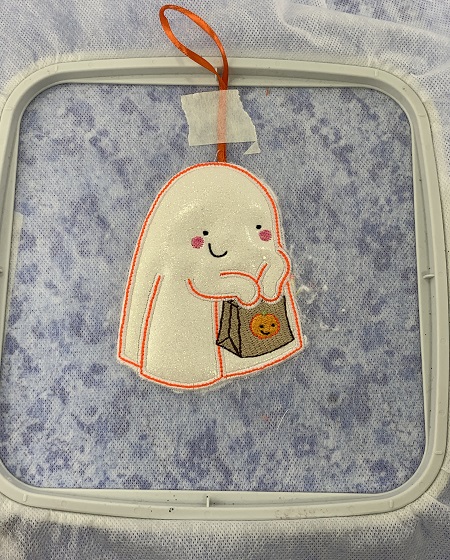
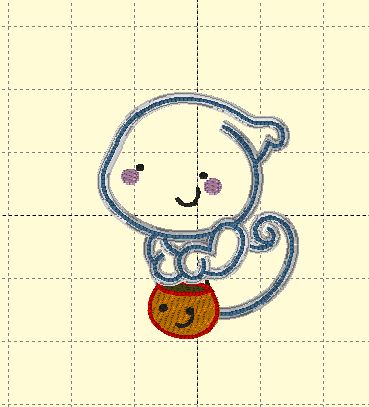
Re-attach the hoop to the machine. Use the color chart as a guide to finishing stitching the design.
(Click Image to Enlarge)
Step 11:
Remove the ornament from the hoop. Trim around the extra stabilizer leaving about a 1/4" margin.
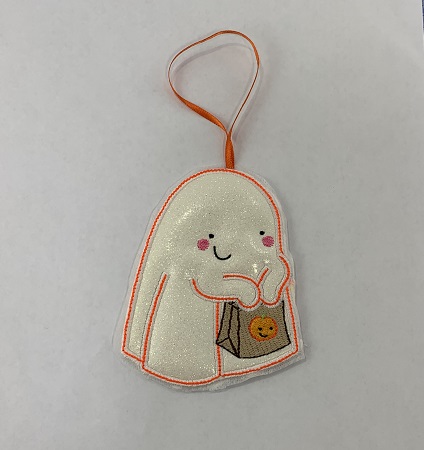
Using very hot tap water, wet your finger tip. Use your wet finger tip to moisten the water soluble stabilizer around the edges of the ornament. Just moisten the water soluble stabilizer just until it is no longer visible. Lay the ornament on parchment paper or hang to dry.
Step 12:
Congrats! You have completed your ornament.
Step 13:
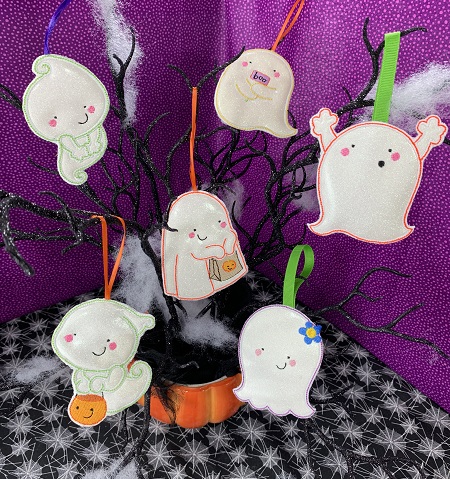
Not So Spooky Halloween tree...
Step 14:
(Click Image to Enlarge)
These are some notes for sewing this design.
Step 15:
(Click Image to Enlarge)
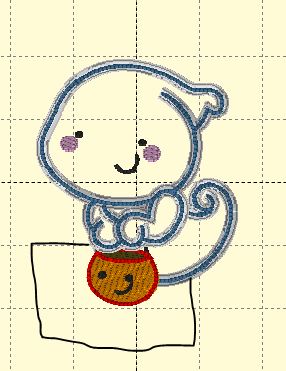
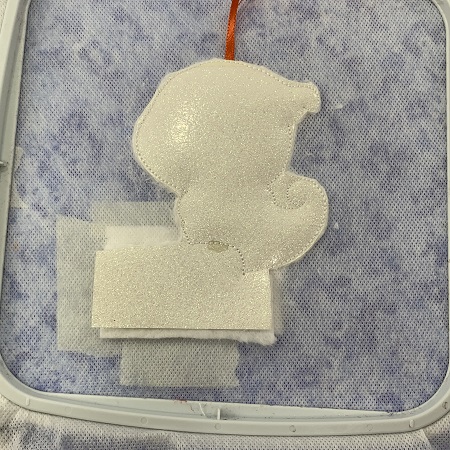
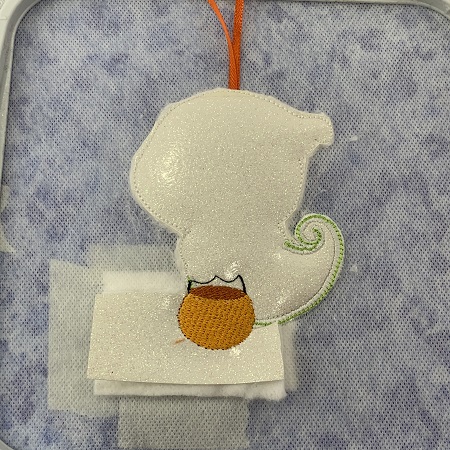
After stitching the tack down stitches, you need to leave extra vinyl for the jack-o-lantern. I suggest drawing on the vinyl as a reminder to leave extra vinyl. Remember to leave extra vinyl for the front and back pieces of the ornament.
Step 16:
This picture is an example of the extra vinyl you need to leave for the jack-o-lantern.
Step 17:
After stitching the jack-o-lantern, trim off the extra vinyl from around the jack-o-lantern. Then, finish stitching the design. Remove the design from the hoop. Trim extra stabilizer from around the design leaving about 1/4" margin. Refer to Step 11 to remove the extra water soluble stabilizer.
Marisa Littleton is a retired educator with a love for teaching and learning. Interests include machine embroidery, hand embroidery, quilting, cooking, and antiques.