Border OptionsHugging border, circle, square, or rectangle — with a 3mm satin stitch.
Backing OptionsAvailable with iron-on, sew-on, or velcro backing.
Fast ShippingShipped quickly from the USA.
Free Online Tools
Powerful embroidery utilities that save time and prevent costly mistakes.
Stitch AssistantRECOMMENDED
Get the exact stabilizer, machine settings, needle, and thread color sequence for every embroidery design you purchase — based on that design's stitch density, dimensions, and color count.
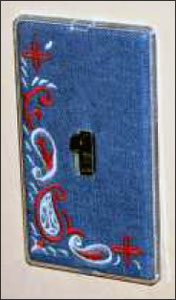
Decorating light switch covers is a great
way to light up any room. You may have done this in the past with
wallpaper, why not try it with embroidery?
OK - first things first. There are a few things you need to be concerned with before starting this project.
1. Electricity is not a hobby. Have someone that knows about
electricity or a licensed electrician help you remove and install the
switch plate covers.
2. Make sure you use thin material when embroidering the design. Thick material will not fit in the switch plate cover.
3. Use only switch plate covers that are designed for this
application. They are available at most hardware stores. Failure to use
the proper switch plate cover can result in damage to the switch or
possible fire. The switch plate covers included in every pack are
specially designed for this application and they make sure no part of
the fabric or paper comes in contact with any of the electrical
components.
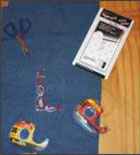
Step 1:
(Click Image to Enlarge)
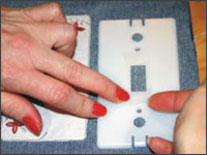
shows the materials you will need: scissors, regular tape, double sided
tape, a switch cover, a screwdriver, and the embroidered sew out.
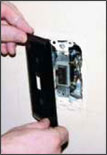
Step 2:
(Click Image to Enlarge)
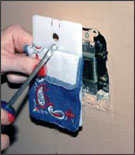
Carefully remove the existing switch plate cover
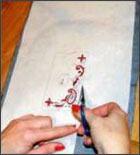
Step 3:
(Click Image to Enlarge)
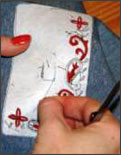
Trim the stabilizer away from the embroidery by cutting right on the guidelines.
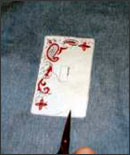
Step 4:
(Click Image to Enlarge)
shows the stabilizer completely trimmed away.
Step 5:
Next trim away the center of the design using the same technique, being careful to cut only the stabilizer not the fabric.
Step 6:
(Click Image to Enlarge)
shows the removal of any strands of thread left by the guide stitch.
Step 7:
(Click Image to Enlarge)
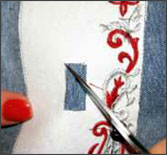
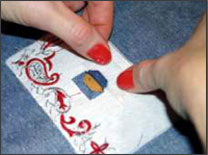
we are going to carefully cut a slit down the center of the opening.
Step 8:
(Click Image to Enlarge)
shows us notching each corner to create fold over flaps.
Step 9:
(Click Image to Enlarge)
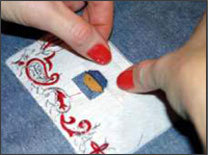
illustrates the first flap being flipped over. As you flip over each piece of material, tape it down with scotch tape.
Step 10:
(Click Image to Enlarge)
Repeat this for all four flaps creating a clean opening.
Step 10 shows all four sides of the opening taped into place.
Step 11:
(Click Image to Enlarge)
Take the back portion of the switch plate cover as shown in figure 11
and apply two sided tape right above the opening for the switch. This
tape will secure the embroidered fabric in place.
Step 12:
(Click Image to Enlarge)
Repeat the same steps for the bottom of the cover as illustrated in step 12.
Step 13:
(Click Image to Enlarge)
shows us positioning the cover directly on top of the embroidered
fabric, simply line up both rectangles. Make sure the embroidered swatch
is facing down and press together.
Step 14:
(Click Image to Enlarge)
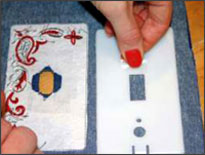
we will take the clear plastic cover hold it underneath the fabric and pinch the two elements together.
Step 15:
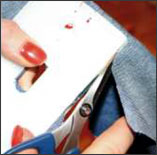
(Click Image to Enlarge)
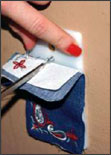
Cut away the excess fabric.
Step 16:
(Click Image to Enlarge)
Before installing the cover on the wall take the cover apart.
Step 17:
(Click Image to Enlarge)
Fold back the top portion of the cover as illustrated in step 17.
Step 18:
(Click Image to Enlarge)
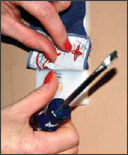
Carefully place the plastic guard over the existing switch, and screw it
to the existing switch using the two screws that came with the cover.
If you are unsure about how to do this hire a licensed electrician to do
it.
Step 19:
(Click Image to Enlarge)
shows us repeating the same thing on the lower screw.
Step 20:
(Click Image to Enlarge)
We are almost done. After the screws are installed take the plastic
cover and press it onto the cover base. It should snap onto the white
plastic base. Be careful not to push too hard.
Step 21:
(Click Image to Enlarge)
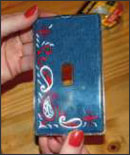
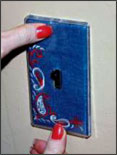
shows the finished product, now you are ready to decorate every switch in the house.
Steve Wilson is co-owner of Anita Goodesign, a company serving the home embroidery enthusiast. He is also owner of Artbox Digitizing Studio and the co-owner of Art-Sew-Perfect stock design company. Steve has won over 20 digitizing awards, written over 70 articles on digitizing and embroidery techniques and has produced 18 digitizing "How-To" videos. He has also digitized thousands of designs for the home textile and decorating industries and is bringing that experience and expertise to the Anita Goodesign Home Decor Collections