Border OptionsHugging border, circle, square, or rectangle — with a 3mm satin stitch.
Backing OptionsAvailable with iron-on, sew-on, or velcro backing.
Fast ShippingShipped quickly from the USA.
Free Online Tools
Powerful embroidery utilities that save time and prevent costly mistakes.
Stitch AssistantRECOMMENDED
Get the exact stabilizer, machine settings, needle, and thread color sequence for every embroidery design you purchase — based on that design's stitch density, dimensions, and color count.
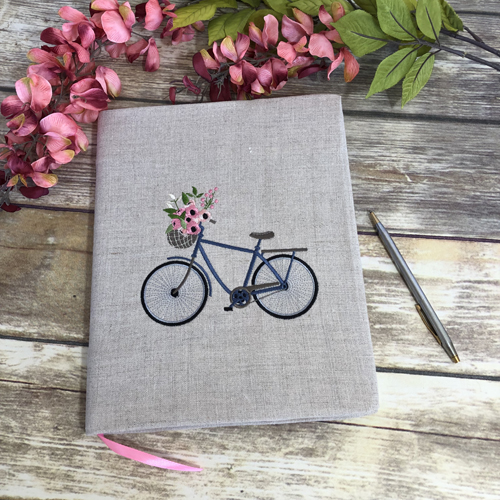
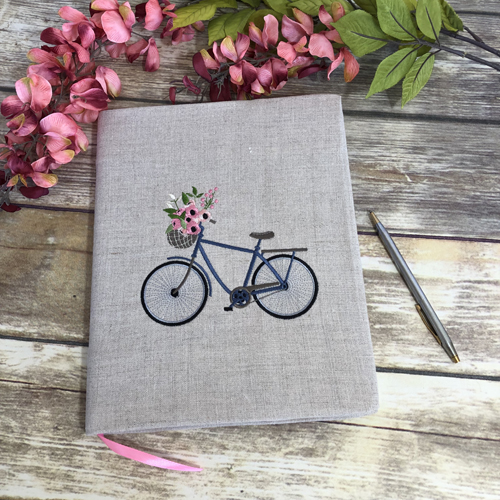
A beautiful journal cover to inspire the recipient to write down their thoughts and to record their adventures and creative efforts, is a thoughtful gift. Make a store bought journal extra special with this simple to make linen journal cover.
The journal used in this sample is 10” x 8” and is a Martha Stewart® Journal purchased at Staples®. The instructions given allow you to make this cover for a journal of any size. This journal is made extra special by placing one the coordinating designs on the back of the cover.
Step 1:
Measure the height and width of the journal front. This journal 8” x 10”.
(Click Image to Enlarge)
Step 2:
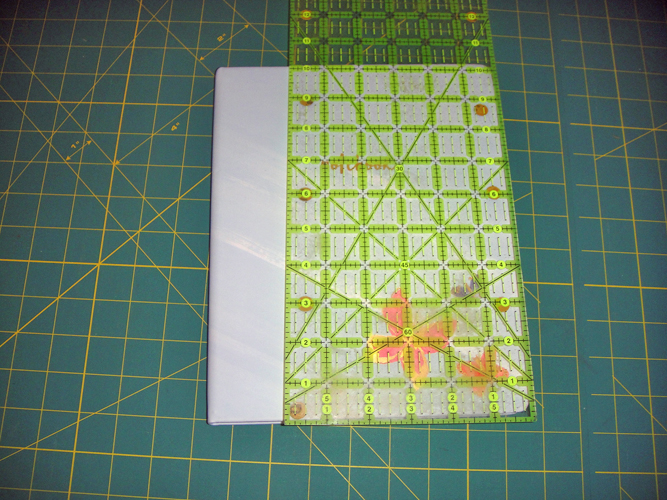
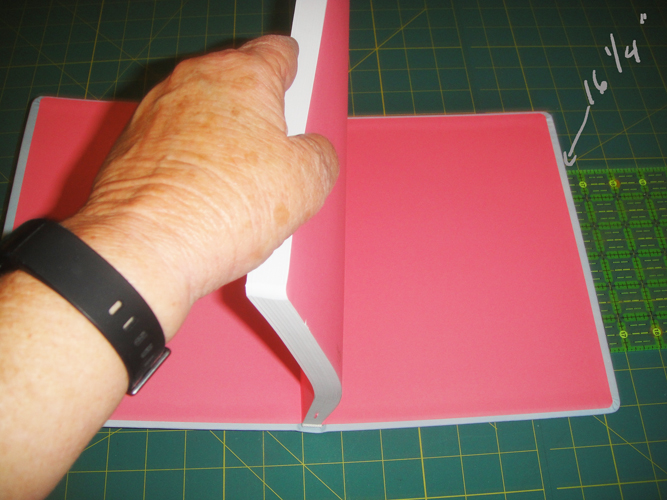
To measure the length of the journal place the left hand edge of the journal cover on the edge of a ruler. Hold the pages of the journal straight up with one hand so that the spine will lie flat and note the measurement of the cover on the right. This journal cover measurers 16 ¼”.
(Click Image to Enlarge)
Step 3:
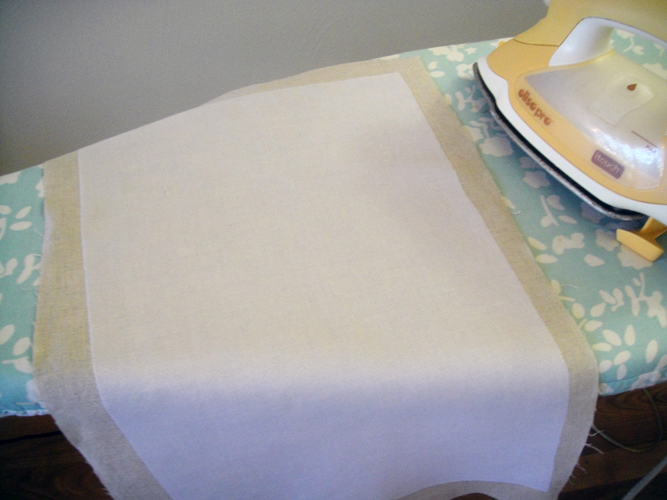
To determine the height to cut your fabric add 4” to the height measurement. In this sample 10 + 4” = 14”. To determine the width to cut your fabric decide how wide you want the flaps to be inside the journal. Two and a half inches is standard, but you can make them wider. Add twice the width that you want your flaps plus 1” for hemming the edges of the flaps. In this case 16 ¼” + 5” for the two flaps + 1” for hemming makes 22 ¼” the required fabric size. Cut your linen 14” x 22 ¼”. Cut your fusible knit interfacing 2” shorter that the fabric size, so cut the interfacing 12” x 20 ¼”. Fuse the interfacing centered on the linen cover following the manufacturer’s instructions.
(Click Image to Enlarge)
Step 4:
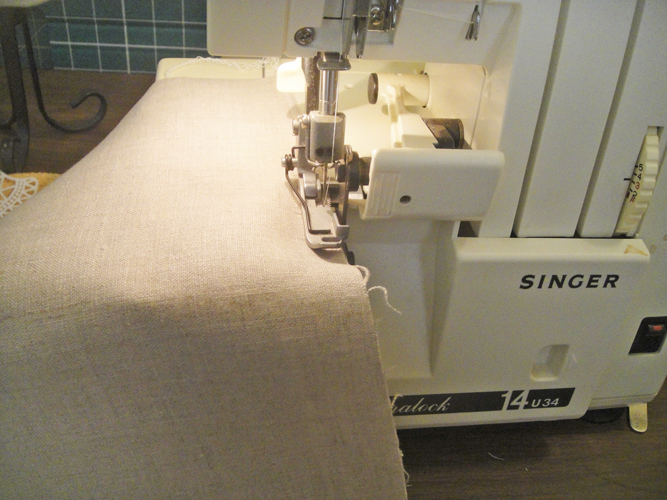
Serge or zigzag the long edges of the cover.
(Click Image to Enlarge)
Step 5:
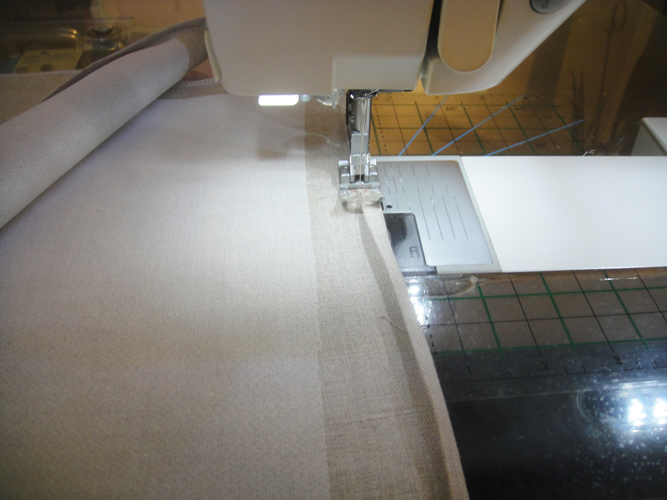
Turn the short edges in ¼” and press, turn in again ¼” and press, edge stitch to hem both short ends of the cover.
(Click Image to Enlarge)
Step 6:
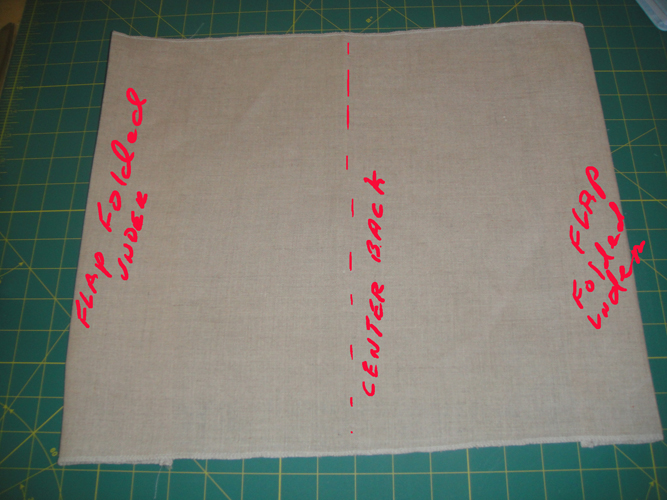
Fold the fabric in half and finger press the center back of the cover. Place the journal spine on the center crease hold the pages straight up so the spine will be flat and fold over the two flaps to the inside of the journal and finger press.
(Click Image to Enlarge)
Step 7:
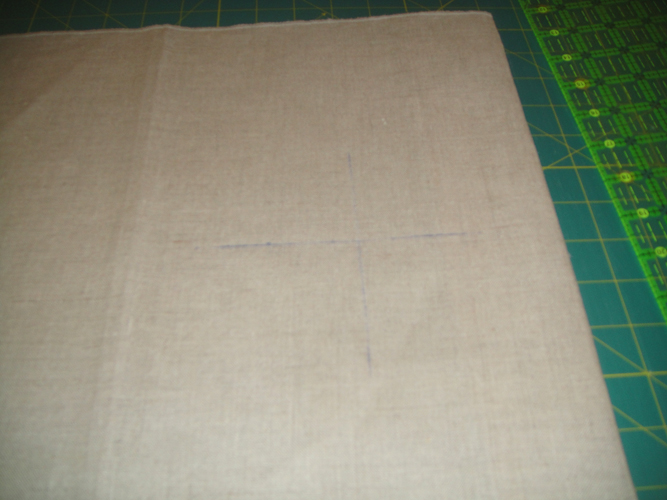
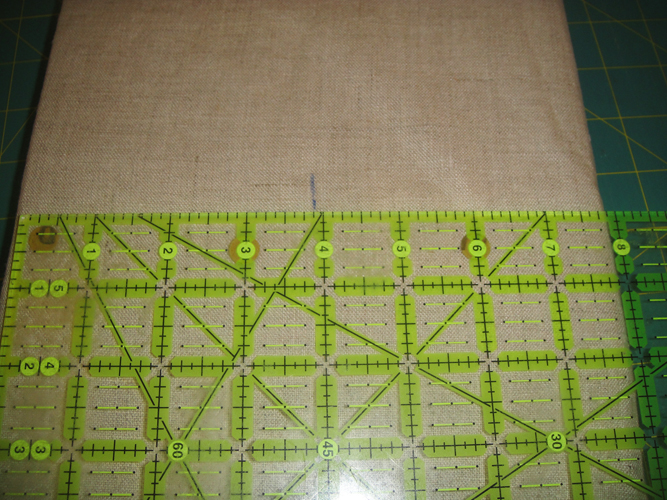
Measure over ½ of the journal front measurement that you took in Step 1, in this case that was 10” divided by 2 = 5” and mark the vertical center for placement of the embroidery. Make the horizontal mark on the center of the fabric.
(Click Image to Enlarge)
Step 8:
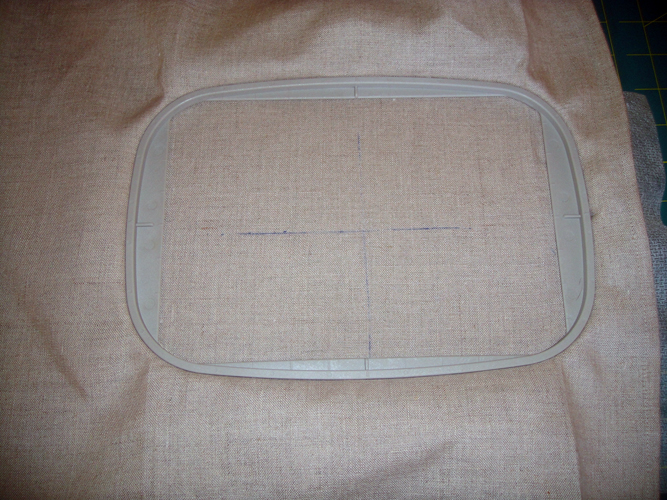
Hoop the fabric with no show stabilizer aligning the center horizontal crease and marked vertical lines. As the bicycle is longer than it is wide the hoop is placed so that the longest length of the hoop is on the horizontal alignment marks.
(Click Image to Enlarge)
Step 9:
(Click Image to Enlarge)
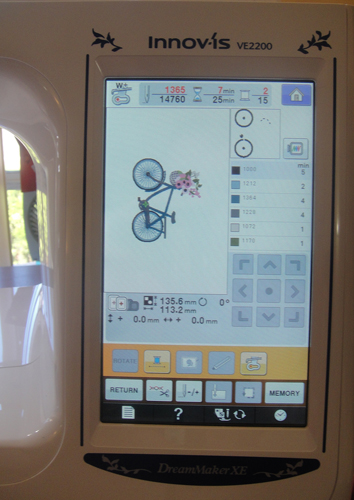
Some embroidery formats for the design will have already rotated the design at the machine, but if yours does not, rotate the bicycle design 90 degrees to the right at your machine.
Step 10:
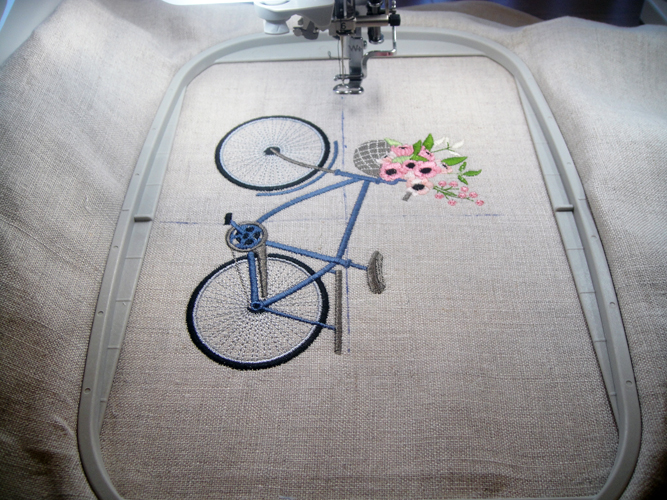
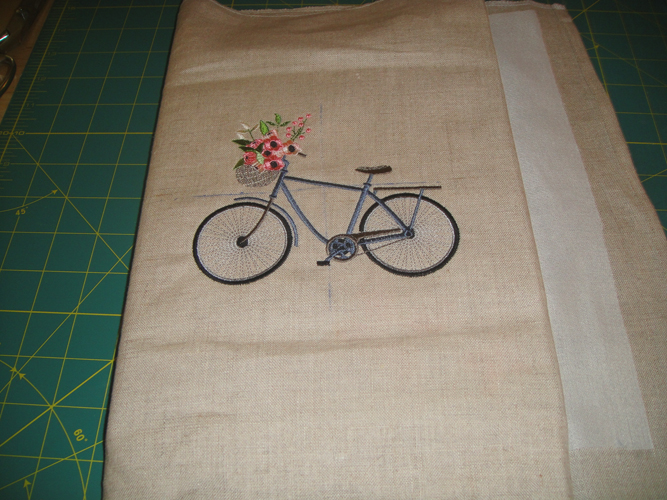
Run the design following the color chart. Note in the sample Madeira® variegated pink (2013) was substituted where the color chart calls for (1013) to add additional variations in the pink flowers. Trim the stabilizer from around the bicycle.
(Click Image to Enlarge)
Step 11:
To determine placement for the back embroidery, slip the journal centered into the cover and fold in the front and back flaps.
(Click Image to Enlarge)
Step 12:
Turn the covered journal to the back and mark placement for a chosen corresponding small embroidery design for the back. Mark vertical and horizontal lines for that embroidery placement. Keep in mind that you will be turning under 2” of the fabric at the bottom of the book cover. Check the size of the design that you will be using and divide the height measurement in half. Make your horizontal mark at least that measurement plus 2 ½” above the bottom of the fabric.
(Click Image to Enlarge)
Step 13:
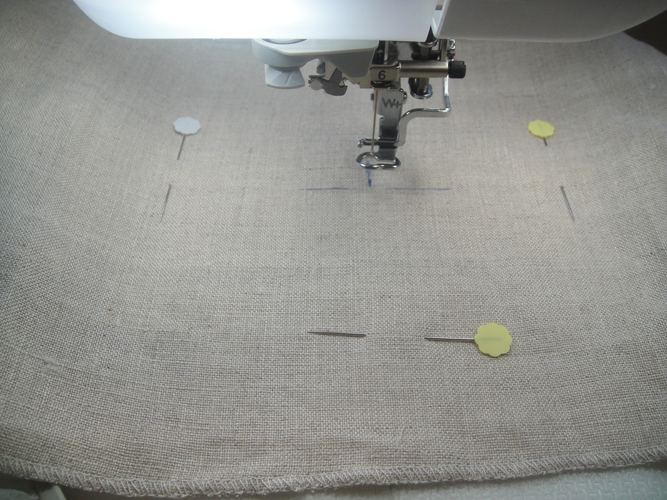
The placement of the back design will not allow you to hoop all of the fabric in the hoop. Hoop the stabilizer and spray it with a little adhesive. Position the fabric so that the alignment marks align with the alignment marks on the hoop. You can place pins outside of the embroidery area to further stabilize the fabric if desired.
(Click Image to Enlarge)
Step 14:
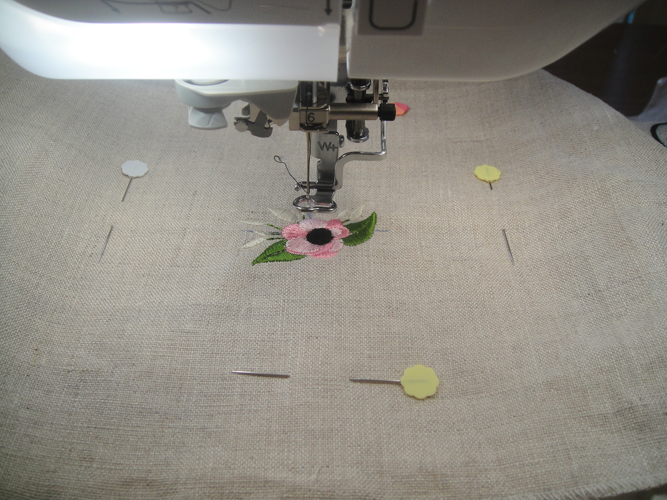
Embroider the back design following the color chart. Trim the stabilizer around the design.
(Click Image to Enlarge)
Step 15:
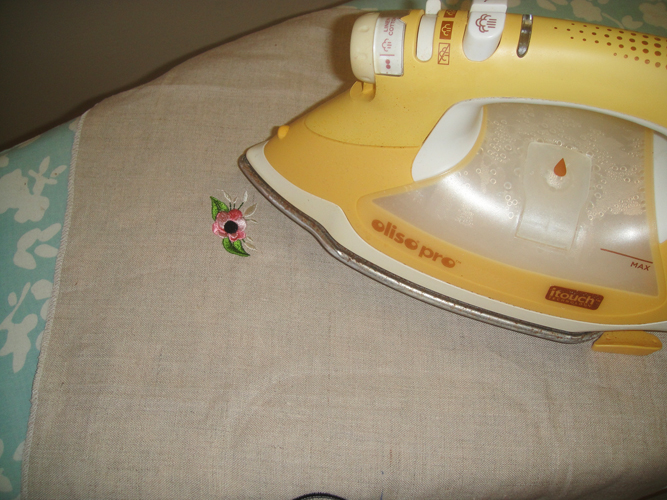
Press the embroideries to remove the Frixion® pen marks.
(Click Image to Enlarge)
Step 16:
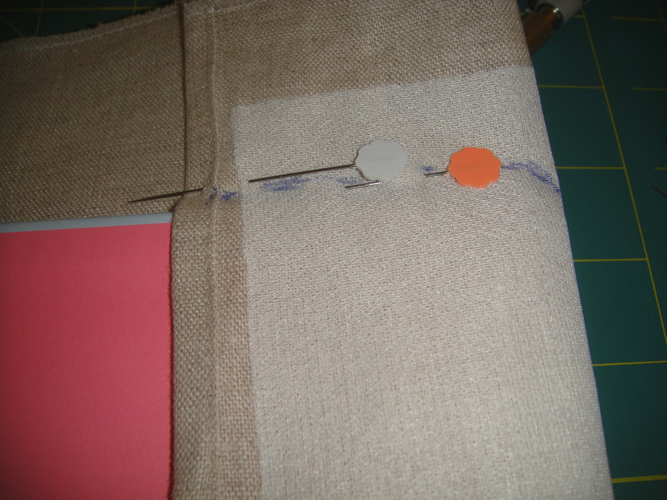
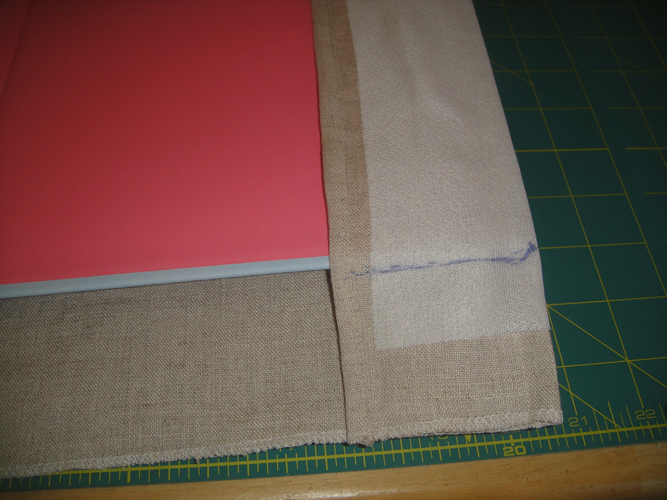
Lay the journal centered on the right side (linen side) of the cover. It is important that you do the 4 corners separately. Hold the pages straight up and fold one flap over the journal. Pushing the journal into the crease of flap snuggly. It is impossible to continue holding the pages up and pin the corner at the same time, so close the journal in the direction of the flap that you will be pinning, press the flap fabric down to the tabletop and pin in place right at the edge of the journal. Mark your stitching line across the top of the corner. Just do the one corner.
(Click Image to Enlarge)
Step 17:
(Click Image to Enlarge)
Stitch the seam just on the outside of your marked lines.
Step 18:
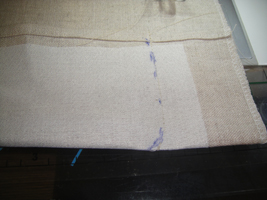
Repeat Steps 16 and 17 for the bottom corner of the same flap. Then mark and stitch the flaps on the opposite two corners. It is important to keep lifting the pages straight up to get the spine to lie flat when marking each corner.
(Click Image to Enlarge)
Step 19:
(Click Image to Enlarge)
Turn the flaps right side out leaving the corner flap fabric inside – no trimming is required.
Step 20:
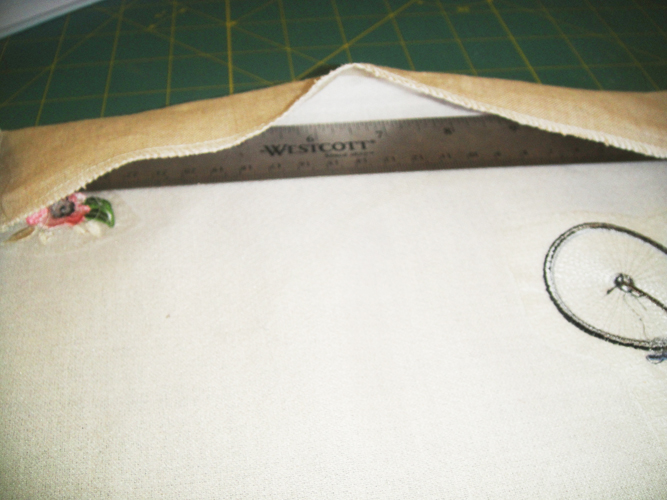
Slip a metal ruler between the flaps and across the top and then the bottom of the cover and press to give a sharp edge to the top and bottom of the cover. Do not press the edges of the flaps as the thickness of the journal and the snugness of the cover will fill those out nicely.
(Click Image to Enlarge)
Step 21:
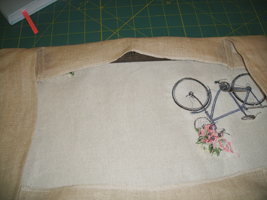
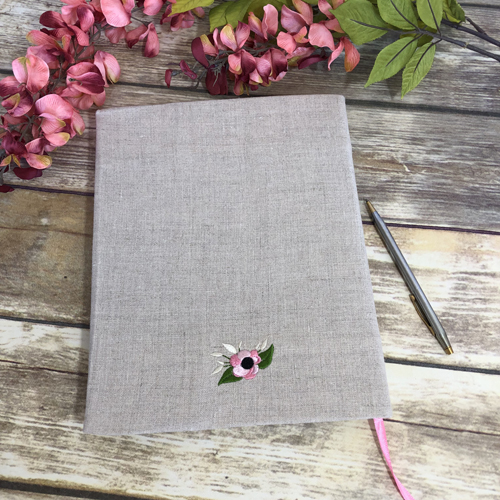
Place the journal into the cover. This picture shows how the little embroidery on the back gives an upscale finish to the project.
Step 22:
Congratulations, your linen journal cover is complete!
Award winning Digitizer, Embroidery Educator, Author and a Consultant to the Industry, Pat Williams has 30 years of experience in the embroidery industry. Pat has won multiple awards for her digitizing expertise including the 2007 Impressions Awards Grand Championship, Best of Show as well as the 1st and 2nd Place Awards. Pat’s love of digitizing has afforded her the opportunity to write numerous articles for Impressions magazine in the United States and Images Magazine in Europe. In 2001 Pat was named “Embroidery Educator of the Year.” For many years Pat taught digitizing seminars at the ISS Shows in Long Beach, CA and for Compucon software. She now resides in Tucson, AZ.