Mega Blow Out 99cent
Live Chat
Embroidery Designs
Welcome, Embroiderer
Login
Fabric Tortilla Warmer
{{mainImageAlt || (productInfo._source && productInfo._source.name) || ''}}

Fabric Tortilla Warmer Embroidery Project

By   Linda Mills   on   July 05, 2019
  • SKILL LEVELSome Experience
  • TIME REQUIRED01:00
Description

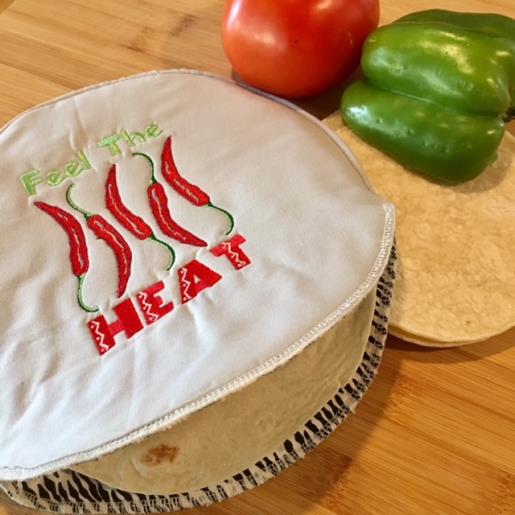
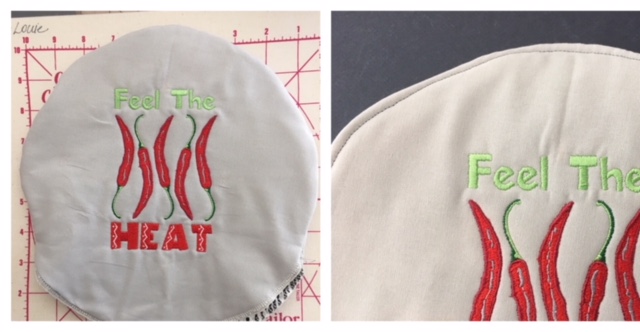
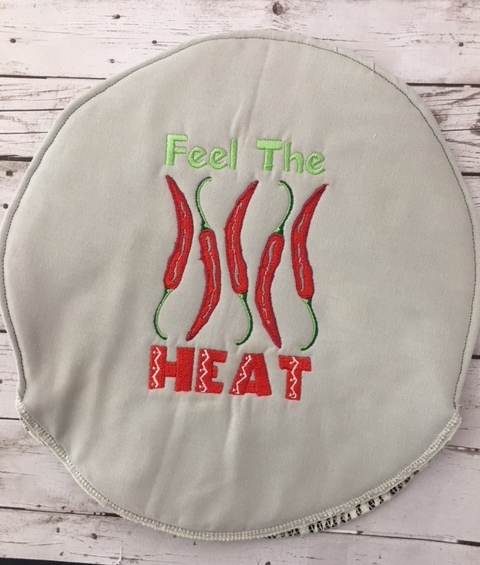
You definitely will “Feel the Heat” with this DIY Fabric Tortilla Warmer tutorial.

Step of

Materials

Project Preview Video

Materials
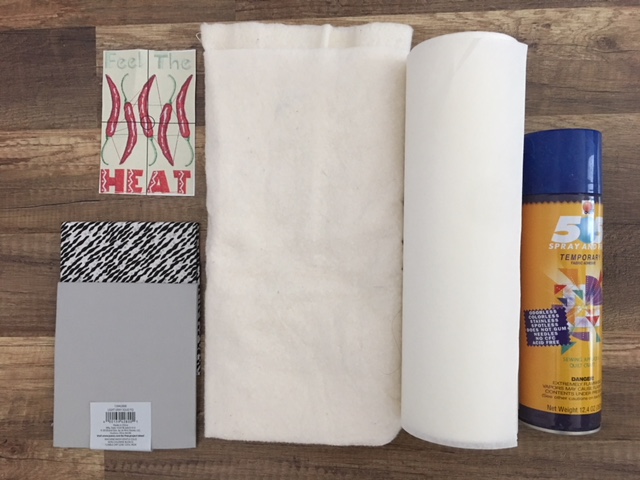
  • 2 COTTON FAT QUARTERS ( FOR INNER AND OUTER FABRIC) (CHOOSE A SOLID COLOR FOR THE OUTER LAYER FOR THE EMBROIDERY).
  • TEAR AWAY STABILIZER
  • TEMPORARY ADHESIVE SPRAY
  • COTTON BATTING 22” X 22”
  • EMBROIDERY THREAD
  • SEWING THREAD
  • FABRIC AIR ERASE/CHALK PEN

  • Designs used in this project

    Final Product: What You Will Create

    Preface:
    This simple and quick project is perfect for the beginner/some experience sewist and embroiderer. Sandwiching the cotton batting as the insulation between two fabric circles, embroidering the fun design and then attaching the two circles brings this project together in no time.  


    Step 1:
    Gather all supplies and review instructions before beginning. Pre-wash your fabric first then iron press. Print out template of design. 

    (Click Image to Enlarge)


    Step 2:
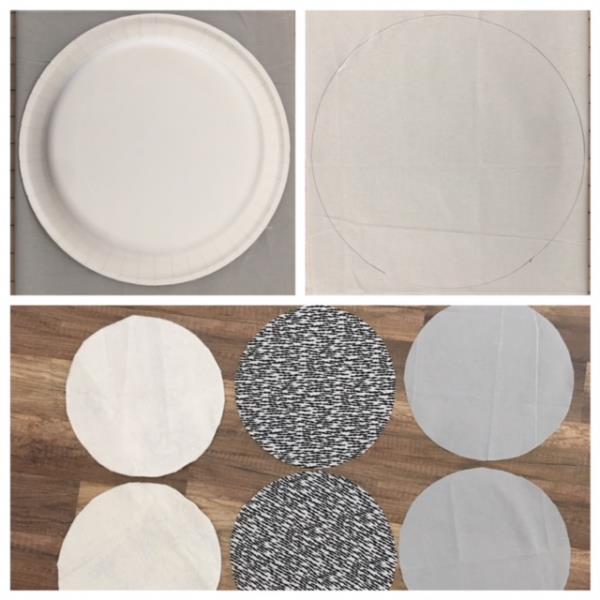
    Cut out two circles from each fat quarter and Cotton Batting. To make the circle I used a 10” paper plate. Fold one of your fat quarters in half and trace around the plate. Do the same with the other fat quarter and your cotton batting. 

    (Click Image to Enlarge)


    Step 3:
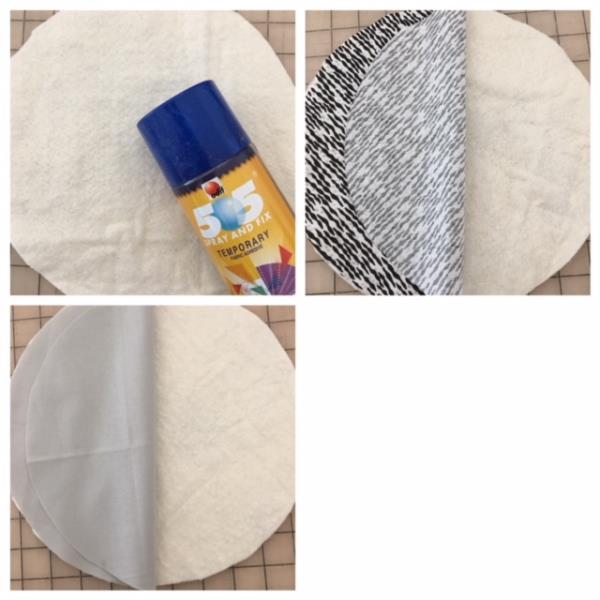
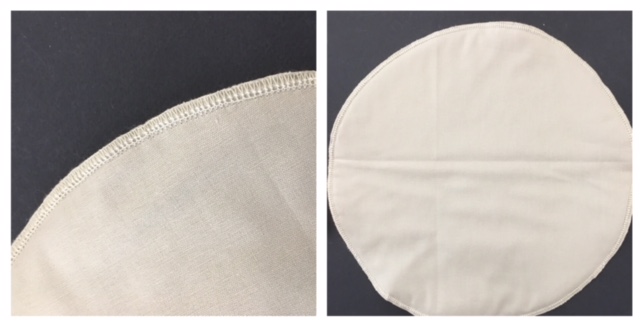
    Lightly spray temporary adhesive to one side of the cotton batting circle. Lay atop cut inner fabric circle. Finger tip press and smooth fabric to fit. Flip over and lightly spray the temporary adhesive and lay the cut outer fabric circle atop. Fingertip press and smooth fabric to fit. Repeat with your other pieces.  

    (Click Image to Enlarge)


    Step 4:
     Zig zag or serge all three layers around edges of both circle sets. 

    (Click Image to Enlarge)


    Step 5:
    Making a fingertip pressed crosshair.
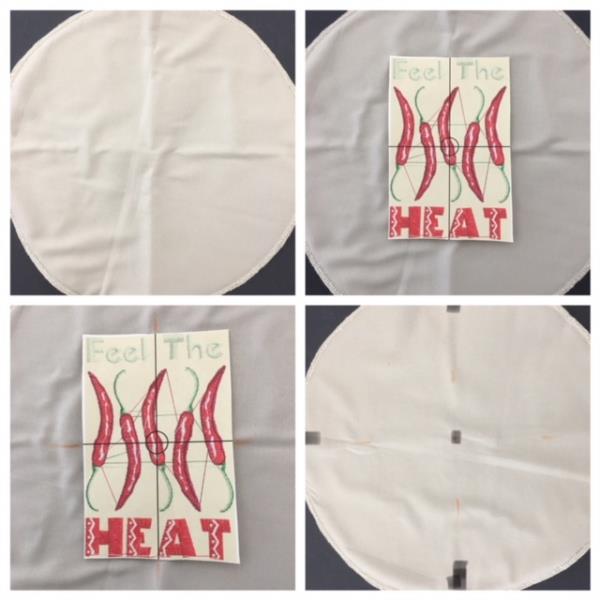
    Fold one of your circles in half. Fingertip press. Then quarter fold. Fingertip press. Place design template on top and center. ( You will be using your solid fabric side to embroider) Mark axis points and center. 

    (Click Image to Enlarge)


    Step 6:
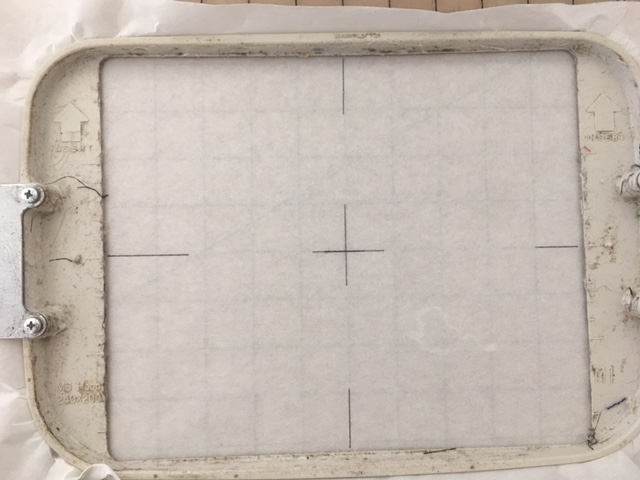
    Cut a piece of stabilizer larger than your hoop. Hoop stabilizer and mark axis points and center crosshair on stabilizer. 

    (Click Image to Enlarge)


    Step 7:
    (Click Image to Enlarge)
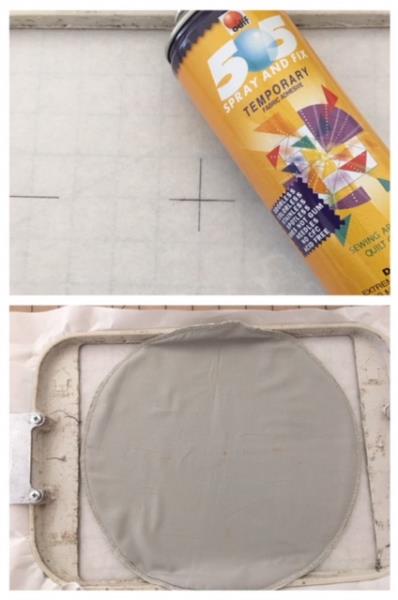
    Lightly spray hooped stabilizer. With one of your circle sets, place solid side up , matching axis points and center. Fingertip press to secure.


    Step 8:
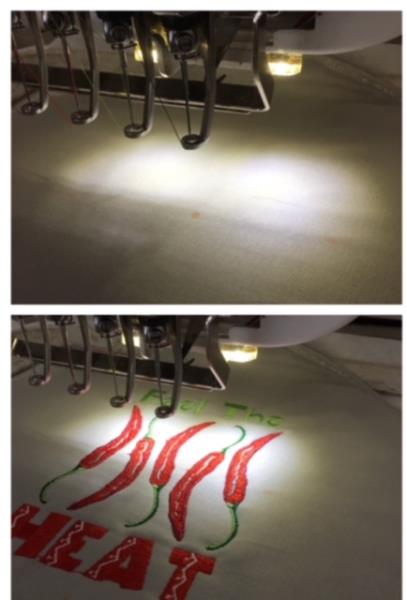
    Load design into your machine per your machine’s instructions. Attach hoop. Confirm center needle placement. Begin the embroidering process.  There are 8 thread color changes. Your thread color of coice or follow thread color chart.  

    (Click Image to Enlarge)


    Step 9:
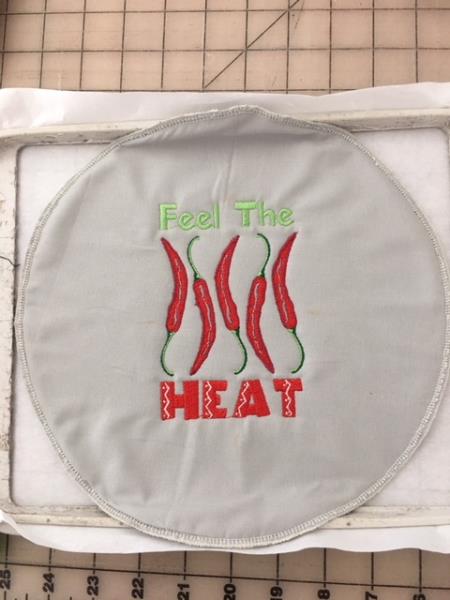
    Embroidering stitch out complete. Remove hoop. Cut and trim all jump stitches and loose thread ends front and back. Remove tear away stabilizer. 

    (Click Image to Enlarge)


    Step 10:
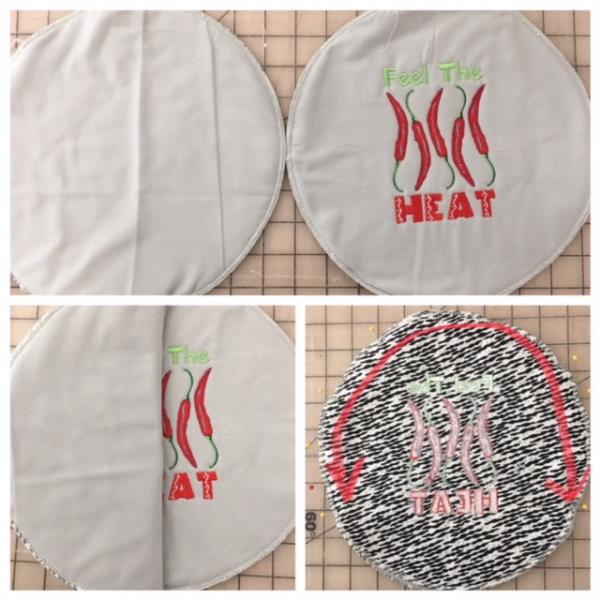
    Place your two circle sets right sides together matching up circle edges and pin to secure. Leaving a “mouth” opening by pinning approx. 3” up and around from bottom of circle. (Refer to the red line in picture)  Tip: Back side of embroidery up for easy pin placement and centering. 

    (Click Image to Enlarge)


    Step 11:
    Sew all around circle edges beginning at one of the “mouth” opening pin to the other using ¼” seam allowance. 

    (Click Image to Enlarge)


    Step 12:
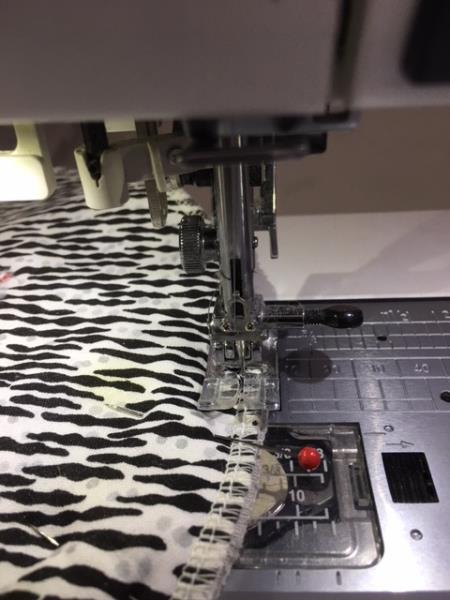
     Turn right side out through the “mouth” opening. Iron press. Top stitch starting at one side of the mouth opening and around. 

    (Click Image to Enlarge)


    Step 13:
    Congratulations! Your Fabric Tortilla Warmer is now finished! Fill it up with some tortillas and place it in the microwave for 15 – 20 seconds.  Yum!  

    (Click Image to Enlarge)

    Meet the Author: Linda Mills
    Linda Mills
    Linda loves to create by sharing her different sewing and machine embroidery techniques so others can utilize their machines to the fullest
    More From This Author
    Link is Broken, Please check the URL
    Exclusive Embroidery Offers!
    Copyright © {{ currentDate | date:'yyyy'}} - EmbroideryDesigns.com
    GET 50% OFF! ×