














































PROJECT INSTRUCTIONS


PROJECT INSTRUCTIONS
One in a Melon Napkins Embroidery Project
By
Marisa Littleton
on
July 02, 2019
Description
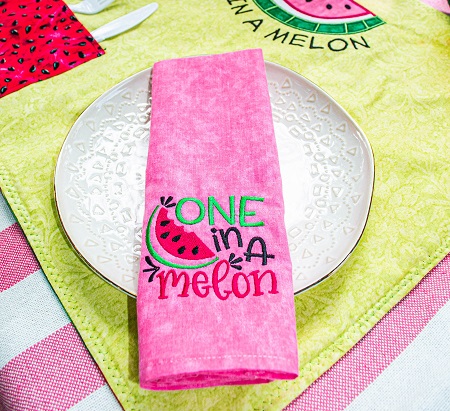
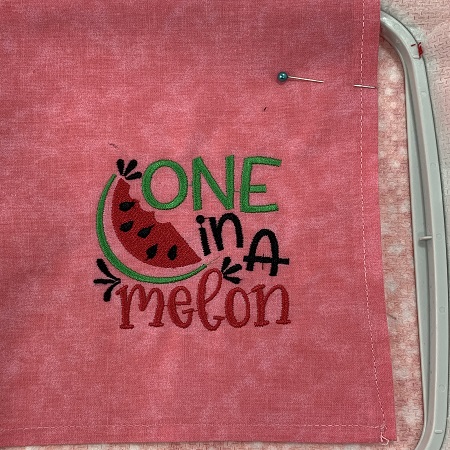
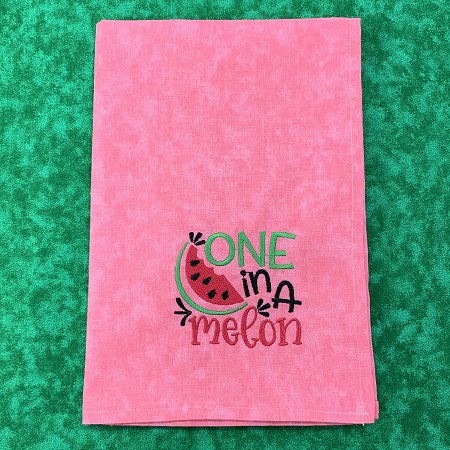
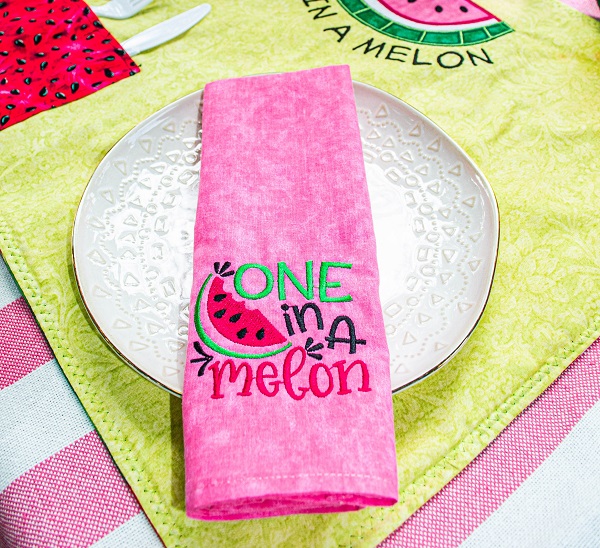
Add a splash of fun to your table with these 'One in a Melon' napkins, perfect for birthdays, picnics, and celebrations. The vibrant design adds a playful touch to any dining display. Step-by-step instructions are included.
Step
of
Materials
Project Preview Video

One In A Melon
$5.79
$2.90
Circle Price: $2.75

Cut Away Stabilizer - 2.5 Oz wt.
$8.94
$7.15
Circle Price: $7.15

Cut Away Stabilizer - 2 oz wt.
$8.52
$6.82
Circle Price: $6.82

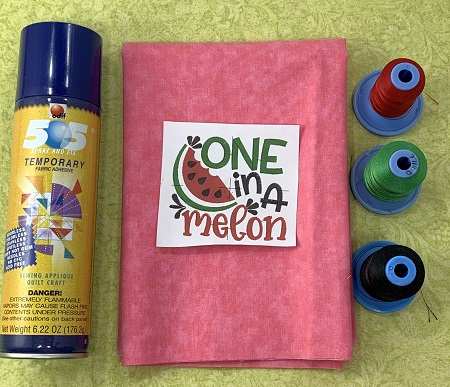
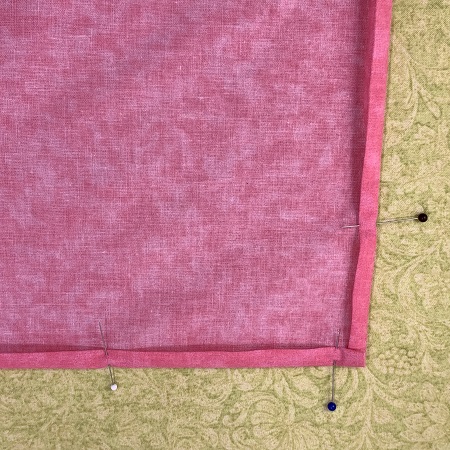
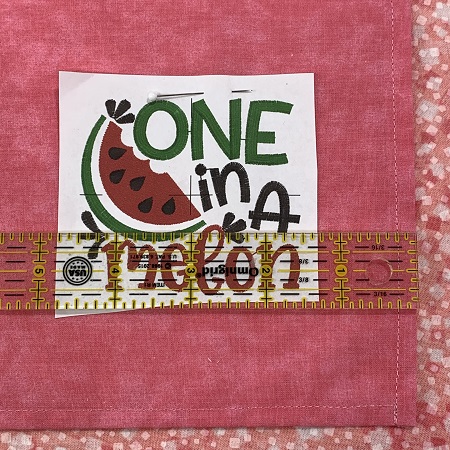
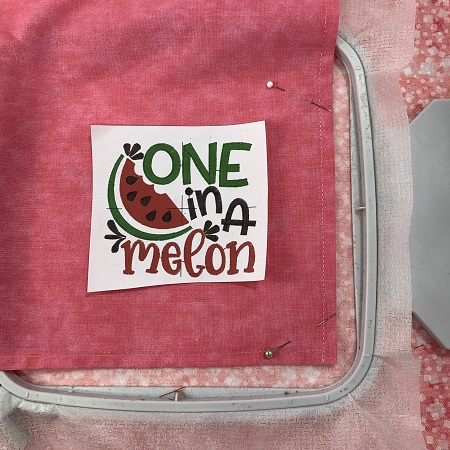
| Materials 100% quilter's cotton or premade napkins Design Template 40 wt. embroidery thread 75/11 embroidery needle No-show mesh stabilizer 505 Temporary Adhesive Spray Sewing Machine, Thread, & Matching Bobbin |
| Designs used in this project |
| Final Product: What You Will Create |
 |
|
Happy Stitching! Marisa Littleton |
Projects You May Like
Meet the Author:
Marisa Littleton

Marisa Littleton is a retired educator with a love for teaching and learning. Interests include machine embroidery, hand embroidery, quilting, cooking, and antiques.
Feedback
Characters Remaining
Please Login to Submit a Feedback
Invalid Characters, Please enter a valid Comment
Please enter a valid Comment
Reviewed On
Link is Broken, Please check the URL