














































PROJECT INSTRUCTIONS


PROJECT INSTRUCTIONS

Freeze Pop Koozie Embroidery Project
By
Marisa Littleton
on
July 02, 2019
Description
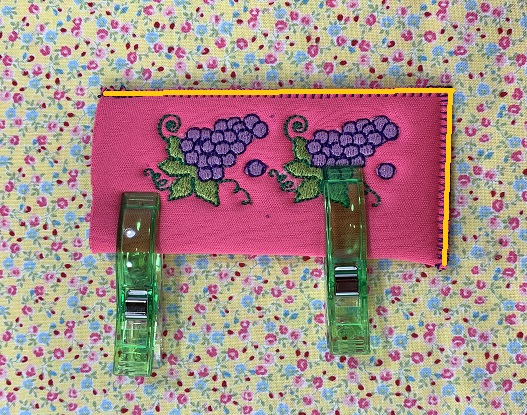
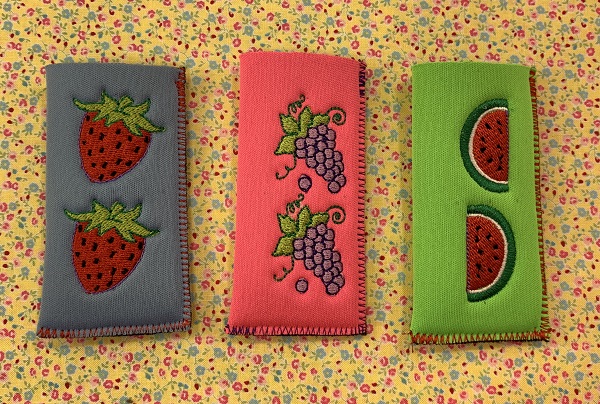
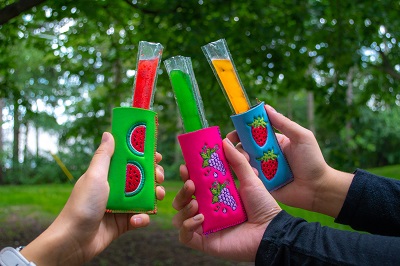
Summer fun and freezer pops go hand in hand. Make 'Freezer Pop Holders' to keep fingers from getting too chilled.
Step
of
Materials
Project Preview Video

Mini Strawberry
$4.00
Circle Price: $3.60

Mini Watermelon Slice
$4.00
Circle Price: $3.60

Autumn Mini Grape Cluster
$4.00
Circle Price: $3.60

Cut Away Stabilizer - 2.5 Oz wt.
$8.94
Circle Price: $8.05

Cut Away Stabilizer - 2 oz wt.
$8.52
Circle Price: $7.67

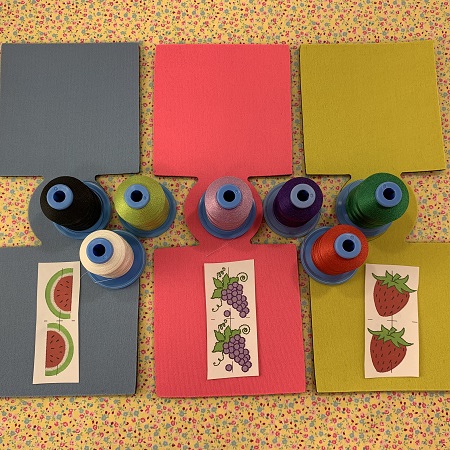
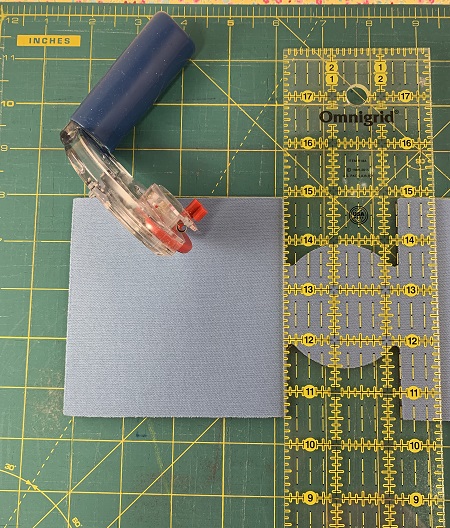
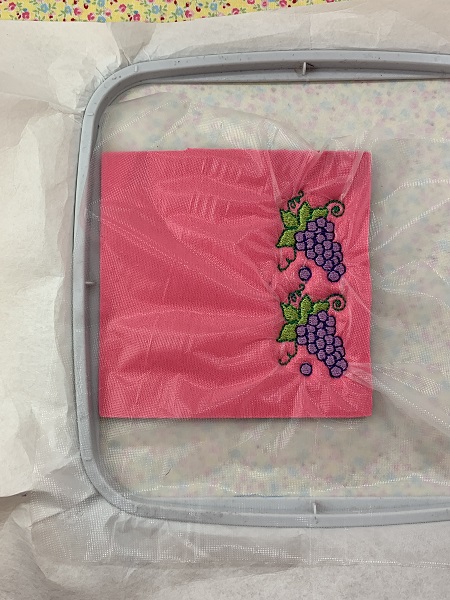
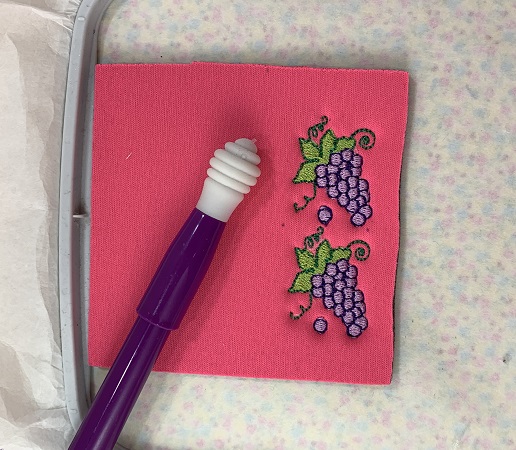
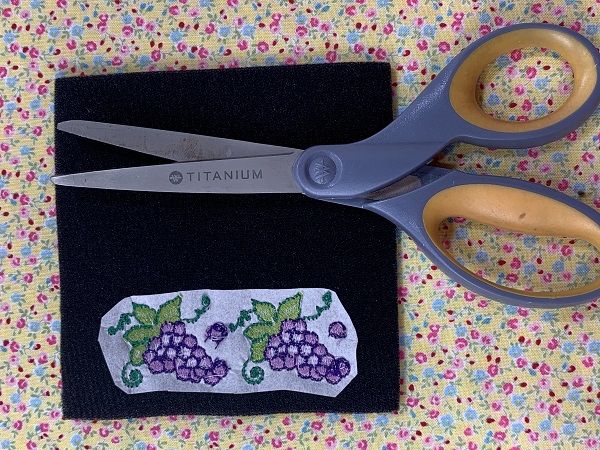
| Materials Design Template 90/14 Embroidery Needle Cut-away stabilizer 40 wt. embroidery thread Koozies Sewing Machine, Thread & matching bobbin Wonder Clips 505 Temporary Adhesive Spray Embrilliance Essentials/computer software program |
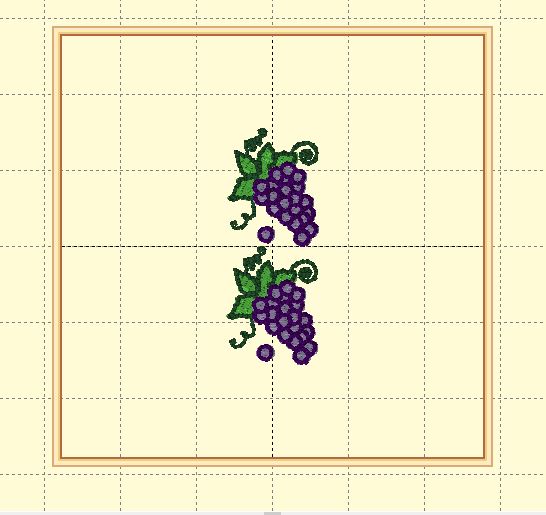
| Designs used in this project |
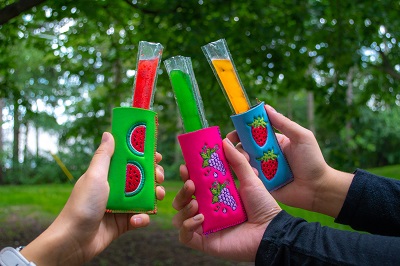
| Final Product: What You Will Create |
 |
|
Learn by teaching.... Marisa Littleton |
Projects You May Like
Meet the Author:
Marisa Littleton

Marisa Littleton is a retired educator with a love for teaching and learning. Interests include machine embroidery, hand embroidery, quilting, cooking, and antiques.
Feedback
Characters Remaining
Please Login to Submit a Feedback
Invalid Characters, Please enter a valid Comment
Please enter a valid Comment
Reviewed On
Link is Broken, Please check the URL