Border OptionsHugging border, circle, square, or rectangle — with a 3mm satin stitch.
Backing OptionsAvailable with iron-on, sew-on, or velcro backing.
Fast ShippingShipped quickly from the USA.
Free Online Tools
Powerful embroidery utilities that save time and prevent costly mistakes.
Stitch AssistantRECOMMENDED
Get the exact stabilizer, machine settings, needle, and thread color sequence for every embroidery design you purchase — based on that design's stitch density, dimensions, and color count.
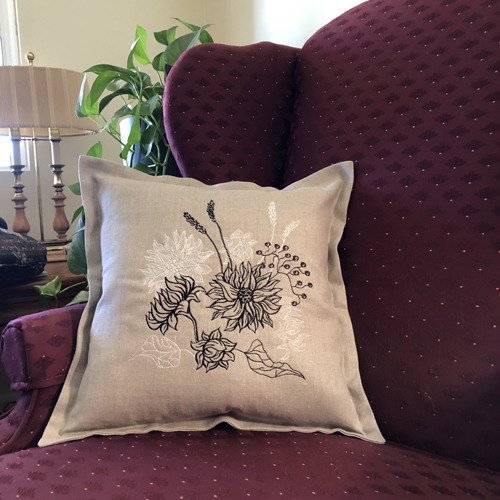
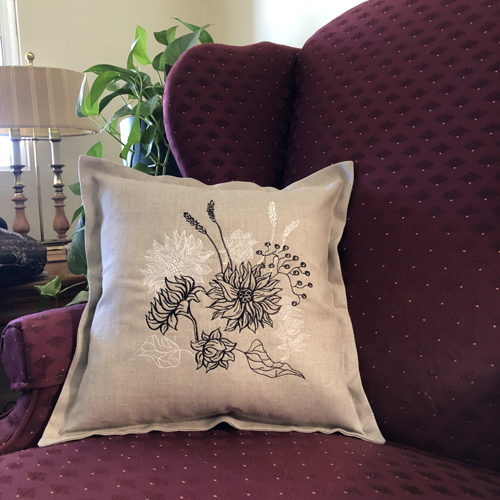
This elegant pillow features a classic redwork floral design on linen, perfect for adding a touch of sophistication to any room. The cover includes an easy-to-install zipper, making it both stylish and practical. Step-by-step instructions are included.
Step
of
Redwork Floral Pillow with Zipper Closure
By Pat Williams
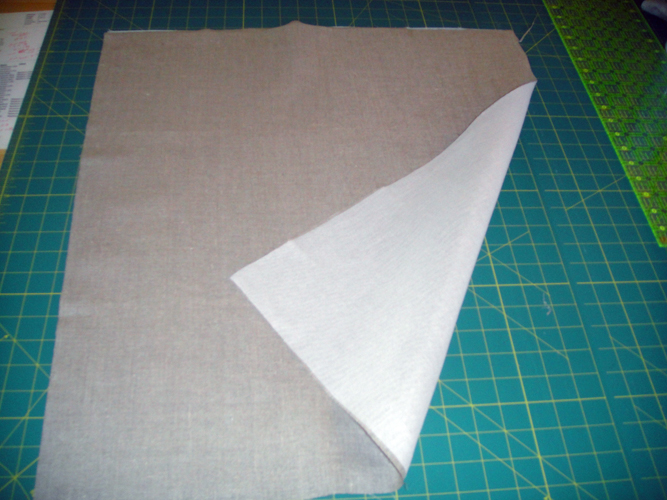
Cut from the linen fabric a 22” x 25” rectangle and 2 9.5” x 18” rectangles. Fuse knit interfacing to the back of the linen rectangles. Note: My interfacing covers the full width of the fabrics, but the most commonly used Pellon® Knit Interfacing is only 20” wide. You can use that 20” wide interfacing on the center back of the linen as we will be trimming that down to 18” square after the embroidery.
(Click Image to Enlarge)
Step 2:
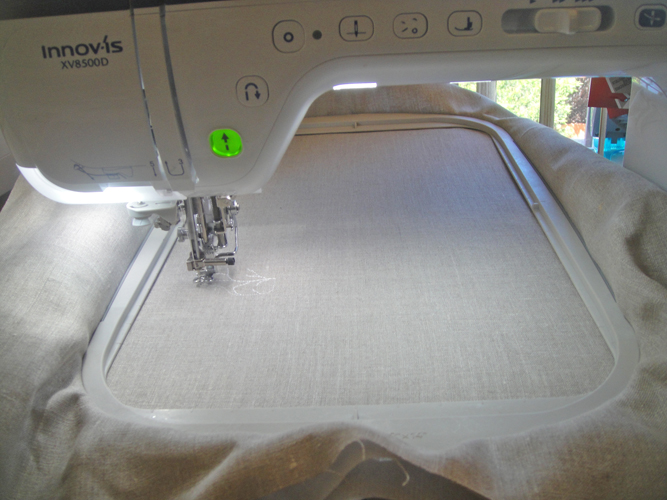
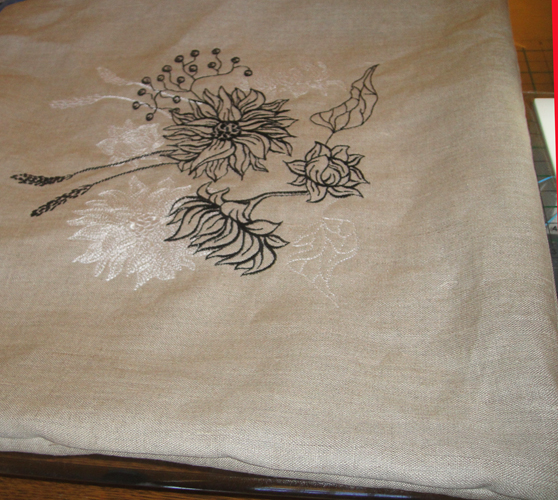
Tautly hoop your fused linen with the no show stabilizer in your hoop and run the design. Trim the stabilizer around the design.
(Click Image to Enlarge)
Step 3:
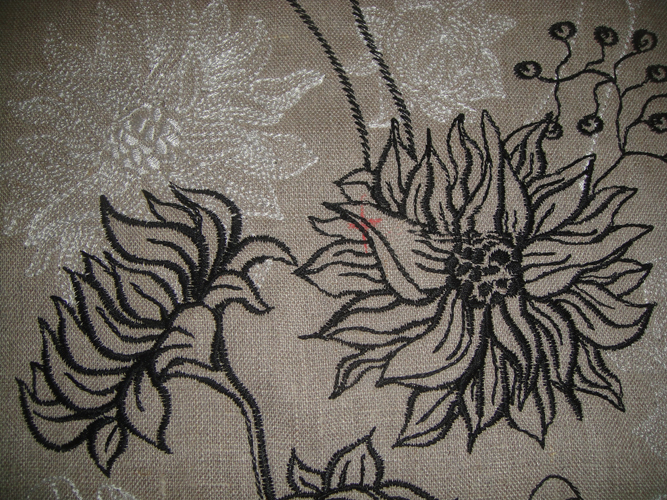
Use either a template print out of the design or this picture to mark the center of the design on your completed embroidery.
(Click Image to Enlarge)
Step 4:
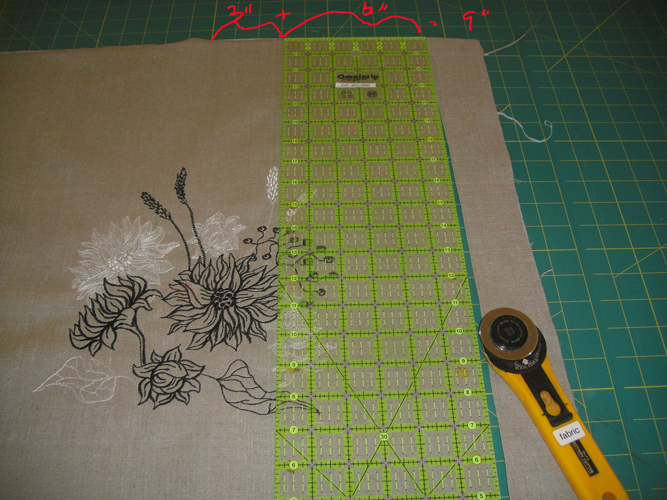
Measure 9” out from the center of the design on all sides and trim the pillow cover top to 18” square.
(Click Image to Enlarge)
Step 5:
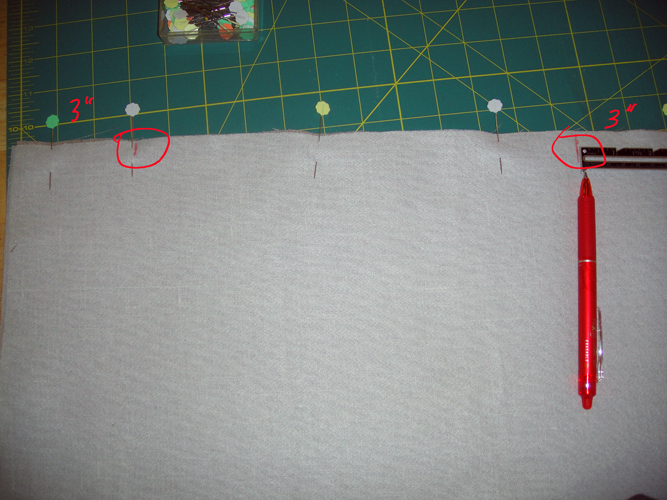
Pin the two 18” widths of the pillow cover backs together. Make a mark 3” in from both ends of the back.
(Click Image to Enlarge)
Step 6:
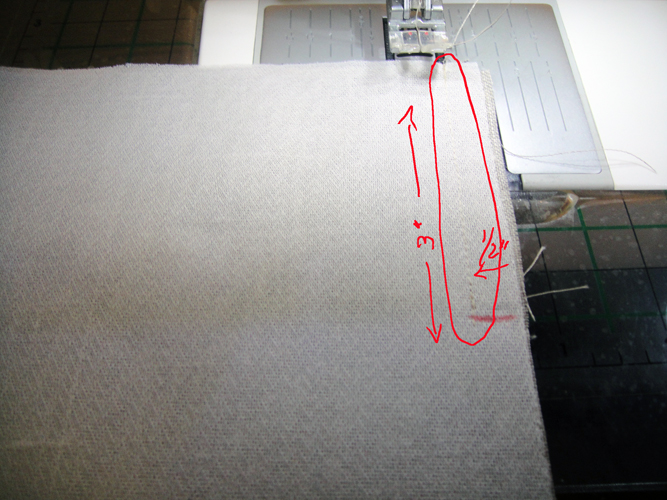
With a regular stitch length of 2.5mm stitch both of the 3” sections at each end of the backs using a ½” seam allowance. Backstitch at the beginning and end of each of these sections.
(Click Image to Enlarge)
Step 7:
(Click Image to Enlarge)
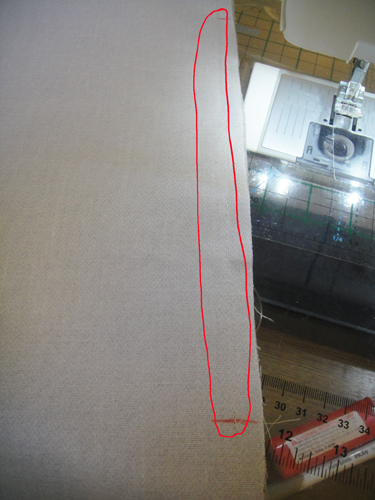
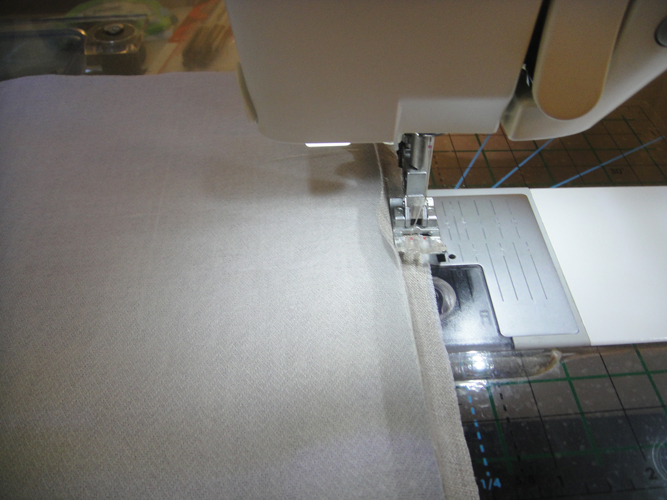
Change your stitch length to either a stitch length of 5mm or your longest stitch length if less than 5mm. Using a ½” seam allowance baste the opening closed between the 3” ends of the seam.
Step 8:
Optional: Using a zigzag stitch with a width of 4 and spacing of 4 zigzag or serge down both of the seam allowances to prevent fraying.
(Click Image to Enlarge)
Step 9:
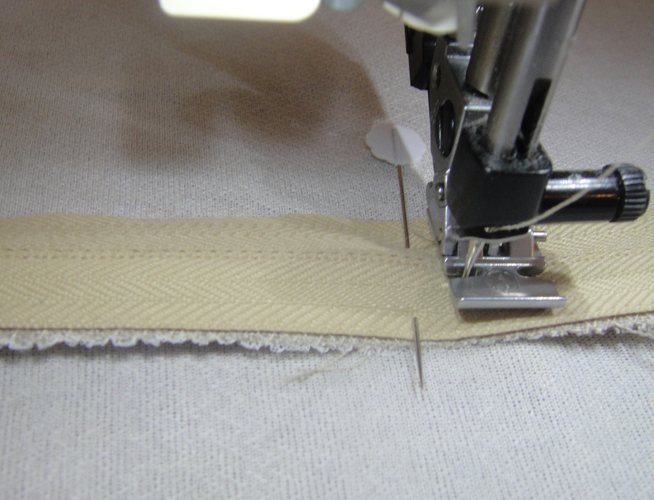
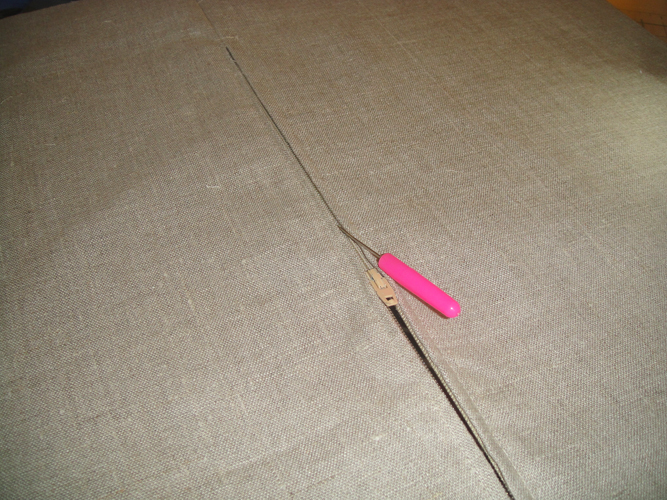
Press the seam open. This pressing removed your 3” measurements. Mark those again. The zipper is a lot wider than the pillow. We will be cutting the zipper off at both ends, so just lay it face down over the seam so that both the bottom zipper stop and the top zipper tab are well outside the center sections of the pillow seam. The pin in the zipper in this picture is at the 3” mark on the seam. Install your zipper foot on your machine with the needle to the left of the foot. Sew approximately ¼” away from the pin across the bottom of the zipper. Stitch across the zipper and reverse stitch across it and come back again to provide a secure stop for the zipper. Stop with the needle down in the fabric and pivot to stitch up the side of the zipper with the zipper foot touching the side of the zipper teeth.
(Click Image to Enlarge)
Step 10:
(Click Image to Enlarge)
Continue stitching down the side of the zipper checking every couple of inches that the zipper teeth are centered on the seam. Stop about ¼” beyond the 3” mark on the other end.
Step 11:
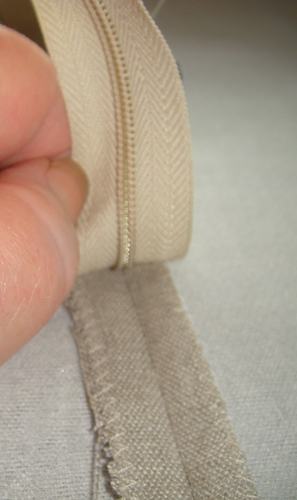
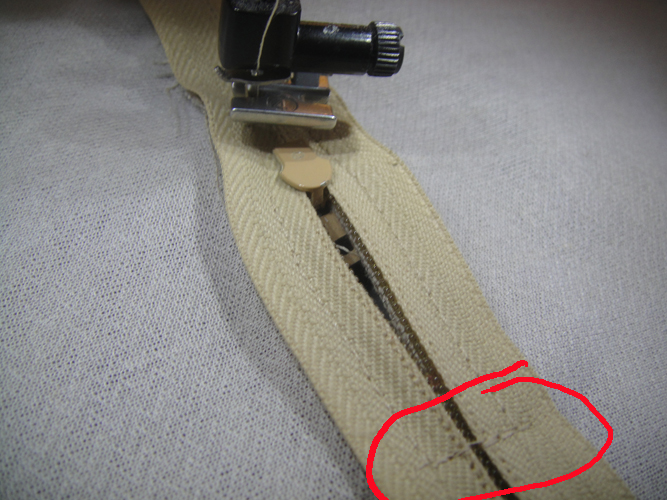
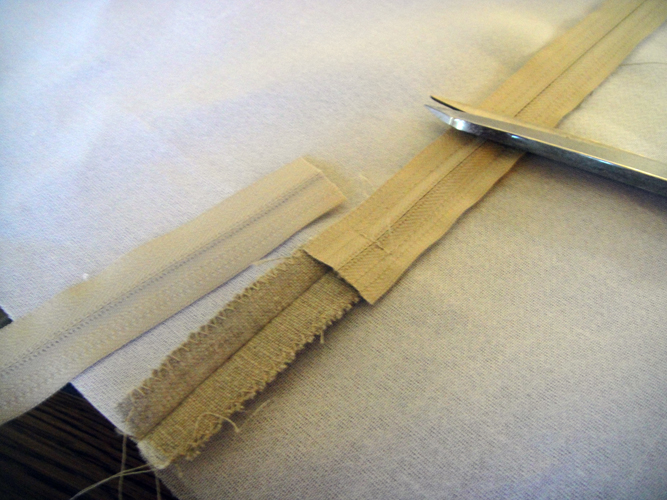
Stop with your needle down in the zipper, raise the presser foot and pull the zipper tab down past the zipper foot towards the inside of the pillow. Lift the zipper and with a seam ripper open up a couple of inches of the basted seam. Align the now open edge of zipper tape with the stitched down tape, sew across the top of the zipper, back up over the stitching and sew across again. Pivot to start stitching down the other side of the zipper. When you get close to the zipper tab stop with the needle down, raise the presser foot, slide the zipper tab to the top of the seam and then continue sewing down the side of the zipper.
(Click Image to Enlarge)
Step 12:
Trim off the excess zipper at both ends.
(Click Image to Enlarge)
Step 13:
Pop the basting stitch with a seam ripper and make sure your zipper opens all the way and back again. Remove the threads from the basting stitching.
(Click Image to Enlarge)
Step 14:
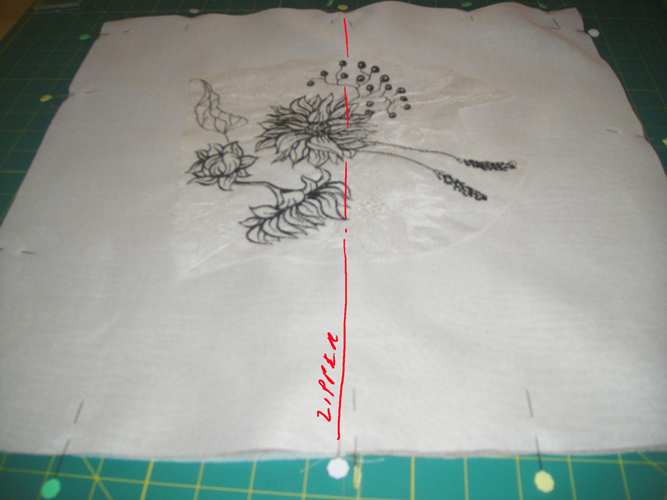
Pin the front and back of the pillow cover right sides together with the zipper going side to side across the design as indicated by the red line. Make sure the zipper is half way opened. Stitch around the whole pillow top with a ½” seam allowance.
(Click Image to Enlarge)
Step 15:
Clip the corners then open the zipper and turn the pillow cover right side out. Poke out the corners with a point turner if necessary. Press the pillow cover.
(Click Image to Enlarge)
Step 16:
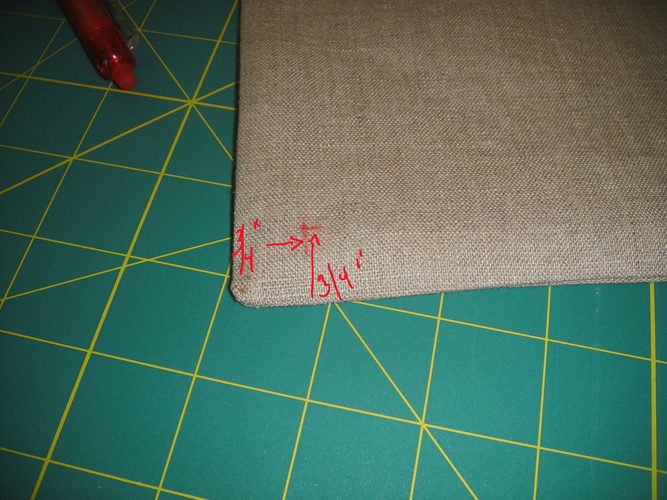
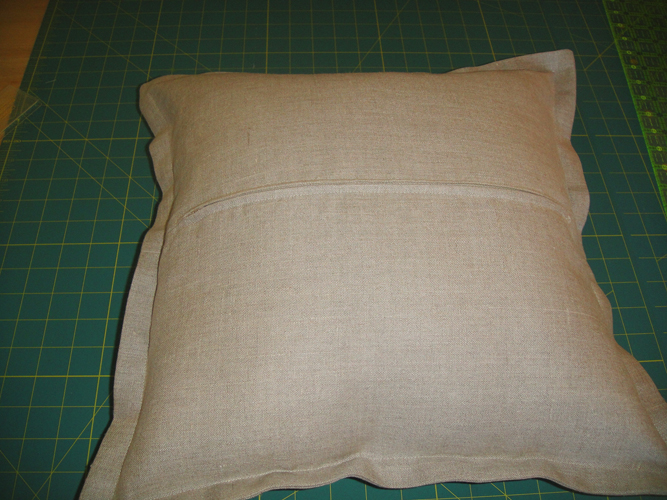
We will now stitch all the way around and through all layers of the pillow cover ¾” from the seams to form the flange, pivoting at the corners. To keep the seams the appropriate width as you pivot you might want to make cross hairs ¾” in from the corners so you know when to stop and pivot. Erase those marks with your iron after stitching around the whole pillow cover.
(Click Image to Enlarge)
Step 17:
Insert the pillow form pushing the corners of the form into the corners of the pillow cover.
(Click Image to Enlarge)
Step 18:
Congratulations your Flanged Floral Pillow is complete!
Award winning Digitizer, Embroidery Educator, Author and a Consultant to the Industry, Pat Williams has 30 years of experience in the embroidery industry. Pat has won multiple awards for her digitizing expertise including the 2007 Impressions Awards Grand Championship, Best of Show as well as the 1st and 2nd Place Awards. Pat’s love of digitizing has afforded her the opportunity to write numerous articles for Impressions magazine in the United States and Images Magazine in Europe. In 2001 Pat was named “Embroidery Educator of the Year.” For many years Pat taught digitizing seminars at the ISS Shows in Long Beach, CA and for Compucon software. She now resides in Tucson, AZ.