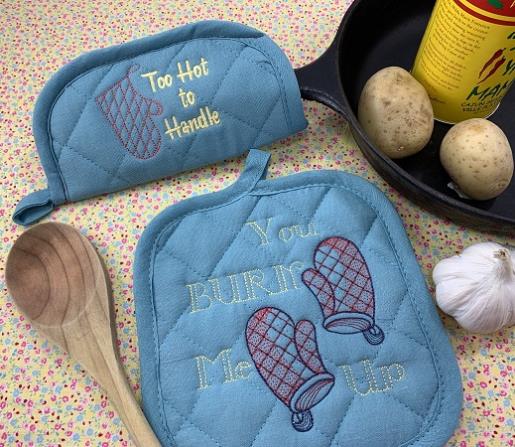
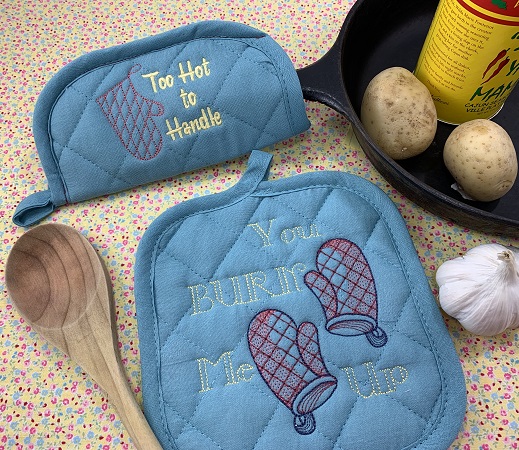
A pot handle cover with a complimentary pot holder for the 'Too Hot To Handle' or 'You Burn Me Up' days in your kitchen. Typically, embroidery thread is either rayon or polyester which are not heat resistant. Therefore, cotton thread is recommended for this project. The 'You Burn Me Up' design is available in two sizes. The largest size was used on this project.
Step 1:
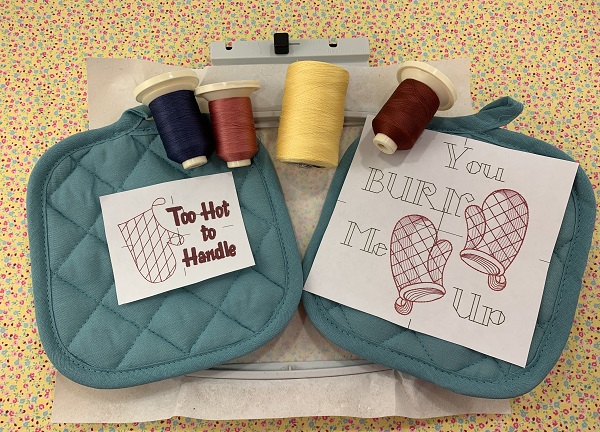
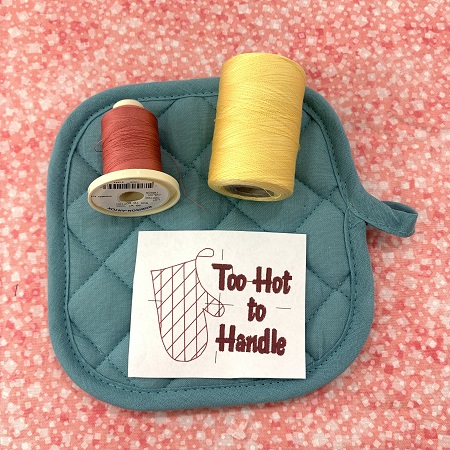
Gather the materials needed for the project. Read the directions.
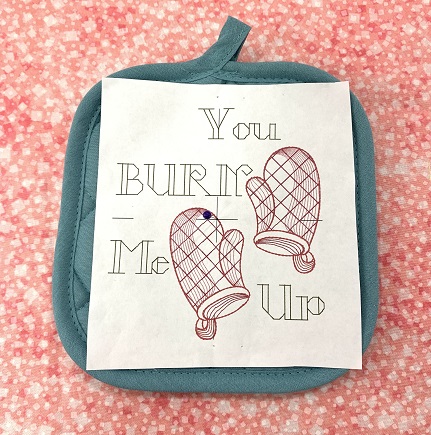
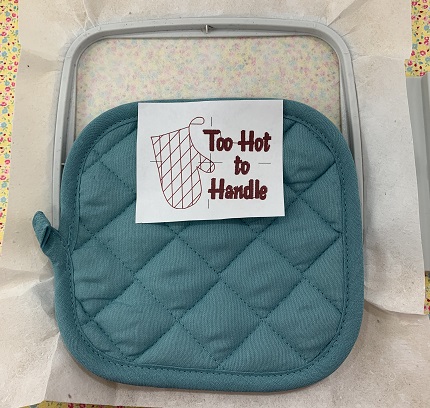
Print the design template and color chart for each design. An embroidery software program (Embrilliance Essentials) was used to generate the template. The template is the actual size of the stitched design. The template is an excellent tool to guide the placement and position of the design.
(Click Image to Enlarge)
Step 2:
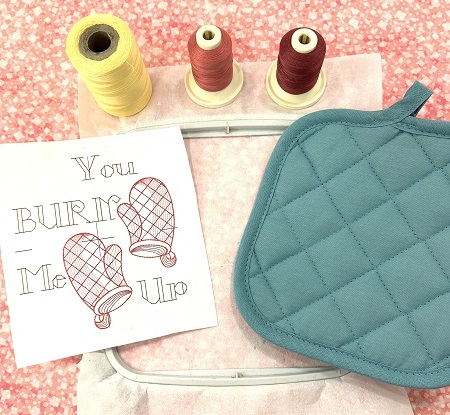
This project has two items. For the pot holder, you need one piece of tear-away stabilizer, a pot holder, the design template, and cotton thread.
Step 3:
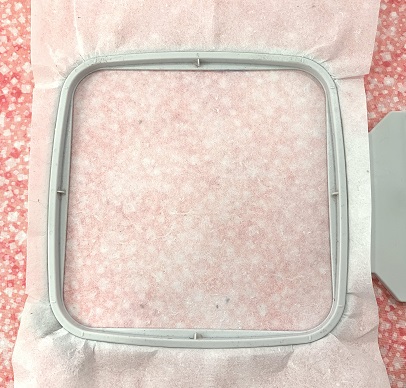
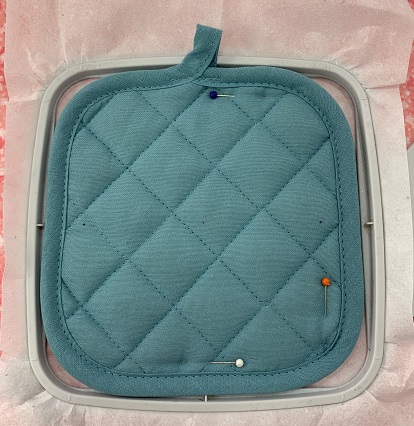
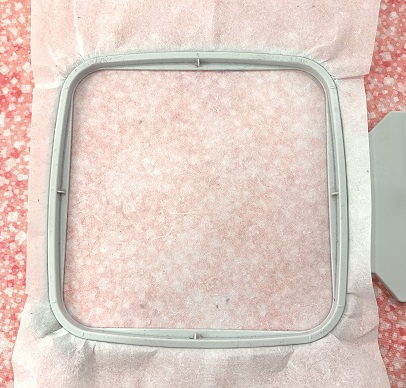
Hoop one piece of tear-away (soft/easy) stabilizer in your hoop.
Step 4:
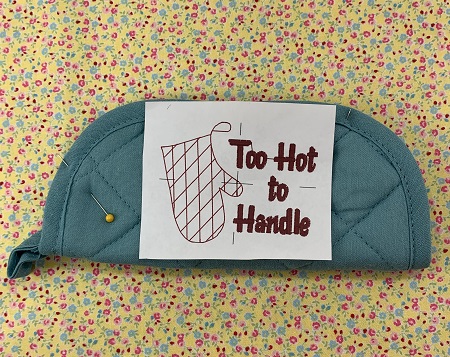
Use the design template to guide placement on the pot holder. Mark the center point and axis on the pot holder.
Step 5:
Float the pot holder onto the stabilizer. When floating an item, only the stabilizer is hooped. The item is secured on top of the stabilizer. Use a light mist of 505 Temporary Adhesive spray on the stabilizer to secure the pot holder. Pins may be used for additional security.
Step 6:
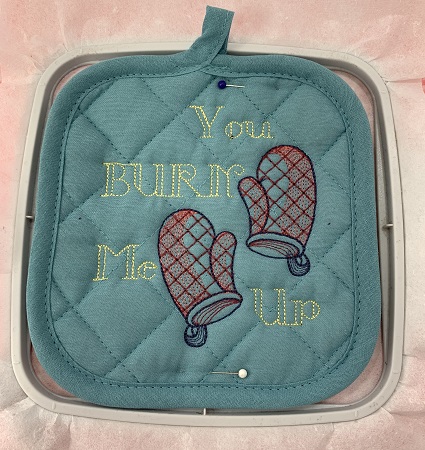
Load the embroidery design 'You Burn Me Up' onto your machine. A 90/14 embroidery needle is used because of the multi-layers of fabric & batting in the pot holder.
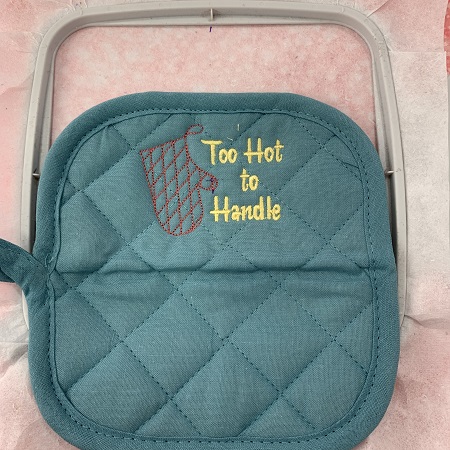
Stitch the design. Once complete, gently tear away the stabilizer from the back of the pot holder. Clip long threads if needed. A lint roller works great to remove debris from the pot holder.
Step 7:
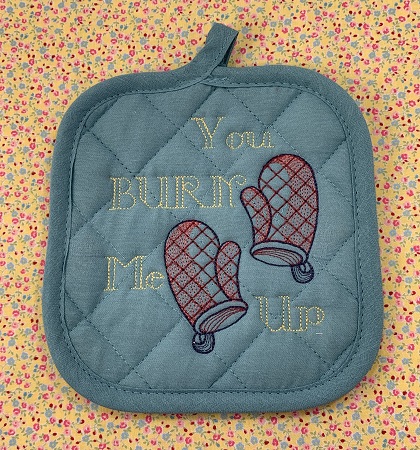
Good job! You have completed a pot holder. A great project for beginners. Super easy gift at holidays.
Step 8:
Gather the materials for the pot handle cover. You need one piece of tear-away (soft/easy) stabilizer, a pot holder, cotton thread, and the design template.
Step 9:
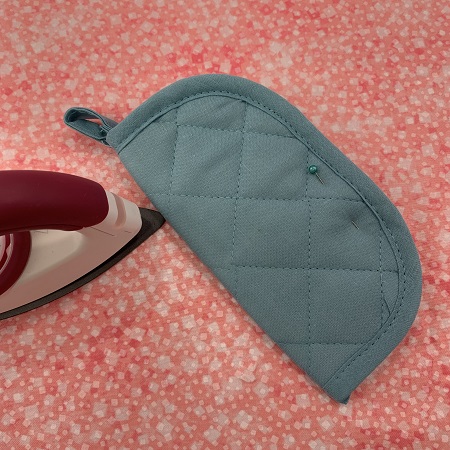
Fold the pot holder in half. Press at the fold with an iron.
Step 10:
Use the design template to guide placement on the pot holder. Mark the center point and axis on the pot holder.
Step 11:
Hoop one piece of tear-away (soft/easy) stabilizer in your hoop.
Step 12:
Float the pot holder onto the stabilizer. When floating an item, only the stabilizer is hooped. The item is secured on top of the stabilizer. Use a light mist of 505 Temporary Adhesive spray on the stabilizer to secure the pot holder. Pins may be used for additional security.
Step 13:
Load the embroidery design 'Too Hot To Handle' onto your machine.
Stitch the design. Once complete, gently tear away the stabilizer from the back of the pot holder. Clip long threads if needed. A lint roller works great to remove debris from the pot holder.
Step 14:
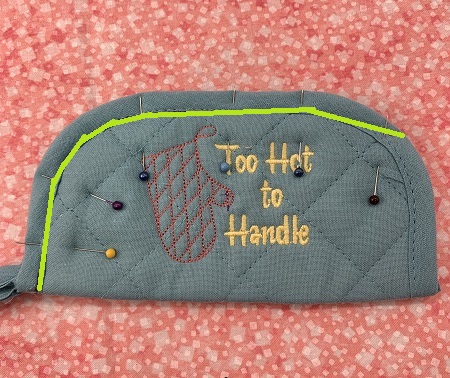
Fold the pot holder in half. Pin in place. Topstitch on one end and the long side using a 1/4" seam. Reinforce the stitching at the beginning and end of the seam.
Step 15:
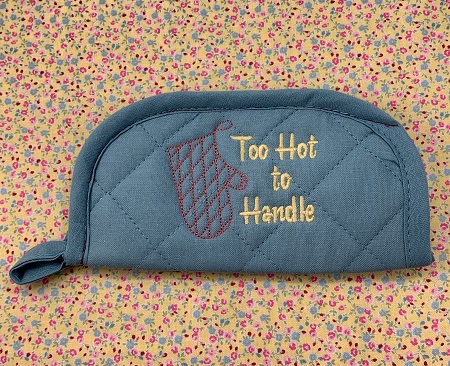
You have finished a Pot Handle Cover. WTG!
Step 16:
You have completed a pot cover handle and pot holder. Awesome! Keep on Stitching...
Marisa Littleton is a retired educator with a love for teaching and learning. Interests include machine embroidery, hand embroidery, quilting, cooking, and antiques.